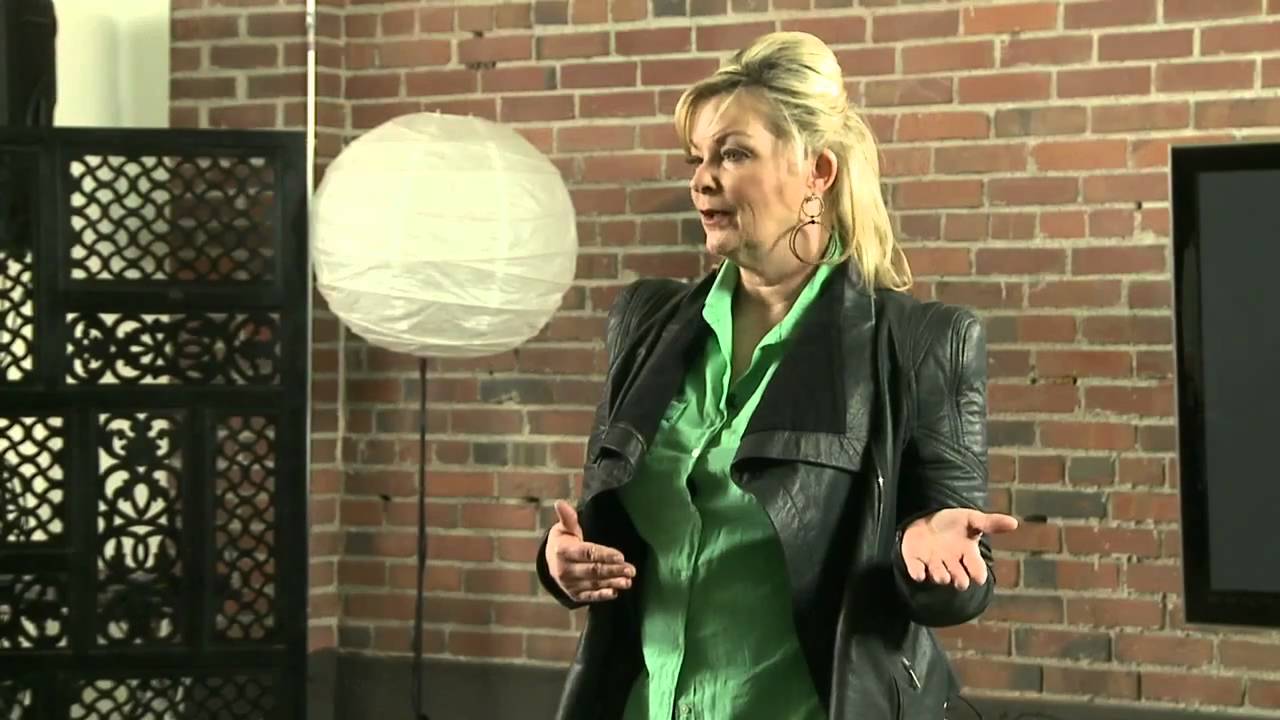
I keep a lighting journal. Every shoot, I sketch the setup in a small hardcover notebook I’ve had since my second year shooting commercially. Modifiers, distances, angles, the subject’s position relative to the key light. What I’ve noticed, flipping back through years of those sketches, is that my best work doesn’t come from copying someone else’s exact setup. It comes from understanding why a setup works and then bending it to fit the way I think. That’s a distinction most photography education glosses over, and it’s exactly what Bambi Cantrell nails in this CreativeLive tutorial.
Watch the full tutorial on YouTube
In this CreativeLive session, Cantrell is on day three of an intensive workshop covering posing and lighting together as a unified discipline, not two separate checklists. What caught my attention immediately was the way she opened the session: not with gear, not with a lighting diagram, but with a conversation about identity. One of the photographers in the room admitted he’d been trying to copy her high-energy, fast-paced posing style and it was falling flat because it simply wasn’t him. Her response reframed the entire tutorial. The goal isn’t imitation. The goal is building on concepts. That distinction matters enormously, and it’s something I wish someone had told me when I was still figuring out why my setups looked technically correct but emotionally hollow.
Step 1: Separate the Concept from the Personality
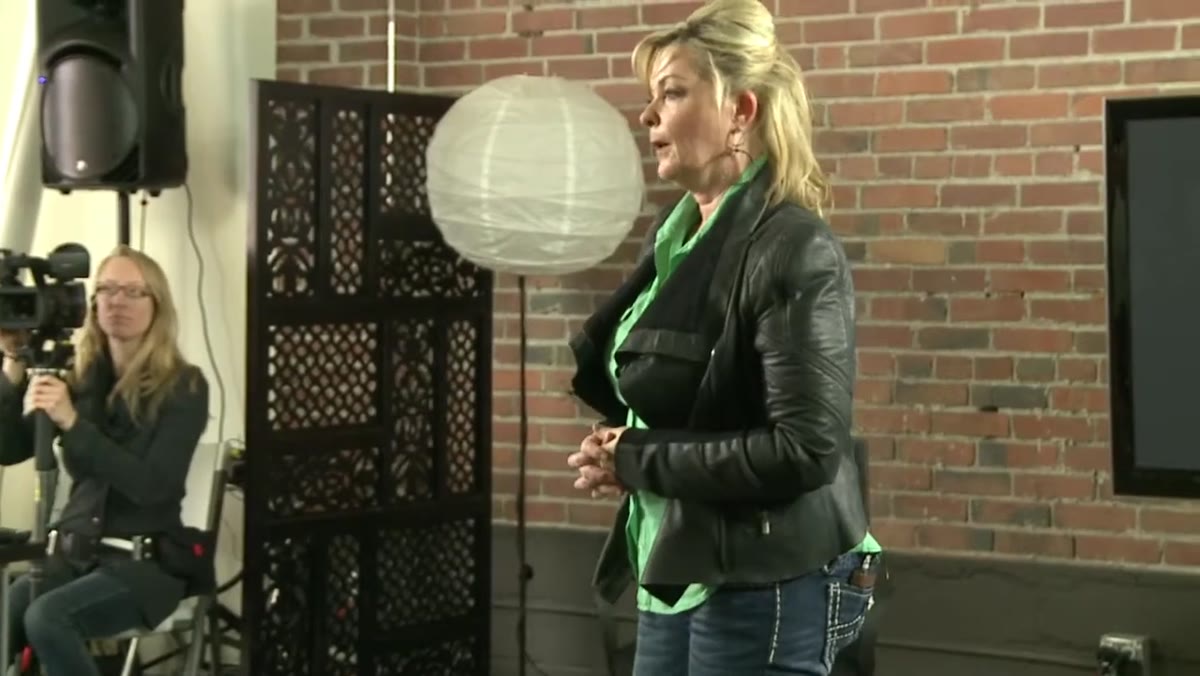 Photographer admitting he copied Bambi’s style unsuccessfully
Before you touch a light or place a subject, Cantrell asks you to do something that feels almost philosophical: figure out what your natural energy as a photographer actually is. Her point is practical, not motivational. If you’re a quiet, methodical person and you try to run a loud, fast-moving set, your subject will feel the friction. They’ll tense up. And tension reads in every frame.
Photographer admitting he copied Bambi’s style unsuccessfully
Before you touch a light or place a subject, Cantrell asks you to do something that feels almost philosophical: figure out what your natural energy as a photographer actually is. Her point is practical, not motivational. If you’re a quiet, methodical person and you try to run a loud, fast-moving set, your subject will feel the friction. They’ll tense up. And tension reads in every frame.
This doesn’t mean you stay passive. It means you work with your temperament instead of against it. A calmer photographer can still communicate authority and direction. They just do it differently. Before your next session, think about the one or two things you always say to relax a subject, the one move you make to shift the energy in the room. Start building your posing language from that foundation, not from someone else’s highlight reel.
Step 2: Teach Yourself Visual Communication, Not Commands
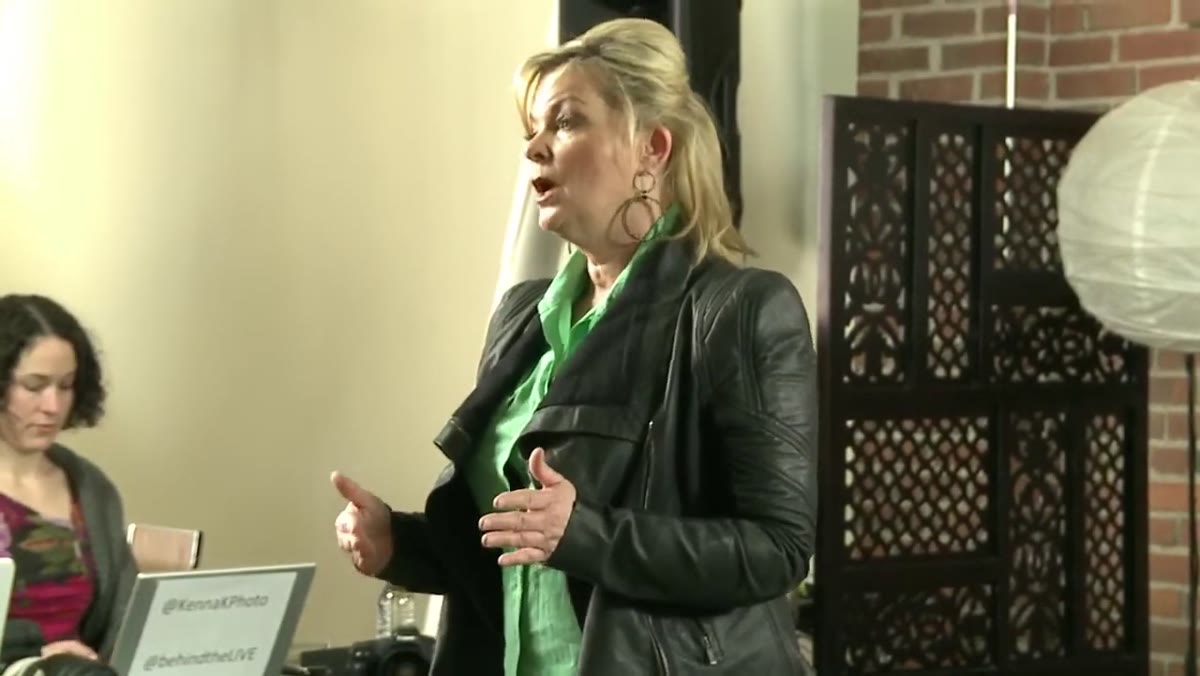 Bambi explaining visual communication as a core concept
Cantrell identifies “visual communication” as the single most transferable concept across all posing styles. What she means is the ability to show your subject what you want rather than describe it in technical terms. Telling someone to “create an S curve” lands differently than simply demonstrating the weight shift yourself.
Bambi explaining visual communication as a core concept
Cantrell identifies “visual communication” as the single most transferable concept across all posing styles. What she means is the ability to show your subject what you want rather than describe it in technical terms. Telling someone to “create an S curve” lands differently than simply demonstrating the weight shift yourself.
The practical application here is to build a physical vocabulary before the shoot. Stand in front of a mirror and practice the five or six positions you use most often. Know what they look like from the camera’s perspective. When you’re on set, you’ll move faster, your subject will feel more confident, and you’ll stop burning time translating your mental image into verbal instructions. I keep a short sequence of demo poses I run through at the start of any portrait session. It sets expectations, loosens everyone up, and means I’m not improvising direction under pressure.
Step 3: Master the Weight Shift Before Anything Else
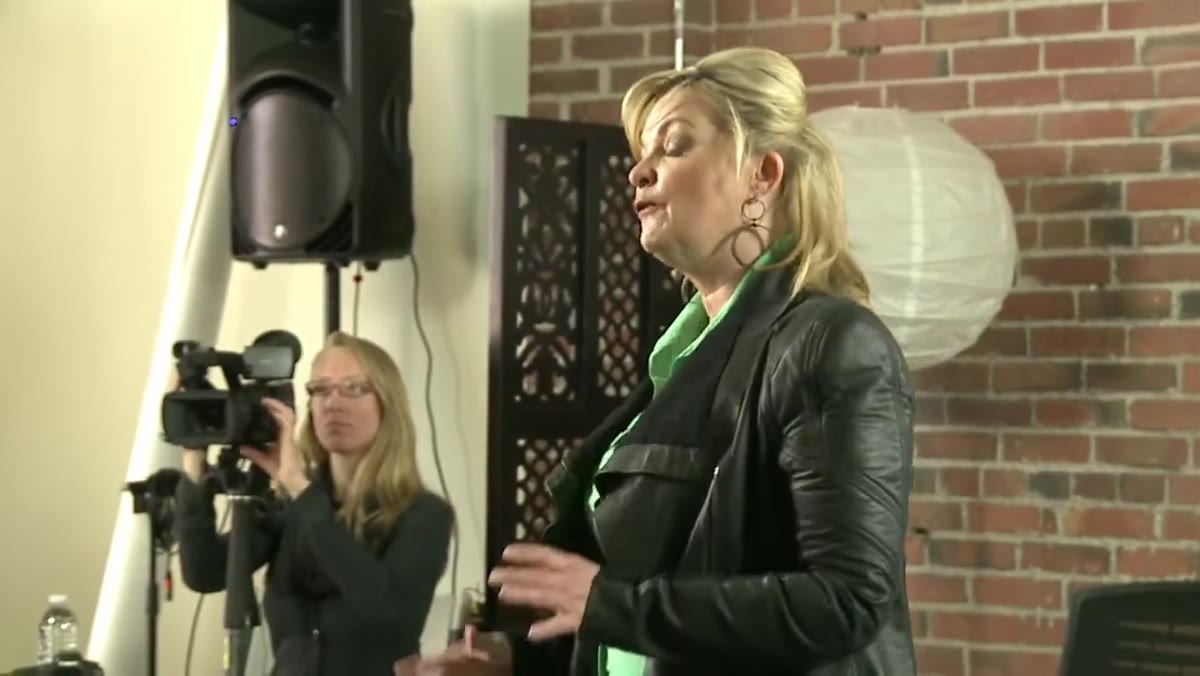 Bambi referencing shifting weight to the back leg for posing
The S curve Cantrell references isn’t a shape you impose on a body. It’s the natural result of one specific mechanical instruction: shift the weight to the back leg. When a subject does this correctly, the hip drops, the spine adjusts, and the silhouette changes in a way that reads as relaxed and dimensional rather than stiff and flat.
Bambi referencing shifting weight to the back leg for posing
The S curve Cantrell references isn’t a shape you impose on a body. It’s the natural result of one specific mechanical instruction: shift the weight to the back leg. When a subject does this correctly, the hip drops, the spine adjusts, and the silhouette changes in a way that reads as relaxed and dimensional rather than stiff and flat.
This is the one posing rule I’d call non-negotiable for any body type. The weight shift creates depth. Depth creates shadow. Shadow creates form. From a lighting standpoint, this matters enormously because a subject standing square with their weight evenly distributed flattens out under almost any light source. Give them that back-leg anchor and suddenly your key light has something to wrap around. I test this constantly in my own studio by having subjects stand both ways and checking the catchlights and shadow fall on the near cheek.
Step 4: Pose in Relation to the Light Source, Always
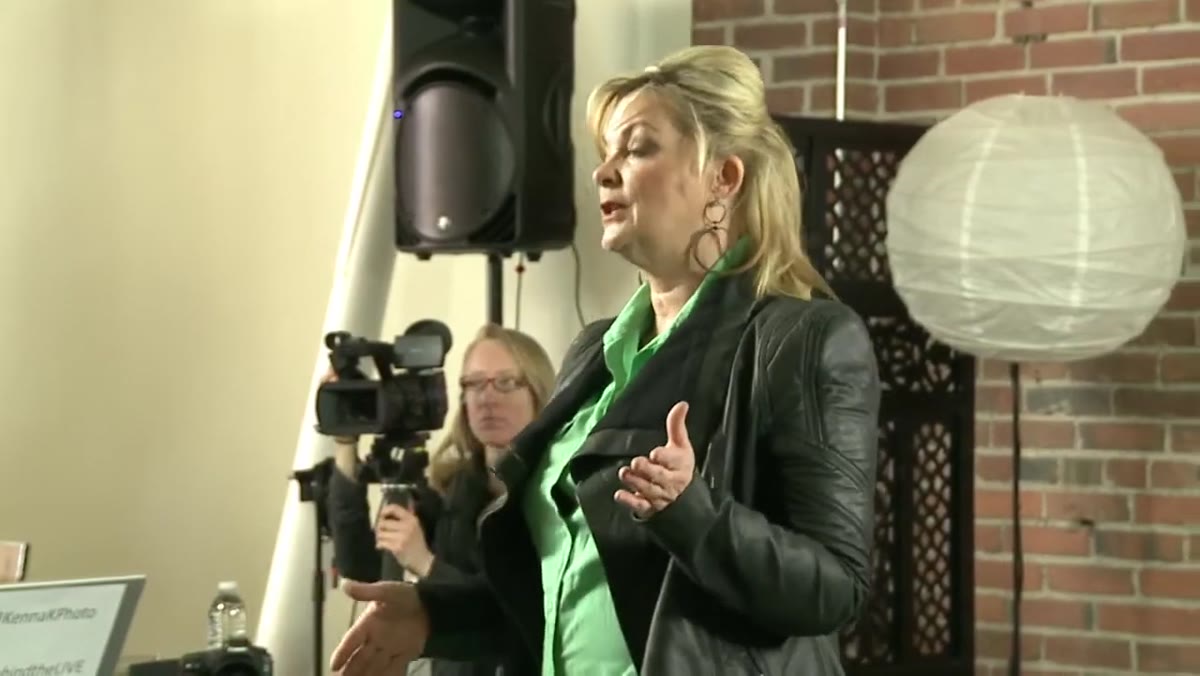 Bambi discussing posing in relation to the light source
Cantrell frames posing and lighting as inseparable, and this is where a lot of photographers are leaving quality on the table. Most people set their light, then pose their subject wherever feels natural, then wonder why the image doesn’t quite work. The sequence should run the other way: understand where your light is falling, then move the subject’s face and body to work with that fall.
Bambi discussing posing in relation to the light source
Cantrell frames posing and lighting as inseparable, and this is where a lot of photographers are leaving quality on the table. Most people set their light, then pose their subject wherever feels natural, then wonder why the image doesn’t quite work. The sequence should run the other way: understand where your light is falling, then move the subject’s face and body to work with that fall.
In practice, this means knowing your key light’s angle before you decide on a head position. If your key is at 45 degrees to camera left, a subject turned slightly toward it will show a short lighting pattern on the far cheek. Turned away, you get broad light. Neither is wrong, but the choice should be intentional, not accidental. I label every light in my studio with masking tape so I never have to stop and think about which modifier is doing what. Removing that cognitive load means I can focus on the relationship between the subject’s position and the light’s behavior.
Step 5: Give People Permission to Not Be Perfect
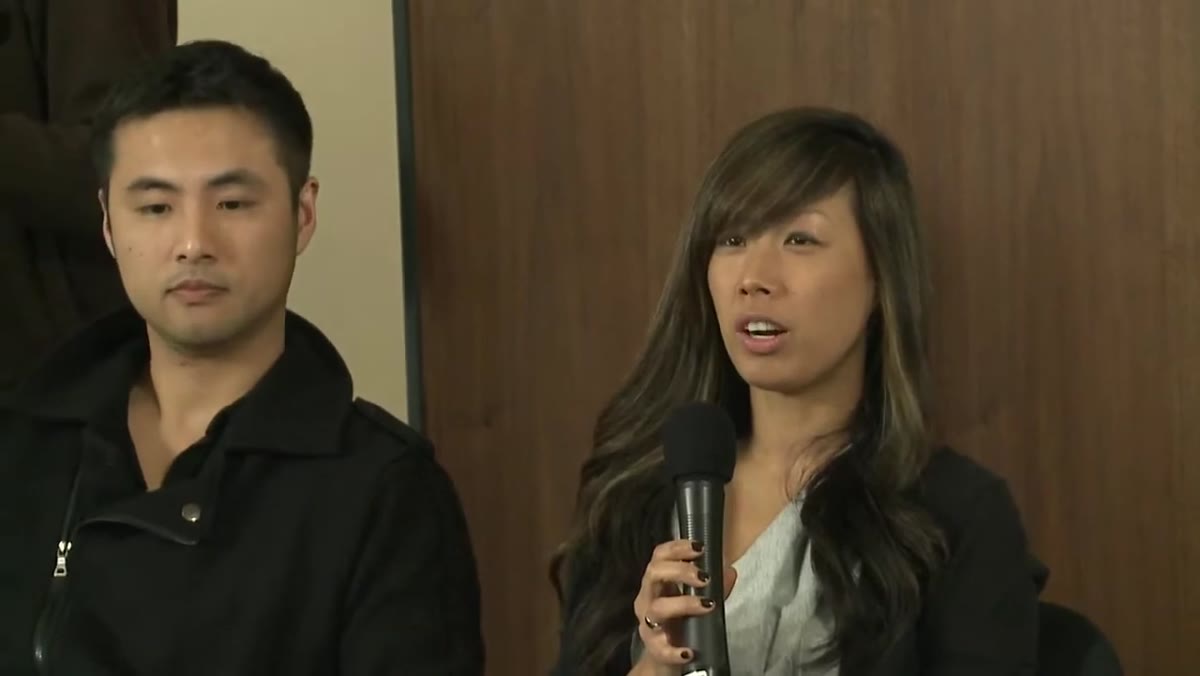 Linda sharing her aha moment about fear and starting out
One of the more understated moments in the tutorial is a student reflecting on Cantrell’s own story of starting out scared and nearly walking away. It sounds like a pep talk, but there’s a technical application buried in it. When photographers are anxious about their own competence, they over-direct. They fill silence with corrections. Subjects feel evaluated rather than guided, and the images suffer for it.
Linda sharing her aha moment about fear and starting out
One of the more understated moments in the tutorial is a student reflecting on Cantrell’s own story of starting out scared and nearly walking away. It sounds like a pep talk, but there’s a technical application buried in it. When photographers are anxious about their own competence, they over-direct. They fill silence with corrections. Subjects feel evaluated rather than guided, and the images suffer for it.
The fix is confidence in your system, not in yourself. If you know your exposure is dialed, your light is where it needs to be, and you have three or four go-to poses that work, you can relax. You can let a moment breathe. That ease transfers directly to the person in front of your camera.
My Own Extension: The Concept Journal
I’ve started applying Cantrell’s “concepts not rules” framing to the way I log setups in my lighting journal. Instead of just sketching the gear positions, I now write one sentence at the top of each page that names the underlying concept I was working with. “Wrap the light around the near cheekbone.” “Create separation with the shoulder.” It sounds small but it changes how I study my own work. I’m not asking “did this specific setup work?” I’m asking “did this concept work, and how would I apply it differently next time?”
That habit, more than any single tutorial, is what’s sharpened my studio work over the past few years. Cantrell’s session gave me language for something I’d been doing instinctively but couldn’t articulate clearly until I watched her explain it to a room full of photographers at different stages of their careers.
The single most important thing this tutorial offers is permission to make posing and lighting your own. You don’t need to run the set the way Bambi runs it. You need to understand why the S curve works, why weight placement changes shadow structure, why your energy as a photographer affects the images before you even pick up the camera. Get the concepts locked in, then build your own system on top of them.
Watch the full tutorial on YouTube
Comments
Leave a Comment