The Problem I Keep Watching Newer Photographers Repeat
Last month I was assisting a younger photographer on a small beauty job. Talented eye, decent gear, no shortage of confidence. But every time we looked at the tethered monitor, something was slightly off. The light was landing on the skin in a way that felt accidental rather than deliberate. We spent forty minutes chasing a problem that should have been solved in the first ten.
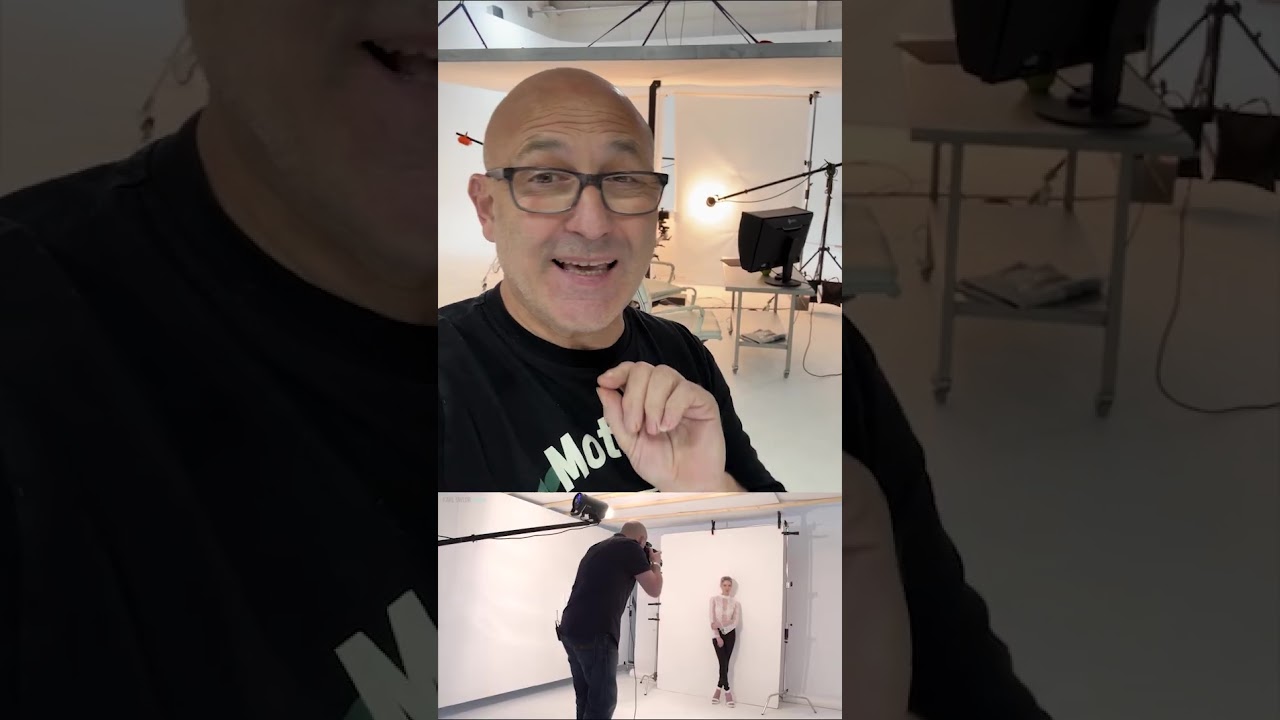
That session was still sitting in the back of my mind when I came across a recent tutorial from Visual Education. Watch the full tutorial on YouTube and you will see immediately why the channel has built the reputation it has. The core argument is simple and a little uncomfortable: most photographers are not improving because they are not changing anything deliberately. They are moving lights around by feel and calling the small accidents “style.”
That framing stuck with me because I have been guilty of it myself.
Why “Just Experiment” Is Not Actually a Method
There is a version of photography education that tells you to experiment freely, trust your instincts, and develop your eye organically. I do not disagree with any of that in principle. The issue is that without structure, experimentation produces noise instead of information. You change the modifier position AND the power AND the subject distance all at once and you have no idea which variable did the work.
The Visual Education approach pushes back against that directly. The tutorial emphasizes isolating variables, understanding what each one does to light quality and direction before combining them. It is the same logic I use when I label every light in my studio with masking tape and diagram each setup after the shoot. If I cannot describe what I built, I cannot rebuild it, and I definitely cannot improve on it deliberately.
The tutorial makes this practical rather than theoretical, which is where it earns its value.
The Mechanics: Building Exposure and Light Ratios From the Ground Up
The tutorial walks through studio exposure in a way that is worth following step by step if you are not already thinking this way.
Start with the ambient light in the room eliminated or controlled. Set your camera to your base ISO, typically 100 or 200 in a studio environment, and pick a shutter speed that kills ambient without affecting flash sync, usually somewhere between 1/125 and 1/200. At that point, aperture is your primary exposure control and it determines depth of field as a byproduct.
From there, the tutorial focuses on key light placement and what the angle of incidence actually does to facial structure. Moving a light from a forty-five degree position to something closer to the lens axis does not just soften shadows, it changes the entire story the face is telling. Dramatic versus flat versus commercial-clean are not modifier choices, they are position choices first. The modifier refines the quality of what the position already established.
Ratios get specific attention too. A two-to-one ratio between key and fill produces a natural, commercial-friendly result. Push to four-to-one and you are carving structure. The tutorial recommends setting your key light, metering it, then bringing fill in from the opposite side and metering it independently until you hit your target ratio. That discipline, metering each source separately before you evaluate the combined result, is something I watch experienced photographers skip and then wonder why they cannot replicate the look later.
Where I Would Push This Further on a Real Job
The tutorial is built primarily around a single-subject scenario with clean backgrounds, which is where most of this technique lives. But there is a complication worth naming for anyone doing this in a real commercial context.
Skin tone changes everything about how you evaluate a lighting ratio. A four-to-one ratio on a subject with lighter skin can read as dramatic and intentional. The same ratio on a darker complexion can lose shadow detail entirely in final output, especially if you are shooting for print. My wife actually pointed this out to me years ago, watching me review test shots and not seeing what she was seeing in the shadows. She had no technical language for it but she was right, and it changed how I think about metering fill light specifically.
The underlying tutorial technique is completely sound. I would just add: always do a test shot with your deepest shadows at the actual skin tone of your subject and check that you have detail in the render, not just on the histogram. The histogram will not tell you what you need to know there.
Continuing Education at a Moment When It Actually Makes Sense
Visual Education is currently running a Black Friday promotion with fifty percent off full access to the platform. For anyone who has been sitting on the fence about structured lighting education, that is a meaningful price difference on a library that covers the kind of methodical, technically grounded material this tutorial samples.
The single most important thing I took from this tutorial is not a specific setup or a ratio number. It is the insistence on changing one thing at a time and knowing why before you move on. That discipline is what separates a photographer who can replicate good results from one who is hoping lightning strikes twice.
Watch the full tutorial on YouTube for the visual walkthrough, because seeing the light move across a face in real time is something a written breakdown cannot fully replace.
Comments (1)
Printing this out and pinning it next to my monitor. That good.
Leave a Comment