Posing is the part of studio photography nobody wants to admit they’re bad at. Lighting I can control with a meter and a diagram. Posing lives in real time, under pressure, with a model waiting and a client watching. For years I defaulted to a handful of safe positions and called it a day. The problem is “safe” posing produces flat images, and flat images don’t book repeat clients.
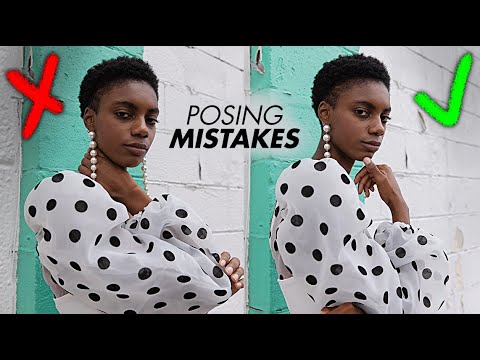
In this Jessica Kobeissi tutorial on her YouTube channel, she walks through six of the most common posing mistakes photographers make when directing models, and more importantly, she demonstrates the exact corrections live, side by side. Watch the full tutorial on YouTube. What I appreciate about her approach is that the fixes are not vague creative advice. They are specific adjustments, the kind you can call out to a model in two words during a shoot.
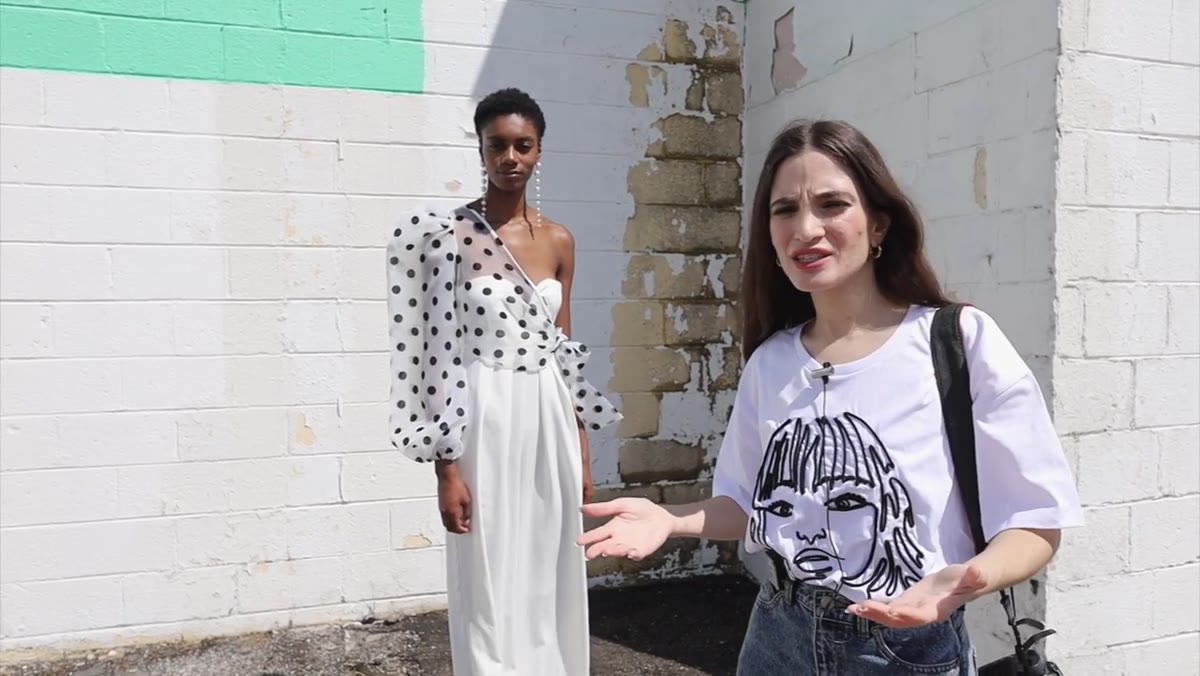
The mistakes she covers sound small until you see them. Then you cannot unsee them. Here is a step-by-step breakdown of what she demonstrates, reframed from my perspective as someone who shoots fashion and beauty in a controlled studio environment.
Step 1: Fix the Default Standing Pose
 Model standing flat and stiff, full body, no shape
The average person standing in front of a camera defaults to the same thing: weight distributed evenly, arms hanging at the sides, legs close together. This is how people stand in line at the DMV. It is not a photograph. The correction is structural. Move one leg slightly forward and to the side to create a hip shift. Bend the elbows so the arms separate from the torso. Pull the shoulders in slightly. Three adjustments, and you have gone from a passport photo to a fashion frame.
Model standing flat and stiff, full body, no shape
The average person standing in front of a camera defaults to the same thing: weight distributed evenly, arms hanging at the sides, legs close together. This is how people stand in line at the DMV. It is not a photograph. The correction is structural. Move one leg slightly forward and to the side to create a hip shift. Bend the elbows so the arms separate from the torso. Pull the shoulders in slightly. Three adjustments, and you have gone from a passport photo to a fashion frame.
In the studio, I think of this in terms of triangles. When arms hang flat, you have a rectangle. Bent elbows and a shifted hip break that rectangle into triangles, and triangles read as dynamic on camera. I actually have a small sticky note on my monitor that just says “triangles” as a reminder when I start a new subject setup.
Step 2: Keep Both Arms Visible and Working
 Model with one arm hidden behind body, losing shape on one side
This is the mistake Kobeissi flags that I wish someone had shown me earlier. When a model faces the camera at a slight angle, one arm can disappear behind the body entirely. You lose half the frame’s visual structure without realizing it until you’re editing and wondering why the shot feels empty on one side.
Model with one arm hidden behind body, losing shape on one side
This is the mistake Kobeissi flags that I wish someone had shown me earlier. When a model faces the camera at a slight angle, one arm can disappear behind the body entirely. You lose half the frame’s visual structure without realizing it until you’re editing and wondering why the shot feels empty on one side.
The fix is simple: whatever arm is drifting behind the torso needs to come out and do something. It does not need to be a dramatic gesture. Even bringing it to mid-frame with a soft bend creates a visual anchor. I tell models to imagine they are holding something just below frame. That mental cue usually produces a natural, relaxed arm position that still shows up clearly in the image.
Step 3: Stop Covering the Neck with a Flat Hand
 Model’s hand pressed flat against neck, elbow jutting outward awkwardly
Placing a hand on the neck or collarbone is a common instinct for models because it feels elegant. The mistake happens in the execution. A hand pressed flat against the skin with a jutting elbow reads as tense and awkward rather than relaxed and editorial. The solution is to change the relationship between the hand and the surface it touches.
Model’s hand pressed flat against neck, elbow jutting outward awkwardly
Placing a hand on the neck or collarbone is a common instinct for models because it feels elegant. The mistake happens in the execution. A hand pressed flat against the skin with a jutting elbow reads as tense and awkward rather than relaxed and editorial. The solution is to change the relationship between the hand and the surface it touches.
Instead of pressing, have the model rest fingertips lightly against the neck or collarbone. The elbow drops naturally when the hand softens, and the whole line of the arm becomes graceful rather than mechanical. I also ask models to think about their knuckles pointing down, not out. That single cue tends to resolve the elbow problem automatically.
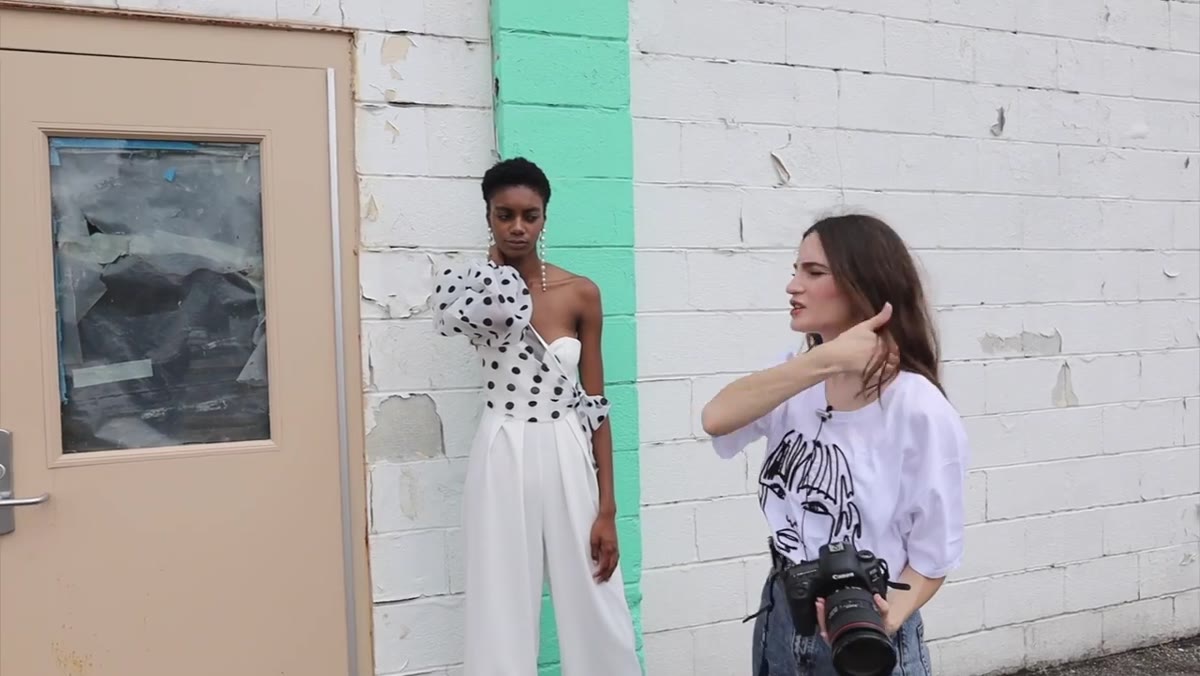
Step 4: Angle the Torso, Not Just the Face
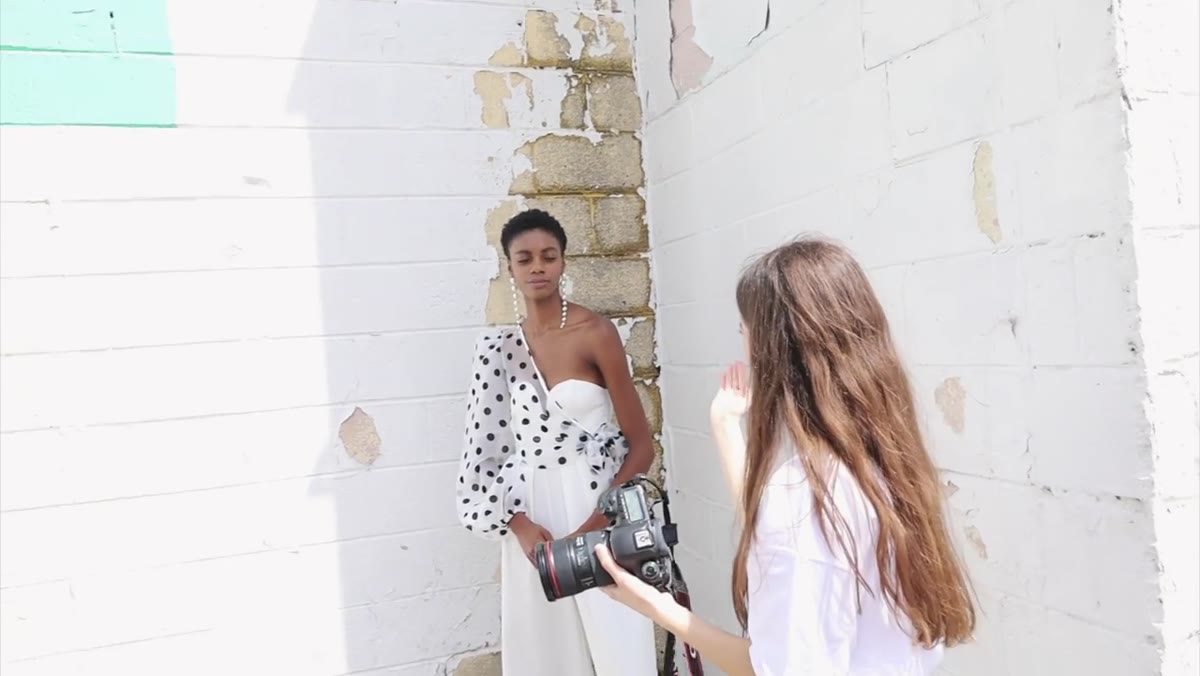 Photographer adjusting model’s shoulder angle mid-shoot, comparing frames
Turning the face at an angle to the camera while leaving the body square-on is one of the most common composition errors I see in newer photographers’ work. The face turn creates the illusion of a pose, but the straight-on torso kills the depth. The body needs to follow the logic of the face.
Photographer adjusting model’s shoulder angle mid-shoot, comparing frames
Turning the face at an angle to the camera while leaving the body square-on is one of the most common composition errors I see in newer photographers’ work. The face turn creates the illusion of a pose, but the straight-on torso kills the depth. The body needs to follow the logic of the face.
Bringing one shoulder slightly toward or away from the camera creates dimension and slims the figure on camera regardless of body type. Even a five-degree shoulder rotation changes the entire read of a full-body frame. I shoot tethered whenever I can specifically so I can show models this difference in real time. Seeing the before and after on a large monitor is more effective than any verbal explanation I can give.
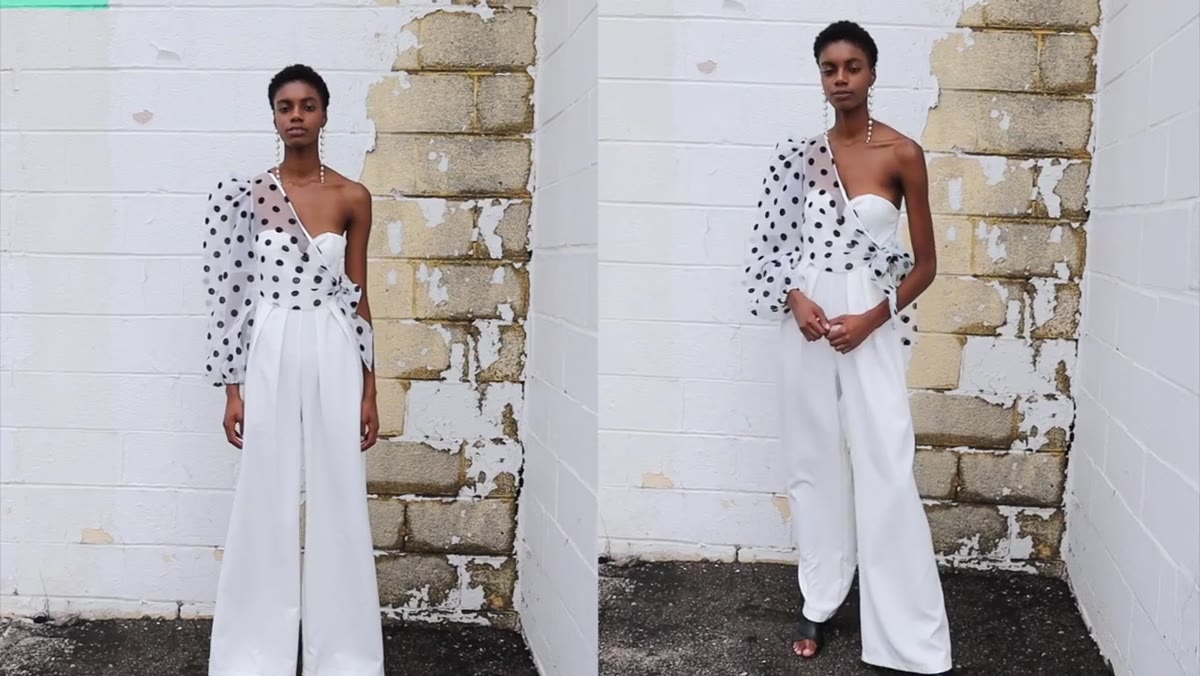
Step 5: Create Shape in the Waist and Hip Line
 Model demonstrating corrected stance with clear hip and waist definition
A pose that does not define the waist loses the figure’s shape to the background. This applies across all body types. The waist needs a reference point. The simplest approach is a hand on the hip, but even that can go wrong if the thumb hooks over and flattens the line.
Model demonstrating corrected stance with clear hip and waist definition
A pose that does not define the waist loses the figure’s shape to the background. This applies across all body types. The waist needs a reference point. The simplest approach is a hand on the hip, but even that can go wrong if the thumb hooks over and flattens the line.
Kobeissi’s method is to focus on the negative space between the arm and the body. When that gap exists, the waist reads clearly. When the arm presses against the body, the gap disappears and the silhouette flattens. In my studio work, especially for beauty and fashion clients who want a clean silhouette against a seamless background, I check for that gap before every frame. If I cannot see daylight between the arm and the torso, something needs to move.
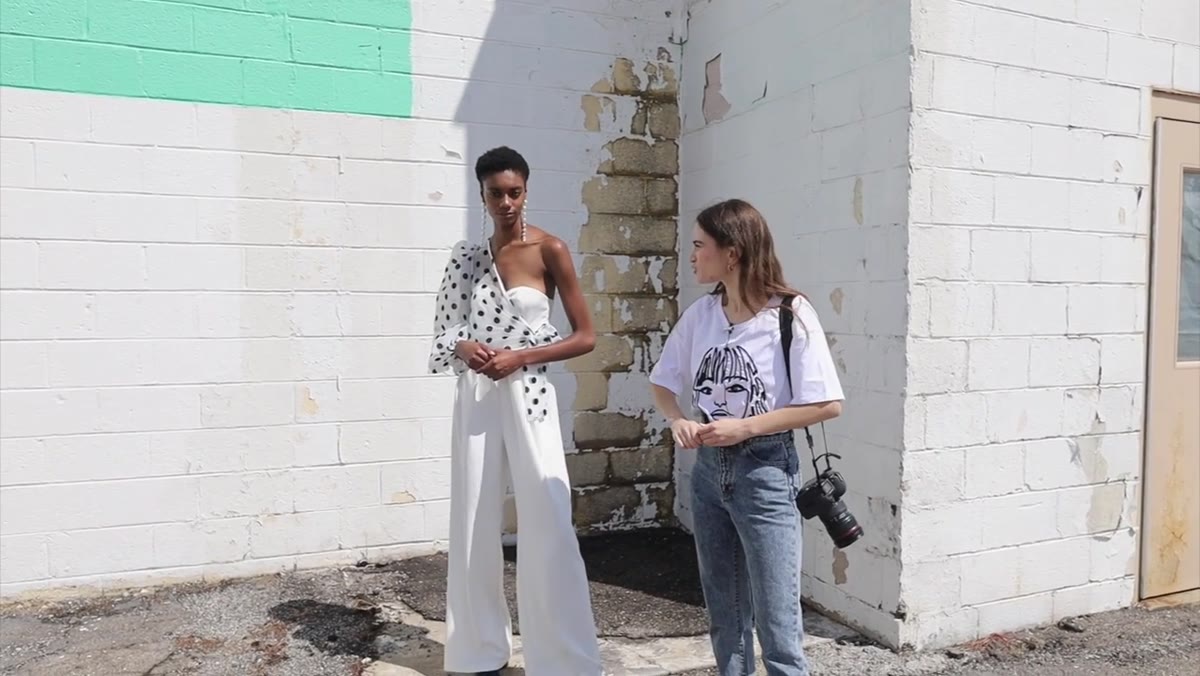
Step 6: Direct Continuously, Not Just at the Start
 Photographer giving active direction between frames during the shoot
The biggest meta-lesson in Kobeissi’s tutorial is not about any single position. It is about the rhythm of direction. She does not set a pose and walk away. She adjusts continuously, calling out small corrections frame by frame. Chin up. Shoulders back. Bring that arm out. This is active direction, not passive capture.
Photographer giving active direction between frames during the shoot
The biggest meta-lesson in Kobeissi’s tutorial is not about any single position. It is about the rhythm of direction. She does not set a pose and walk away. She adjusts continuously, calling out small corrections frame by frame. Chin up. Shoulders back. Bring that arm out. This is active direction, not passive capture.
I used to think that constant direction would break a model’s flow. The opposite is true. Models feel more confident when they receive specific feedback. Silence reads as disapproval. Small, specific cues read as collaboration.
What I Would Add: Light Placement Reinforces Pose Shape
Everything Kobeissi demonstrates works even harder when your lighting is positioned to reward the corrected pose. If a model has a beautiful shoulder angle but your key light is positioned directly in front, you lose the dimensional shadow that makes that angle visible. I angle my key light between 30 and 45 degrees off axis for most standing full-body work precisely so that posture and form create visible shadow structure. The negative space she builds into the pose becomes a physical shadow on camera. The two systems work together.
Posing is a language, and like any language it gets faster and more fluent with practice. Kobeissi’s six corrections are a reliable starting vocabulary: create triangles, keep both arms visible, soften the hands, angle the torso, define the waist, and direct actively throughout the shoot. Get those working consistently and you will see it in your selects immediately.
Watch the full tutorial on YouTube to see each correction demonstrated live with a model, which is the fastest way to internalize what the fixed pose actually looks like in practice.
Comments
Leave a Comment