There’s a specific kind of anxiety that hits when a client wants “something different” and your entire lighting setup lives in a studio you can’t move. I’ve felt it. You start mentally cataloging what you can rent, what you can beg from another photographer, whether a speedlight-and-reflector combo can pull off the look you promised. The answer is sometimes yes, but the planning overhead is brutal. That’s why when I came across this Joel Grimes tutorial showing how he built a fully functional portrait studio inside a Winnebago Revel Sprinter van, I watched it twice before breakfast.
Watch the full tutorial on YouTube
What Grimes demonstrates here isn’t just a gear-flex. It’s a philosophy: if your studio is modular, organized, and portable by design rather than by accident, you can shoot professional portraits almost anywhere. He proves the point by doing a finished portrait of his collaborator Jason right on the side of the van. For anyone who does editorial, corporate, or commercial work outside a fixed studio, the thinking behind this setup is worth understanding step by step.
Step 1: Start With the Right Vehicle Architecture
 Exterior shot of the 2020 Winnebago Revel Sprinter van
Grimes works out of a 2020 Winnebago Revel, and the choice is deliberate. The Revel has a rear garage compartment, a low-floor storage bay that most owners leave as dead space or throw gear into without structure. His insight is that this compartment is the studio. Not the living area, not the cab. The garage is where the photography equipment lives, and treating it as a dedicated zone rather than overflow storage is what makes the whole system work.
Exterior shot of the 2020 Winnebago Revel Sprinter van
Grimes works out of a 2020 Winnebago Revel, and the choice is deliberate. The Revel has a rear garage compartment, a low-floor storage bay that most owners leave as dead space or throw gear into without structure. His insight is that this compartment is the studio. Not the living area, not the cab. The garage is where the photography equipment lives, and treating it as a dedicated zone rather than overflow storage is what makes the whole system work.
If you’re evaluating a vehicle for mobile shooting, look for one with a segmented rear compartment that can be accessed without disturbing your living or driving space. Separation matters. You do not want to be pulling a C-stand past a camp stove at six in the morning.
Step 2: Install a Modular Organization System Built for Fast Access
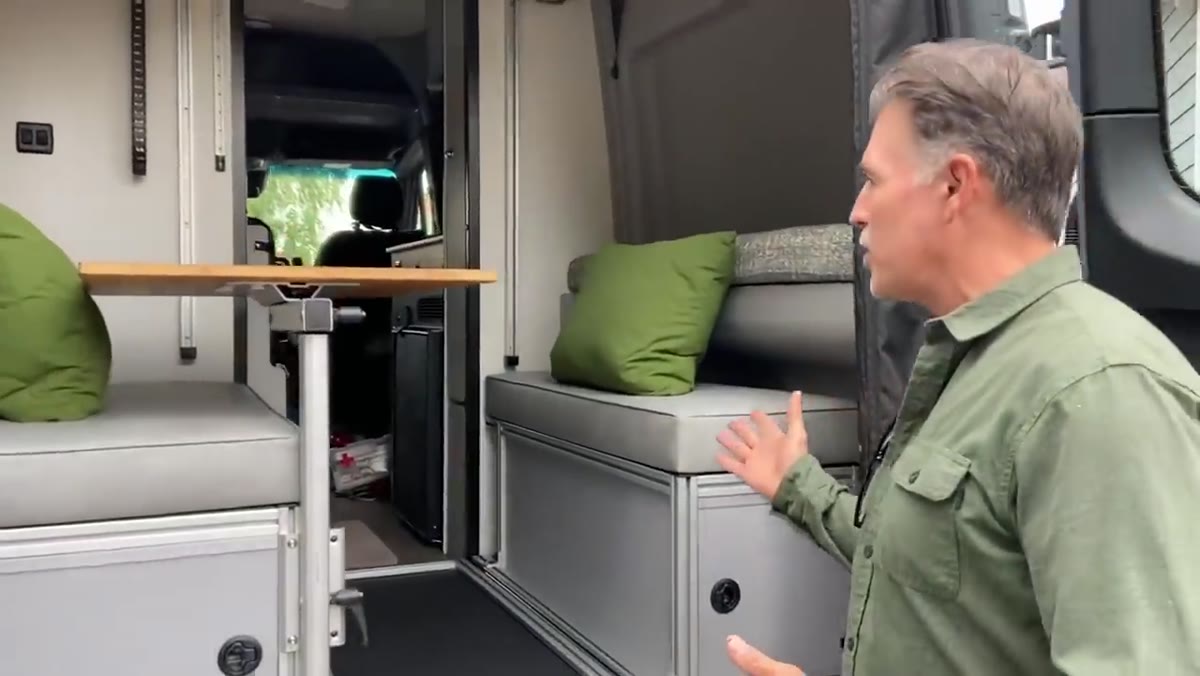 Interior of the rear garage showing the GLSS bench and storage system
The rear compartment in Grimes’ van is fitted with a Garage Lounge Storage System (GLSS) from Canyon Adventure Vans. The critical detail here is how it was built: 80/20 aluminum extrusion framing with high-density polyethylene panels, all held in place with straps rather than permanent fasteners. The entire setup weighs 103 pounds and can be removed in minutes.
Interior of the rear garage showing the GLSS bench and storage system
The rear compartment in Grimes’ van is fitted with a Garage Lounge Storage System (GLSS) from Canyon Adventure Vans. The critical detail here is how it was built: 80/20 aluminum extrusion framing with high-density polyethylene panels, all held in place with straps rather than permanent fasteners. The entire setup weighs 103 pounds and can be removed in minutes.
For photographers, this matters because your organizational system has to match your shooting rhythm. I label every piece of gear in my studio with masking tape, position and purpose written in Sharpie. The same logic applies here. When you pull up to a location, you should be able to open the rear doors and retrieve any piece of equipment without unpacking everything else first. The GLSS achieves this with bench seating that doubles as storage and a layout that keeps everything visible and accessible at once.
Step 3: Dedicate One Pull-Out Case Entirely to Photography Gear
 Large Think Tank rolling case being described inside the van
Grimes uses a large Think Tank rolling case as his primary photography kit container, and it’s integrated into the van so it slides out cleanly on demand. This is the detail most photographers overlook when they think about mobile shooting. They pack a bag for each job. Grimes keeps a permanent, fully stocked case that lives in the vehicle and comes out as a single unit.
Large Think Tank rolling case being described inside the van
Grimes uses a large Think Tank rolling case as his primary photography kit container, and it’s integrated into the van so it slides out cleanly on demand. This is the detail most photographers overlook when they think about mobile shooting. They pack a bag for each job. Grimes keeps a permanent, fully stocked case that lives in the vehicle and comes out as a single unit.
The advantage is consistency. Every time you open that case, the same gear is in the same position. There’s no “did I pack the receiver” moment on location. I keep a lighting diagram sketched for every setup I’ve used, and I can tell you that half the problems on location shoots come from gear that wasn’t properly stowed after the last job. A dedicated rolling case with assigned positions for each item solves this.
Step 4: Design the Space to Expand Your Usable Square Footage
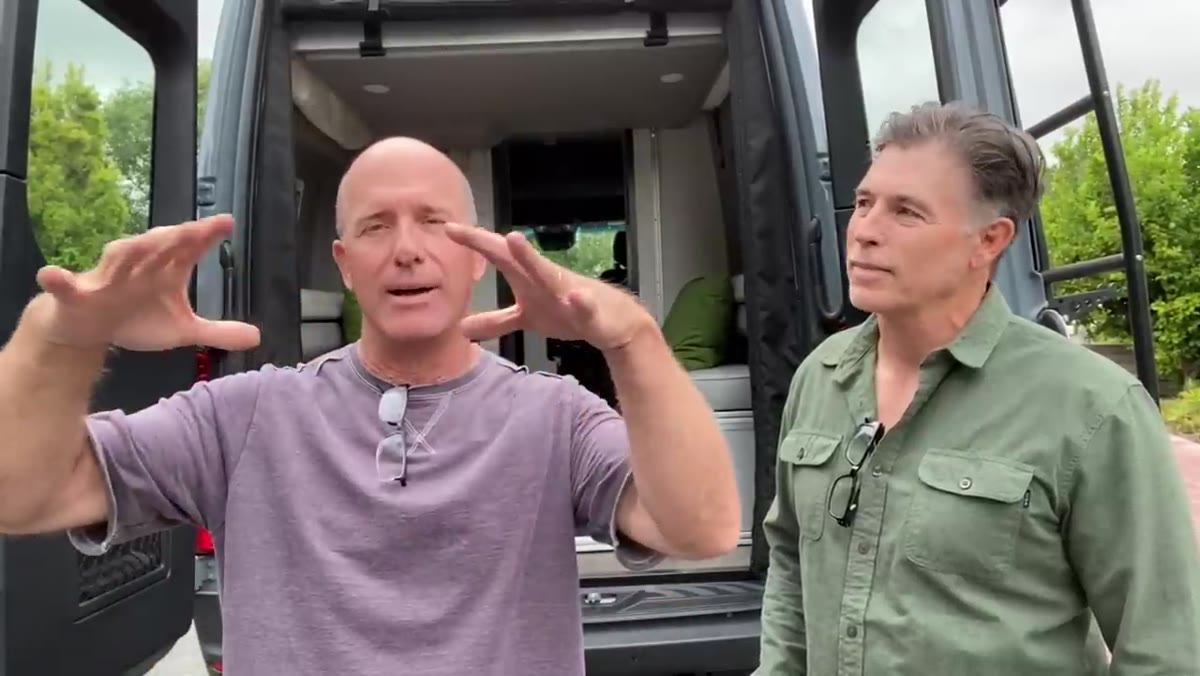
 Jason explaining the 33 percent increase in living and working space
One of the less obvious points Grimes and his collaborator Jason make is about how the build increases functional space by roughly a third. This isn’t just about comfort. For a photographer working out of a vehicle, that expanded space determines how much equipment you can carry, how easily you can change lenses or swap modifiers, and whether you have a staging area for subjects before the shoot.
Jason explaining the 33 percent increase in living and working space
One of the less obvious points Grimes and his collaborator Jason make is about how the build increases functional space by roughly a third. This isn’t just about comfort. For a photographer working out of a vehicle, that expanded space determines how much equipment you can carry, how easily you can change lenses or swap modifiers, and whether you have a staging area for subjects before the shoot.
The GLSS can be configured as a U-shaped seating area or a daybed, both of which have practical photography applications. A U-shaped bench is a legitimate client briefing space. A daybed doubles as a surface for laying out and checking gear before packing it back in. Think of every square foot in the vehicle the way you’d think about square footage in a real studio: every surface has a job.
Step 5: Use the Van Exterior as a Background and Shoot on Location
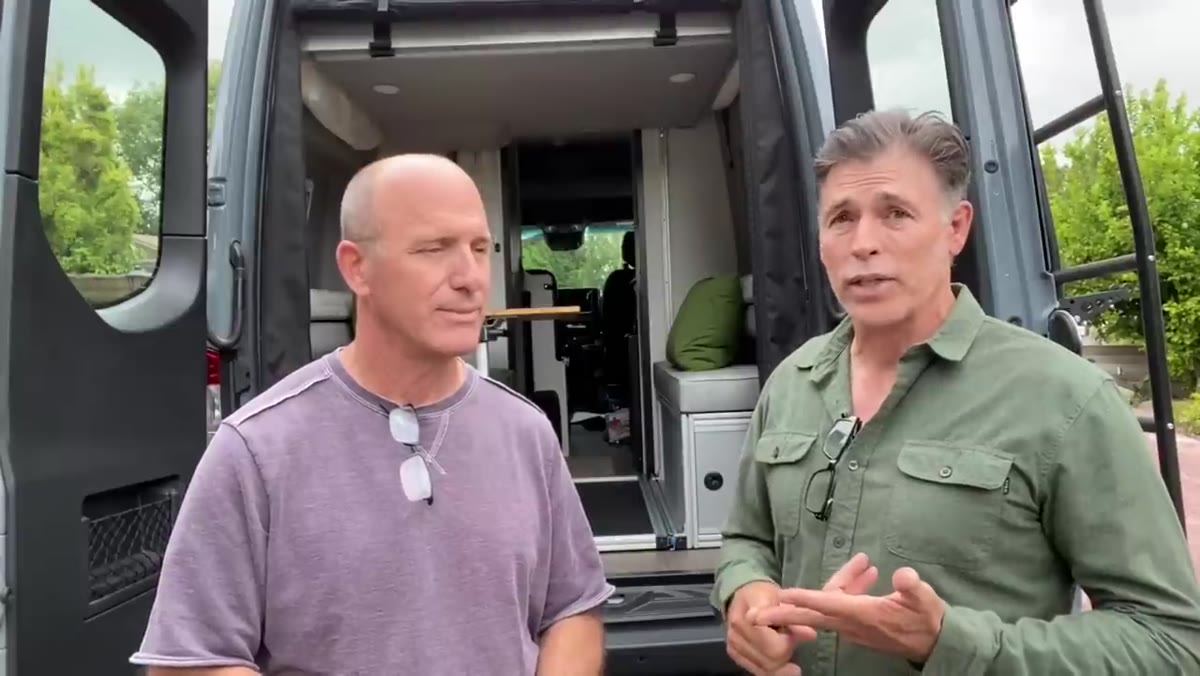
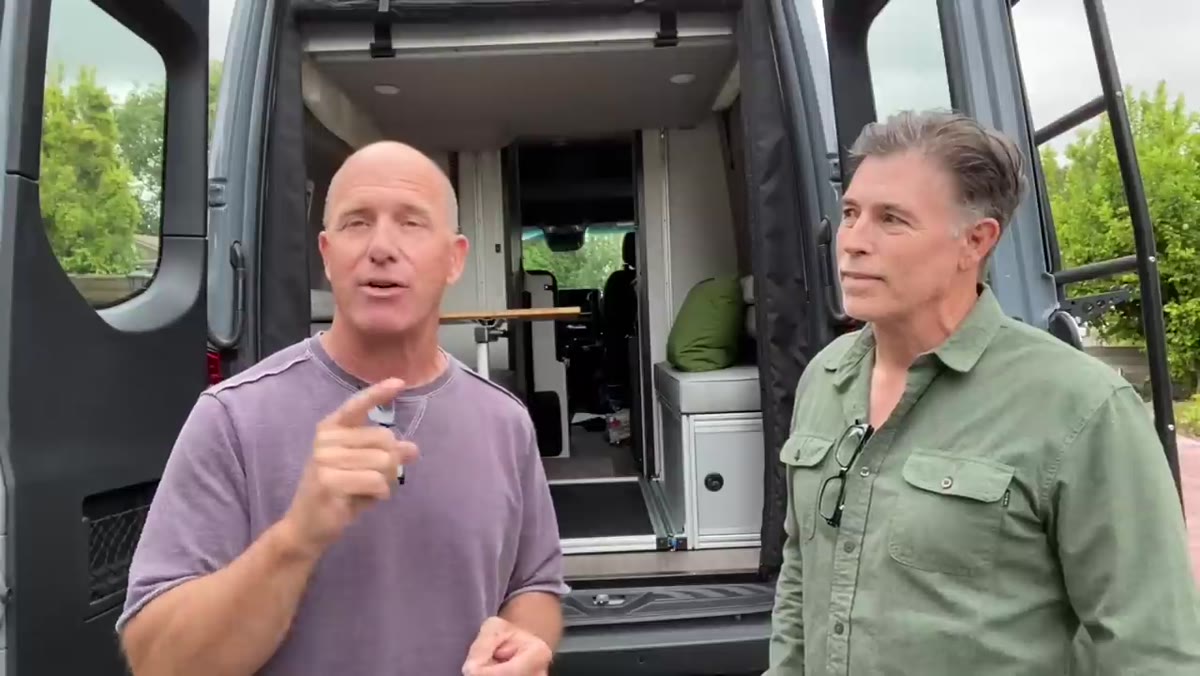 Joel describing doing a portrait on the side of the van
The payoff moment in the tutorial is when Grimes shoots a portrait of Jason using the side of the Sprinter as a background. This is the proof of concept for the whole setup. The van isn’t just transportation and storage. It’s a set.
Joel describing doing a portrait on the side of the van
The payoff moment in the tutorial is when Grimes shoots a portrait of Jason using the side of the Sprinter as a background. This is the proof of concept for the whole setup. The van isn’t just transportation and storage. It’s a set.
Sprinter vans have clean, flat exterior panels with minimal visual noise, and the height gives you a neutral background that works at almost any focal length. For corporate or editorial portraits, this is genuinely useful. You show up, open the rear compartment, pull the case, set your lights, and shoot against a surface you brought with you. The background is always the same, which means your lighting ratios can be dialed in before you leave the house.
What I’d Add From My Own Workflow
The one thing I’d push further than Grimes covers here is color temperature management at outdoor locations. The van exterior is a great background, but ambient light changes fast, especially at the golden hours when you’re most likely to want to shoot. I learned this the hard way on an editorial job early in my career, wrong color temperature across a full shoot, and it cost me hours in post and almost cost me the client.
My fix for mobile work is carrying a small ColorChecker card in the same pocket of the Think Tank case every time, no exceptions. Before any outdoor portrait session, I shoot a reference frame with the card under the ambient light I’ll be working with. It takes thirty seconds and it means my strobe output is always calibrated to match the existing light rather than fighting it.
The deeper principle from this tutorial is one that applies whether you’re shooting from a van or a fixed studio: organization is a creative decision, not an administrative one. When your gear is chaos, your thinking is chaos. When you can open a case and have everything exactly where you expect it, your attention stays on the subject and the light.
The system Grimes has built in this van is a physical expression of that principle. Every element has a place, the setup is repeatable, and the studio travels with him.
Watch the full tutorial on YouTube
Comments
Leave a Comment