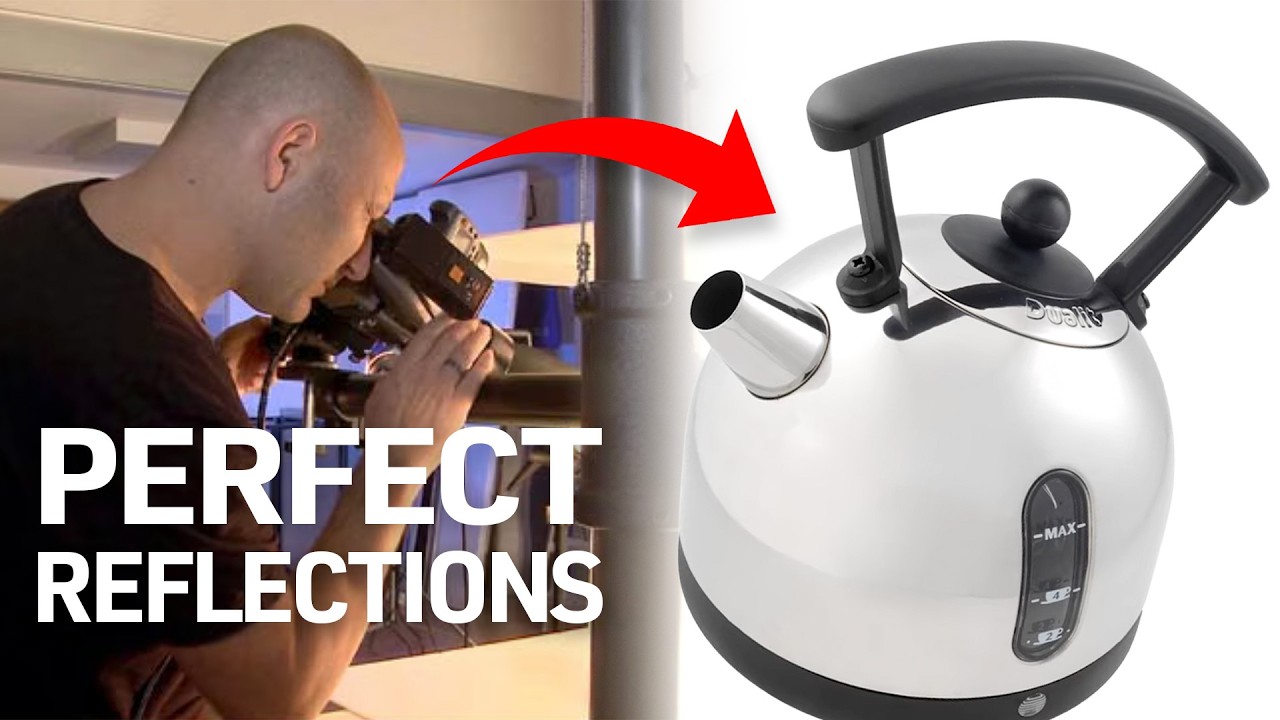
Every few months a product lands on my shooting table that makes me quietly dread the next few hours. Chrome is at the top of that list. Not because it’s impossible, but because it’s unforgiving in a way that exposes every shortcut. A polished metal surface doesn’t just reflect your lights, it reflects your ceiling, your camera, your clothing, the gap under the studio door. It behaves like a fisheye lens bolted to the object, compressing the entire room into a convex mirror and handing it back to you in your final frame. I’ve shot enough chrome for commercial clients to know that most of the common fixes, light cubes, tent setups, heavy reliance on compositing, produce results that look controlled but lifeless. The metal stops looking like metal.
That’s why I spent time with this Visual Education tutorial, which tackles the problem through an elegant piece of bent Perspex rather than an expensive modular tent. Watch the full tutorial on YouTube before or after reading this breakdown. The subject is a round chrome kettle, which is about as demanding as reflective objects get. Round forms wrap reflections around the entire surface simultaneously. There’s nowhere to hide. What the tutorial demonstrates is a repeatable system built around one core idea: you’re not trying to eliminate reflections from chrome. You’re replacing bad ones with good ones.
Step 1: Accept That Chrome Needs to Reflect Something
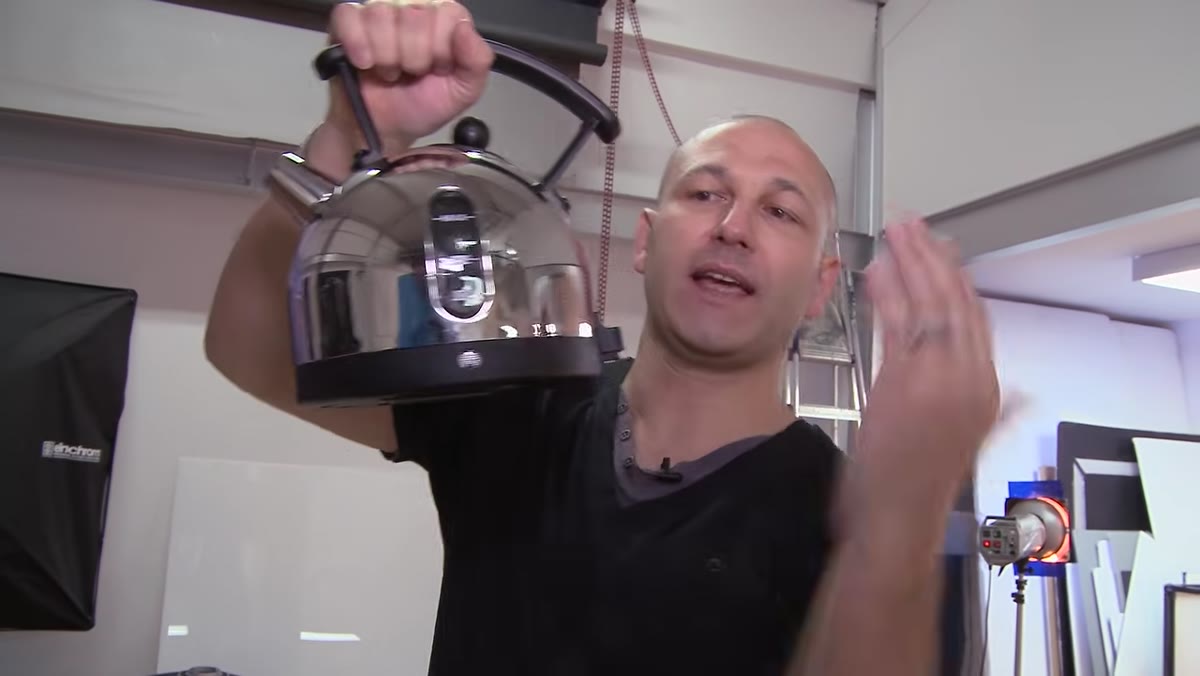 Chrome kettle reflecting studio, operators, and ceiling
Before touching a single light, the tutorial makes a point worth internalizing. The instructor shows the unlit kettle reflecting the full studio environment, including two people, a mezzanine level, and the ceiling grid, and frames this not as a problem to eliminate but as the starting condition to redirect. Chrome looks like chrome precisely because it reflects. A surface that reflects nothing reads as flat grey. Your job is to feed it reflections you designed rather than reflections you stumbled into. Keep that principle in front of you for every decision that follows.
Chrome kettle reflecting studio, operators, and ceiling
Before touching a single light, the tutorial makes a point worth internalizing. The instructor shows the unlit kettle reflecting the full studio environment, including two people, a mezzanine level, and the ceiling grid, and frames this not as a problem to eliminate but as the starting condition to redirect. Chrome looks like chrome precisely because it reflects. A surface that reflects nothing reads as flat grey. Your job is to feed it reflections you designed rather than reflections you stumbled into. Keep that principle in front of you for every decision that follows.
Step 2: Build a Translucent Perspex Base for the Product
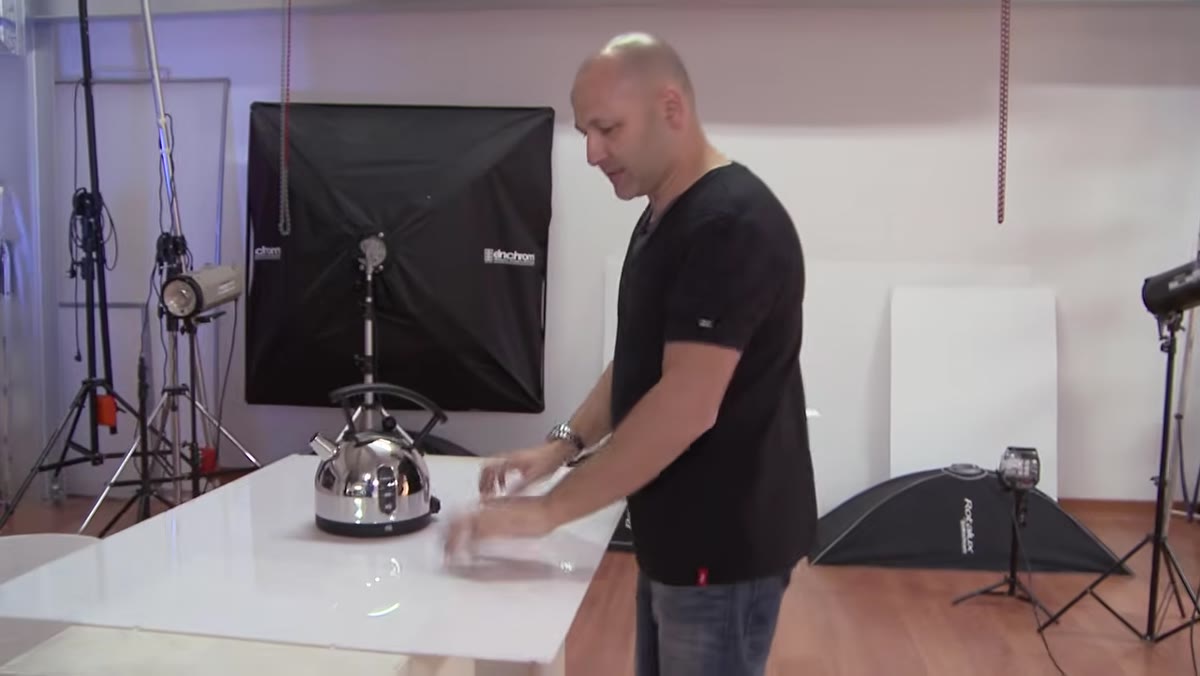 White plexiglass sheet placed across two support bars
The shooting surface here is a sheet of white translucent Perspex laid across two support bars with a deliberate gap underneath. That gap matters. It allows a light source to be positioned below the surface, passing illumination upward through the material. This gives you a cleanly lit base that can read as pure white, or any other color depending on what you push through it. For chrome objects with visible undersides or lower curves, that upward light fills in shadow zones that would otherwise appear as dark voids reflected in the metal. Set the Perspex on supports at a height that comfortably fits your under-light. Even a small bare-bulb strobe or LED panel works here. You don’t need a large footprint.
White plexiglass sheet placed across two support bars
The shooting surface here is a sheet of white translucent Perspex laid across two support bars with a deliberate gap underneath. That gap matters. It allows a light source to be positioned below the surface, passing illumination upward through the material. This gives you a cleanly lit base that can read as pure white, or any other color depending on what you push through it. For chrome objects with visible undersides or lower curves, that upward light fills in shadow zones that would otherwise appear as dark voids reflected in the metal. Set the Perspex on supports at a height that comfortably fits your under-light. Even a small bare-bulb strobe or LED panel works here. You don’t need a large footprint.
Step 3: Curve a Second Sheet of Perspex Into a Wrap-Around Diffusion Shell
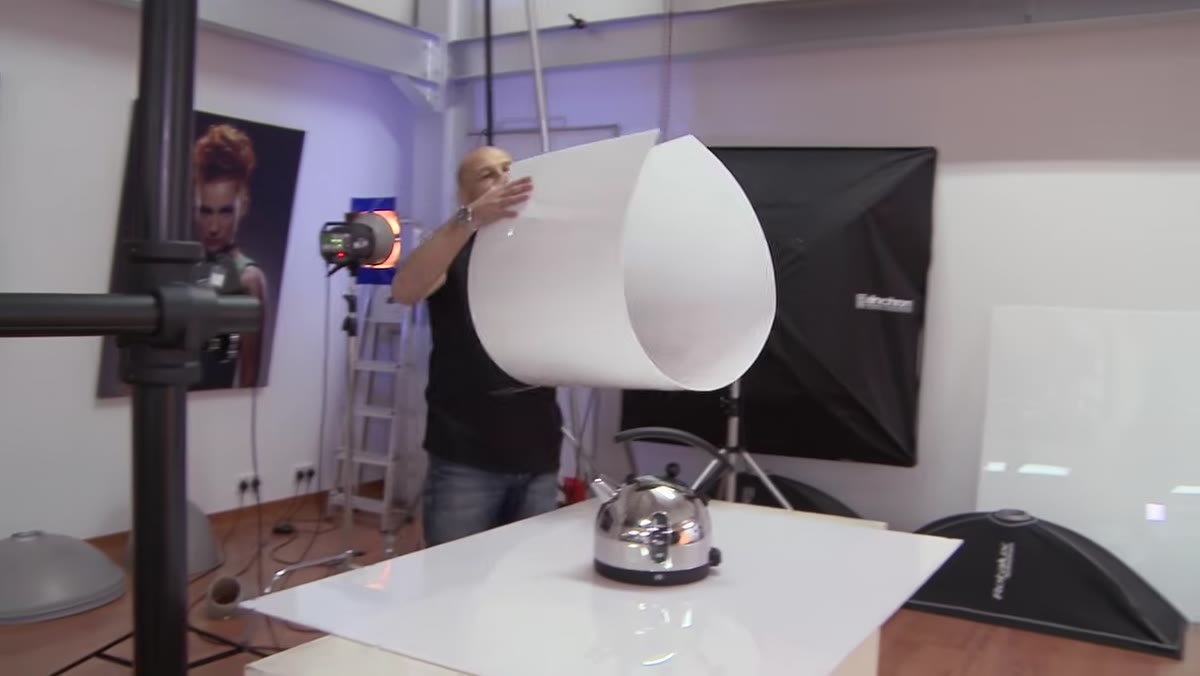 Curved plexiglass sheet shaped around the kettle
This is the step that separates the technique from anything a light cube does. A second piece of Perspex is heated with a construction heat gun until it becomes pliable, then curved into a shape that partially wraps around the product on multiple sides. Fishing line holds the curve in position once it cools. The result is a continuous, curved diffusion surface that the chrome reads as a smooth gradient rather than a flat panel or a hard light edge. Because it’s translucent, lights positioned outside the shell project through it and arrive at the chrome as soft, shaped sources. The curvature means those sources transition across the metal surface without a visible seam or boundary. If you’re attempting this, work slowly with the heat gun and move it constantly. Perspex scorches and warps unevenly if you hold the heat in one spot.
Curved plexiglass sheet shaped around the kettle
This is the step that separates the technique from anything a light cube does. A second piece of Perspex is heated with a construction heat gun until it becomes pliable, then curved into a shape that partially wraps around the product on multiple sides. Fishing line holds the curve in position once it cools. The result is a continuous, curved diffusion surface that the chrome reads as a smooth gradient rather than a flat panel or a hard light edge. Because it’s translucent, lights positioned outside the shell project through it and arrive at the chrome as soft, shaped sources. The curvature means those sources transition across the metal surface without a visible seam or boundary. If you’re attempting this, work slowly with the heat gun and move it constantly. Perspex scorches and warps unevenly if you hold the heat in one spot.
Step 4: Add a Lid with a Camera Port Cut to Size
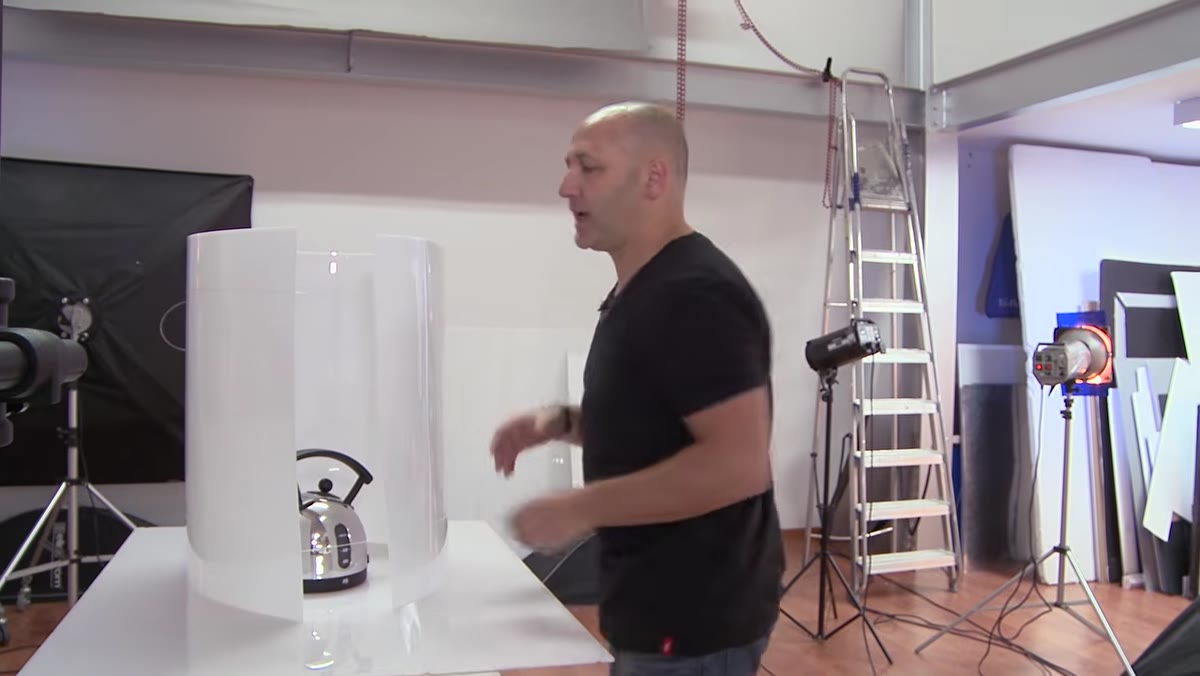 Cardboard lid placed on top of curved Perspex with opening for lens
Once the curved shell is positioned around the product, a lid is fitted across the top. This is cut from cardboard and sized so the camera lens can shoot through a controlled aperture. The lid accomplishes two things. It prevents stray light from spilling in from above and ruining the gradient you’re building, and it stops the camera body itself from appearing as a large dark rectangle in the top surface of the kettle. The port should be just wide enough for your lens at the focal length you’re shooting. Tape black card around the port interior to kill any reflective edges. A little time cutting this accurately pays back immediately in cleaner reflections on the metal.
Cardboard lid placed on top of curved Perspex with opening for lens
Once the curved shell is positioned around the product, a lid is fitted across the top. This is cut from cardboard and sized so the camera lens can shoot through a controlled aperture. The lid accomplishes two things. It prevents stray light from spilling in from above and ruining the gradient you’re building, and it stops the camera body itself from appearing as a large dark rectangle in the top surface of the kettle. The port should be just wide enough for your lens at the focal length you’re shooting. Tape black card around the port interior to kill any reflective edges. A little time cutting this accurately pays back immediately in cleaner reflections on the metal.
Step 5: Light One Source at a Time and Diagnose Before Adding the Next
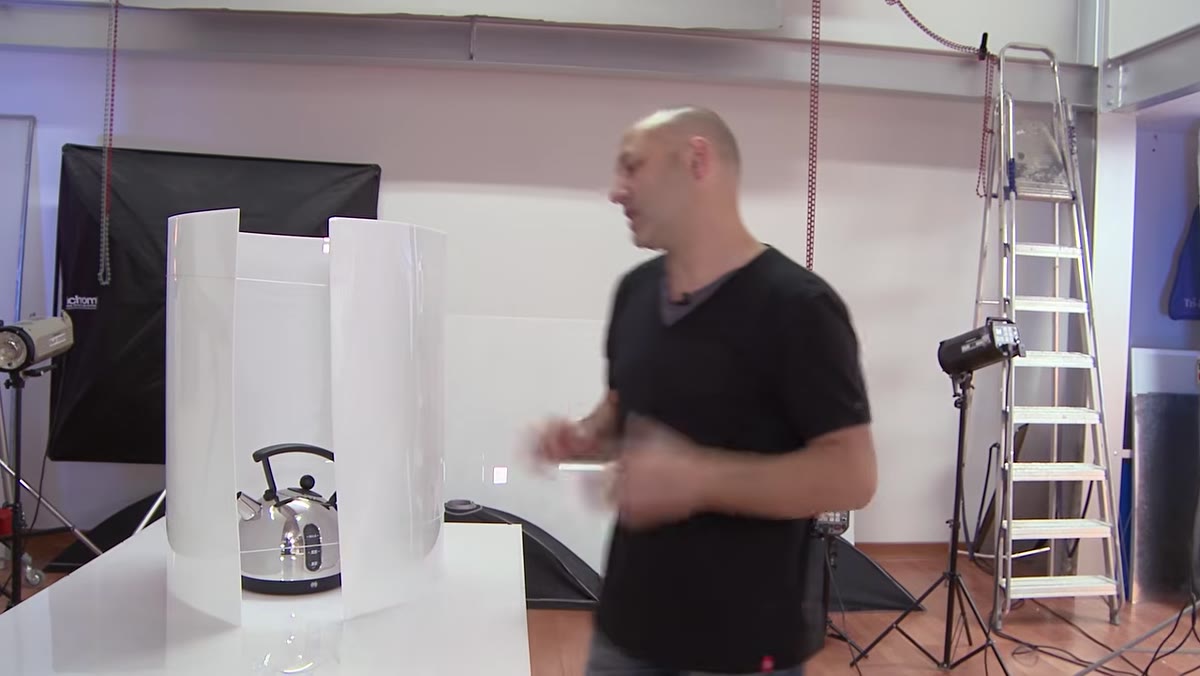 Single light being positioned beneath the Perspex base
The tutorial builds the lighting incrementally, placing one source, checking the result, then adding the next. This is the method I use in my own work and the one I’d argue is non-negotiable for complex reflective objects. When you switch everything on simultaneously and something looks wrong, you’re guessing which source is causing the problem. When you add lights one at a time, you see exactly what each one contributes and where its reflection lands on the product surface. The under-light goes in first. Bare heads without reflectors are used intentionally here, because bare bulbs produce a more diffuse spread through the Perspex material than focused reflector sources, which would project a hard bright circle rather than a gentle gradient.
Single light being positioned beneath the Perspex base
The tutorial builds the lighting incrementally, placing one source, checking the result, then adding the next. This is the method I use in my own work and the one I’d argue is non-negotiable for complex reflective objects. When you switch everything on simultaneously and something looks wrong, you’re guessing which source is causing the problem. When you add lights one at a time, you see exactly what each one contributes and where its reflection lands on the product surface. The under-light goes in first. Bare heads without reflectors are used intentionally here, because bare bulbs produce a more diffuse spread through the Perspex material than focused reflector sources, which would project a hard bright circle rather than a gentle gradient.
Step 6: Balance Side and Rear Sources Through the Perspex Shell
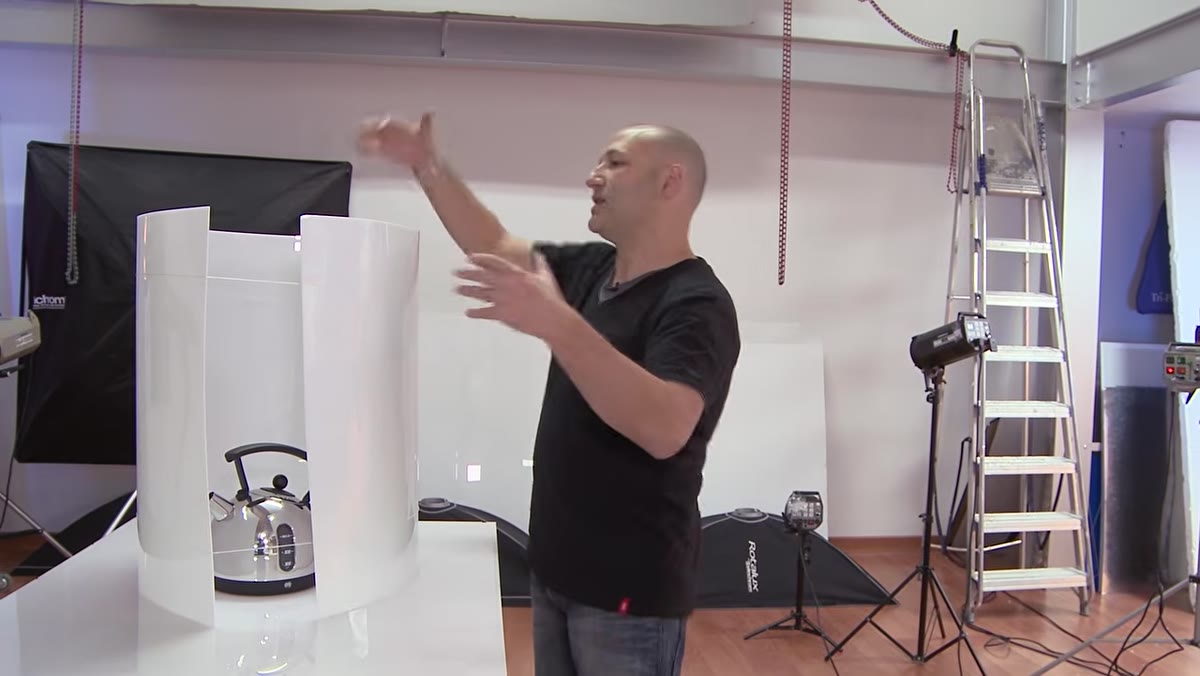 Multiple lights arranged around the outside of the curved Perspex
With the base light established, additional sources are brought in around the outside of the curved Perspex shell, from the sides and from behind the product. Because every light is firing through the diffusion material before it reaches the chrome, the kettle reads a continuous wrapping gradient rather than individual light sources. This is the difference between chrome that looks photographed and chrome that looks illustrated in the best sense. The metal shows shape, depth, and dimension. Pilot lights on continuous sources get very warm, and Perspex has a relatively low heat tolerance, so if you’re using hot lights rather than strobes, dial power down and allow ventilation between takes.
Multiple lights arranged around the outside of the curved Perspex
With the base light established, additional sources are brought in around the outside of the curved Perspex shell, from the sides and from behind the product. Because every light is firing through the diffusion material before it reaches the chrome, the kettle reads a continuous wrapping gradient rather than individual light sources. This is the difference between chrome that looks photographed and chrome that looks illustrated in the best sense. The metal shows shape, depth, and dimension. Pilot lights on continuous sources get very warm, and Perspex has a relatively low heat tolerance, so if you’re using hot lights rather than strobes, dial power down and allow ventilation between takes.
What I’d Add From My Own Studio
One thing the tutorial doesn’t dwell on is the value of keeping a diagram of exactly where each light ended up. I sketch every setup in a notebook I keep by the shooting table, with approximate distances, power settings, and modifier choices noted against a rough outline of the product. Chrome shoots in particular have a way of needing a second pass, either for a variant colorway or a reshooting of one angle, and without a reference you’re rebuilding from scratch. A five-minute sketch at the end of the shoot has saved me hours of re-setup work on more than one occasion.
The single most important idea from this tutorial is the one stated early and demonstrated throughout: don’t try to remove reflections from chrome. Curate them. The curved Perspex shell is just a tool for replacing environmental chaos with a soft, shaped gradient that makes the metal read convincingly. That shift in thinking, from elimination to replacement, is what makes chrome shootable.
Watch the full tutorial on YouTube to see the lights being built up in real time. Watching the kettle transform step by step makes the logic of the technique click in a way a written breakdown can only approximate.
Comments
Leave a Comment