
Most of my problems directing female subjects in the studio were not lighting problems. I thought they were. I’d spend an hour dialing in a beautiful window-light simulation with my stripbox, get the model in position, and then spend the next twenty minutes asking her to “just shift a little” and “maybe try something with your hands” while the whole setup slowly fell apart. The real gap was that I had no systematic method for building a pose from the ground up. I was decorating before I’d laid the foundation.
That changed when I worked through Watch the full tutorial on YouTube - Scott Robert Lim’s posing session for women, published by CreativeLive. Lim is precise without being rigid, and his method is genuinely teachable. It isn’t about memorizing poses. It’s about understanding a sequence, a logic that runs from the feet upward, so that by the time you’re making final adjustments to the chin, everything below is already working. I’ve since built this into how I run every portrait session, whether I’m shooting editorial or a corporate headshot with creative latitude.
Step 1: Set Your Light Direction First, Then Build the Pose Around It
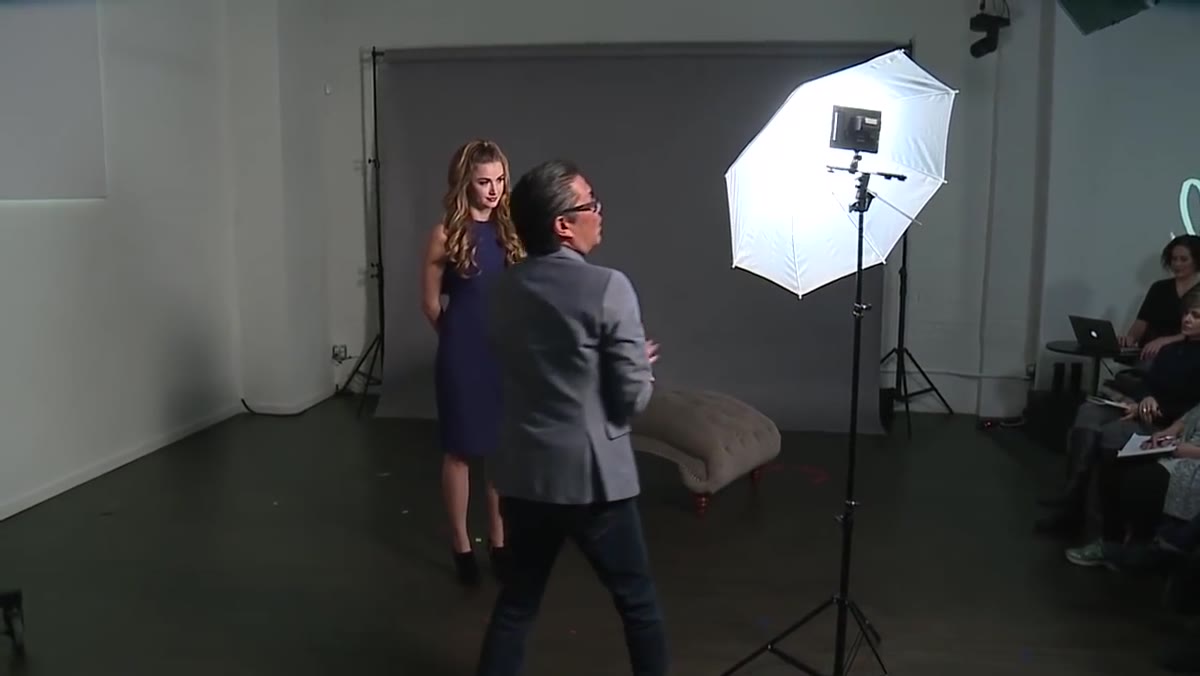 Instructor pointing left to establish the light’s direction
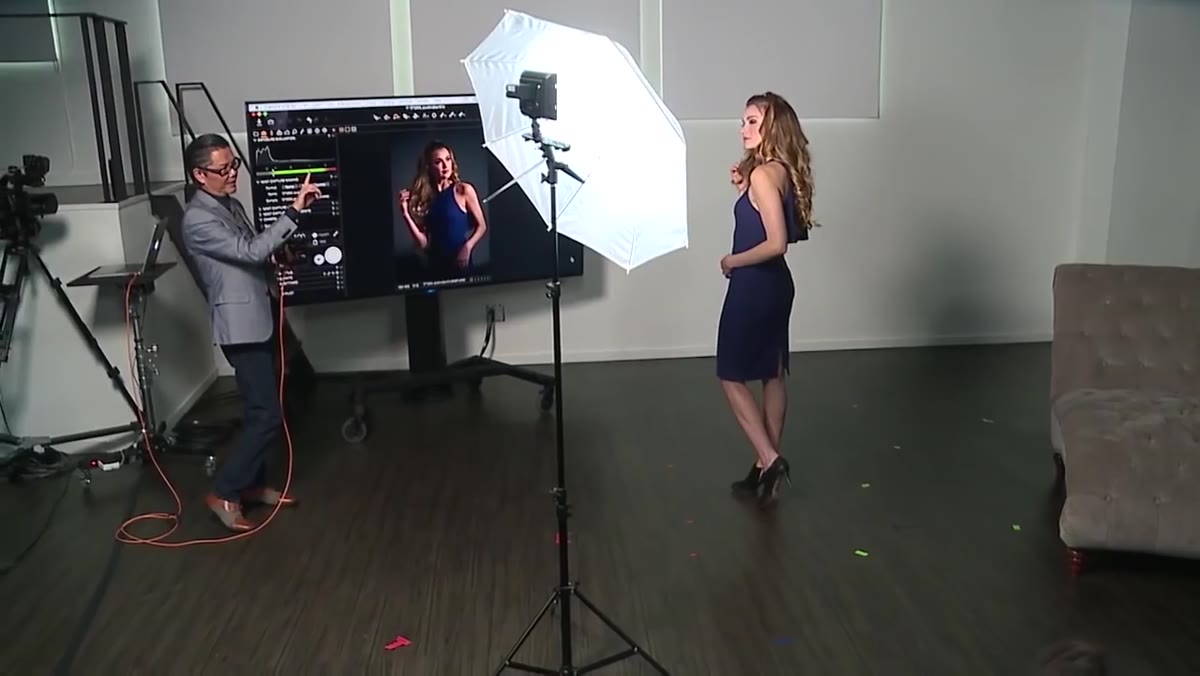
Before a single posing instruction is given, Lim establishes where the light is coming from. In this case he’s simulating window light coming from one side. Everything that follows is anchored to that decision. The nose will point toward the light source. The body will angle away from it. If you reverse that relationship, the light wraps incorrectly and the depth you’re trying to create collapses.
In my own studio, I mark this before the model steps in. I use a small piece of masking tape on the floor to indicate the light axis. It sounds obsessive but it saves time. You make the directional decision once, tape it, and then every adjustment you make to the pose is measured against that fixed reference point rather than re-evaluated from scratch each time.
Step 2: Use Mirroring to Demonstrate, Not Words
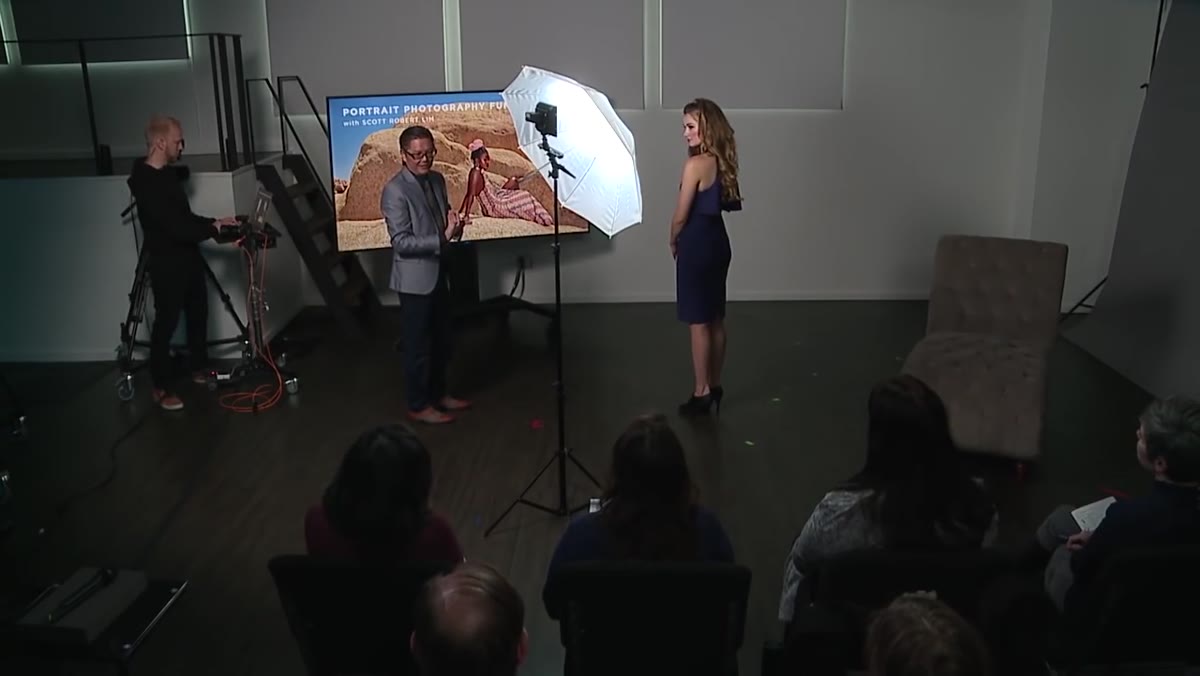 Instructor demonstrating the pose himself, facing the model as a mirror
Lim’s communication method is efficient and worth stealing directly. Rather than describing what he wants, he physically demonstrates the pose while facing the subject like a mirror. He leans, shifts his weight, pops his hip. The subject mirrors back. This removes the translation layer that verbal instructions require, especially for non-professional models who don’t have a library of muscle-memory poses to draw from.
The mirror technique is particularly effective for weight shifts and hip placement, which are hard to describe but easy to imitate. When I switched from verbal direction to mirroring, my setups got faster by a measurable margin. The model feels less corrected and more collaboratively guided, which also changes the energy in the frame.
Step 3: Exaggerate the Hip Shift Beyond What Feels Natural
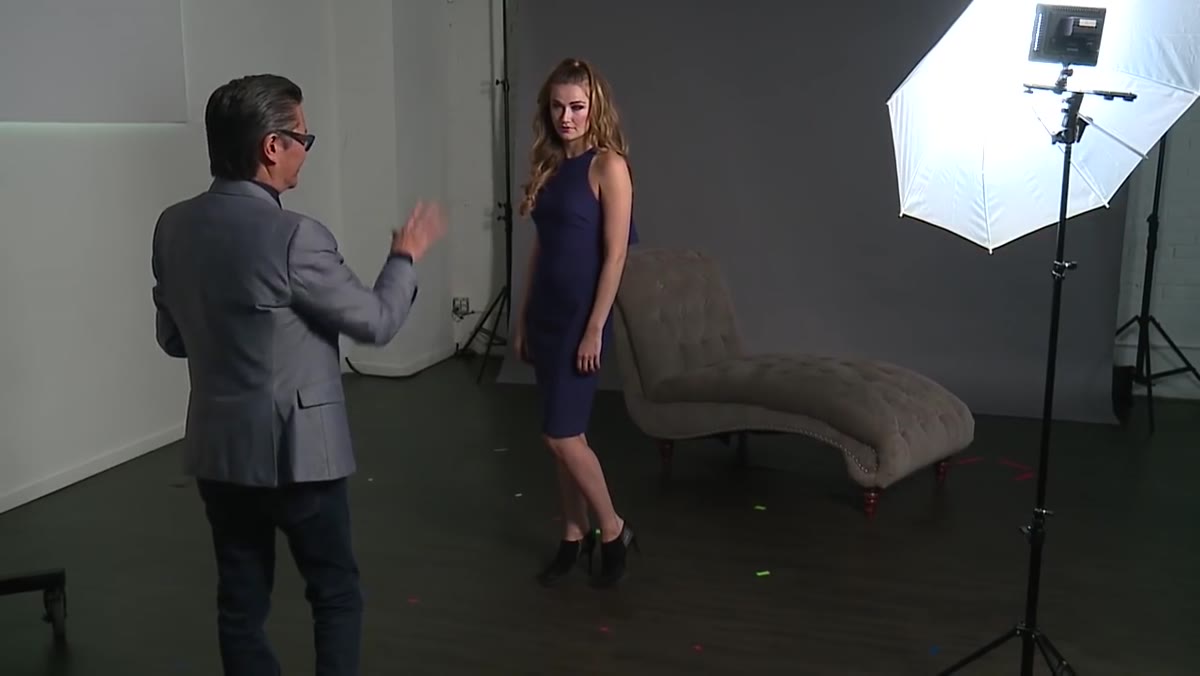 Instructor showing the model to push the hip further than her first attempt
Here is the part where most photographers lose a stop of quality. The subject will give you a hip shift that feels correct to them, and it will be about sixty percent of what the camera needs. Lim is direct about this: the first version is not enough, and you have to ask for more. He shows the initial result and then physically prompts for a deeper, more committed weight transfer.
The camera flattens dimension. What reads as a subtle curve in person registers as barely-there on a sensor. I’ve learned to ask for exaggeration consistently, and then calibrate back if it goes too far. Starting under never gets you to the right frame. Starting over and pulling back does.
Step 4: Solve the Hands Separately and at Different Heights
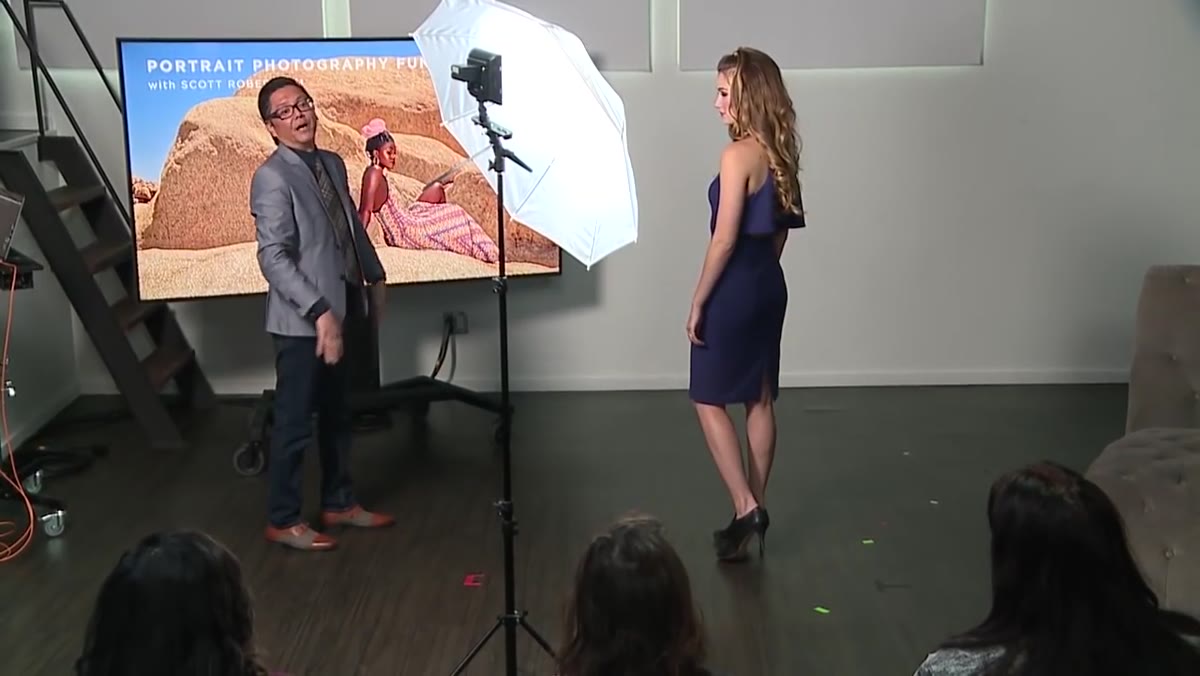 Model’s hands positioned at the same level, instructor about to correct
Once the body position is set, Lim isolates the hands as their own problem to solve. His first observation is that both hands are sitting at the same height, which flattens the composition. He adjusts them to different levels, then gives the model a specific and natural-feeling task: pulling the hair back. This works because it gives the hand a reason to be where it is, which reads as intentional rather than placed.
Hands without purpose are the most common source of stiffness in portrait work. Giving a subject an action, even a micro-action like lifting hair or resting a fingertip at the collarbone, transforms a static position into something that looks lived-in. I keep a short mental list of these hand assignments, and I treat them like modifiers. Different assignments read differently at different focal lengths.
Step 5: Adjust the Chin to Control Light on the Face
 Instructor guiding the model’s chin up to bring light into the eyes
The final layer of Lim’s sequence is the chin. He adjusts it in both directions during the session, using small increments, and he’s explicit about the reason: chin position controls how light enters the eyes. Too low and the brow casts shadow over the eye socket. Too high and you lose the catchlight angle and the face flattens.
He also combines this with a head turn, pointing the nose toward the light source while asking the subject to return eye contact with the camera using just their gaze. This creates a slight tension between head direction and eye direction that gives the portrait life. It’s a classic technique, but Lim’s sequencing makes it approachable rather than mysterious.
Step 6: Lock the Base, Then Crop Freely
 Photographer shooting wide, then tight from the same position without repositioning model
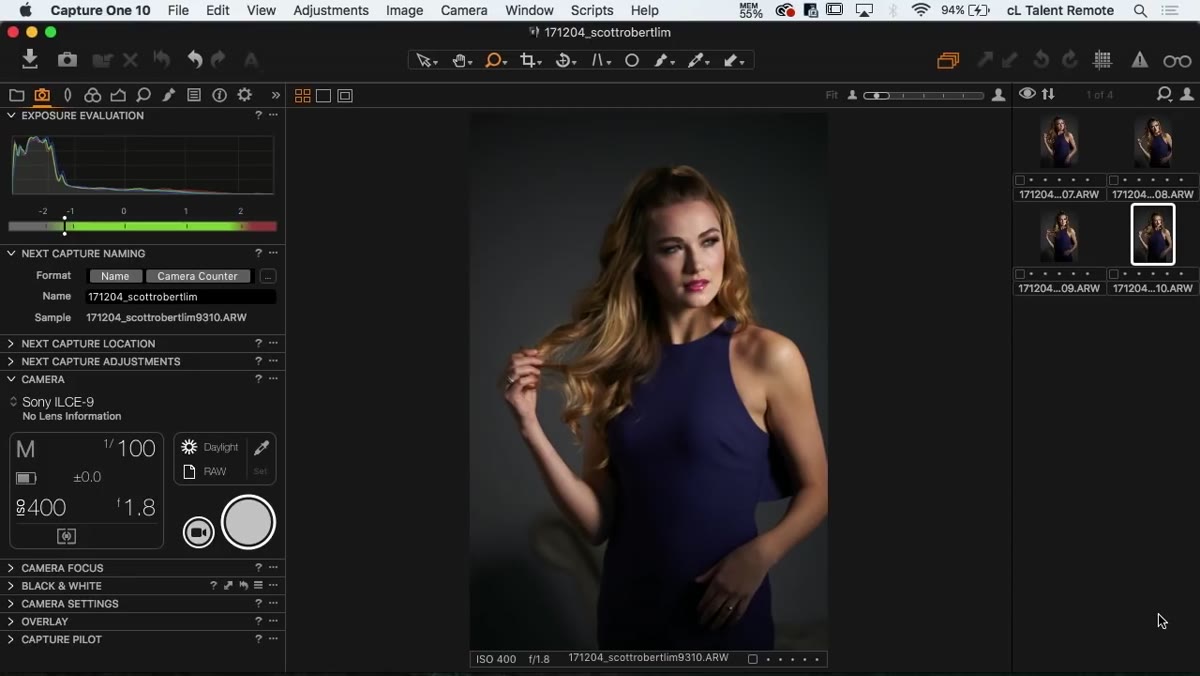
One of Lim’s most practical points is that a correctly built pose is crop-agnostic. Once the weight, hips, hands, and chin are dialed in, he shoots tight, medium, and full-length without repositioning the model. The foundation holds at every focal length. This is how you shoot efficiently in a paid session without burning time resetting.
I use this specifically on fashion and beauty jobs where the client wants variety without the budget for multiple setups. Build one strong base, move your feet and zoom, and deliver what looks like three different setups from the same ten minutes of work.
What I’d Add From My Own Experience
The one thing I’d layer on top of Lim’s method is a lighting diagram reference at the start of every pose sequence. I keep a small sketchbook with every setup I’ve ever run, and before directing posing I confirm the light’s behavior on that specific modifier. A stripbox and a large umbrella both simulate window light, but they fall differently on skin and require slightly different chin adjustments to get the catchlight where you want it. My wife, who has far more intuitive sense about how light lands on a face than I’ve ever developed from technical study, pointed this out to me years ago and I’ve calibrated my posing adjustments to modifier type ever since.
The core principle from this tutorial is one I return to constantly: start at the feet and work up, establish the base before touching anything else, and ask for more exaggeration than you think you need. A flat pose is always the first draft. Get it on camera, show the model if it helps, and then push it further. The frame rewards commitment.
Watch the full tutorial on YouTube to see Lim’s real-time adjustments and how he reads the model’s response at each stage.
Comments
Leave a Comment