
I have a masking tape label on almost every piece of gear in my studio. The octabox 150 gets its own label, but it also gets a permanent spot on the stand closest to my shooting position. That’s how often it goes up. When clients book a beauty or fashion job, this modifier is almost always my first pull. It’s large enough to wrap light around a face, forgiving enough for a moving subject, and controllable enough that I’m not fighting spill all day. So when I came across KL Taylor’s breakdown of the octabox 150 over at Visual Education, I watched it twice, took notes, and decided it was worth turning into a proper walkthrough for anyone who’s been on the fence about adding one to their kit.
Watch the full tutorial on YouTube
In this Visual Education tutorial, Taylor cuts through the brand noise and gets into what actually matters: how the modifier is built, why diffusion layers work the way they do, and how to handle a softbox this size without damaging your gear. He’s methodical about it, which I appreciate. There’s a tendency in lighting tutorials to skip straight to dramatic before-and-afters. This one explains the physics first, and that’s exactly how I think you should learn to use any modifier.
Step 1: Understand What “Homogeneous Light” Actually Means
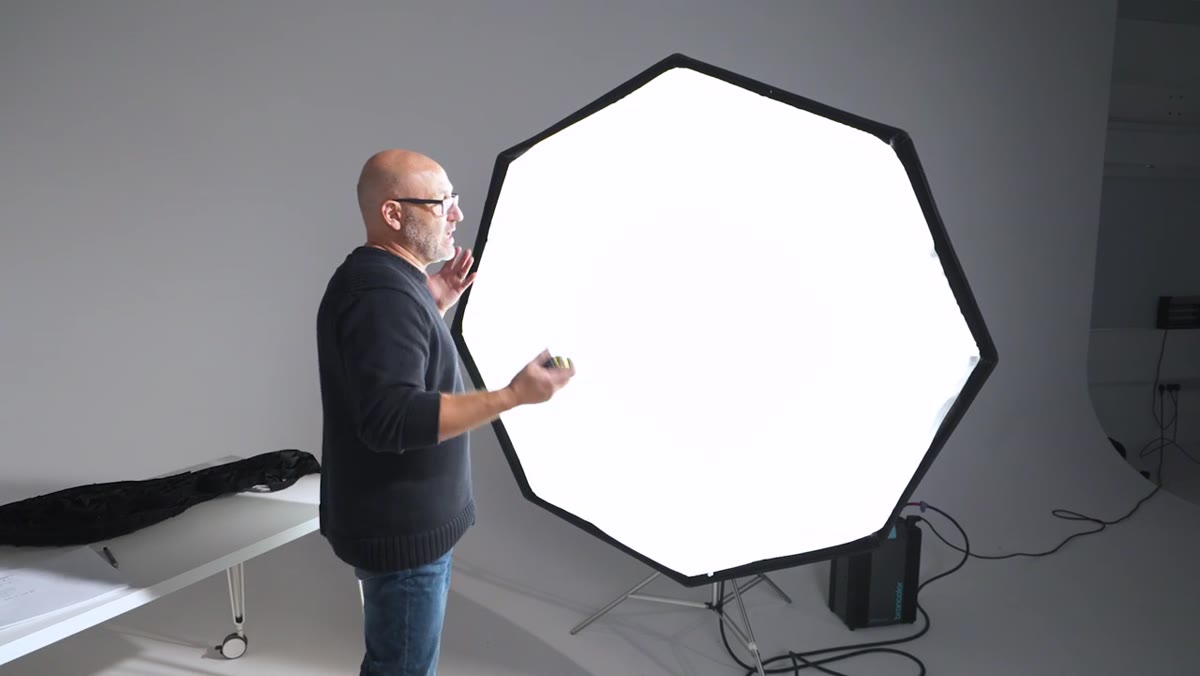 Large octabox mounted on light stand in studio
The word “homogeneous” gets tossed around a lot in lighting discussions, but it has a specific meaning here. A softbox is designed to produce an even spread of light across its entire face, so that no single zone is significantly brighter than the others. With a 150cm octabox, that surface area is roughly 59 inches across. When you place that light source close to a subject, the size of it relative to the subject is what creates soft, wrapping light with gradual shadow transitions. Bigger source, closer to subject, softer the light. That’s the principle driving everything else in this tutorial.
Large octabox mounted on light stand in studio
The word “homogeneous” gets tossed around a lot in lighting discussions, but it has a specific meaning here. A softbox is designed to produce an even spread of light across its entire face, so that no single zone is significantly brighter than the others. With a 150cm octabox, that surface area is roughly 59 inches across. When you place that light source close to a subject, the size of it relative to the subject is what creates soft, wrapping light with gradual shadow transitions. Bigger source, closer to subject, softer the light. That’s the principle driving everything else in this tutorial.
Step 2: Look at the Internal Construction Before You Buy
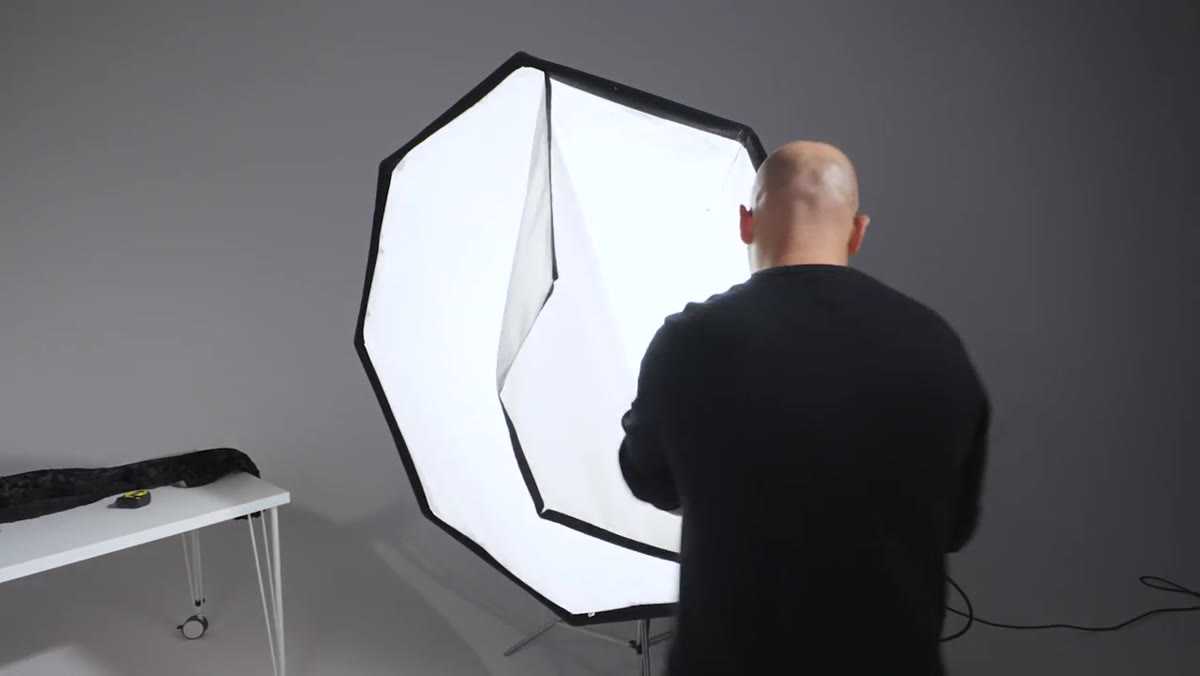 Interior of octabox showing reflective silver lining and internal diffusion
Taylor pulls back the outer diffusion panel to show what separates a well-built octabox from a cheap one, and it comes down to two things. First, the interior should be lined with a speckled silver reflective material. This isn’t decorative. It bounces light from the strobe head in every direction before it exits the front face, maximizing output efficiency and spreading the energy across the full octagonal surface. Second, look for an inner diffusion baffle. On the unit Taylor demonstrates, there’s an additional circular layer of material centered directly in front of the strobe head. Because the bulb fires hardest in the center, that zone would otherwise be noticeably hotter than the edges. The extra baffle brings it back down, resulting in a more even spread across the face before light even hits the outer diffusion panel.
Interior of octabox showing reflective silver lining and internal diffusion
Taylor pulls back the outer diffusion panel to show what separates a well-built octabox from a cheap one, and it comes down to two things. First, the interior should be lined with a speckled silver reflective material. This isn’t decorative. It bounces light from the strobe head in every direction before it exits the front face, maximizing output efficiency and spreading the energy across the full octagonal surface. Second, look for an inner diffusion baffle. On the unit Taylor demonstrates, there’s an additional circular layer of material centered directly in front of the strobe head. Because the bulb fires hardest in the center, that zone would otherwise be noticeably hotter than the edges. The extra baffle brings it back down, resulting in a more even spread across the face before light even hits the outer diffusion panel.
Step 3: Evaluate the Diffusion Layers at the Front
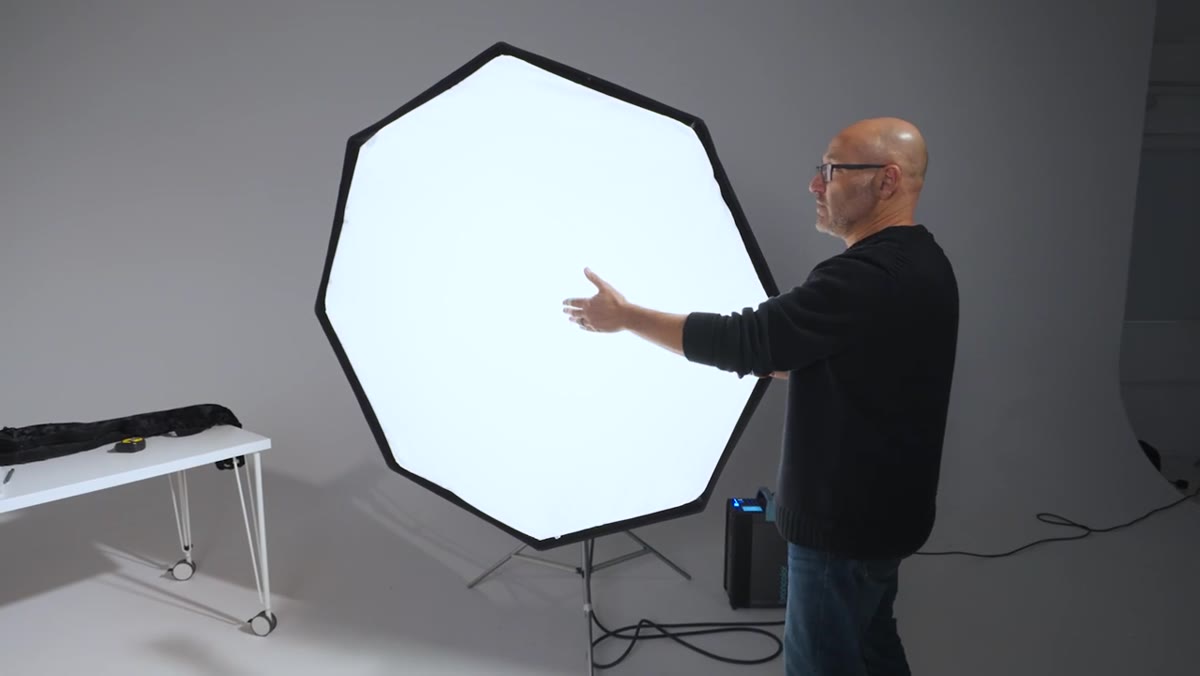 Outer diffusion panel being reattached to octabox face
Most quality octaboxes at this size ship with two layers of diffusion: one internal baffle and one outer panel. Taylor notes that his unit also has a Velcro perimeter around the outer face, which allows you to add a third diffusion layer if you need to push the light even further toward total evenness. In practice, he doesn’t use that third layer. The internal baffle plus one outer diffusion panel gives him clean, even output without stacking so much material that he’s losing too many stops of light. For my beauty work, I’ve found the same. Two layers gives me the quality I need at a power output I can still work with on a single head.
Outer diffusion panel being reattached to octabox face
Most quality octaboxes at this size ship with two layers of diffusion: one internal baffle and one outer panel. Taylor notes that his unit also has a Velcro perimeter around the outer face, which allows you to add a third diffusion layer if you need to push the light even further toward total evenness. In practice, he doesn’t use that third layer. The internal baffle plus one outer diffusion panel gives him clean, even output without stacking so much material that he’s losing too many stops of light. For my beauty work, I’ve found the same. Two layers gives me the quality I need at a power output I can still work with on a single head.
Step 4: Check the Velcro Surround for Grid Compatibility
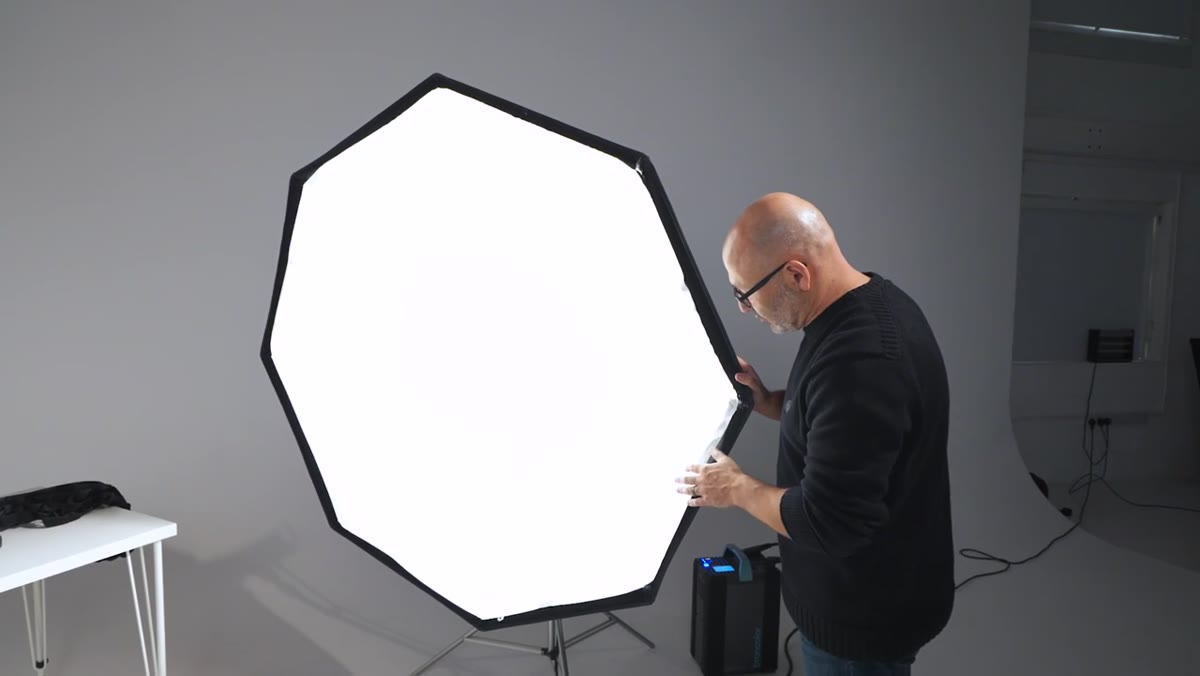 Velcro border on octabox face used for accessories
That Velcro border does double duty. Beyond holding an optional third diffusion panel, it’s the attachment point for a fabric grid. A grid on an octabox this size is worth understanding before you dismiss it as an accessory. Without a grid, the 150 throws light in a wide pattern, including sideways into your background and onto your set walls. A grid cuts that lateral spill and keeps the light more directional, pointing it at your subject rather than the room. I use a grid on mine whenever I’m shooting against a dark background and need to keep the background separate. Without it, the octabox is generous with its light in every direction, which is sometimes exactly what you want and sometimes a problem.
Velcro border on octabox face used for accessories
That Velcro border does double duty. Beyond holding an optional third diffusion panel, it’s the attachment point for a fabric grid. A grid on an octabox this size is worth understanding before you dismiss it as an accessory. Without a grid, the 150 throws light in a wide pattern, including sideways into your background and onto your set walls. A grid cuts that lateral spill and keeps the light more directional, pointing it at your subject rather than the room. I use a grid on mine whenever I’m shooting against a dark background and need to keep the background separate. Without it, the octabox is generous with its light in every direction, which is sometimes exactly what you want and sometimes a problem.
Step 5: Remove and Collapse the Softbox Without Damaging Your Strobe
 Light and softbox lowered to ground for safe removal
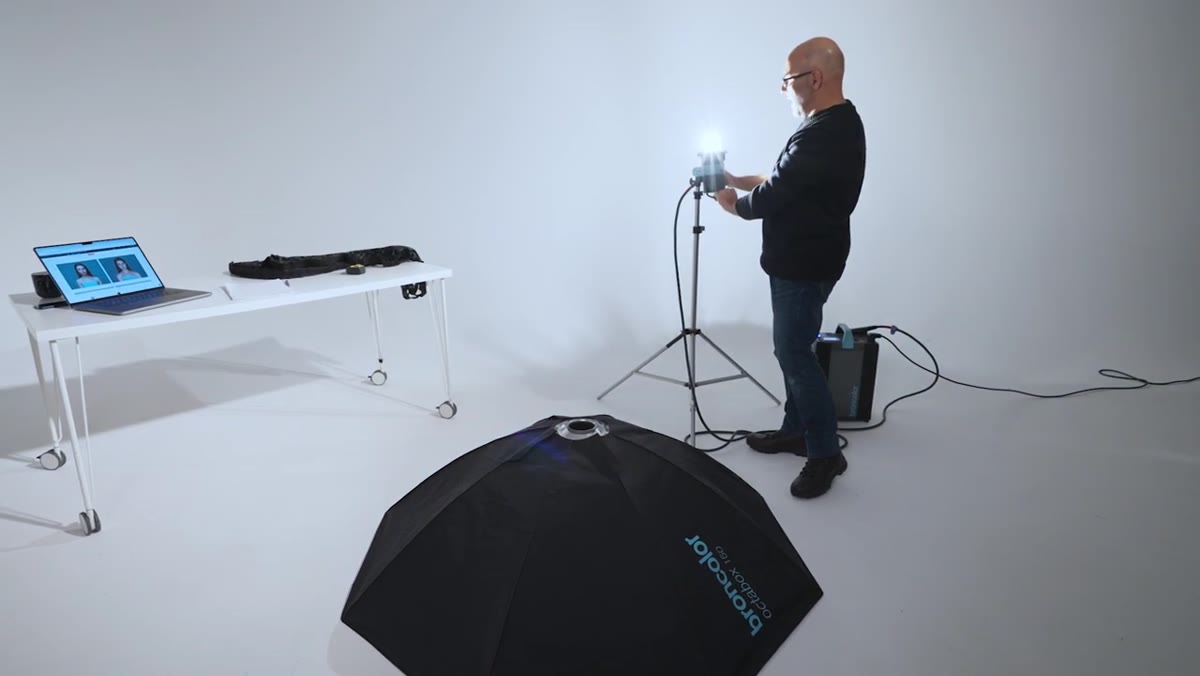
This is the step most photographers skip until they crack a glass dome. A fully assembled octabox 150 is heavy. When it’s mounted at head height on a boom or stand, releasing it while trying to support the weight with one hand and operate the speed ring latch with the other is a genuine risk to the protective cover on your strobe head. Taylor’s preferred method is to take the entire light off the stand first, bring it down to the floor, and release the softbox from there. The ground takes the weight of the modifier as it comes free. You’re not fighting gravity or trying to catch 10 pounds of fabric and rods with one arm.
Light and softbox lowered to ground for safe removal
This is the step most photographers skip until they crack a glass dome. A fully assembled octabox 150 is heavy. When it’s mounted at head height on a boom or stand, releasing it while trying to support the weight with one hand and operate the speed ring latch with the other is a genuine risk to the protective cover on your strobe head. Taylor’s preferred method is to take the entire light off the stand first, bring it down to the floor, and release the softbox from there. The ground takes the weight of the modifier as it comes free. You’re not fighting gravity or trying to catch 10 pounds of fabric and rods with one arm.
The alternative he demonstrates is pointing the strobe head upward so that the softbox hangs below the head during removal, keeping the weight away from the dome. Both methods work. I use the floor method myself. It takes an extra 30 seconds and I’ve never broken a glass cover doing it.
Step 6: Reassemble by Reversing the Process with the Head Angled Up
 Strobe head angled upward for softbox reattachment
When putting the octabox back on after transport, Taylor reverses the logic. Angle the strobe head so it’s pointing upward, slide the speed ring onto the head, and lock it before rotating the light to your shooting angle. This way, the weight of the modifier is pressing inward against the mount rather than pulling downward on the dome. It’s a small procedural habit, but over years of use it protects equipment that costs significantly more than the modifier itself.
Strobe head angled upward for softbox reattachment
When putting the octabox back on after transport, Taylor reverses the logic. Angle the strobe head so it’s pointing upward, slide the speed ring onto the head, and lock it before rotating the light to your shooting angle. This way, the weight of the modifier is pressing inward against the mount rather than pulling downward on the dome. It’s a small procedural habit, but over years of use it protects equipment that costs significantly more than the modifier itself.
What I’d Add from My Own Experience
I keep a lighting journal, and the octabox 150 appears in more diagrams than any other modifier I own. One thing Taylor doesn’t cover in this particular video, but which I’d flag for anyone new to this modifier: distance is everything with a light this large. At 6 feet from your subject, this is a beautiful, wrapping beauty light. At 12 feet, it starts behaving more like a medium source and you lose the softness that makes it special. If your studio is small, that’s actually an advantage. You can get the face of this light very close to a subject and the falloff is gorgeous. My rule when I set it up for the first time in any new space: get it closer than you think you need to, then test.
The octabox 150 isn’t a specialty tool. It’s a foundation. Once you understand how its construction drives its output quality, you’ll stop reaching past it and start reaching for it first.
Watch the full tutorial on YouTube to see KL Taylor walk through every detail hands-on. The construction breakdown alone is worth the watch time.
Comments
Leave a Comment