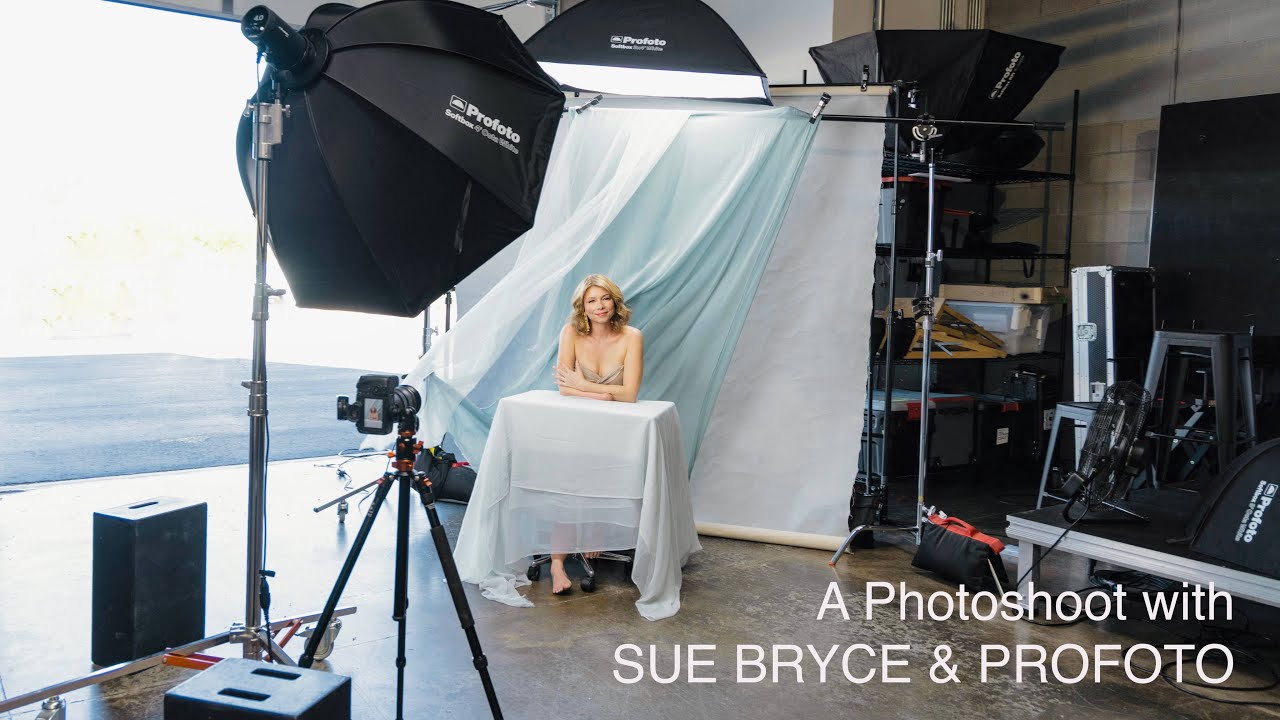
There’s a specific kind of dread that creeps in when a shoot isn’t working and you can’t diagnose why. The lights are set, the camera is dialed in, the subject is in front of you — and nothing. I’ve been there more than I’d like to admit. Usually the problem isn’t technical. It’s that I’ve stopped thinking about why I’m making the photograph and started just executing a sequence of habits. That’s a dangerous place to shoot from, and it’s the thing that struck me hardest watching this tutorial from The Portrait System. Watch the full tutorial on YouTube
In this The Portrait System tutorial, Sue Bryce shoots a portrait session with a subject named Sam while working through something most photographers only admit to privately: burning out and losing the thread of what made them pick up a camera in the first place. But the technical content running underneath that emotional honesty is sharp and genuinely instructive. She’s built a two-light setup using Profoto’s new white-interior softboxes, a configuration she calls her “Vanity Fair setup,” and the results speak clearly for themselves. I tested a similar arrangement the week after watching this, and I’ve already sketched it into my lighting journal as a go-to.
What follows is a breakdown of the setup and workflow, step by step, so you can run this in your own studio without stopping to scrub through video.
Step 1: Choose Your Modifiers Intentionally
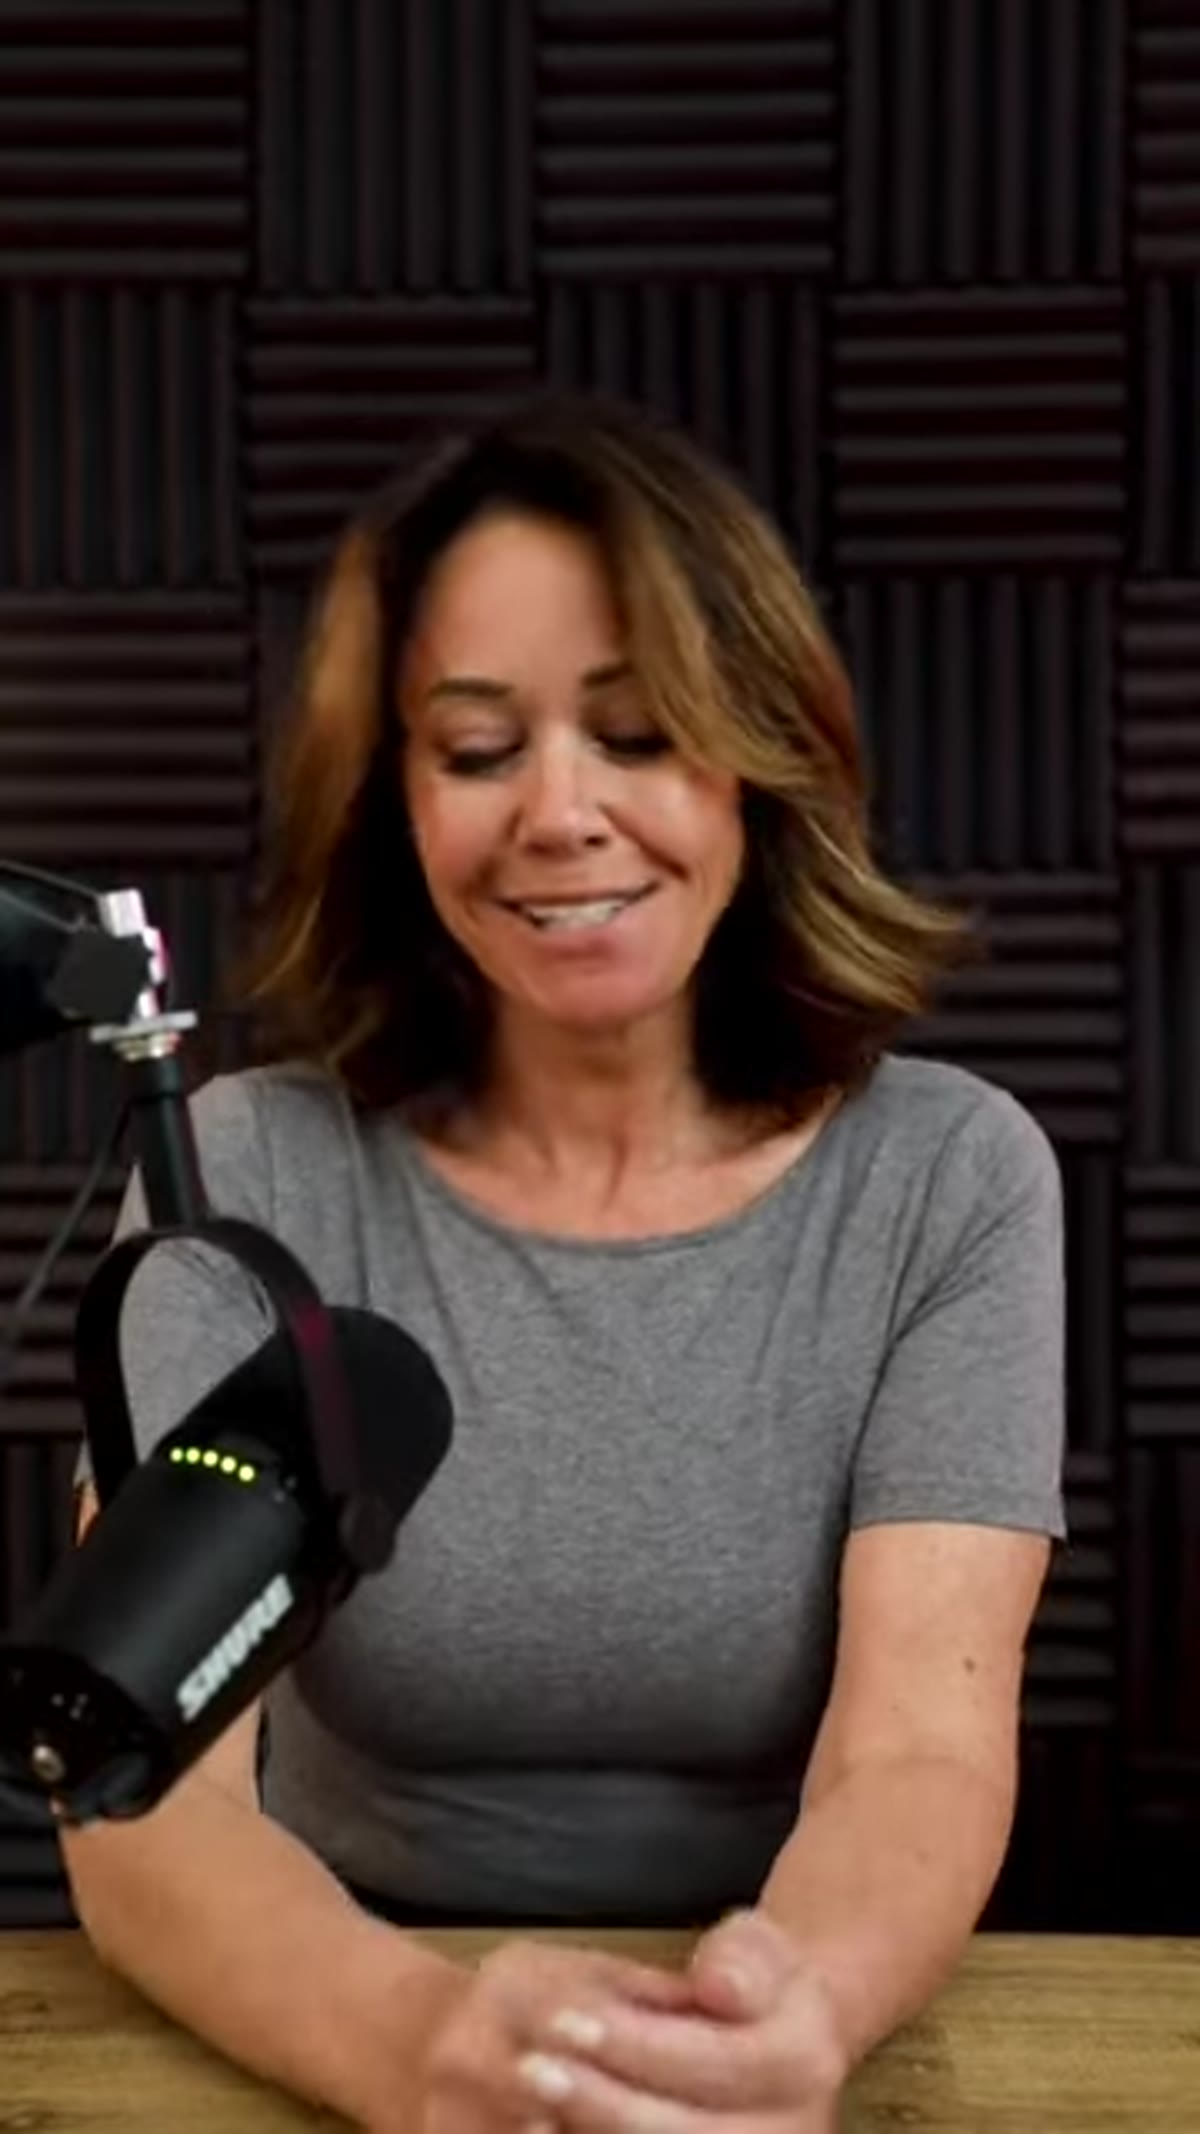 Sue introducing the new Profoto white-interior softboxes
Bryce opens by highlighting something that sounds like a product note but is actually a meaningful technical distinction: Profoto has never made a white-interior softbox until now. Most of their modifiers have used silver interiors, which produce a snappier, higher-contrast light. White interiors scatter light more diffusely and wrap more evenly around a subject. For beauty and portrait work where you want smooth, flattering skin rendering, that difference matters.
Sue introducing the new Profoto white-interior softboxes
Bryce opens by highlighting something that sounds like a product note but is actually a meaningful technical distinction: Profoto has never made a white-interior softbox until now. Most of their modifiers have used silver interiors, which produce a snappier, higher-contrast light. White interiors scatter light more diffusely and wrap more evenly around a subject. For beauty and portrait work where you want smooth, flattering skin rendering, that difference matters.
She selects two specific shapes for this shoot: a rectangular softbox positioned as a top light and a 4-foot octabox as the main light. If you’re working with other brands, a large rectangular (roughly 2x3 feet or larger) and a 4-foot or 5-foot octa will get you close. The white interior is the important variable. If your current modifiers are silver, you can approximate the effect by adding an additional diffusion layer inside, though it’s not a perfect substitute.
Step 2: Add a Full Stop of Diffusion to Both Lights
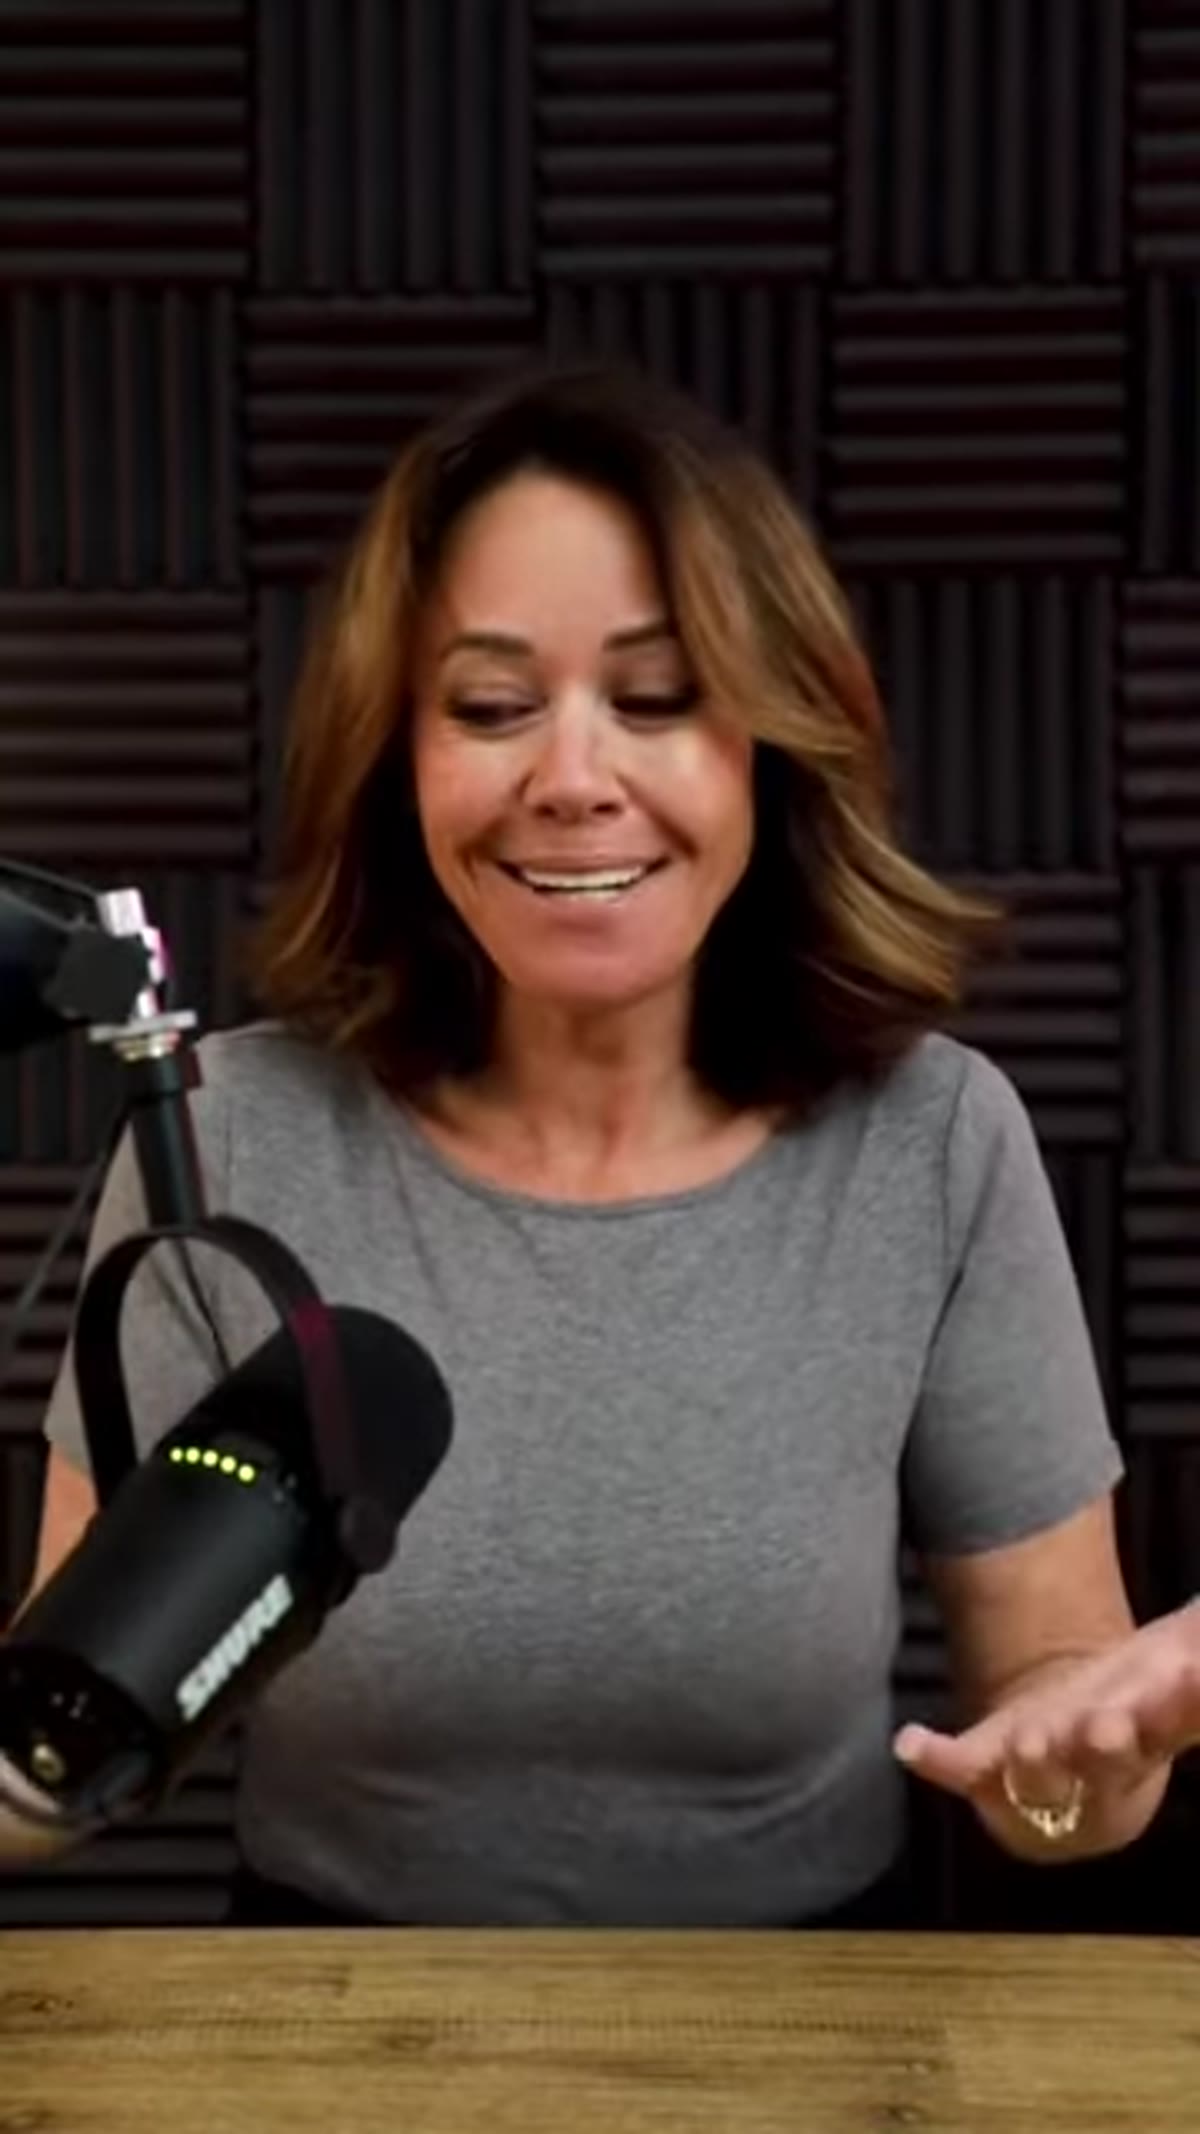 Close-up of Profoto softbox with diffusion panel attached
Both lights get the same diffusion treatment here, which is the detail most people would skip past. Bryce applies one stop of diffusion to each modifier. This is the outer diffusion panel, not the inner baffle, and bringing both lights to the same diffusion level is deliberate. It keeps the quality of light consistent between the main and the top light, so there’s no jarring contrast between where one light ends and the other begins on the subject’s face and body.
Close-up of Profoto softbox with diffusion panel attached
Both lights get the same diffusion treatment here, which is the detail most people would skip past. Bryce applies one stop of diffusion to each modifier. This is the outer diffusion panel, not the inner baffle, and bringing both lights to the same diffusion level is deliberate. It keeps the quality of light consistent between the main and the top light, so there’s no jarring contrast between where one light ends and the other begins on the subject’s face and body.
In practice, one stop of diffusion is significant. You’re losing output, so if you’re metering at f/8 before the diffusion panel goes on, expect to land closer to f/5.6 after. Adjust your power accordingly rather than opening up your aperture, especially if you want enough depth of field to keep the full figure sharp.
Step 3: Position the Rectangular as a Top Light
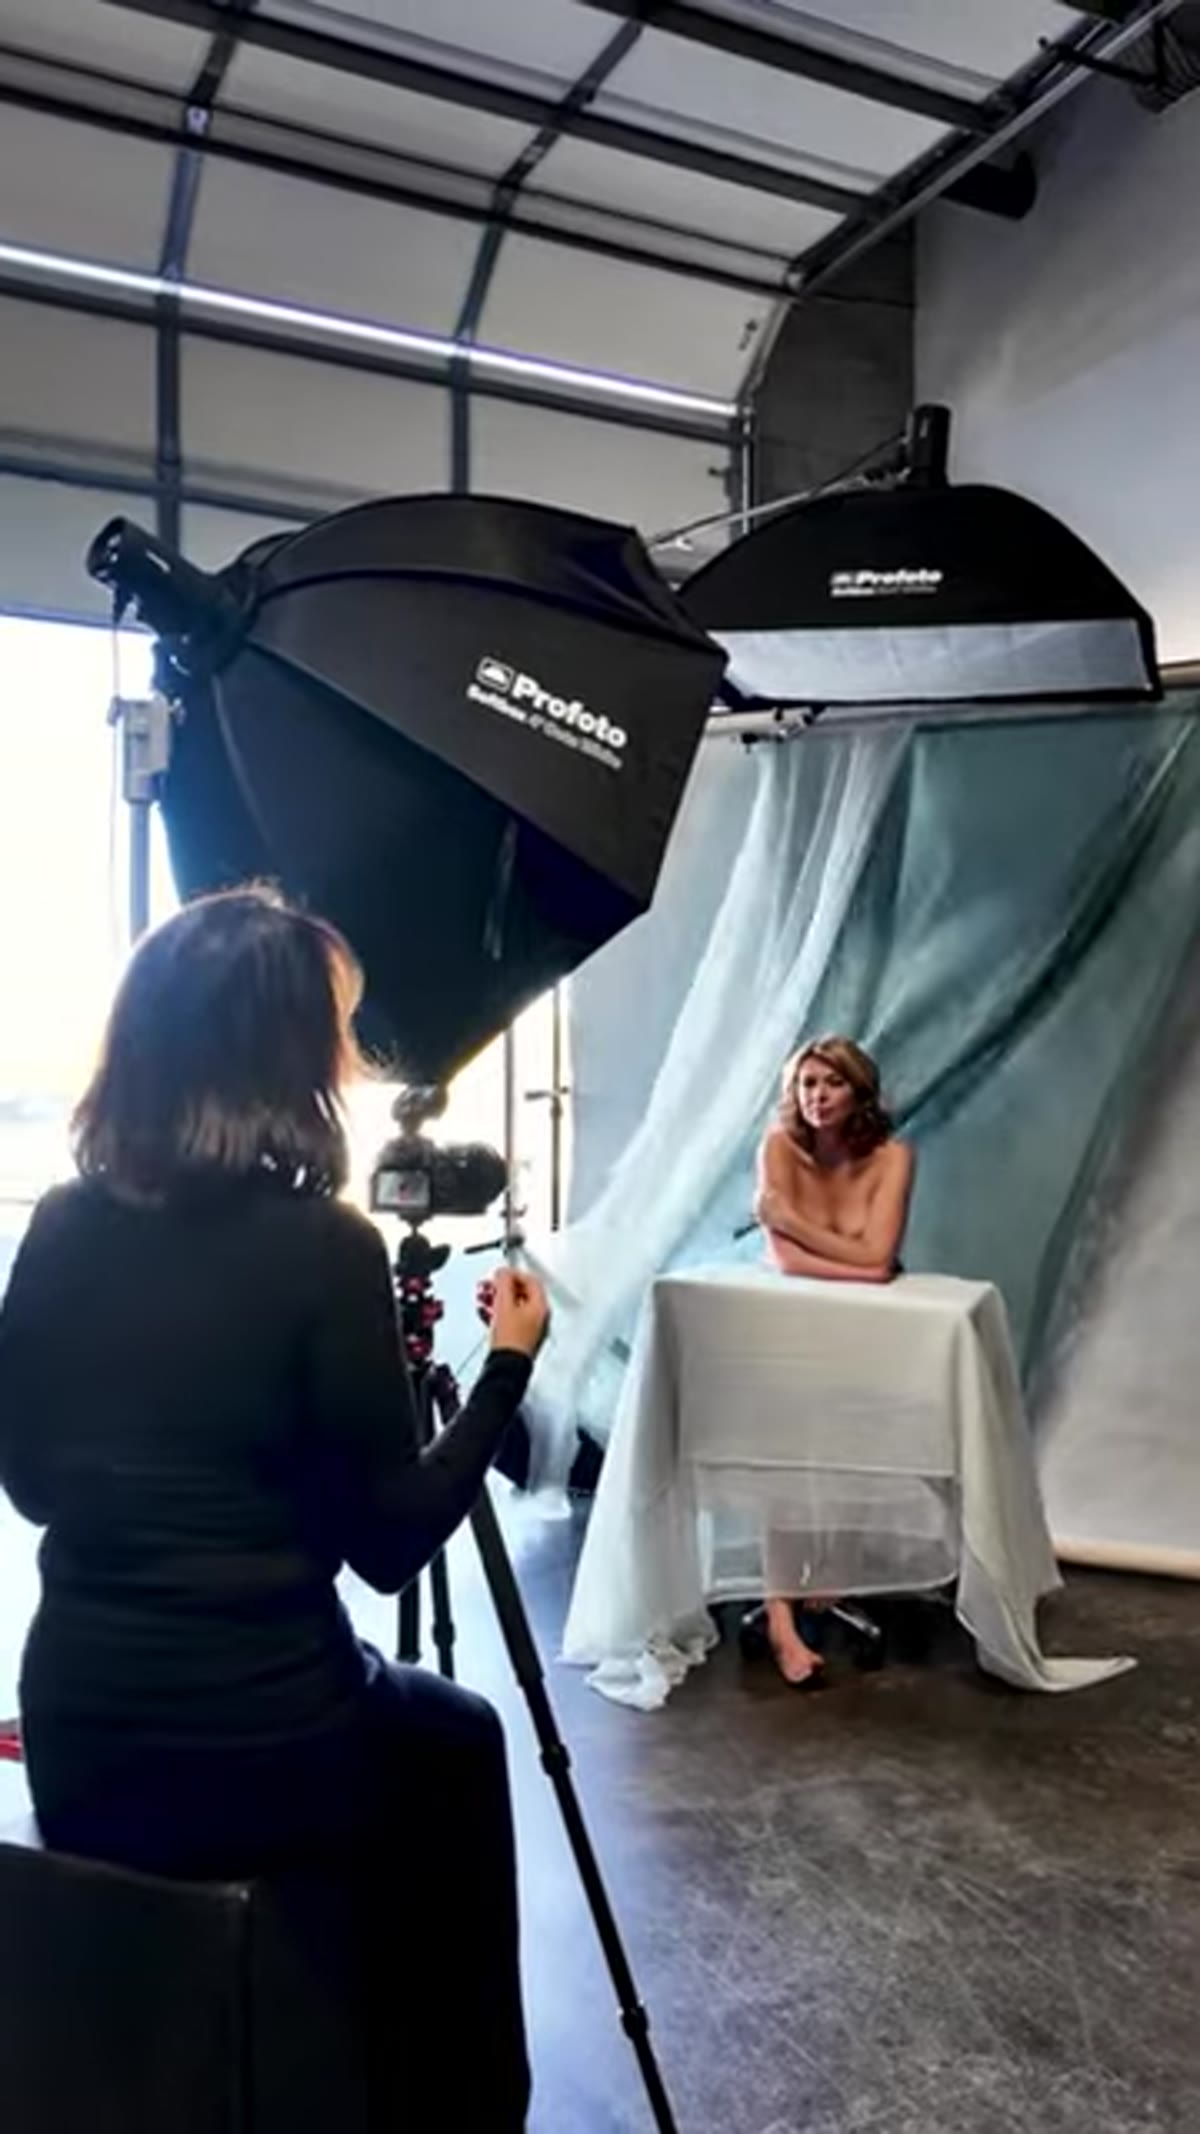 Rectangular softbox positioned high, angled downward toward subject
The rectangular softbox goes overhead, angled downward toward the subject. This is functioning as a hair and shoulder light, but because of the white interior and additional diffusion, it’s soft enough that it also wraps gently onto the upper face. It gives the image that lit-from-above quality you see in editorial portraiture without creating harsh shadows under the brow or nose.
Rectangular softbox positioned high, angled downward toward subject
The rectangular softbox goes overhead, angled downward toward the subject. This is functioning as a hair and shoulder light, but because of the white interior and additional diffusion, it’s soft enough that it also wraps gently onto the upper face. It gives the image that lit-from-above quality you see in editorial portraiture without creating harsh shadows under the brow or nose.
Height and angle matter here. Too steep and you’ll get raccoon eyes. Too shallow and it stops reading as a top light and just becomes a second front source. A 45-degree downward angle from roughly eight to ten feet up is a workable starting point. I’d recommend placing a stand-in subject and taking test frames before your talent arrives so you’re not making adjustments under pressure.
Step 4: Position the 4-Foot Octabox as the Main Light
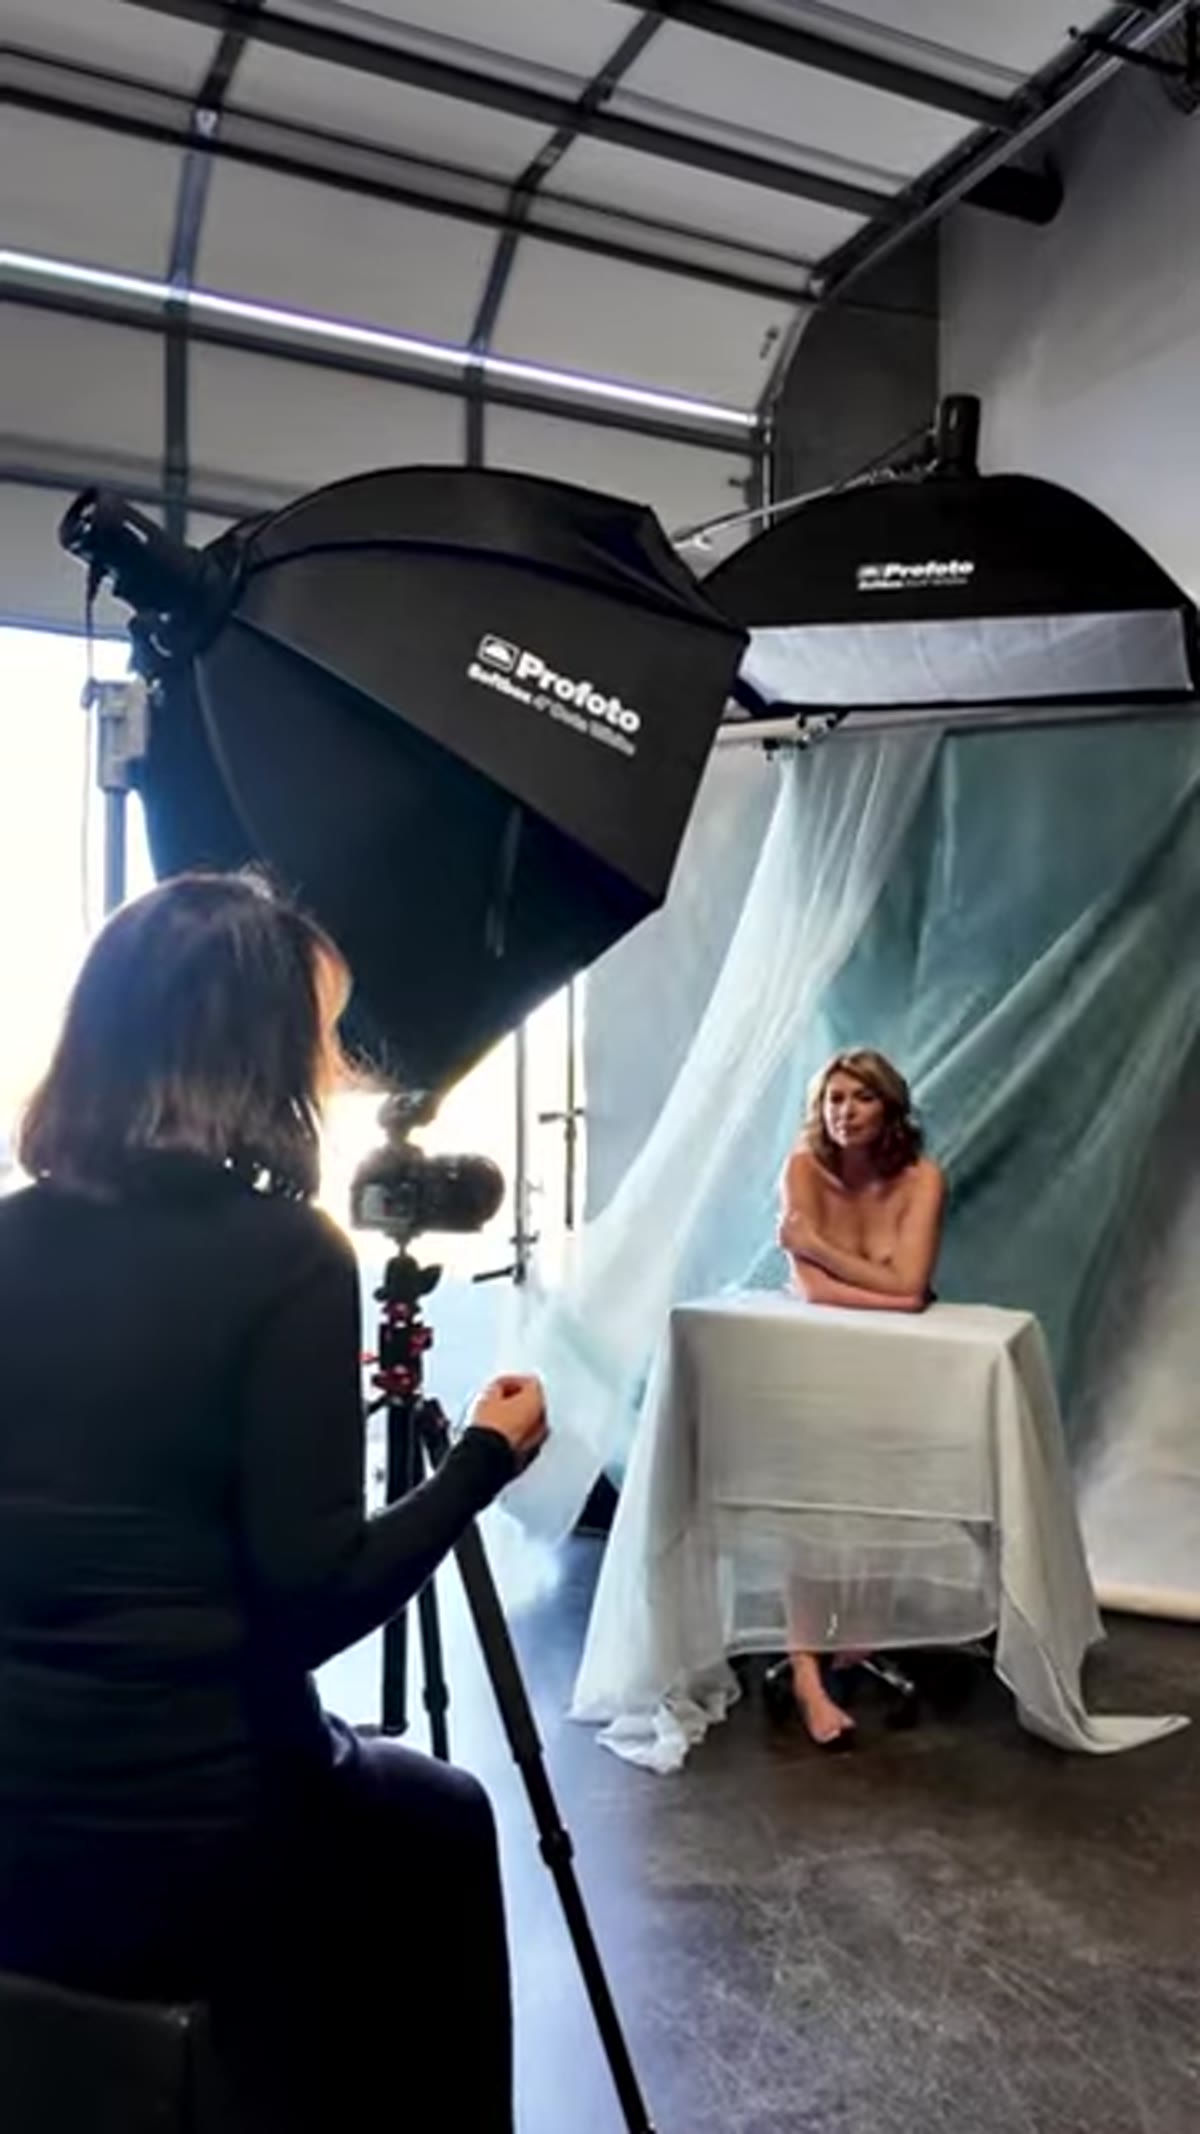 Large octabox positioned at camera-left as main light source
The 4-foot octa comes in as the primary source, positioned at roughly camera-left. At 4 feet, it’s large enough to wrap light around the subject’s form without going so large that it starts to lose directionality. It reads as soft, but there’s still enough shape to the light that you can see it sculpting the face.
Large octabox positioned at camera-left as main light source
The 4-foot octa comes in as the primary source, positioned at roughly camera-left. At 4 feet, it’s large enough to wrap light around the subject’s form without going so large that it starts to lose directionality. It reads as soft, but there’s still enough shape to the light that you can see it sculpting the face.
For positioning, Bryce keeps it close to the subject rather than backing it off. Closer placement makes the light source appear larger relative to the subject, which increases softness and wrap. A light at 3 feet from the subject will be significantly softer than the same modifier at 6 feet. Don’t be afraid to get the modifier into the frame and crop it out, especially if you’re shooting tighter.
Step 5: Set the Ratio Between the Two Lights
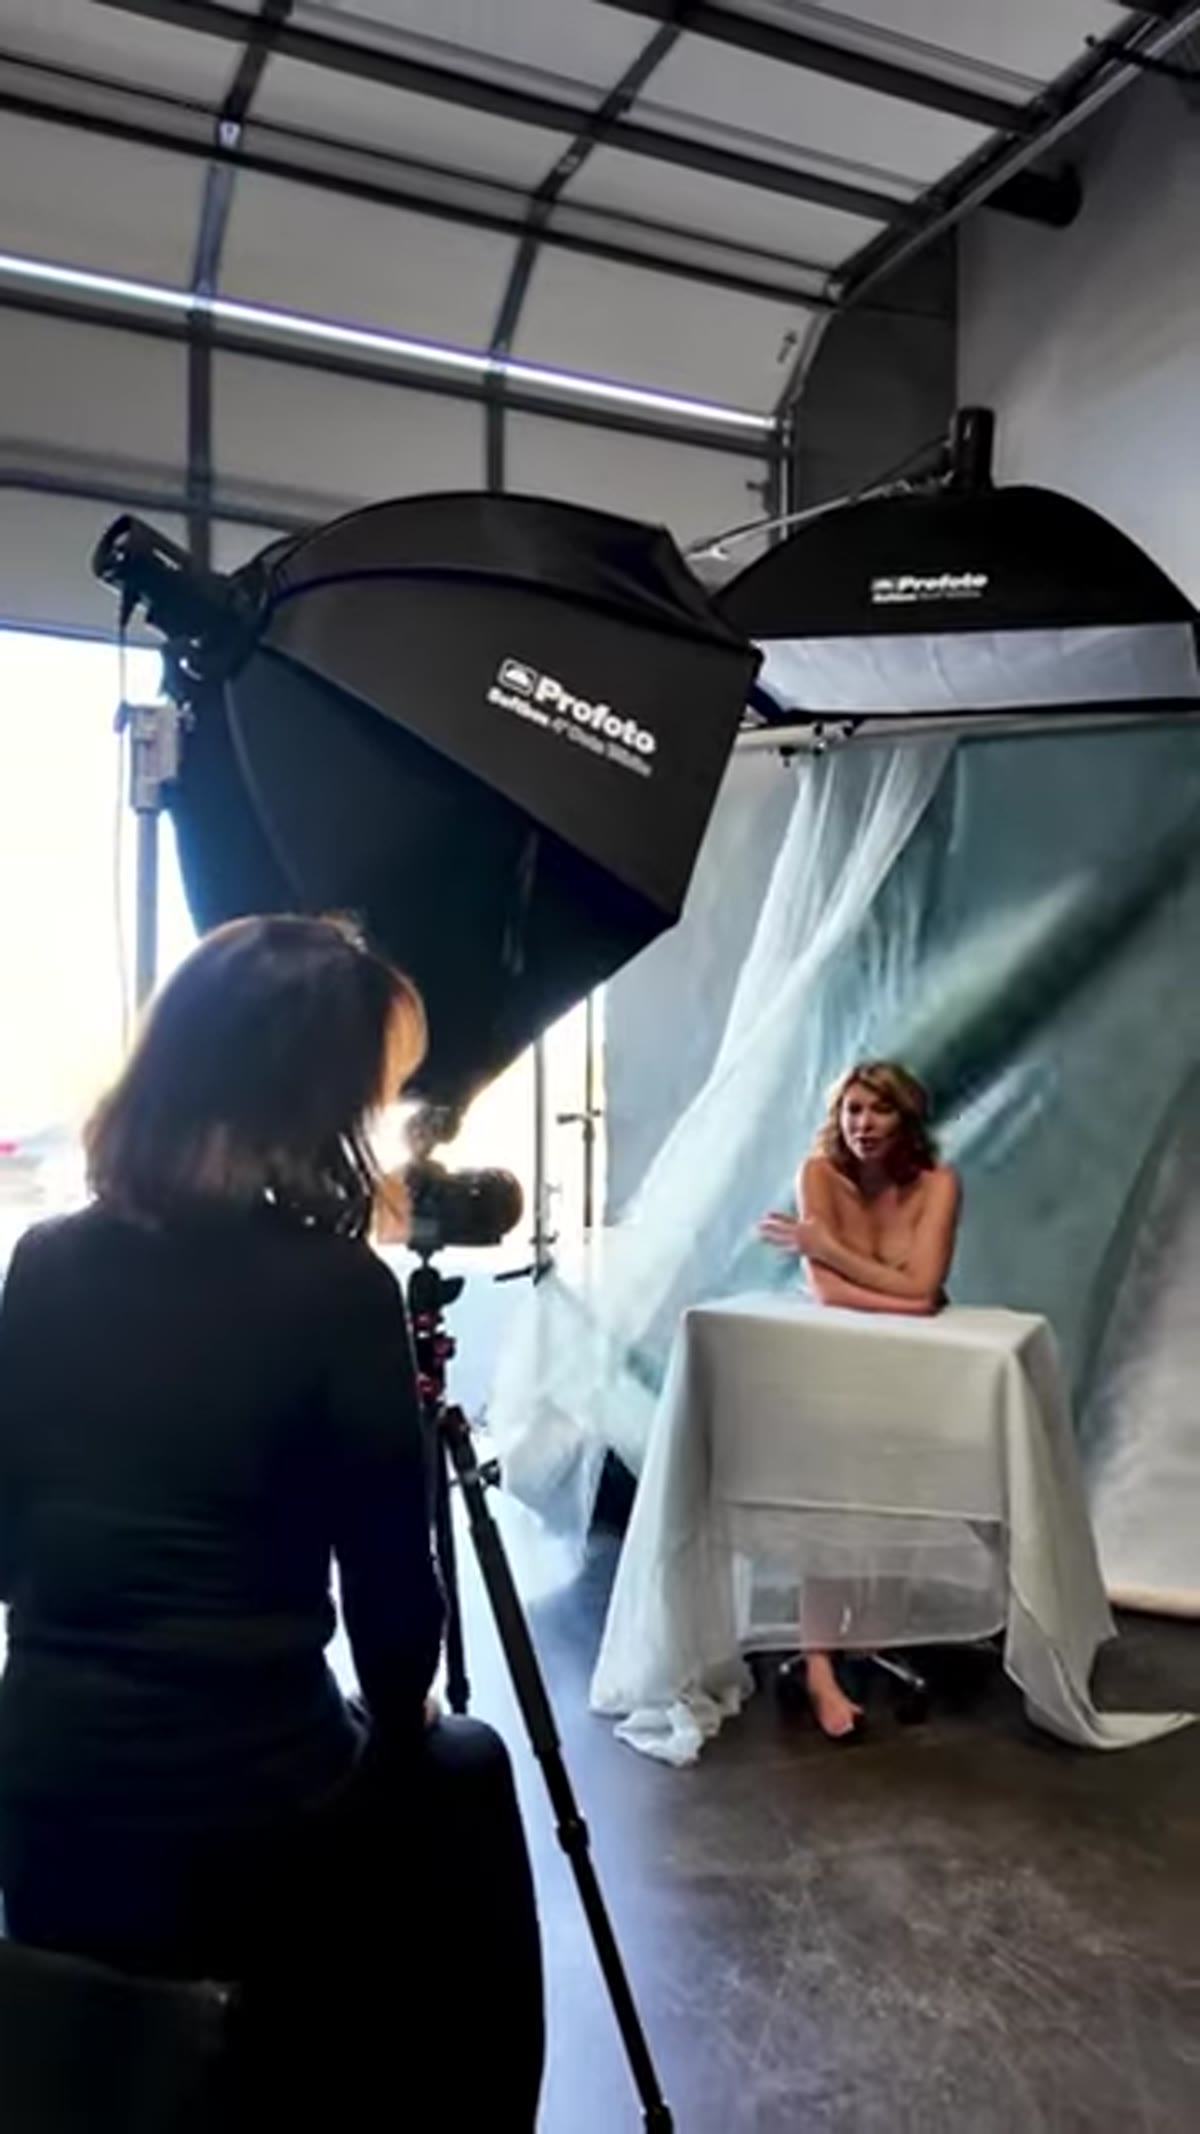 Sue adjusting power output on Profoto light head
Both lights are running at the same diffusion level, but the top light should be dialed back slightly relative to the main. Bryce doesn’t give exact power numbers here, which is actually the right instinct to share, because the correct ratio depends on your specific studio, your walls, and your subject. What matters is the principle: the main light controls exposure and does the primary work of rendering the face. The top light adds dimension and separation without competing.
Sue adjusting power output on Profoto light head
Both lights are running at the same diffusion level, but the top light should be dialed back slightly relative to the main. Bryce doesn’t give exact power numbers here, which is actually the right instinct to share, because the correct ratio depends on your specific studio, your walls, and your subject. What matters is the principle: the main light controls exposure and does the primary work of rendering the face. The top light adds dimension and separation without competing.
Start with the top light at roughly half the power of the main and adjust from there. If the top light is creating a visible secondary shadow under the chin or on the chest, it’s too powerful. If the hair and shoulders feel flat, bring it up.
Step 6: Pose Around the Story, Not Just the Body
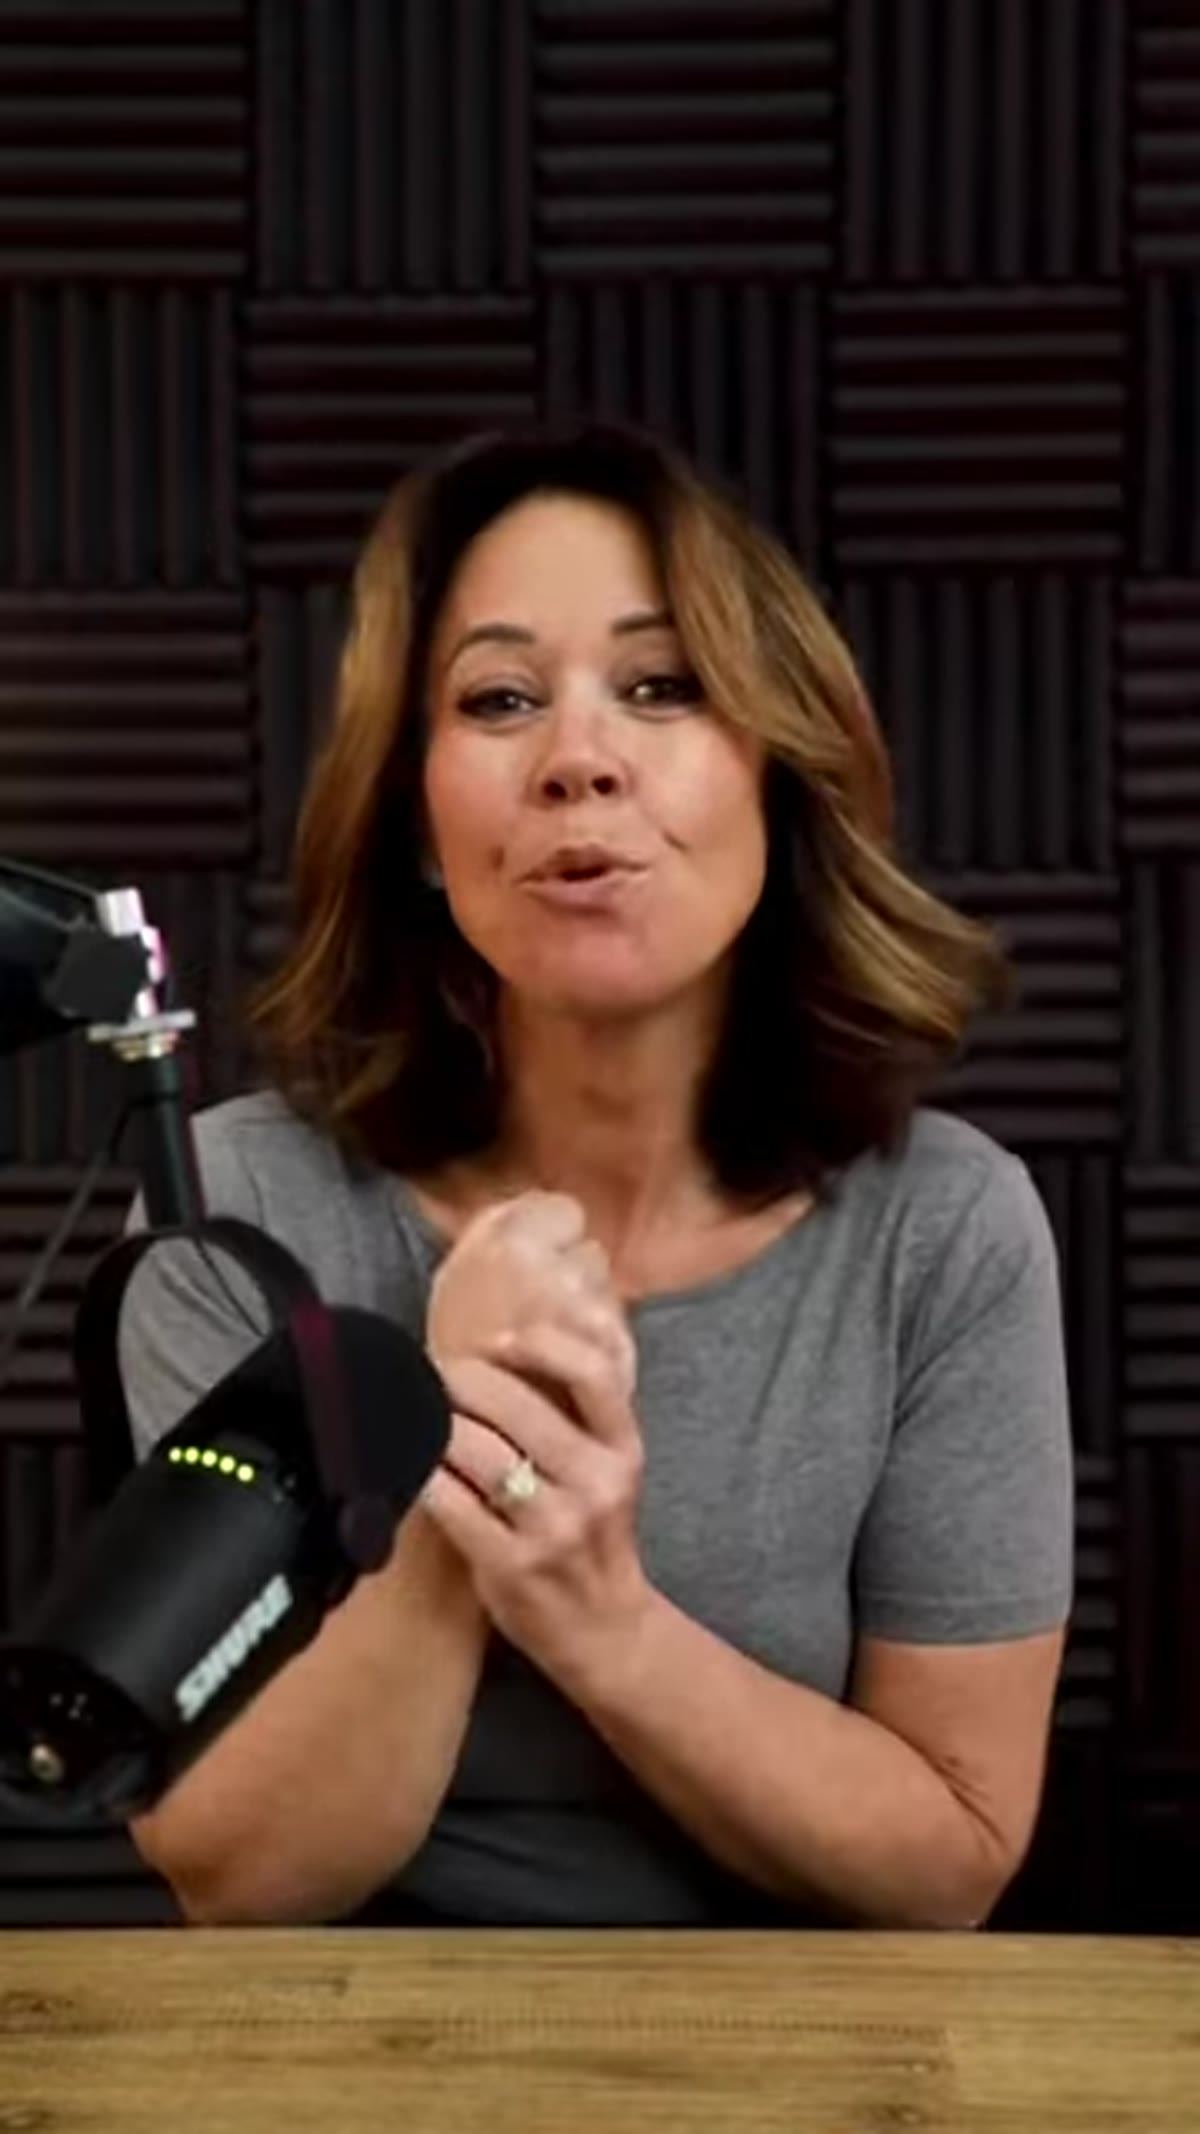 Sue directing Sam during the portrait session
This is where the tutorial shifts from lighting into something more difficult to systematize. Bryce had set up the lights correctly, started shooting, and still wasn’t connecting with the work. She walked away, came back, and recognized that she’d been treating her subject as a pose rather than a person. Sam’s story, growing up limb-different and being raised with the belief she could do anything, became the actual subject of the session. That shift changed everything about how Bryce directed the session.
Sue directing Sam during the portrait session
This is where the tutorial shifts from lighting into something more difficult to systematize. Bryce had set up the lights correctly, started shooting, and still wasn’t connecting with the work. She walked away, came back, and recognized that she’d been treating her subject as a pose rather than a person. Sam’s story, growing up limb-different and being raised with the belief she could do anything, became the actual subject of the session. That shift changed everything about how Bryce directed the session.
For the technical photographer, the lesson here is that posing and direction are not two separate things. If you’re directing someone’s hands, their chin, their weight distribution without understanding what they want to feel in these photographs, you’re arranging a body rather than making a portrait.
What I’d Add from My Own Studio Practice
The setup Bryce describes is nearly identical to one I’ve been running for years, but I’d add one calibration step she doesn’t mention: shoot a gray card and a color checker under these lights before your subject steps in. White-interior softboxes can render slightly cooler than silver-interior equivalents, and if you’re mixing this with any ambient or practical light in the room, color temperature drift is subtle enough that you won’t catch it until you’re editing. I learned this the hard way on an early editorial job. Calibrate first. The two minutes it takes will save you an hour in post.
The single most useful thing in this tutorial isn’t the modifier choice or the power settings. It’s the reminder that the most technically correct setup in the world produces flat, forgettable work if you’re not photographing something that means something. Get the lights right. Then ask yourself why you’re making the picture.
Watch the full tutorial on YouTube
Comments
Leave a Comment