The Problem Every Studio Photographer Eventually Hits
Last spring I took on a half-day editorial booking where the original studio fell through eighteen hours before the shoot. The backup space was nothing like what I’d planned around. Different ceiling height, different wall surfaces, and a window situation that made my planned key light position useless. I rebuilt every setup from scratch on the floor of a stranger’s studio while my stylist was still steaming garments in the corner. It went fine. But I was reminded that adaptability is a skill you have to deliberately practice, not something that just comes along with experience.
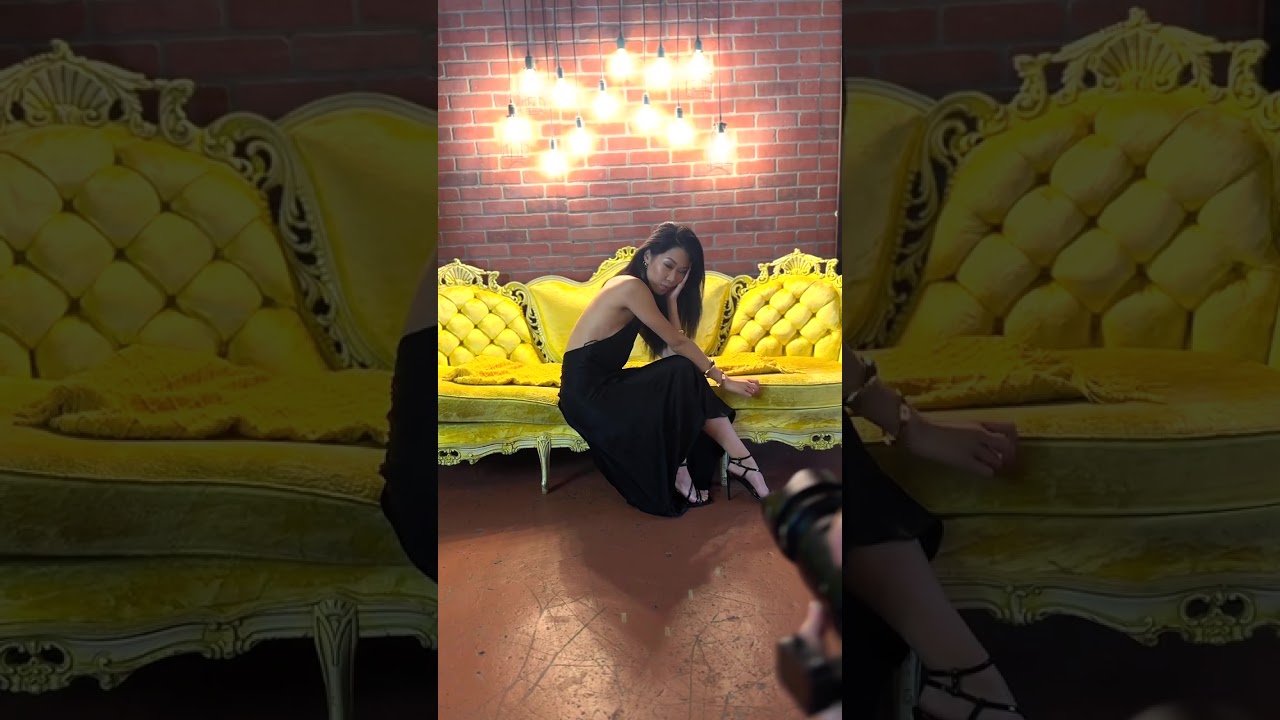
That’s why I keep coming back to footage of photographers working in unfamiliar spaces. Watch the full tutorial on YouTube - in this Tony and Chelsea Northrup tutorial, Tony and his co-instructor Kash walk through three distinct studio environments in a single afternoon at FD Studios in Long Island City. The conceit is a December workshop, but what the video actually delivers is a clinic in reading a space and building a portrait setup from whatever the room gives you.
Reading a Daylight Cyc Without Overcomplicating It
The first studio is a daylight cyclorama. A cyc is one of those environments that looks effortless in the final image and can wreck you if you don’t understand how diffuse, directionless light behaves. The wall curves into the floor so there’s no corner shadow, and the natural light wraps broadly around the subject.
Tony’s approach here is disciplined. Rather than fighting the flat quality of a cyc, he works with it, using the existing softness as a base and then adding one directional source to give the light some shape and dimension. The key is restraint. A cyc already does a lot of the work, and photographers who pile modifiers on top of it end up canceling out the very quality that makes the space useful. One fill source, one directional key, and careful attention to where your subject stands relative to the light source. Position matters more than gear in this environment.
The Wood Platform Set and the Problem of Beautiful Practical Light
The second studio has a wood platform floor and large windows. This is the kind of set that photographs itself in the wrong hands and nothing but heartbreak in the right ones. Window light is seductive. It also changes constantly, shifts color temperature throughout the day, and creates exposure inconsistency between frames that can ruin a sequence.
Tony addresses this directly. The solution isn’t to block the windows or pretend they’re not there. It’s to treat them as a motivated source and balance your artificial fill to match them. The practical light from the windows becomes your key, and you shape everything else around that anchor. This requires metering carefully and probably reshooting your gray card more than once if the session runs long. When I shoot in spaces with strong practical windows, I keep a folded piece of diffusion material in my bag to tape over the glass if the sun moves into direct contact. Brutal direct sunlight through a large window is not window light. It’s a point source wearing window light’s clothes.
RGB Blackout Studio: When Color Becomes the Subject
The third space is where things get technically interesting. It’s a full blackout studio with RGB lighting capabilities, meaning you can dial any color into your sources. Tony and Kash use this to demonstrate how color temperature and hue choices affect skin tone in ways that standard white light simply can’t replicate.
The practical lesson here is not “use colored lights because they’re fun.” It’s that color in light has a directionality to it just like intensity does. A saturated blue rim light at the wrong angle turns a subject’s skin grey. The same light repositioned and reduced in saturation by thirty percent can create depth and drama without looking like a Halloween costume. Tony walks through specific positioning choices, keeping the colored sources away from the face as keys and using them instead as separation and background elements. The subject’s face stays lit with a neutral or warm source. This is the foundation. Break it deliberately only when you understand why it works.
Where I’d Push Back, Slightly
My one reservation with the approach shown in the blackout studio segment is the reliance on in-camera preview for color decisions. I understand why that works for a teaching environment where you need to show results quickly. In a commercial context, though, I’d want a tethered monitor that’s been properly calibrated and ideally a quick export to proof against the client’s brand colors before committing to a full sequence. I’ve had shoots where the studio monitor looked perfect and the delivered files had a magenta cast that only showed up in print. That experience is why I calibrate my display every morning I shoot and keep a small reference card of approved skin tones taped to the back of my laptop. Old habit. Probably overkill. But I’ve never had a color complaint since I started doing it.
The Skill That Actually Scales
The underlying lesson across all three studios is the same. Tony and Kash are demonstrating that a skilled photographer’s real asset is not a particular modifier or a preferred light placement. It’s the ability to assess what a space already does well, build a setup that amplifies those strengths, and not introduce elements that fight against the room’s natural behavior. That’s the skill that scales to any location, any budget, and any client brief.
Watch the full tutorial on YouTube to see Tony and Kash move through each environment in real time. The visual context makes the positioning decisions click in a way that description alone can’t fully replace.
Comments (6)
Love how you break down complex stuff into manageable steps.
Shared this with my photography group. Everyone loved it.
The before and after really sells it. Incredible difference.
Love this. I referenced a similar technique in one of my recent posts. Always good to see other perspectives.
This is going in my reference folder. Incredibly useful.
Just used this on a wedding shoot edit. Client was thrilled.
Leave a Comment