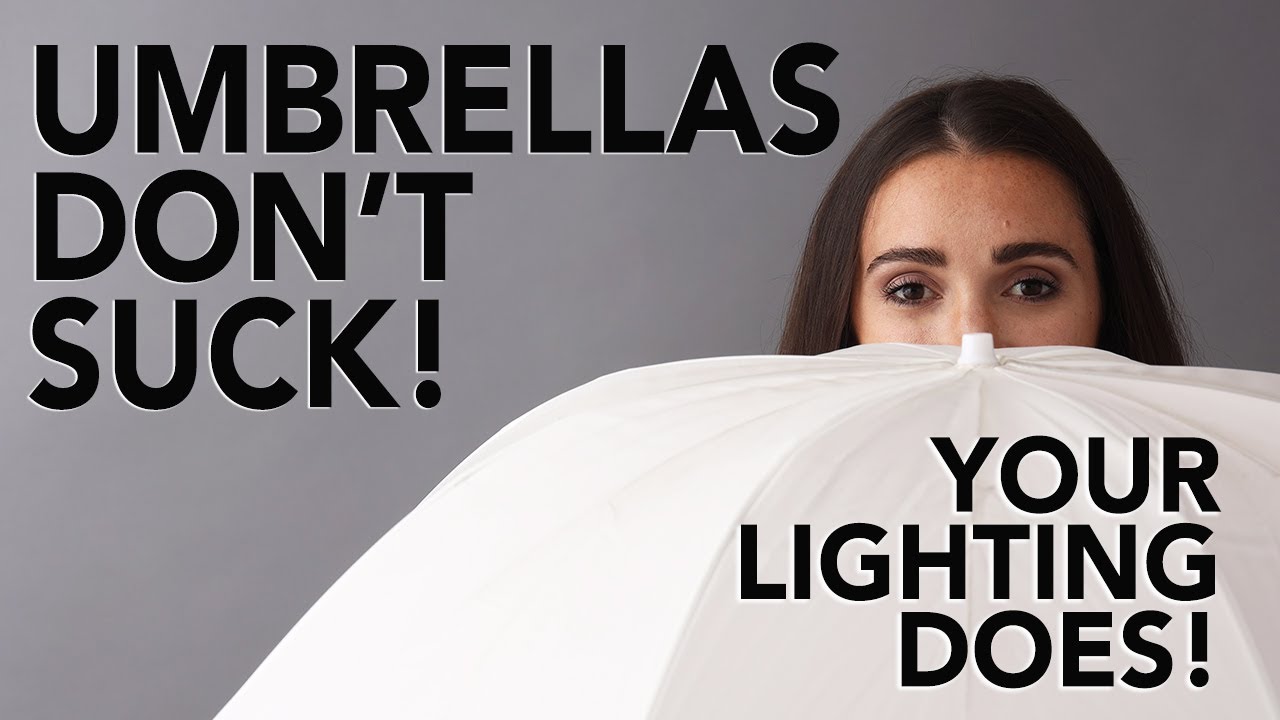
I keep a masking tape label on every light in my studio. It sounds obsessive until you’re mid-shoot, your assistant is asking which head to pull, and you can’t afford to guess. That same obsessive attention to detail is what eventually brought me back to umbrellas after years of defaulting to softboxes for nearly everything. I’d written them off as beginner gear, the kind of thing you graduate from once you can afford better. I was wrong, and a recent tutorial from JP Morgan over at The Slanted Lens finally gave me the vocabulary to explain why.
Watch the full tutorial on YouTube
In this The Slanted Lens tutorial, JP walks through umbrella types, sizing, setup geometry, and shoots a portrait comparison that makes the quality differences impossible to ignore. What struck me most is that the core problem most photographers have with umbrellas isn’t the modifier itself. It’s that they never learned to set one up correctly. Once you understand the geometry of how the flash head relates to the umbrella canopy, the whole tool changes.
Step 1: Understand What Umbrellas Actually Offer (and Where They Fall Short)
 JP listing umbrella pros including light quality and cost
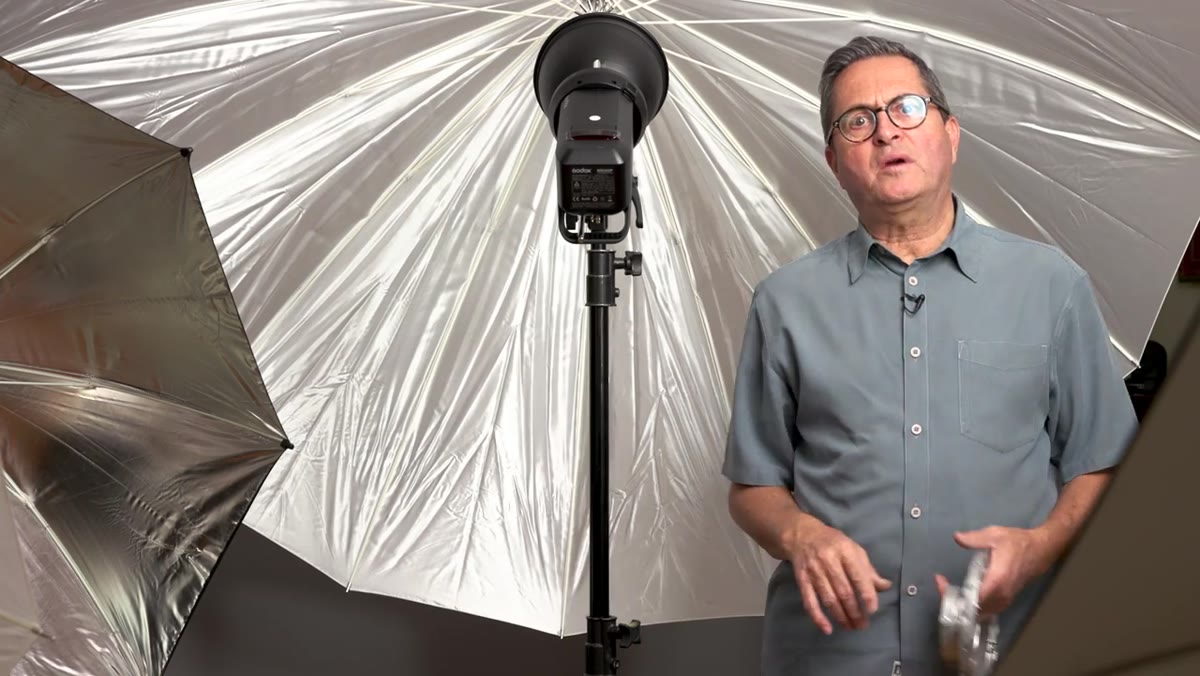
Before you touch a modifier, you need to know what job it’s built for. Umbrellas produce genuinely beautiful, soft light, especially at larger sizes. They’re also inexpensive enough that you can afford to put them on background lights, bounce one into a ceiling, and still have money left over. For anyone building out a multi-light setup on a real-world budget, this matters. A single large softbox can cost what three or four good umbrellas cost combined.
JP listing umbrella pros including light quality and cost
Before you touch a modifier, you need to know what job it’s built for. Umbrellas produce genuinely beautiful, soft light, especially at larger sizes. They’re also inexpensive enough that you can afford to put them on background lights, bounce one into a ceiling, and still have money left over. For anyone building out a multi-light setup on a real-world budget, this matters. A single large softbox can cost what three or four good umbrellas cost combined.
The limitations are real, though. Umbrellas scatter light in all directions. You cannot add a grid to narrow the coverage angle the way you can with a softbox. If you need precise control over where the light falls and where it doesn’t, a softbox will always give you more options. Umbrellas reward photographers who know how to work with flags and who understand how light behaves in a room, not just on a subject.
Step 2: Set the Flash Head Position Before You Do Anything Else
 Flash head positioned too close to umbrella canopy
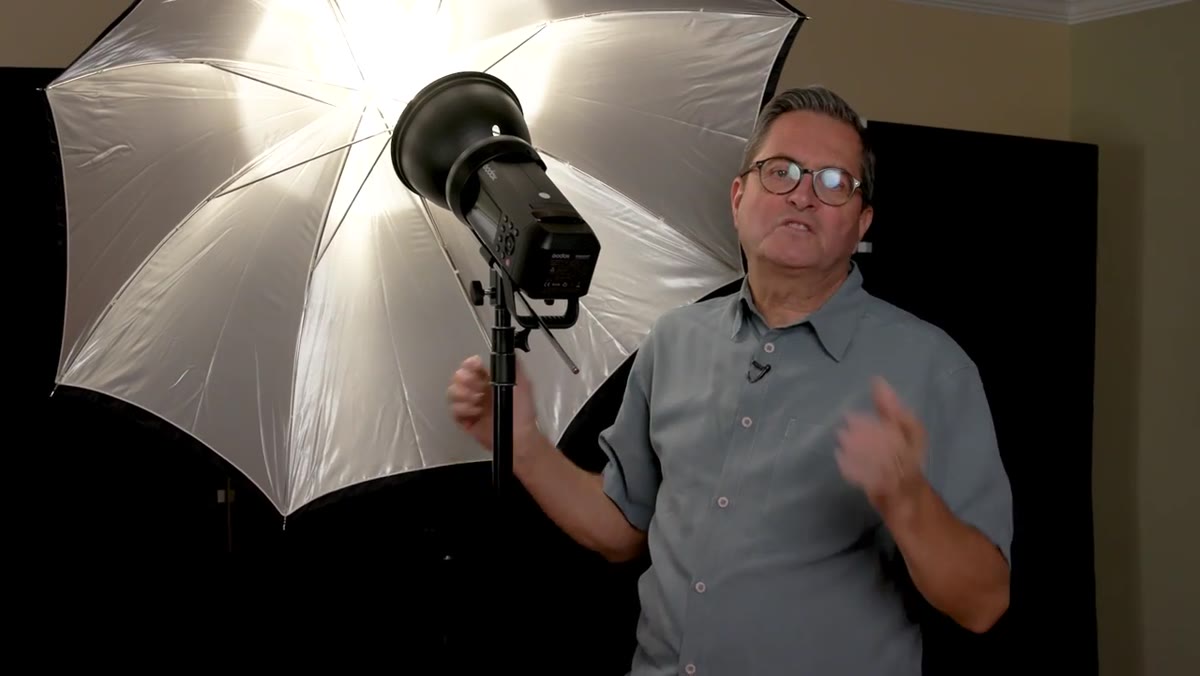
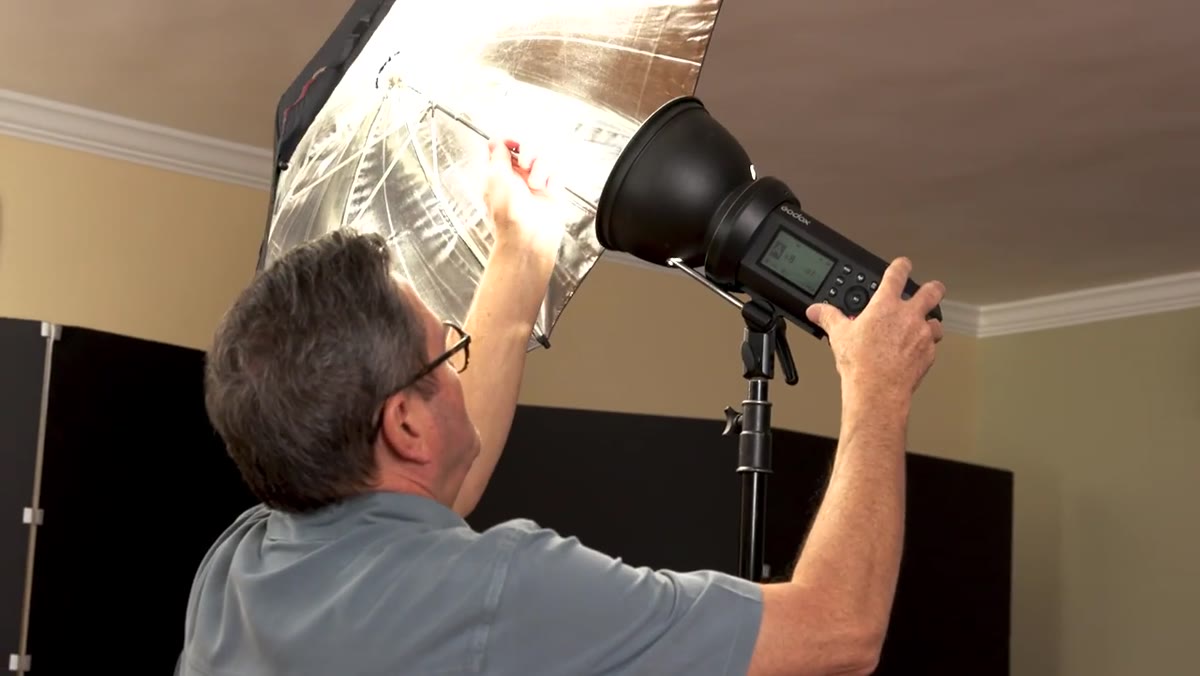
This is the step most photographers skip, and it’s where the tool earns its bad reputation. When a strobe head sits too close to the umbrella, it only illuminates a small central area of the canopy. That tight hot spot makes the effective light source much smaller than the umbrella itself, which produces harder, less flattering light. You’ve paid for a 60-inch umbrella and you’re getting the output of a reflector dish.
Flash head positioned too close to umbrella canopy
This is the step most photographers skip, and it’s where the tool earns its bad reputation. When a strobe head sits too close to the umbrella, it only illuminates a small central area of the canopy. That tight hot spot makes the effective light source much smaller than the umbrella itself, which produces harder, less flattering light. You’ve paid for a 60-inch umbrella and you’re getting the output of a reflector dish.
Pull the flash head back along the umbrella shaft until the light spreads to fill the entire canopy. The goal is even illumination across the full surface. When you get there, you have a genuinely large light source, and size is the variable that controls softness more than anything else. Push the head too far back and the light starts spilling outside the umbrella edges, which wastes output and creates unpredictable fill on your set. Find the position where the coverage is full but contained, and lock it there.
Step 3: Know the Three Umbrella Types and What Each One Does
 JP introducing silver, shoot-through, and bounce umbrella comparison
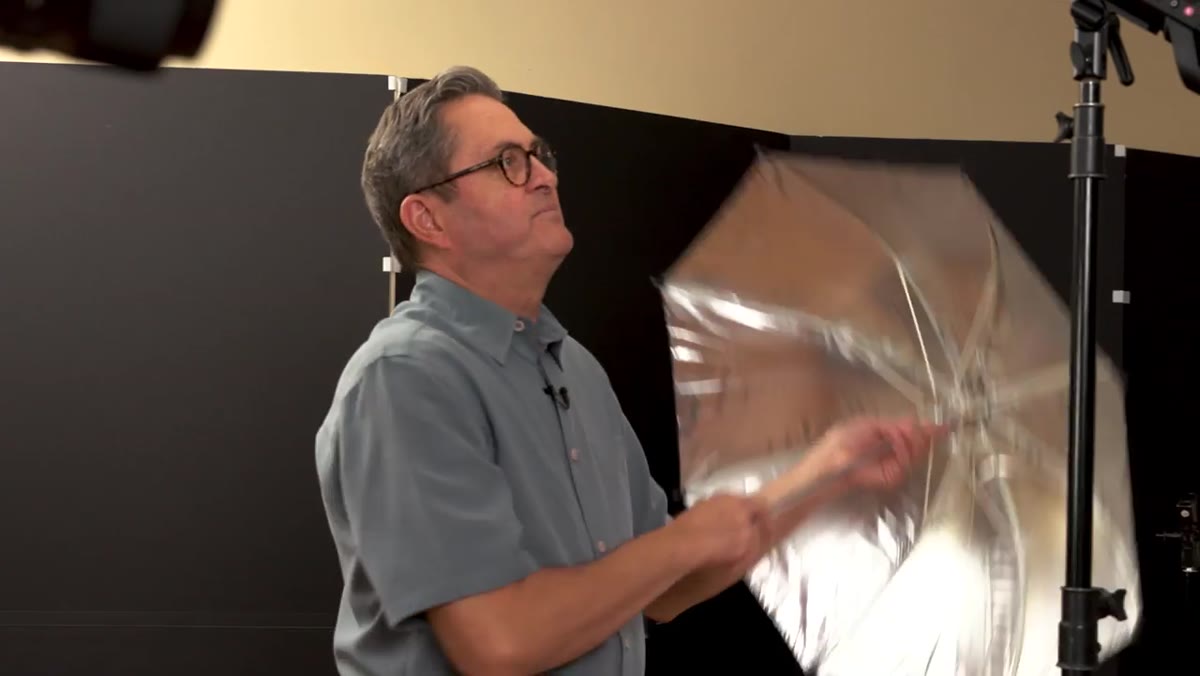
The tutorial compares three distinct umbrella types side by side on the same subject, which is the clearest way to understand the differences. A silver-lined umbrella reflects light back toward the subject with more punch and a slightly cooler, more specular quality. It’s efficient and works well when you need more output from a smaller light.
JP introducing silver, shoot-through, and bounce umbrella comparison
The tutorial compares three distinct umbrella types side by side on the same subject, which is the clearest way to understand the differences. A silver-lined umbrella reflects light back toward the subject with more punch and a slightly cooler, more specular quality. It’s efficient and works well when you need more output from a smaller light.
A white bounce umbrella does the same thing but produces a softer, warmer, and more diffused result. It loses more light in the process, so you’ll need to compensate with power. A shoot-through umbrella is aimed directly at the subject with the flash firing through the translucent white fabric. This creates a very large, soft, wrapping light source and gives you the added ability to move the light closer to your subject than a bounce umbrella allows, because the subject is facing the fabric directly. Each type has a logical use case. Knowing which to reach for is the skill.
Step 4: Compare Sizes Deliberately, Not Just by Gut Feel
 Side-by-side umbrella size comparison on subject’s face
JP shoots the same portrait setup with different umbrella sizes to show the actual change in light quality on skin. This is something I do with every new modifier the day it arrives, and I’d encourage you to build the same habit. The difference between a 43-inch and a 64-inch umbrella is not subtle when the light source is close to the subject. Larger umbrellas wrap around the face and fill in shadow transitions more gradually. Smaller umbrellas produce more defined shadows and a slightly more dramatic look.
Side-by-side umbrella size comparison on subject’s face
JP shoots the same portrait setup with different umbrella sizes to show the actual change in light quality on skin. This is something I do with every new modifier the day it arrives, and I’d encourage you to build the same habit. The difference between a 43-inch and a 64-inch umbrella is not subtle when the light source is close to the subject. Larger umbrellas wrap around the face and fill in shadow transitions more gradually. Smaller umbrellas produce more defined shadows and a slightly more dramatic look.
The key variable here is not just the size of the modifier but the distance from the modifier to the subject. A large umbrella pulled far back behaves more like a small source. Move it close and you get that soft, wrapping quality that used to define studio portrait work in the pre-softbox era. If you’re shooting beauty or fashion editorial, try a large shoot-through umbrella placed within two to three feet of your subject. The shadow falloff on facial features becomes almost painterly.
Step 5: Use the Shoot-Through Setup for Portraits
 Shoot-through umbrella positioned close to subject for portrait
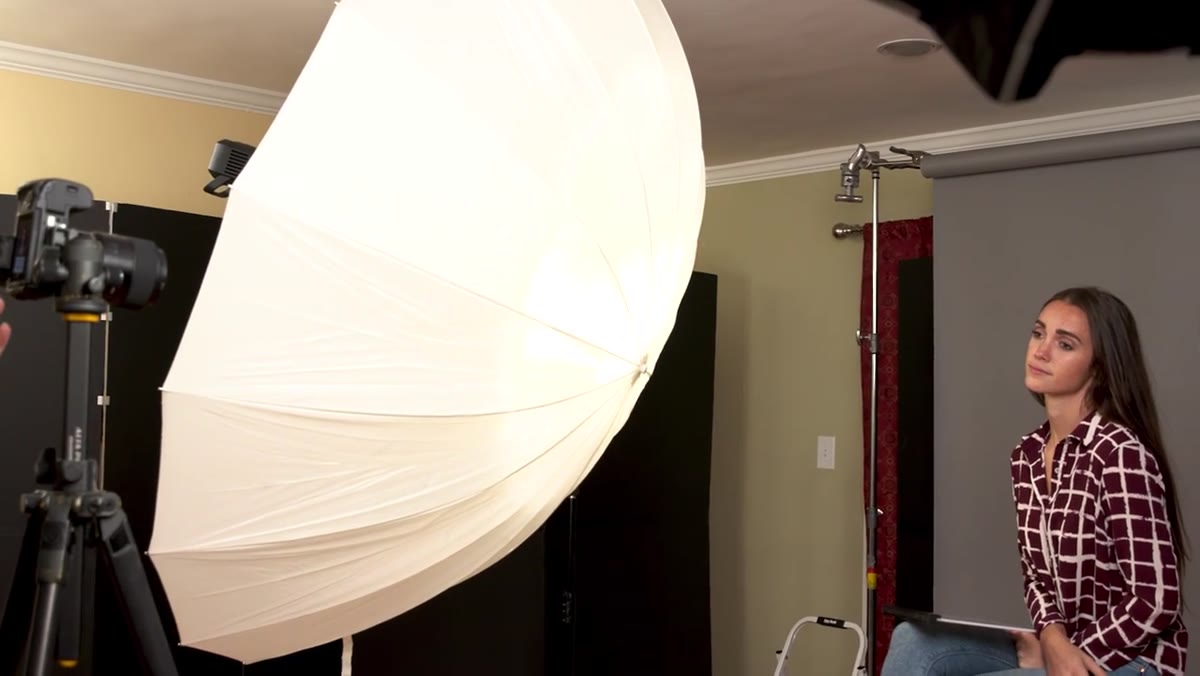
The tutorial builds toward a full portrait using a shoot-through umbrella, and the result is the strongest argument for reconsidering the tool entirely. Position the shoot-through umbrella so the white fabric faces the subject. The flash fires from behind the umbrella, through the material, and spreads into a wide, enveloping source. Because you’re placing the fabric itself between the strobe and the subject, you can position it very close without the hardware of a softbox getting in the way.
Shoot-through umbrella positioned close to subject for portrait
The tutorial builds toward a full portrait using a shoot-through umbrella, and the result is the strongest argument for reconsidering the tool entirely. Position the shoot-through umbrella so the white fabric faces the subject. The flash fires from behind the umbrella, through the material, and spreads into a wide, enveloping source. Because you’re placing the fabric itself between the strobe and the subject, you can position it very close without the hardware of a softbox getting in the way.
For a clean single-light portrait, place the umbrella at roughly 45 degrees to the subject’s face, slightly above eye level, angled down. If the light is spilling onto your background more than you want, move the subject further from the background or use a flag on the camera-opposite side of the umbrella to cut the spread. This setup is fast to build, easy to adjust, and produces images that hold up against setups twice as complicated.
What I’ve Added From My Own Work
The one thing I’d layer on top of this tutorial is color temperature awareness. White shoot-through umbrellas tend to run slightly warmer than silver bounce umbrellas, and if you’re mixing umbrella types across a multi-light setup, those small differences show up in skin tone when you’re doing careful retouching. I set a custom white balance on every shoot and I note the modifier combination in the lighting journal I keep for every set. It sounds like extra work. It has saved me hours of color correction.
The single most important idea in this tutorial is that the umbrella’s reputation problem is almost entirely a setup problem. Most photographers never learned to position the flash head correctly relative to the canopy, and they blamed the modifier for producing mediocre light. Dial in that head position, choose the right umbrella type for the quality you’re after, and get the modifier close to your subject. You’ll be surprised what you’ve been leaving on the table.
Watch the full tutorial on YouTube and pay particular attention to the side-by-side comparisons. Seeing the light change on the same face across modifier types and sizes is worth more than any written explanation.
Comments
Leave a Comment