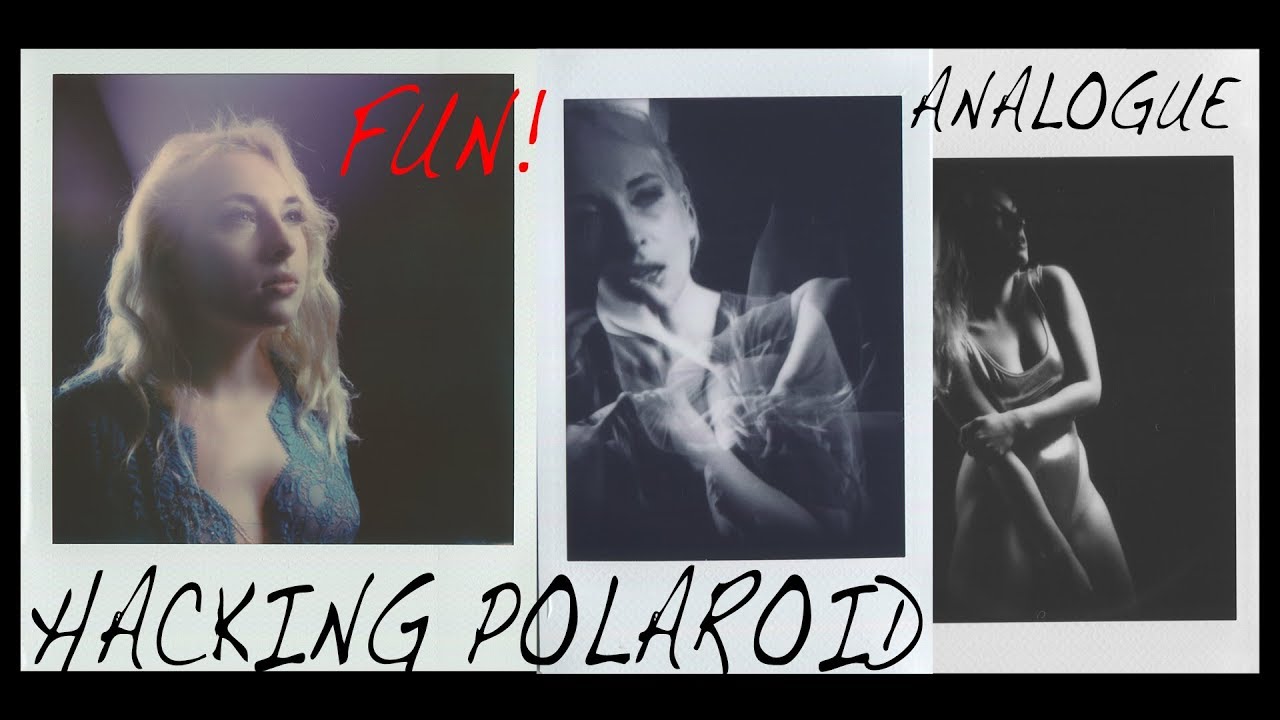
There’s a problem every studio photographer eventually runs into: you’re lighting a subject, your digital camera is doing its own quiet negotiating with TTL, and you’re never quite sure whether what you’re seeing on the back of the camera is the light or the firmware. I’ve been in sessions where I thought I had the setup locked, only to find the exposure drifting between frames because the camera kept second-guessing me. What I needed was a fixed reference point. Something that couldn’t auto-correct itself.
That’s why I stopped when I came across this approach. In this Daniel Norton Photographer tutorial, Daniel does something that initially sounds backwards: he uses a digital camera tethered via TTL to set up the exposure for a Polaroid with manual settings. The older workflow ran the other direction. You burned a Polaroid to check the light before shooting film. Here the logic flips, and it’s genuinely useful for anyone who wants a hard, physical record of what their lighting actually did at specific settings.
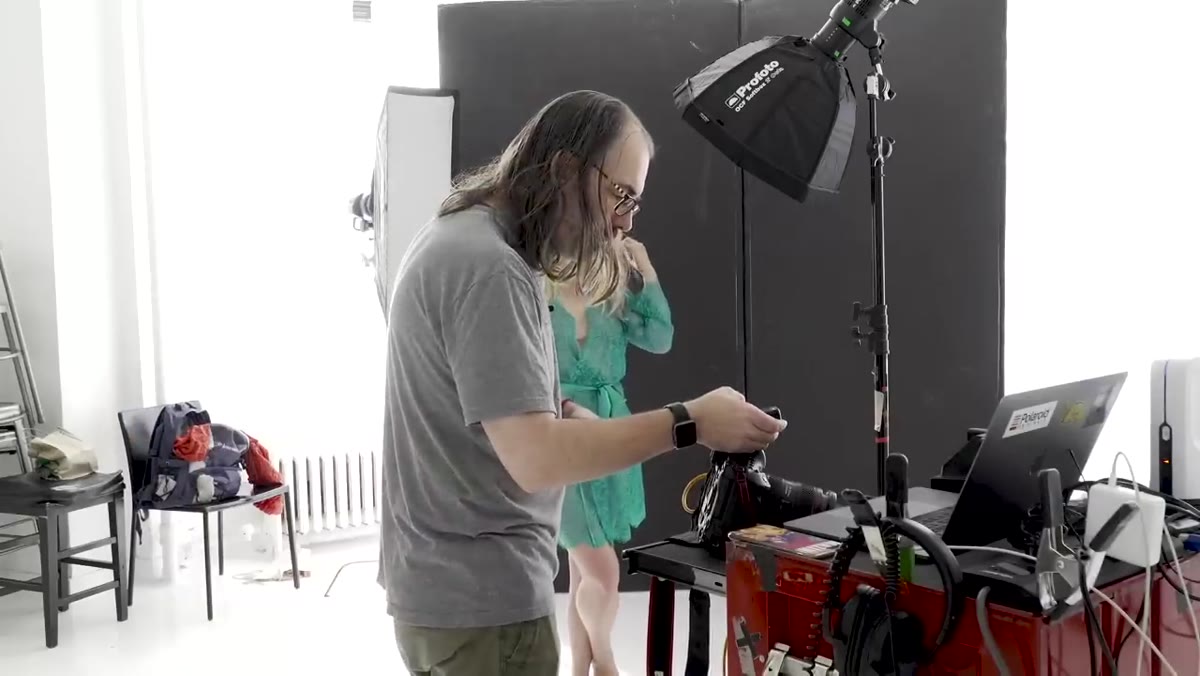
Daniel’s subject is Aurora, and the goal is a dramatic, moody portrait built around strong side light and separation. He’s working with a Profoto D1 and a two-foot octagon with a grid, plus a 1x3 strip light for hair separation. The whole session is a clear example of building a portrait lighting setup one source at a time, which is how I work every time I sketch a new setup into my lighting journal.
Step 1: Know Your Film’s Exposure Parameters
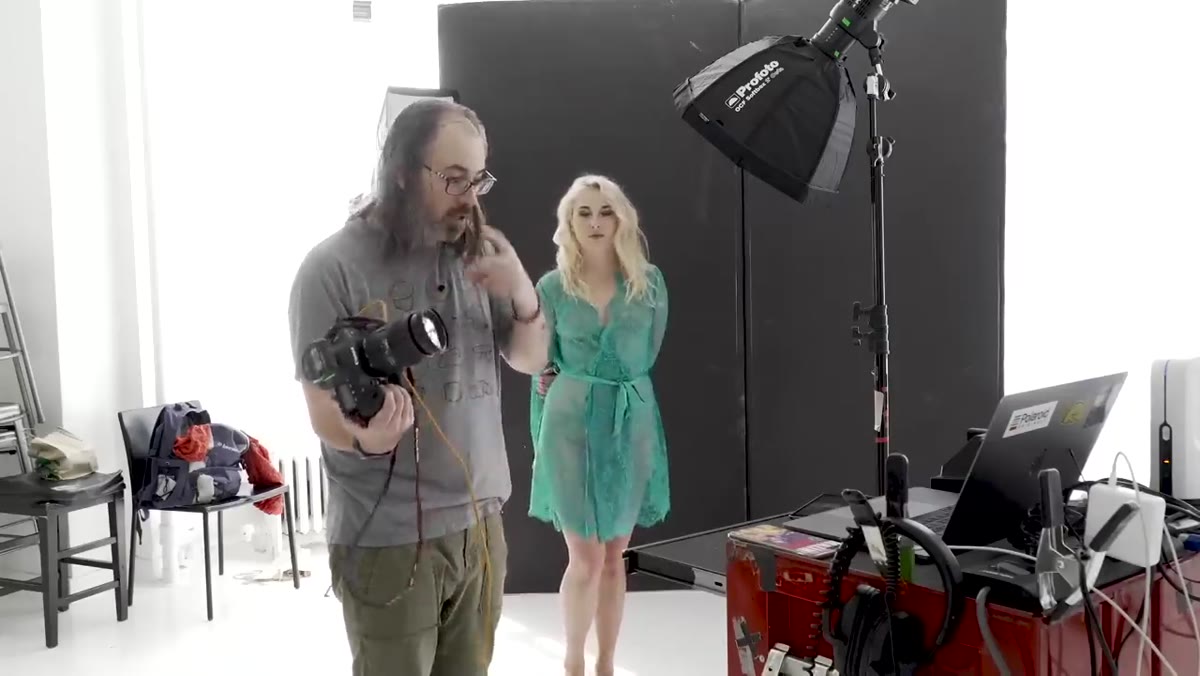 Daniel checking ISO and aperture range written on film box
Before anything is powered on, Daniel reads the film box. The Polaroid Originals film he’s using rates at ISO 640. The camera’s aperture range runs from roughly f/1.2 on the wide end to f/64, and he chooses f/16 as his working aperture. Shutter speed is set to 1/125. These three numbers define the entire exposure triangle for the session, and they don’t move once you’ve committed.
Daniel checking ISO and aperture range written on film box
Before anything is powered on, Daniel reads the film box. The Polaroid Originals film he’s using rates at ISO 640. The camera’s aperture range runs from roughly f/1.2 on the wide end to f/64, and he chooses f/16 as his working aperture. Shutter speed is set to 1/125. These three numbers define the entire exposure triangle for the session, and they don’t move once you’ve committed.
This is the step most people skip, or handle loosely. If you don’t know the film speed precisely, everything downstream is guesswork. With digital you can chimp and adjust. With instant film you’re burning a frame every time you’re wrong.
Step 2: Verify Your Ambient Light Is Not a Factor
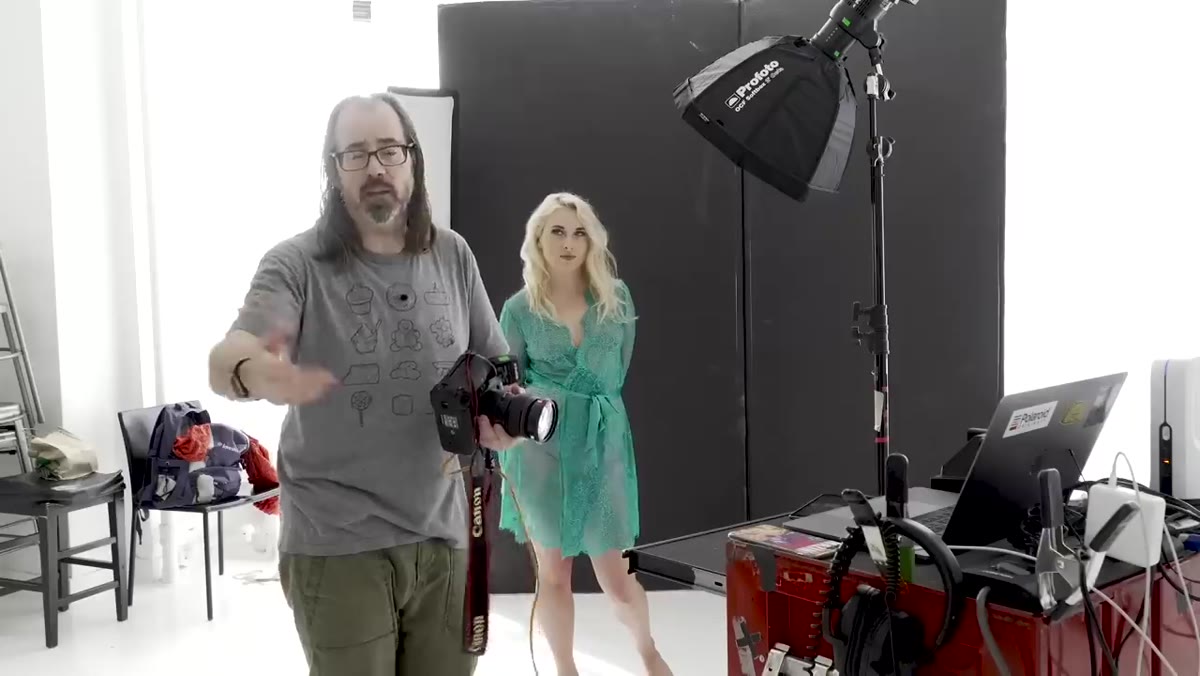 Test frame showing near-black result with no flash fired
With the settings locked at ISO 640, f/16, and 1/125, Daniel fires a frame with no flash at all. The result should be a black frame, or close to it. His studio is bright, so it’s not a perfect black, but it’s dark enough to confirm that the flash will be doing all the work. The ambient light contribution is negligible.
Test frame showing near-black result with no flash fired
With the settings locked at ISO 640, f/16, and 1/125, Daniel fires a frame with no flash at all. The result should be a black frame, or close to it. His studio is bright, so it’s not a perfect black, but it’s dark enough to confirm that the flash will be doing all the work. The ambient light contribution is negligible.
This is a test I run on every tethered shoot, and I mark it in my session notes with a simple “ambient: negligible” or “ambient: contributing.” At f/16 and 1/125 in a daylight-controlled studio, you’ll almost always be safe. But if you skip this check and your ambient is leaking into the shot, you’ll be chasing exposure problems that have nothing to do with your flash output.
Step 3: Set Up and Evaluate Your Key Light Alone
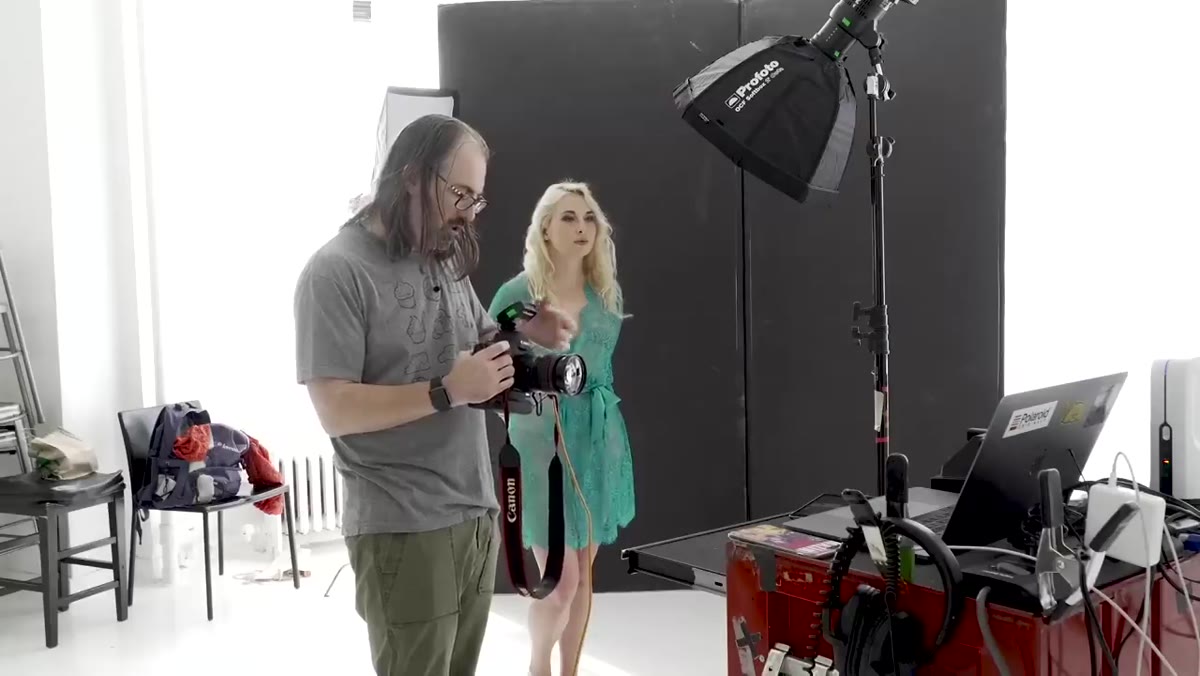 Single octagon light illuminating subject from the side
Daniel brings in only the key light first: the Profoto D1 firing through a two-foot octagon with a grid. The grid matters here because it controls spill and keeps the light directional. He also has a V-flat positioned behind the subject to push the background toward black, increasing contrast. Shooting at 35mm on his digital camera keeps the framing consistent with what the Polaroid’s lens will see.
Single octagon light illuminating subject from the side
Daniel brings in only the key light first: the Profoto D1 firing through a two-foot octagon with a grid. The grid matters here because it controls spill and keeps the light directional. He also has a V-flat positioned behind the subject to push the background toward black, increasing contrast. Shooting at 35mm on his digital camera keeps the framing consistent with what the Polaroid’s lens will see.
The single-light frame is not just a technical check. It tells you the shape of your light, where the shadows are falling, and whether the catch lights in the eyes are where you want them. For Daniel, the eyes are the priority. Aurora has distinctive blue eyes, and if the key light isn’t reaching them with enough intensity, the whole portrait loses its anchor. Evaluate catch lights at this stage, not after you’ve added two more sources.
Step 4: Add the Hair Light for Separation and Dimension
 Second light firing, adding rim separation on hair
Once the key light placement is confirmed, Daniel activates his second light: a 1x3 strip light assigned to the B group on his TTL controller. This light is positioned to skim across Aurora’s blonde hair and create a visible edge between her and the dark background. Without it, the single-light frame reads as flat. Competent, but flat.
Second light firing, adding rim separation on hair
Once the key light placement is confirmed, Daniel activates his second light: a 1x3 strip light assigned to the B group on his TTL controller. This light is positioned to skim across Aurora’s blonde hair and create a visible edge between her and the dark background. Without it, the single-light frame reads as flat. Competent, but flat.
The strip light is one of those modifiers I test every time I get a new one. A narrow strip at a steep angle gives you a thin, precise rim. Move it too far forward and it starts spilling onto the face and fighting your key. Daniel keeps his positioned so it contributes separation without competing. The result is a portrait that reads as three-dimensional even before you look closely.
Step 5: Build Your Poses Before You Fire the Polaroid
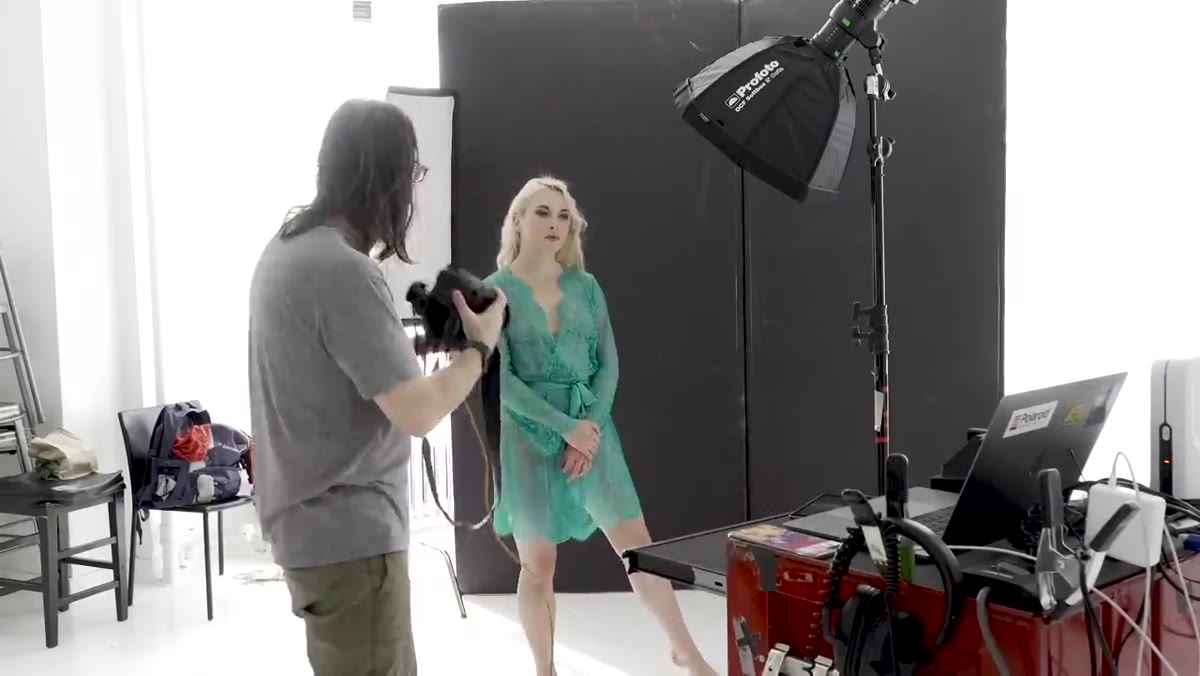 Daniel working through test poses with subject before committing
Here’s the part that separates the Polaroid-as-tool approach from the Polaroid-as-toy approach. Polaroid Originals film takes around 20 minutes to fully develop. You don’t get the instant preview that old Polaroid chemistry gave you. That development window means you can’t use the Polaroid to iterate quickly. You use it to confirm a final, considered decision.
Daniel working through test poses with subject before committing
Here’s the part that separates the Polaroid-as-tool approach from the Polaroid-as-toy approach. Polaroid Originals film takes around 20 minutes to fully develop. You don’t get the instant preview that old Polaroid chemistry gave you. That development window means you can’t use the Polaroid to iterate quickly. You use it to confirm a final, considered decision.
Daniel’s workflow handles this by using the tethered digital camera to work through poses and compositions first. Once he’s found the frame he wants, then he commits that to Polaroid. This is the right order of operations. Work out the variables you can check digitally, then use the Polaroid for what digital can’t give you: a physical, dye-transfer print that shows you exactly what the light did on that film emulsion.
Step 6: Shoot the Polaroid as a Confirmation, Not a Test
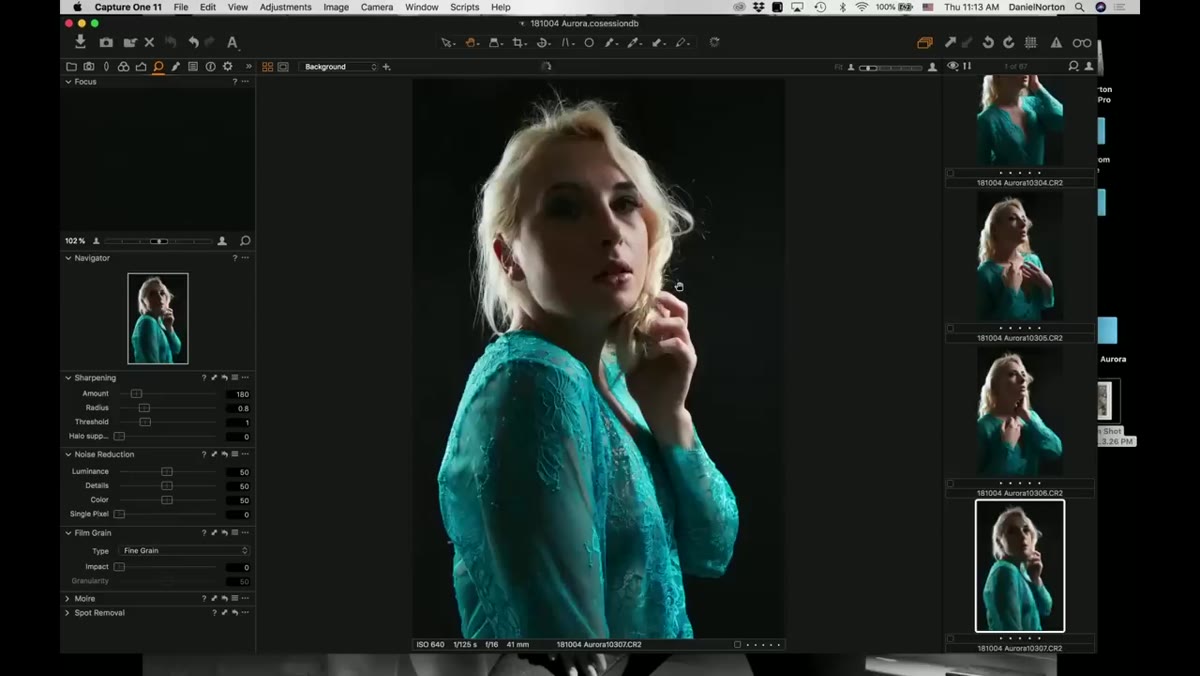 Final composition locked in, ready to fire Polaroid frame
With poses refined and lighting confirmed through the digital tether, Daniel shoots the Polaroid as a final reference frame. The manual settings on the camera mean the result is repeatable. There’s no TTL algorithm adjusting between frames. ISO 640, f/16, 1/125, and whatever flash output he’s dialed in. That’s the exposure, every time.
Final composition locked in, ready to fire Polaroid frame
With poses refined and lighting confirmed through the digital tether, Daniel shoots the Polaroid as a final reference frame. The manual settings on the camera mean the result is repeatable. There’s no TTL algorithm adjusting between frames. ISO 640, f/16, 1/125, and whatever flash output he’s dialed in. That’s the exposure, every time.
The Polaroid then becomes a hard-copy record of the lighting setup. I keep a lighting journal where I sketch every setup from every session, but a physical print next to those sketches is more useful than any diagram. It shows not just the shape of the light but the quality, the contrast, and the color rendering across different film emulsions.
What I’d Add From My Own Work
The TTL-to-Polaroid translation works cleanly in a controlled studio environment, but I’d add one caveat: color temperature calibration. I ruined my first big editorial shoot by mixing flash with uncorrected tungsten practical lights and assuming the camera would sort it out. It didn’t. Before you fire a Polaroid frame as a final reference, confirm that every light source in the room is balanced. Instant film renders color shifts more dramatically than digital sensors, which means a warm practical light you’d barely notice in a RAW file will show up obviously on the print. Check your color temperature at the same time you check your ambient exposure.
The deeper lesson in Daniel’s tutorial is about having a reference you can trust. Digital gives you flexibility. Instant film with manual settings gives you certainty. Using both in the same session, each doing what it’s actually good at, is smarter than defaulting to one or the other. Build your light source by source, confirm your ambient is not contributing, work out your poses before you burn an expensive frame, and treat the Polaroid as the final word on what the light actually did.
Watch the full tutorial on YouTube to see Daniel walk through the full session with Aurora, including how he reads the TTL frames to anticipate the Polaroid result.
Comments
Leave a Comment