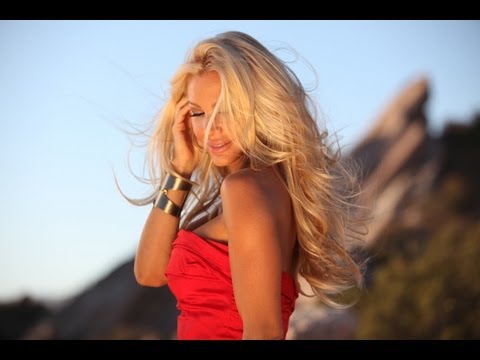
Most of my work happens in a controlled studio environment where I can label every light with masking tape, dial in my ratios, and sketch the setup in my lighting journal before I fire a single frame. But location work strips all of that away. The background is whatever it is. The sun moves whether you want it to or not. And if you haven’t thought through how your lens choice and aperture are going to shape the image before you arrive, you end up fighting the environment instead of using it.
That is exactly why this tutorial stopped me mid-scroll. In this The Slanted Lens tutorial on depth of field as a creative tool, Jay P. Morgan takes a model, a two-light kit, and the rugged terrain of Vasquez Rocks outside Los Angeles and demonstrates something that sounds simple but most photographers treat as an afterthought: depth of field is not a technical side effect. It is a compositional decision you make before you lift the camera. Watch the full tutorial on YouTube
The tutorial covers clothing selection for location fashion work, lens behavior across focal lengths, using the sun as a rim light with a strobe fill, and how aperture combined with ND filters gives you control when the sun refuses to cooperate. Here is how it breaks down, step by step.
Step 1: Choose Clothing That Works With Your Background, Not Against It
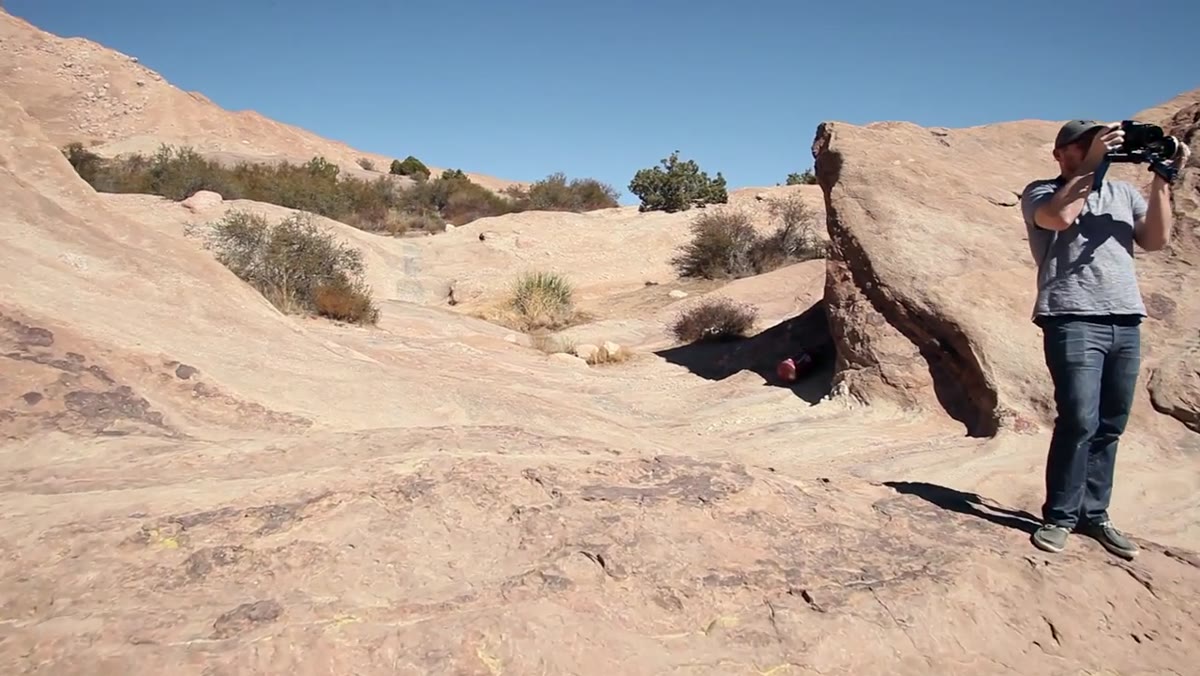 Stylist and photographer discussing red dress against brown rock background
Before a single light gets set up, the tutorial opens with a conversation about color. The background at Vasquez Rocks is largely brown and monochromatic. The decision was to lean into strong contrast, specifically a bold red dress that reads as deliberately out of place against the desert rock. That tension, an evening dress in a rugged outdoor setting, becomes the visual statement.
Stylist and photographer discussing red dress against brown rock background
Before a single light gets set up, the tutorial opens with a conversation about color. The background at Vasquez Rocks is largely brown and monochromatic. The decision was to lean into strong contrast, specifically a bold red dress that reads as deliberately out of place against the desert rock. That tension, an evening dress in a rugged outdoor setting, becomes the visual statement.
The practical workflow here is worth adopting: get photos of the proposed wardrobe from your stylist before the shoot day. Confirm you are aligned on palette and mood. Ask the talent to bring a personal option or two as well. In my experience, people know what they look good in, and that confidence reads in the frame.
Step 2: Scout the Location While Talent Is in Makeup
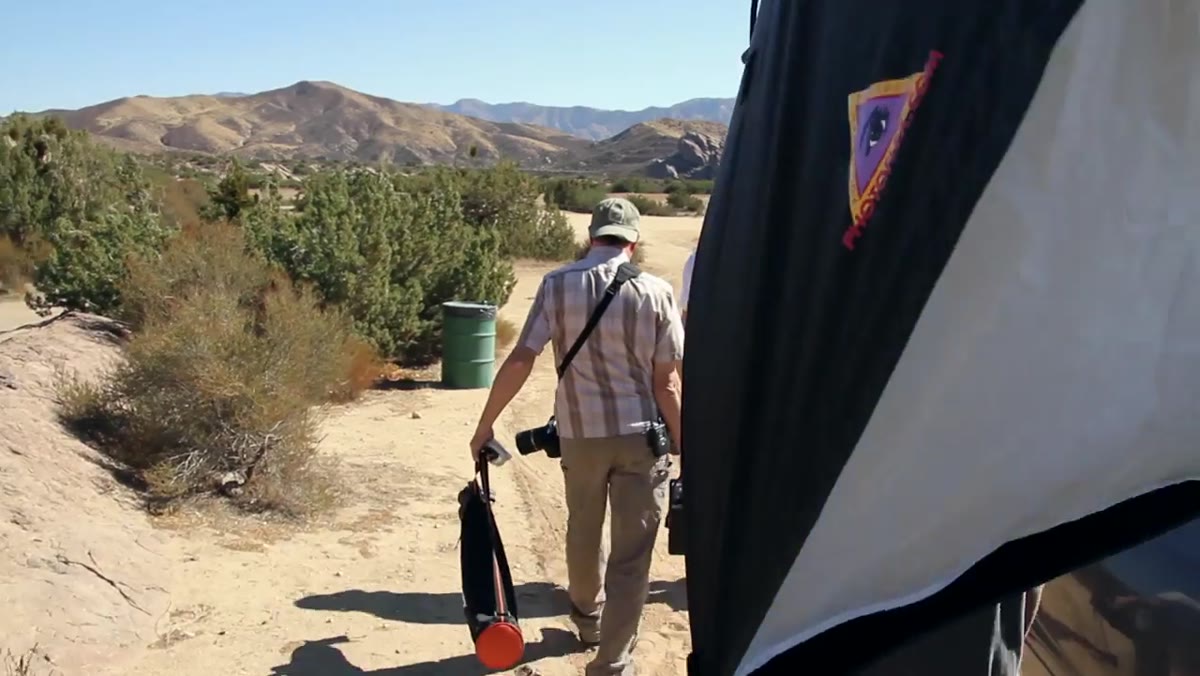 Photographer walking and evaluating rock outcropping and peak background
Makeup time is not waiting time. The tutorial makes good use of it by sending the photographer out to identify the exact shooting position. At Vasquez Rocks, there is an outcropping with a distinct peak rising in the background, and that peak becomes a compositional anchor for the entire shoot.
Photographer walking and evaluating rock outcropping and peak background
Makeup time is not waiting time. The tutorial makes good use of it by sending the photographer out to identify the exact shooting position. At Vasquez Rocks, there is an outcropping with a distinct peak rising in the background, and that peak becomes a compositional anchor for the entire shoot.
Walk the location. Find where the background elements line up with where you want your subject to stand. Note where the sun is hitting. This reconnaissance shapes every lighting decision that follows.
Step 3: Build Your Lighting Setup Using the Sun as a Rim Light
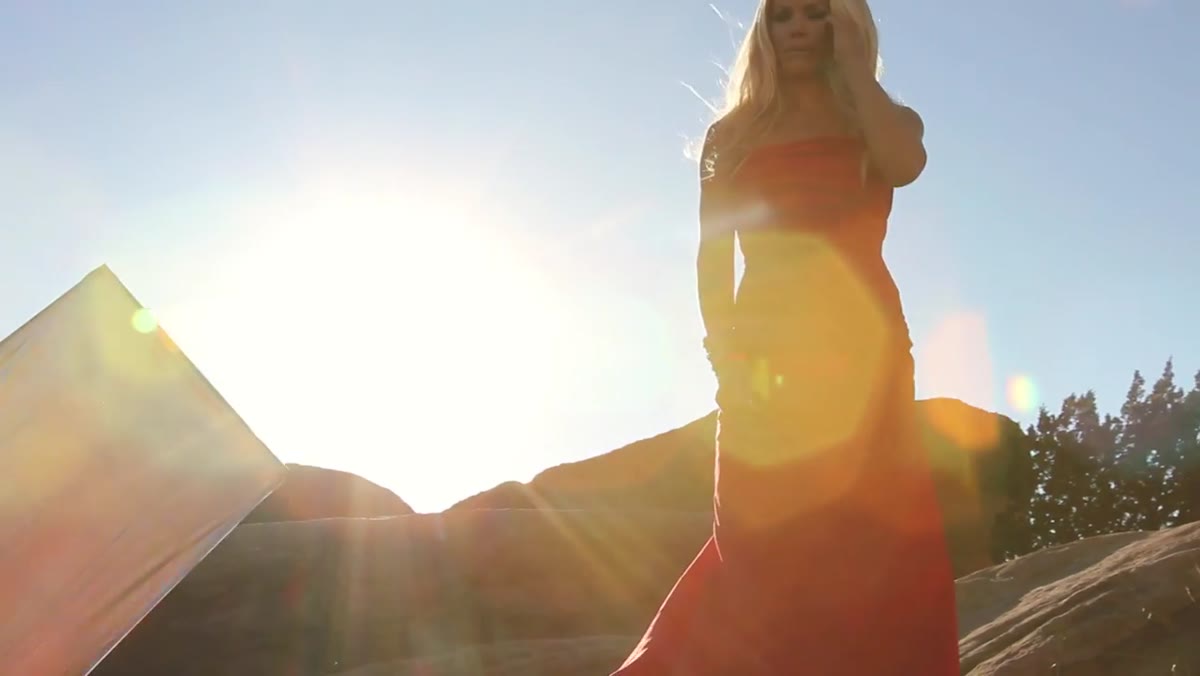 Sun hitting subject’s left side as natural rim light on location
The core lighting concept in this tutorial is using an existing light source as part of your setup rather than fighting it. The sun is positioned so it wraps around the back and left side of the subject, creating a natural rim that separates her from the background and adds dimension to the shape of her body.
Sun hitting subject’s left side as natural rim light on location
The core lighting concept in this tutorial is using an existing light source as part of your setup rather than fighting it. The sun is positioned so it wraps around the back and left side of the subject, creating a natural rim that separates her from the background and adds dimension to the shape of her body.
The camera settings at this stage are f/11, 1/125th of a second, and ISO 160. Those numbers are not arbitrary. They are chosen to balance the strobe output against the ambient sunlight without overexposing the background. Lock in your exposure for the ambient light first, then bring your strobe in to meet it.
Step 4: Add a Strobe With a Large Softbox as Your Key Light
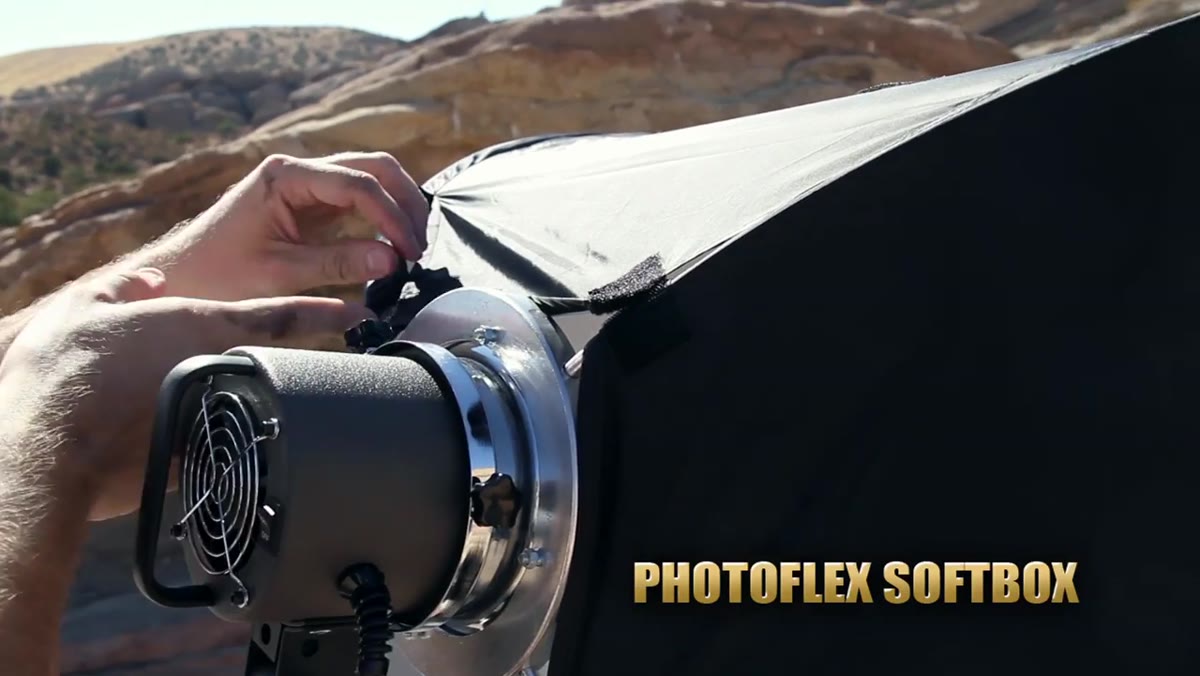 Dyna-lite travel head with large Photoflex softbox positioned on subject’s face
Once the sun is working as your rim, a Dyna-lite travel head fitted with a large Photoflex softbox comes in as the key light on the subject’s face. The subject is turned slightly away from the sun so the direct sunlight does not hit her nose or cross her face unfavorably. The softbox handles all the facial illumination.
Dyna-lite travel head with large Photoflex softbox positioned on subject’s face
Once the sun is working as your rim, a Dyna-lite travel head fitted with a large Photoflex softbox comes in as the key light on the subject’s face. The subject is turned slightly away from the sun so the direct sunlight does not hit her nose or cross her face unfavorably. The softbox handles all the facial illumination.
This is a two-light setup in the most functional sense: one light you brought, one light the planet provided. The large softbox produces soft, even coverage across the face and body. Size matters here. A small modifier at this distance would produce harder shadows and a less flattering result on skin.
Step 5: Understand How Focal Length Changes Your Depth of Field
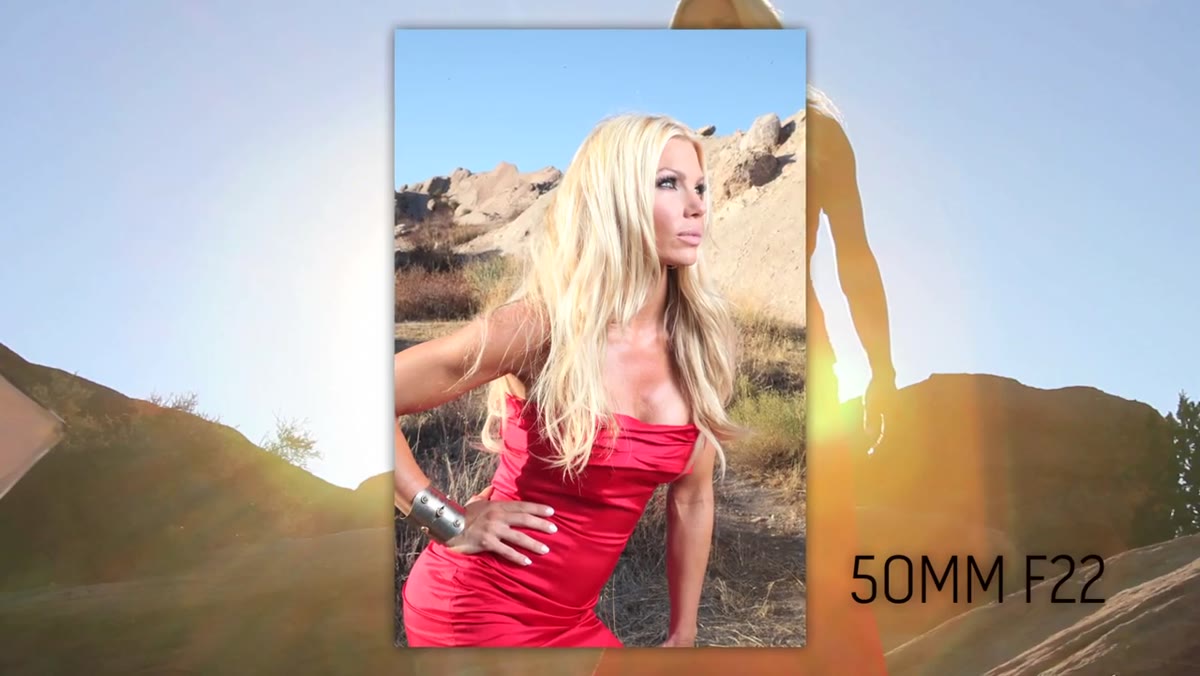 50mm lens at F22 with sharp background behind subject
This is where the tutorial gets into the technical core. Three lenses are compared at the same framing: 50mm, 100mm, and 200mm. At 50mm and f/22, nearly everything in the frame is sharp. Shift to f/8 on the same lens and the background starts to separate. Open up to f/2.8 and the background drops away significantly.
50mm lens at F22 with sharp background behind subject
This is where the tutorial gets into the technical core. Three lenses are compared at the same framing: 50mm, 100mm, and 200mm. At 50mm and f/22, nearly everything in the frame is sharp. Shift to f/8 on the same lens and the background starts to separate. Open up to f/2.8 and the background drops away significantly.
Moving to a 100mm lens and backing up to maintain the same subject size in the frame, the background compression is already tighter and the out-of-focus quality is more pronounced at equivalent apertures. The longer the focal length, the shallower the depth of field appears at a given aperture, because you are also increasing subject-to-background separation by moving back. These two effects compound each other.
Step 6: Use ND Filters to Shoot Wide Open in Bright Sunlight
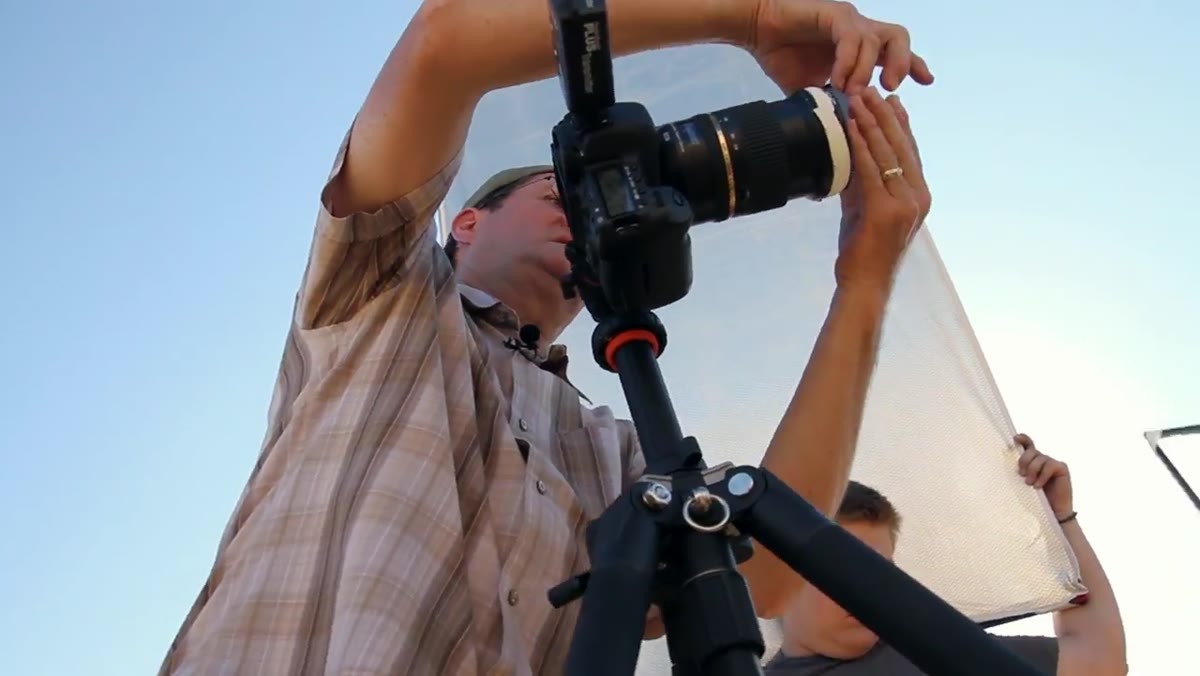 ND2 and ND4 filters stacked on lens to achieve f/2.8 in sunlight
Shooting at f/2.8 in direct California sunlight at ISO 160 would blow the exposure completely without intervention. The solution in the tutorial is stacking an ND2 and an ND4 filter, which together represent a three-stop reduction in light. An ND2 cuts one stop. An ND4 cuts two stops. Combined, they allow the aperture to drop to f/2.8 while keeping the shutter at a sync-friendly speed.
ND2 and ND4 filters stacked on lens to achieve f/2.8 in sunlight
Shooting at f/2.8 in direct California sunlight at ISO 160 would blow the exposure completely without intervention. The solution in the tutorial is stacking an ND2 and an ND4 filter, which together represent a three-stop reduction in light. An ND2 cuts one stop. An ND4 cuts two stops. Combined, they allow the aperture to drop to f/2.8 while keeping the shutter at a sync-friendly speed.
I keep a set of these in my location kit at all times for exactly this reason. If you want shallow depth of field on a bright day with a strobe in the frame, ND filters are not optional gear. They are the mechanism that makes the creative choice possible.
What I Do Differently in My Own Work
The tutorial uses a fairly traditional key-and-rim split, which is clean and effective. Where I sometimes push further is in modifying the color relationship between the two sources. On location, the sun is typically daylight-balanced, but if I want the rim to feel warmer, I will drop a quarter CTO gel on the strobe key light so the relative color temperature shifts. The sun reads cooler by comparison and the skin on the lit side takes on a slightly warmer tone. It is subtle, but it changes the mood of the image without adding a single piece of equipment.
I started doing this after a shoot where I accidentally mismatched my color temperature and ended up with an unusable set of frames from an editorial job. That mistake taught me to calibrate everything deliberately, and eventually I started using intentional mismatches as a tool rather than avoiding them entirely.
The single most important idea in this tutorial is that depth of field is a choice you make at the planning stage, not a side effect you accept when you review the image on the back of the camera. Lens selection, aperture, subject-to-background distance, and ND filtration all work together to place the viewer’s eye exactly where you want it. Get those decisions locked in before the model steps into frame.
Watch the full tutorial on YouTube to see all three lenses compared side by side and the complete lighting setup in action.
Comments (5)
Applied this to my portfolio shots and the improvement is noticeable.
I've been looking for exactly this kind of tutorial. Perfect timing.
The before and after really sells it. Incredible difference.
Applied this to my portfolio shots and the improvement is noticeable.
Excellent tutorial. I'd add that from a photography standpoint, this technique is incredibly versatile.
Leave a Comment