There is a specific kind of shoot that exposes every gap in your lighting knowledge: outdoor portraits at dusk, fire performers, neon-lit alleys, any situation where the ambient light is already doing something interesting and you need a strobe to fill without killing the mood. I have shown up to those shoots confident and left with frames that looked flat, plasticky, and wrong. The problem was never the strobe power. It was that I was guessing at my ambient exposure instead of measuring it deliberately, then layering the flash on top of a shaky foundation.
In this KelbyOne tutorial, RC Concepcion answers a viewer question about shooting fire dancers with speedlights, and in the process lays out one of the cleanest explanations of the ambient-to-strobe blending workflow I have seen in a short-format video. Watch the full tutorial on YouTube before or after reading this breakdown. The steps RC walks through apply to any dramatic ambient situation, not just fire. I have used this exact sequence for beauty shoots on rooftops, a fashion job in a parking garage, and a corporate portrait series against a lit skyline. Same logic every time.
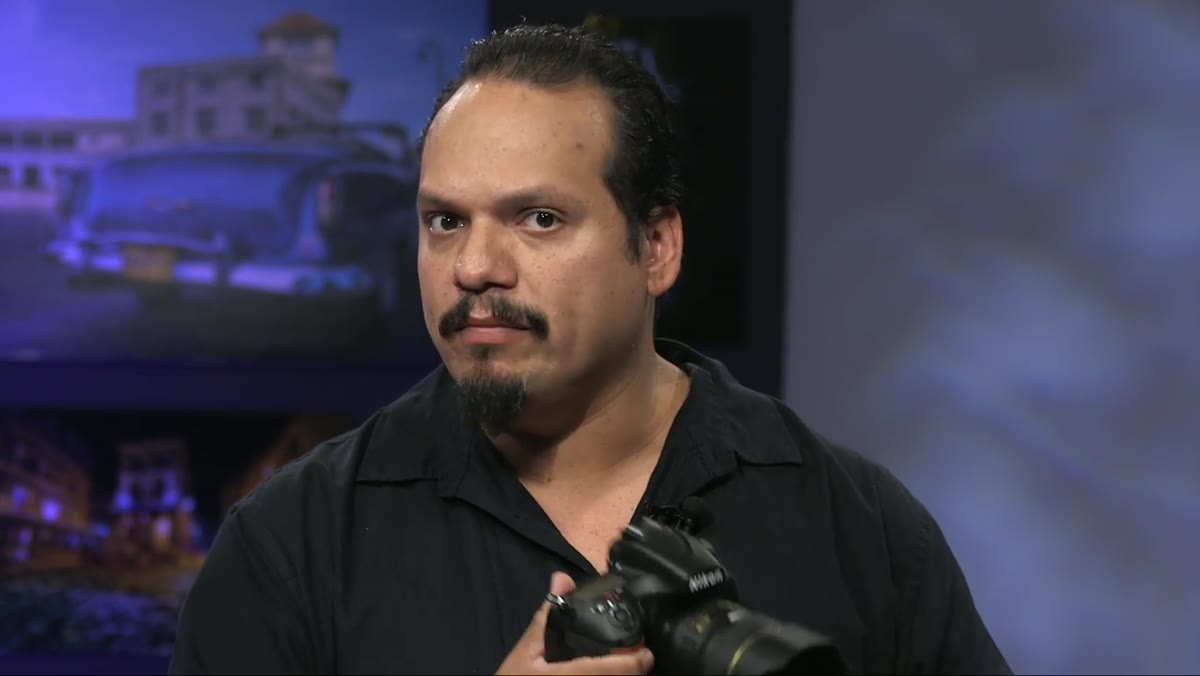
What makes this method work is that it separates two problems that most photographers try to solve simultaneously: first, get the background looking exactly how you want it. Second, add light to your subject. Those two steps use completely different camera controls and should happen in sequence, not at the same time.
Step 1: Choose Your Aperture and Set ISO First
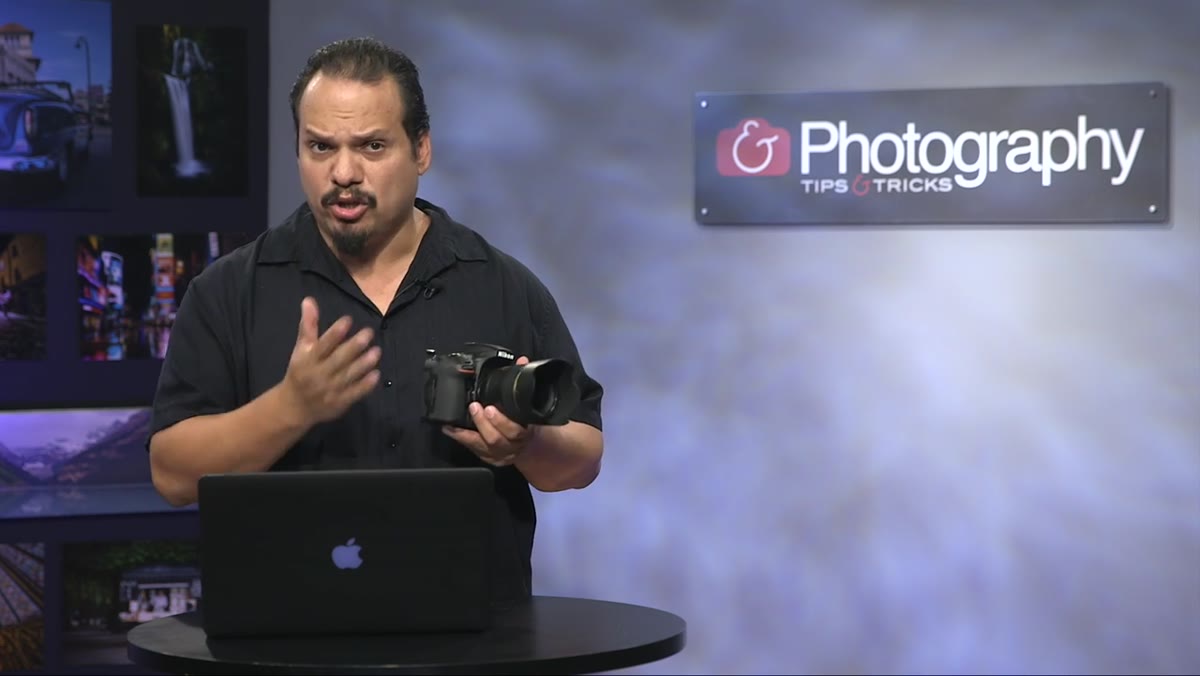 Camera controls being adjusted for aperture priority mode
Start by deciding your aperture based on creative intent, not on exposure. RC locks in f/9.5 for his demonstration, which gives him depth and edge sharpness across the scene. Pick what your image actually needs: tighter depth of field means a wider aperture, more scene sharpness means stopping down. Then set your ISO conservatively. RC works at ISO 400, which keeps noise manageable while still giving the camera enough sensitivity to meter accurately in lower light. These two values stay fixed for the rest of the process. Do not touch them again.
Camera controls being adjusted for aperture priority mode
Start by deciding your aperture based on creative intent, not on exposure. RC locks in f/9.5 for his demonstration, which gives him depth and edge sharpness across the scene. Pick what your image actually needs: tighter depth of field means a wider aperture, more scene sharpness means stopping down. Then set your ISO conservatively. RC works at ISO 400, which keeps noise manageable while still giving the camera enough sensitivity to meter accurately in lower light. These two values stay fixed for the rest of the process. Do not touch them again.
Step 2: Switch to Aperture Priority and Photograph the Background Alone
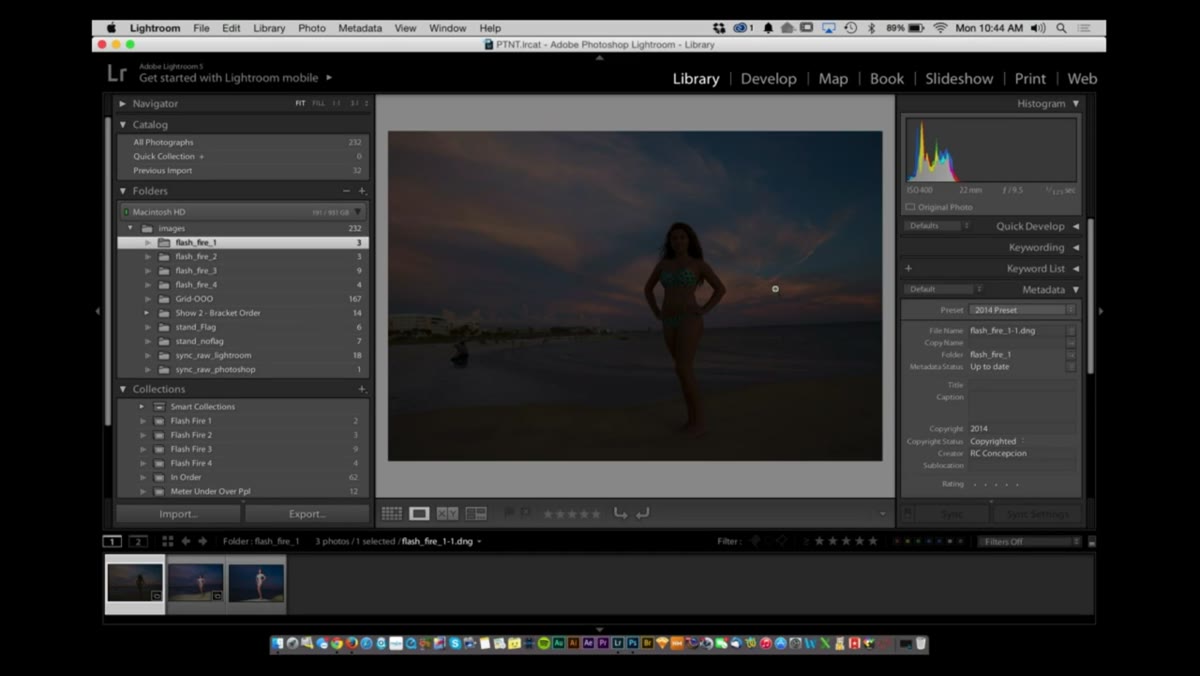 First test frame of the environment in aperture priority
With aperture and ISO locked, switch to aperture priority and take a frame of the scene with no subject, no flash. You are not looking for a finished photograph. You are looking at the background the way a painter looks at a primed canvas. Is the sky saturated? Is the ambient too bright? Does the scene have the mood you want? This single frame is diagnostic information. RC takes this shot and immediately sees that he wants deeper, richer sky color, which tells him the camera’s metered exposure is too bright for what he is after.
First test frame of the environment in aperture priority
With aperture and ISO locked, switch to aperture priority and take a frame of the scene with no subject, no flash. You are not looking for a finished photograph. You are looking at the background the way a painter looks at a primed canvas. Is the sky saturated? Is the ambient too bright? Does the scene have the mood you want? This single frame is diagnostic information. RC takes this shot and immediately sees that he wants deeper, richer sky color, which tells him the camera’s metered exposure is too bright for what he is after.
Step 3: Dial in Exposure Compensation Until the Background Looks Right
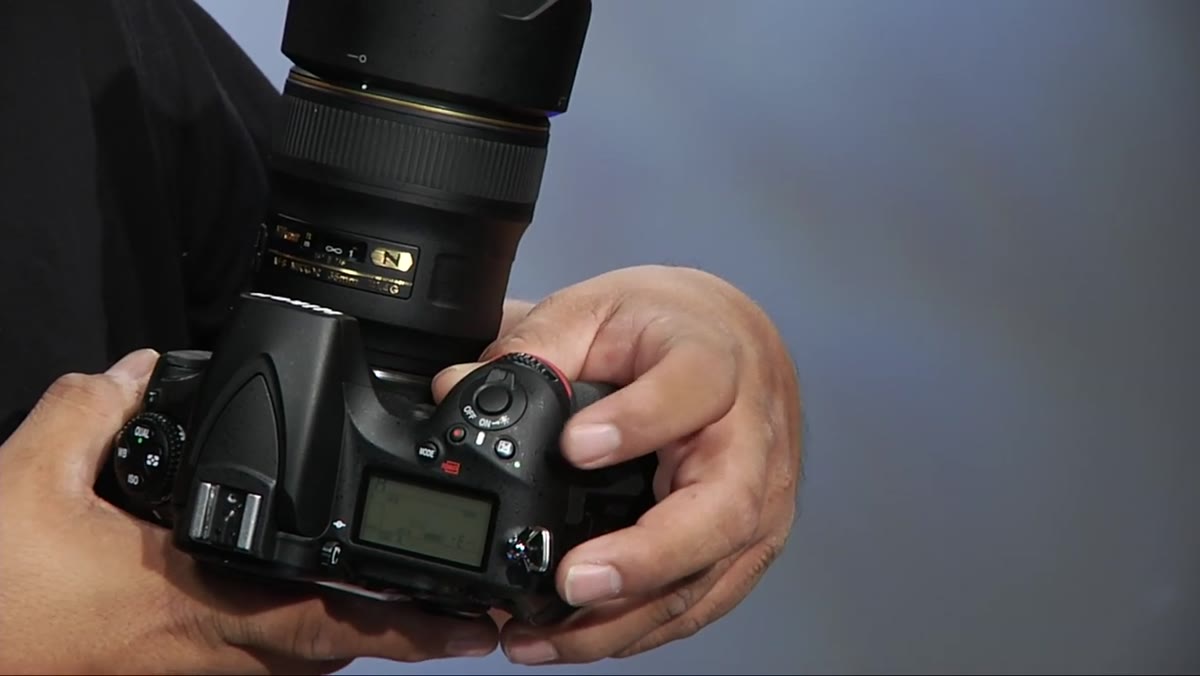 Exposure compensation button being used to underexpose the scene
Use your camera’s exposure compensation control, the button marked with a plus and minus symbol, to push the exposure darker or brighter until the background matches your creative intent. RC dials down, underexposing until the sky reaches the saturated, dramatic tone he wants. Take test frames as you go. You are not rushing to a number. You are chasing a look. When the background frame looks exactly right on the LCD, stop. Note the shutter speed the camera selected. In RC’s case, aperture priority landed on 1/125th at f/9.5.
Exposure compensation button being used to underexpose the scene
Use your camera’s exposure compensation control, the button marked with a plus and minus symbol, to push the exposure darker or brighter until the background matches your creative intent. RC dials down, underexposing until the sky reaches the saturated, dramatic tone he wants. Take test frames as you go. You are not rushing to a number. You are chasing a look. When the background frame looks exactly right on the LCD, stop. Note the shutter speed the camera selected. In RC’s case, aperture priority landed on 1/125th at f/9.5.
That shutter speed is the number that matters most. It is the camera’s calculated answer to the question: “What shutter speed correctly exposes this ambient scene at my chosen aperture and ISO?” Write it down or remember it. That is your ambient exposure.
Step 4: Lock Everything In by Switching to Manual Mode
 Switching from aperture priority to manual with same settings dialed in
This is where the workflow clicks into place. Take the shutter speed aperture priority gave you, switch the camera to full manual, and dial in that exact combination by hand. RC enters 1/125th and f/9.5. The image should look identical to the last test frame you approved. From this point forward, the background will not shift. It does not matter how long the shoot runs or how the light changes slightly. You have frozen the ambient exposure in place. The camera is no longer making decisions. You are.
Switching from aperture priority to manual with same settings dialed in
This is where the workflow clicks into place. Take the shutter speed aperture priority gave you, switch the camera to full manual, and dial in that exact combination by hand. RC enters 1/125th and f/9.5. The image should look identical to the last test frame you approved. From this point forward, the background will not shift. It does not matter how long the shoot runs or how the light changes slightly. You have frozen the ambient exposure in place. The camera is no longer making decisions. You are.
One practical note from my own habit: I keep a lighting journal where I sketch every setup from every shoot, and I always write the ambient exposure values at the top of the page before I record anything about the strobe. If the ambient is wrong, nothing else matters.
Step 5: Introduce the Strobe and Adjust Power to Light the Subject
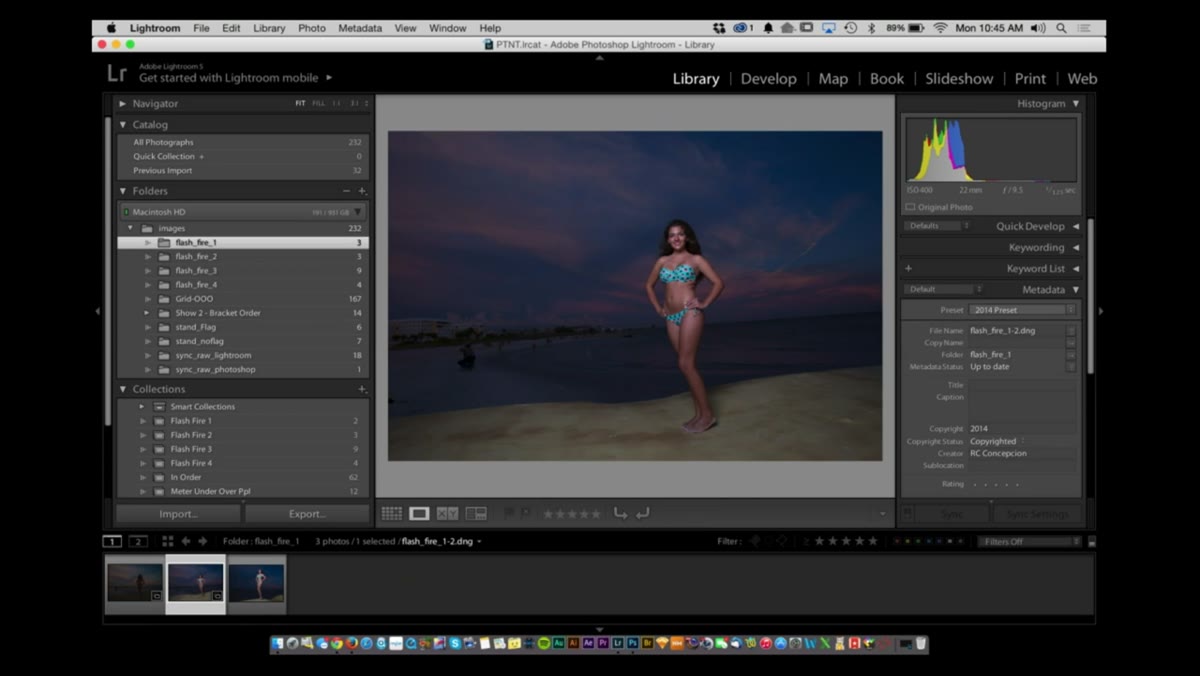 Single strobe positioned high camera-right illuminating the subject
Now add your flash. RC positions a Profoto B1 high and to the right of camera, which gives him a natural, slightly overhead quality that reads as realistic in an outdoor context. The key word is “introduce.” Start at a low power setting and work up until the subject’s face and body are properly exposed without overwhelming the mood you built in the ambient stage. The background stays exactly where you set it. The strobe is only responsible for the subject. These are two separate exposure systems now operating in parallel, and you are controlling each one independently.
Single strobe positioned high camera-right illuminating the subject
Now add your flash. RC positions a Profoto B1 high and to the right of camera, which gives him a natural, slightly overhead quality that reads as realistic in an outdoor context. The key word is “introduce.” Start at a low power setting and work up until the subject’s face and body are properly exposed without overwhelming the mood you built in the ambient stage. The background stays exactly where you set it. The strobe is only responsible for the subject. These are two separate exposure systems now operating in parallel, and you are controlling each one independently.
Step 6: Refine Your Angle and Evaluate the Full Frame
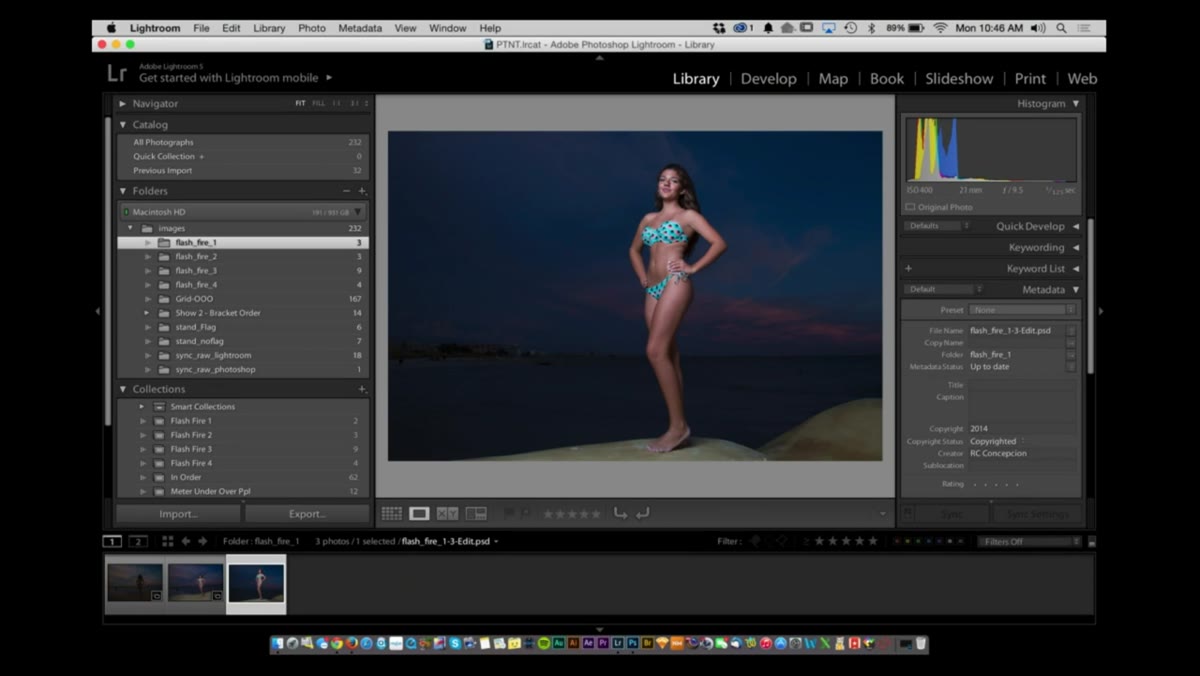 Photographer adjusting position and reviewing the combined ambient-strobe result
Once subject exposure looks right, move around. Change your angle relative to both the subject and the background elements. A slight shift in position can put a light source, a flame, a neon sign, or a bright sky patch in a more interesting relationship to the subject. RC emphasizes this step because the technical work is done and creative decisions can take over completely. Nothing changes in the camera. Nothing changes in the flash power. You are just finding the frame.
Photographer adjusting position and reviewing the combined ambient-strobe result
Once subject exposure looks right, move around. Change your angle relative to both the subject and the background elements. A slight shift in position can put a light source, a flame, a neon sign, or a bright sky patch in a more interesting relationship to the subject. RC emphasizes this step because the technical work is done and creative decisions can take over completely. Nothing changes in the camera. Nothing changes in the flash power. You are just finding the frame.
What I Add to This Workflow in Practice
RC’s method is clean and correct. The extension I apply on commercial jobs involves color temperature matching. When the ambient light is warm, tungsten streetlamps, candlelight, open flame, I gel the strobe to match. A CTO gel warms the strobe output so the subject does not look like they were photographed in a different universe from the background. I ruined an early editorial job by ignoring this. The ambient was warm, my flash was daylight-balanced, and the subject’s skin looked cold and clinical against a golden scene. Since then, the first thing I do after dialing in ambient exposure is hold a CTO gel in front of the strobe and take a test frame before I commit to the setup.
The other adjustment worth noting: if your subject is moving significantly, like a fire dancer, you can drop your shutter speed slightly from the ambient value to introduce some motion blur in the performer’s movement while the strobe freezes a sharp moment within that blur. The combination of blur and freeze adds energy to the frame in a way a clean sharp image never does.
The single most important idea in this tutorial is that your camera, in aperture priority with exposure compensation, is already a precision light meter. Stop treating it like a guessing tool. Use it to solve the ambient problem completely, lock those values into manual, and only then pick up the flash. Two problems, solved in order.
Watch the full tutorial on YouTube for RC’s extended breakdown including fire-specific shooting scenarios that go beyond what is covered here.
Comments (2)
Finally someone explains this in a way that actually makes sense.
Tried this technique this morning. Game changer for real.
Leave a Comment