There’s a version of “studio goals” that lives on Instagram and costs about $40,000 to build. Concrete floors with custom epoxy. Seamless white walls. A prop room that looks like a Brooklyn loft. I’ve been in those studios. Some of them produce incredible work. A lot of them are monuments to overhead. So when I came across this studio tour from The Portrait System featuring Paul Gero, I kept watching because what he’s built is the opposite of that, and it’s clearly working.
Watch the full tutorial on YouTube
Paul has 34 years behind him, the first 19 as a newspaper photojournalist, and the last 15 moving through weddings, portraits, commercial work, and now beauty photography. He operates out of a converted garage in Ladera Ranch, California, with his wife Nikki as his makeup artist and business partner. What struck me watching this wasn’t the gear. It was the logic behind every decision, from where he put the hair and makeup station to how he weights a folio box before putting it in a client’s hands. These are not accidents. This is someone who has shot enough to know exactly what creates a sale and what kills one.
Step 1: Build Your Space Around the Work, Not Around Appearances
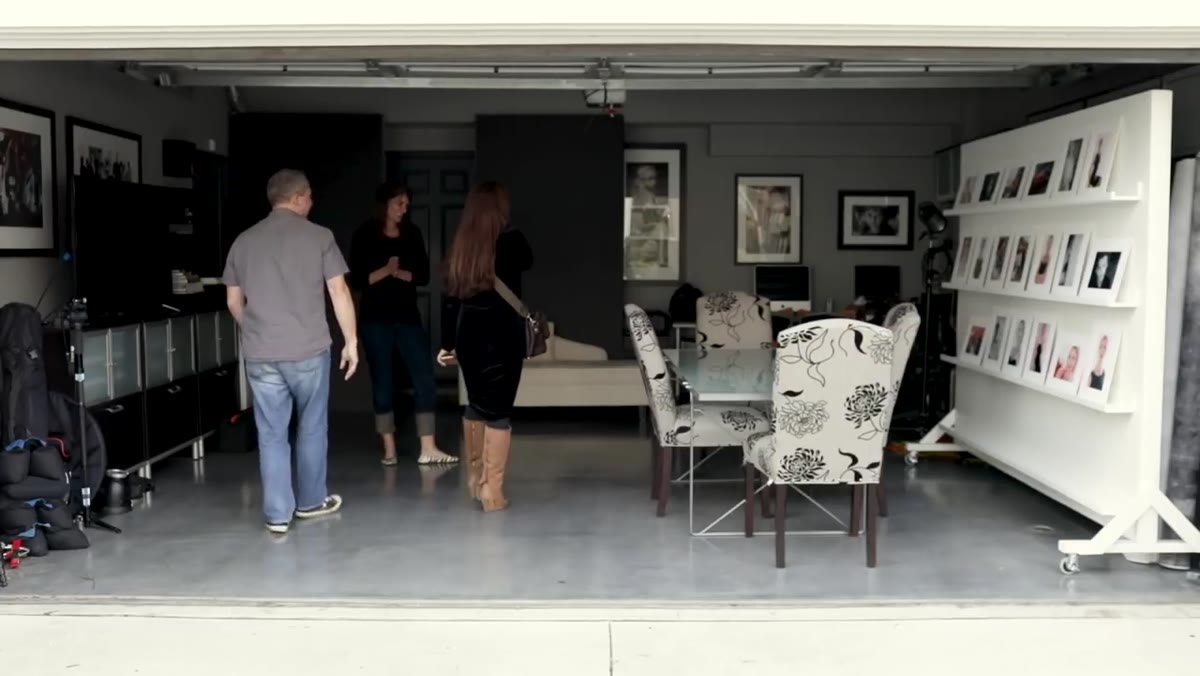 Sue Bryce reacting to garage studio entrance
The first thing Sue Bryce says when she walks into Paul’s studio is that she’s never surprised by garages. That framing matters. A lot of photographers stall on building a business because they’re waiting for the right space. Paul didn’t wait. He polished the concrete floor, hung his best work on the walls, and moved forward.
Sue Bryce reacting to garage studio entrance
The first thing Sue Bryce says when she walks into Paul’s studio is that she’s never surprised by garages. That framing matters. A lot of photographers stall on building a business because they’re waiting for the right space. Paul didn’t wait. He polished the concrete floor, hung his best work on the walls, and moved forward.
The principle here is simple: your imagery does the decorating. When you walk into a space and the walls are covered with beautiful, large-format portraits of real women, the room feels professional regardless of the square footage. If you’re working out of a converted space, your budget goes into printing and framing your best work, not into furniture. That energy, as Sue puts it, comes from your connection to your work.
Step 2: Position Hair and Makeup Where the Light Is Best
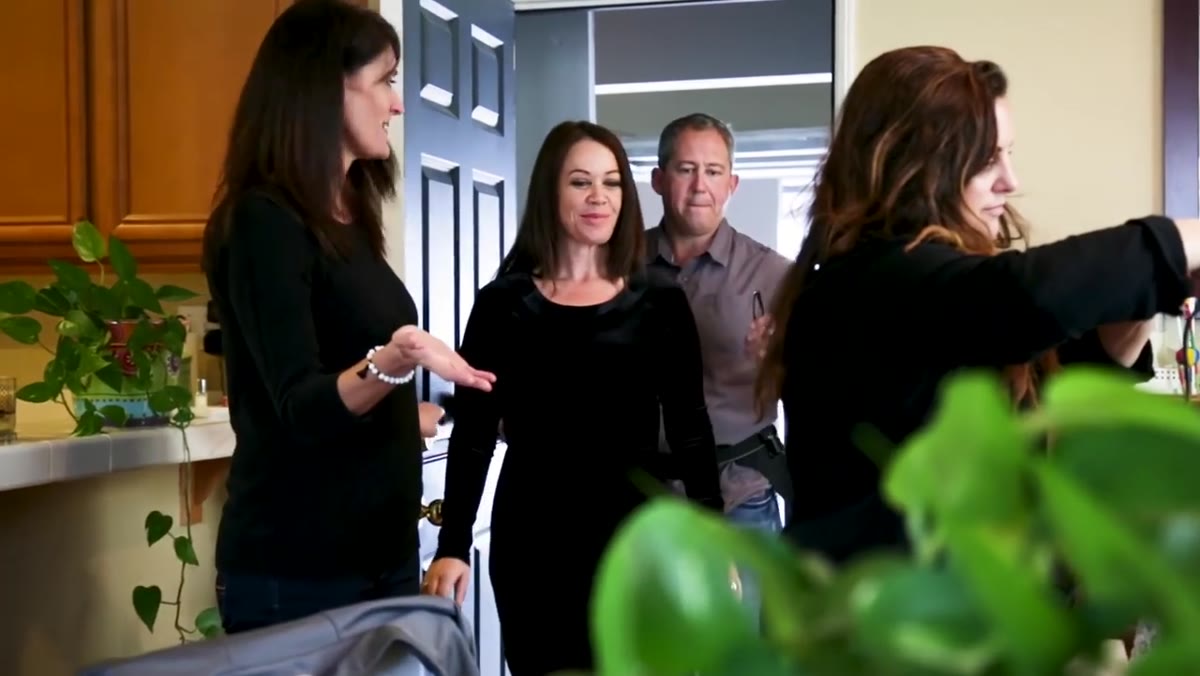 Hair and makeup station near natural light source
Paul and Nikki set up the hair and makeup station near the best natural light source in the studio. This isn’t a small detail. The prep experience is part of the client’s day, and how a woman looks and feels when she steps in front of your camera depends heavily on what happened in that chair.
Hair and makeup station near natural light source
Paul and Nikki set up the hair and makeup station near the best natural light source in the studio. This isn’t a small detail. The prep experience is part of the client’s day, and how a woman looks and feels when she steps in front of your camera depends heavily on what happened in that chair.
From a practical standpoint, good light at the makeup station also gives your artist an accurate read on how products will photograph. Foundation that looks right under a tungsten vanity bulb can shift green or orange the moment you introduce a strobe. Natural light at the prep station closes that gap before the shoot even starts.
Step 3: Understand Who Your Demographic Actually Is, Then Work Within It
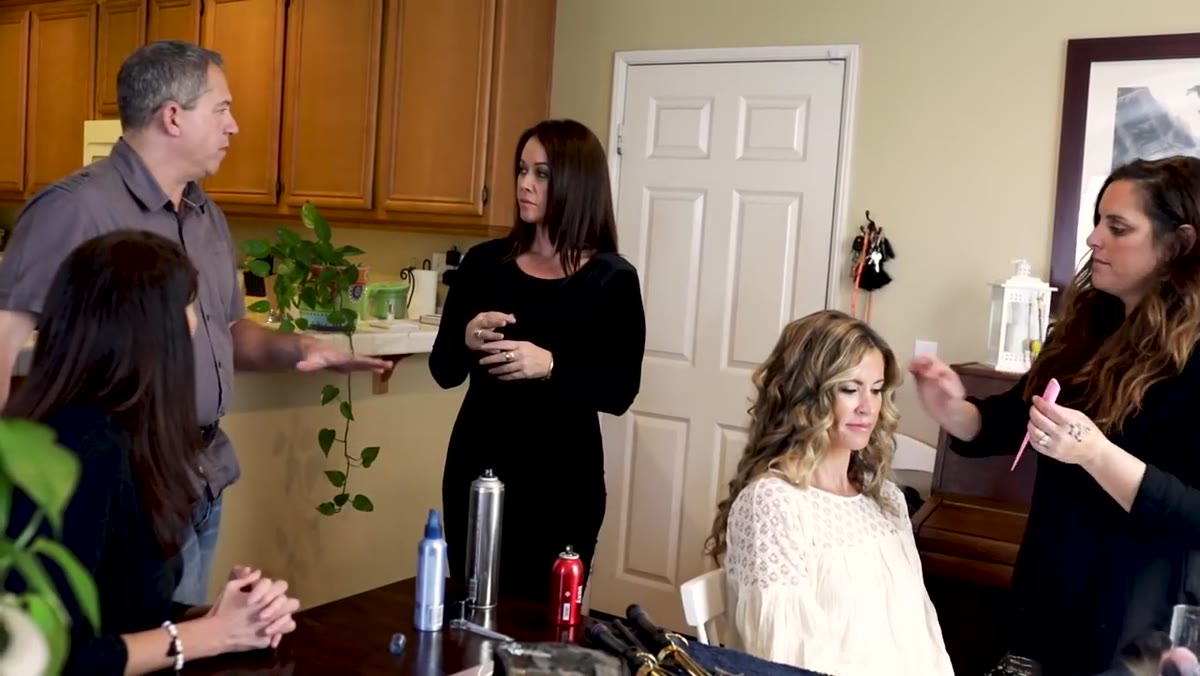 Paul and Nikki discussing their local client base
Paul mentions that most of his clients come from within a 15-mile radius, and that Nikki’s age and social world overlap directly with their target client. This is a marketing insight dressed up as a casual observation. He’s not trying to serve everyone. He’s serving a specific woman, in a specific life stage, in a specific geography, and Nikki is essentially a trusted peer to that client before the sale even begins.
Paul and Nikki discussing their local client base
Paul mentions that most of his clients come from within a 15-mile radius, and that Nikki’s age and social world overlap directly with their target client. This is a marketing insight dressed up as a casual observation. He’s not trying to serve everyone. He’s serving a specific woman, in a specific life stage, in a specific geography, and Nikki is essentially a trusted peer to that client before the sale even begins.
For anyone building a portrait or beauty business, this is the step that’s easiest to skip and most expensive to skip. Define the woman you’re photographing. Know what she values. Know what she’s nervous about. Build your team around people who can connect with her authentically, not just technically.
Step 4: Use a Folio Box as a Physical Sales Tool
 Paul demonstrating the weight of a filled folio box
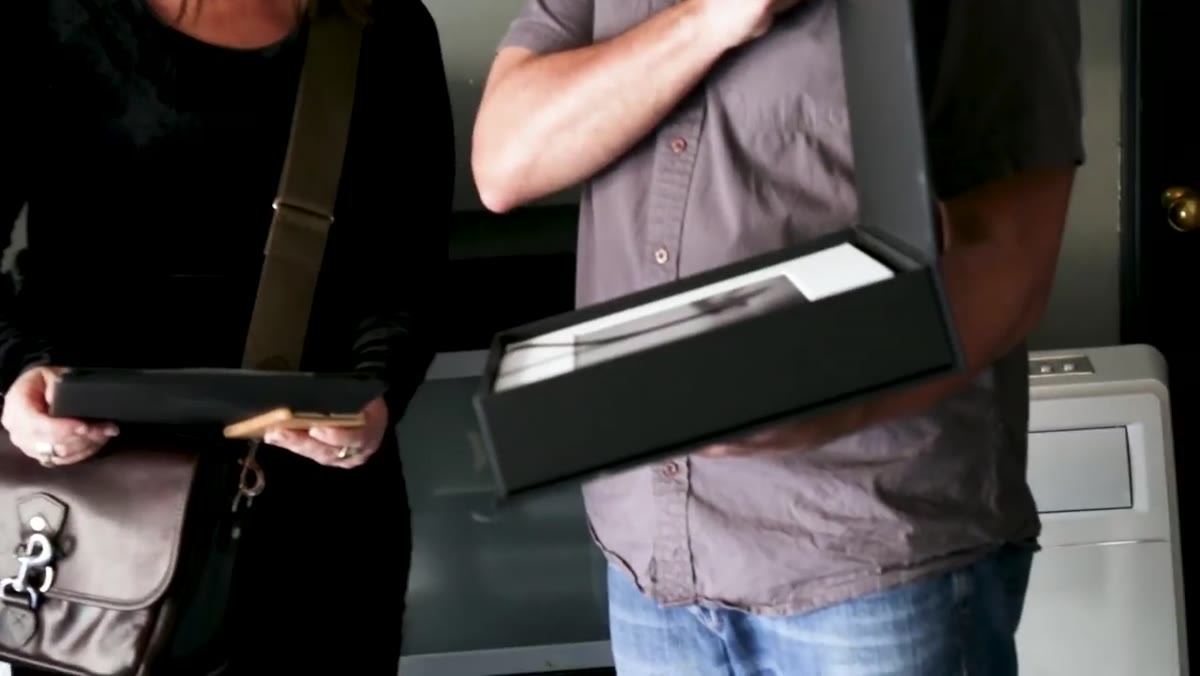
Paul keeps folio boxes filled, not sampled. He makes a specific point about weight: when a client holds a box packed with prints, she feels the value before she consciously processes it. A box with two or three samples in it feels like an afterthought. A box that’s genuinely full feels like a product.
Paul demonstrating the weight of a filled folio box
Paul keeps folio boxes filled, not sampled. He makes a specific point about weight: when a client holds a box packed with prints, she feels the value before she consciously processes it. A box with two or three samples in it feels like an afterthought. A box that’s genuinely full feels like a product.
This is the kind of thing you only figure out after you’ve handed both versions to a client and watched the difference in how they respond. I started doing something similar with my own client presentations years ago, always showing a physical product alongside the screen, and the conversion rate on large print orders went up noticeably. The tactile experience closes something the slideshow opens.
Step 5: Run Your Sales Reveal Before the Slideshow
 Reveal wall setup with framed images for client viewing
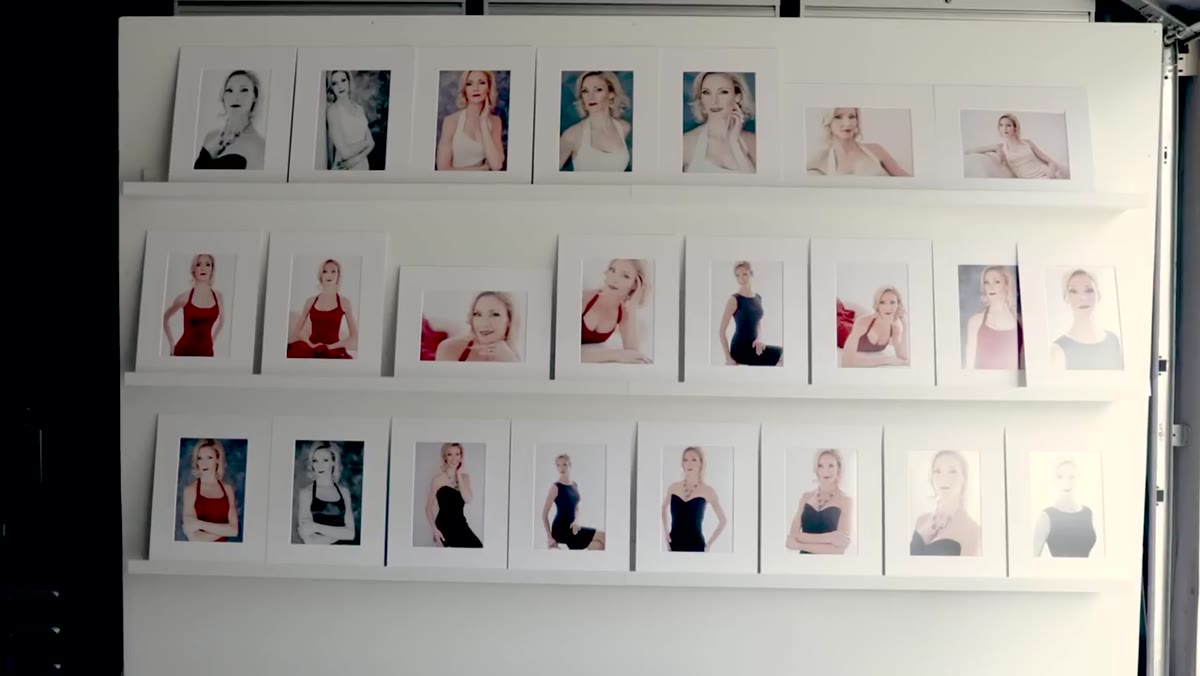
Paul’s sales workflow follows a specific sequence. Clients see the reveal wall first, large framed prints of their images hanging in the space. Then they move to the slideshow. Then the order gets handled through ProSelect.
Reveal wall setup with framed images for client viewing
Paul’s sales workflow follows a specific sequence. Clients see the reveal wall first, large framed prints of their images hanging in the space. Then they move to the slideshow. Then the order gets handled through ProSelect.
The reveal wall is doing something the screen can’t: it’s showing the client what her images look like as objects on a wall, in a real room, at a real size. By the time she sits down to view the slideshow, she’s already emotionally connected to at least one image in print form. The conversation about what to buy has effectively started before you’ve opened ProSelect.
Step 6: Make the Sales Space Flexible and Reconfigurable
 Paul explaining how furniture gets rearranged before client visits
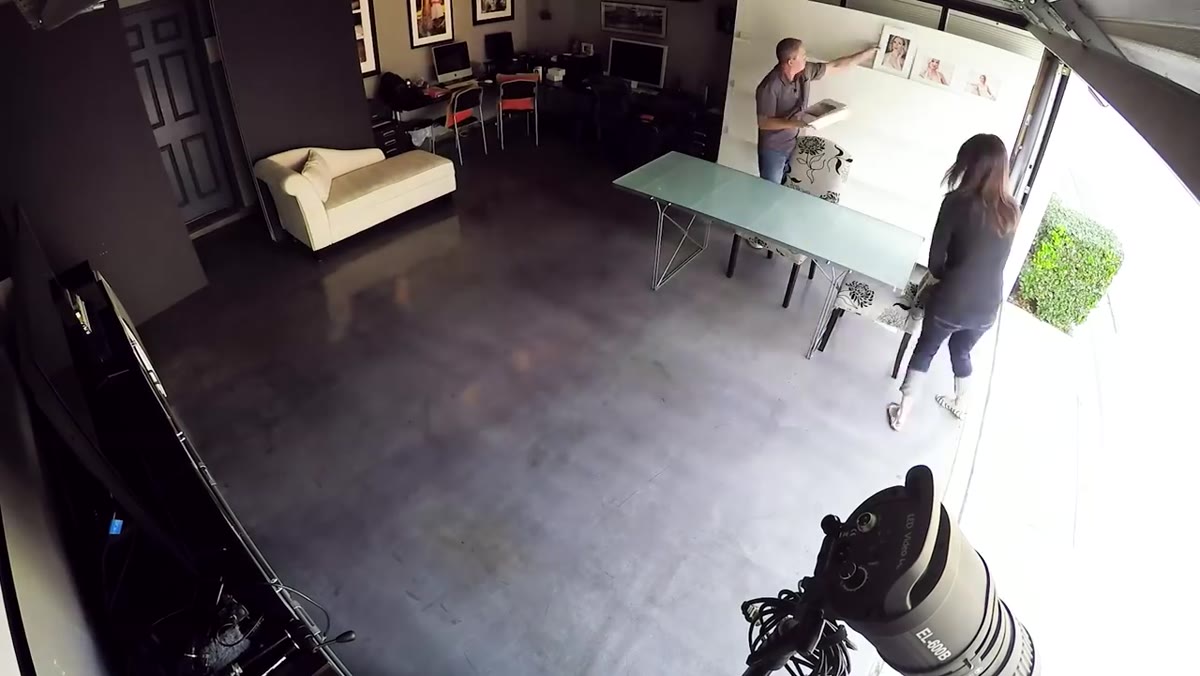
Paul explains that before clients arrive, the space gets reorganized. The table moves, chairs shift to another room, the layout changes to accommodate however many people are viewing. He notes that clients often end up standing during the reveal, which matches exactly what Sue Bryce teaches about the psychology of that moment.
Paul explaining how furniture gets rearranged before client visits
Paul explains that before clients arrive, the space gets reorganized. The table moves, chairs shift to another room, the layout changes to accommodate however many people are viewing. He notes that clients often end up standing during the reveal, which matches exactly what Sue Bryce teaches about the psychology of that moment.
The practical takeaway: don’t lock your studio layout into a configuration that only works for shooting. The sales appointment is a different experience with different spatial needs, and a room that’s set up to encourage movement and emotional engagement will outperform one where clients sit passively behind a table.
What I’d Add From My Own Experience
Paul runs a tight, deliberate operation, and there’s very little I’d argue with. The one thing I’d layer on top of his approach is lighting documentation at the hair and makeup stage. I keep a lighting journal where I sketch setups from every shoot, and I’ve started including notes on the prep room light as well. Knowing the color temperature and direction of the light your client was sitting in before she stepped onto the set helps you match continuity, especially on longer shoots or repeat clients. It sounds obsessive. It is obsessive. But it’s the kind of detail that keeps your retouching consistent across a full gallery.
The single most important thing I took from this tour is that a working portrait business is built on deliberate systems, not on equipment or aesthetics. Paul’s studio is a garage. His sales process, his client experience, his partnership with Nikki, and his pricing structure are all intentional and tested. That’s what makes it work.
Watch the full tutorial on YouTube and pay attention to the details he throws out casually. The offhand comments in a tour like this are usually the most expensive lessons someone else already paid for.
Comments
Leave a Comment