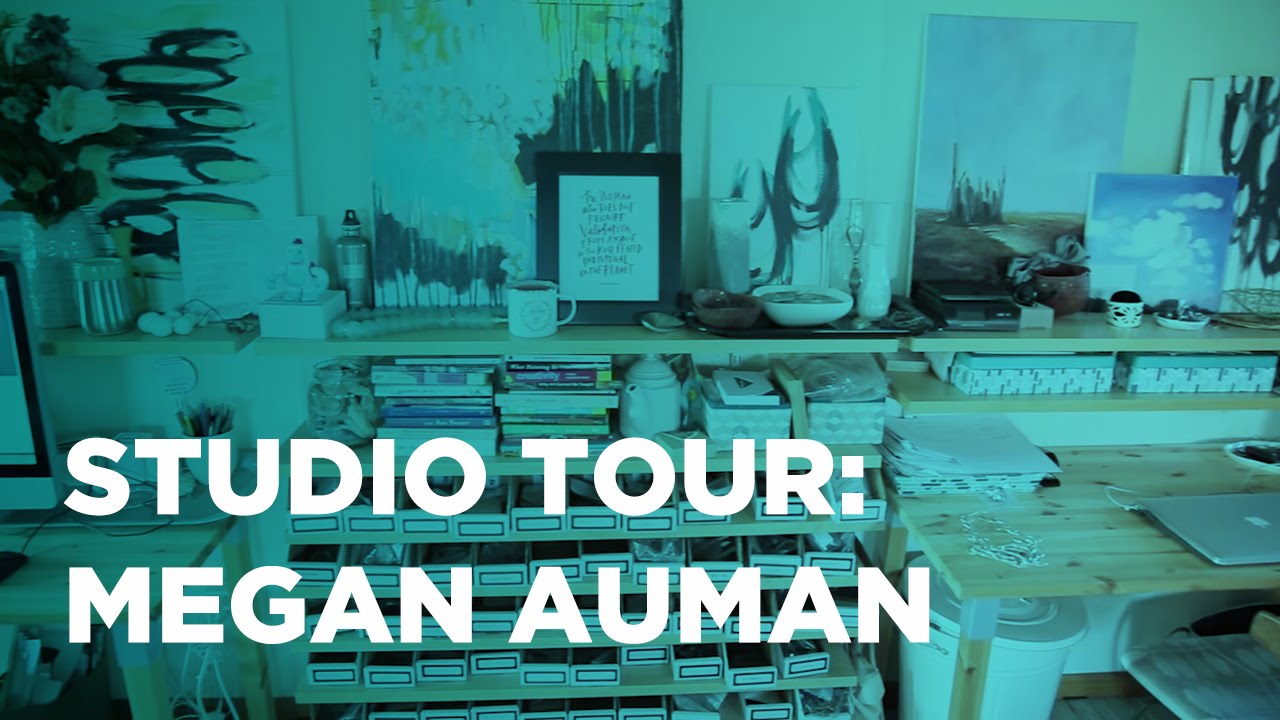
There’s a question I get asked constantly at workshops: “How do you set up a studio that handles both creative work and the business side of things without one eating the other alive?” Most photographers I know either have a beautiful shooting space that looks like a war zone administratively, or a tidy office where the actual creative work gets pushed into a corner. I’ve wrestled with this myself for years in my Los Angeles studio, and I still haven’t gotten it perfectly right. So when I came across this CreativeLive studio tour featuring jewelry designer and metalsmith Megan Auman, I stopped what I was doing and watched it twice. Watch the full tutorial on YouTube
What struck me wasn’t the novelty of the space (though the backstory of converting a deteriorating indoor pool into a working studio is genuinely impressive). It was the deliberate logic behind every organizational decision Auman made. She’s a maker, not a photographer, but the principles she applies translate directly to any studio environment where you need to create things, manage inventory, process orders, and stay visually inspired all within the same four walls. I’ve started applying several of her ideas to my own setup, and the difference has been measurable.
Step 1: Start With an Unusual Space and Commit to It Fully
 Auman standing in her converted studio space in Pennsylvania
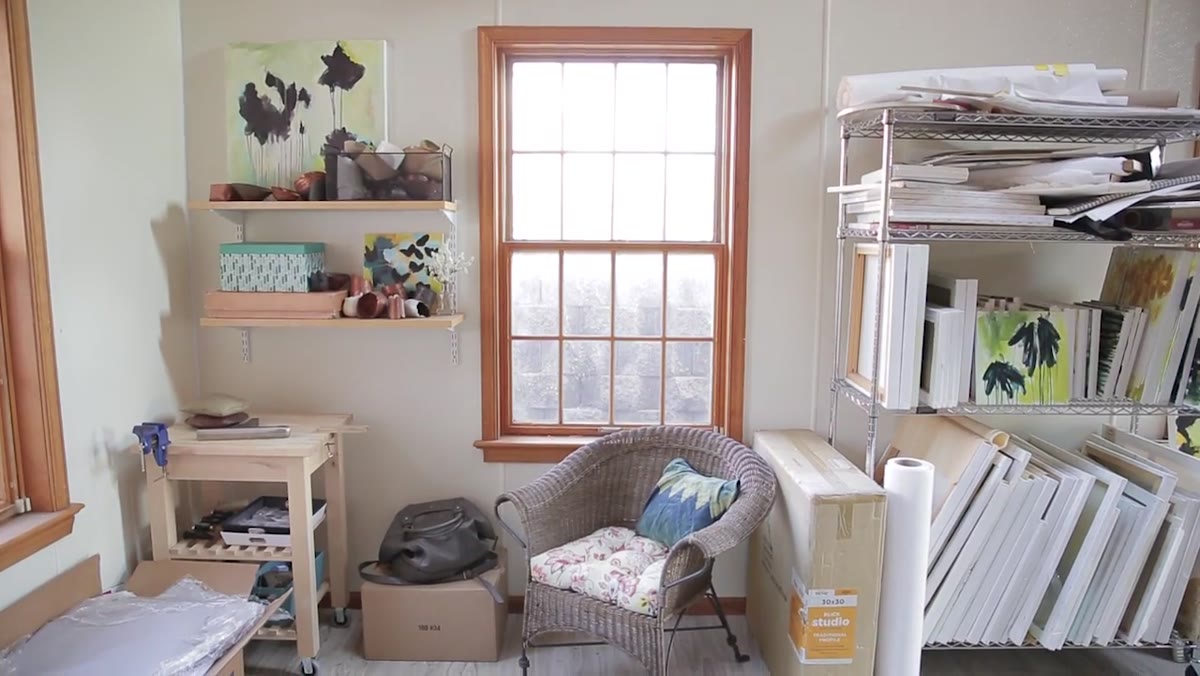
Auman’s studio sits on a farm property in rural Pennsylvania, inside a building that once housed an indoor pool. The pool had fallen apart, and rather than seeing a liability, she saw square footage. Her husband built a deck over the void, she installed flooring, and what had been an eyesore became a working creative studio.
The lesson here isn’t about pools. It’s about not waiting for the ideal space before you build a serious workflow around it. I’ve seen photographers delay proper studio setups for years because they’re waiting for more square footage, better light, or a more “professional” address. Auman took what she had and engineered it to work. That commitment to the space is what makes it functional, not the space itself.
Step 2: Separate Business and Making Into Defined Zones, Not Different Rooms
 Business desk area with computer setup visible in the studio
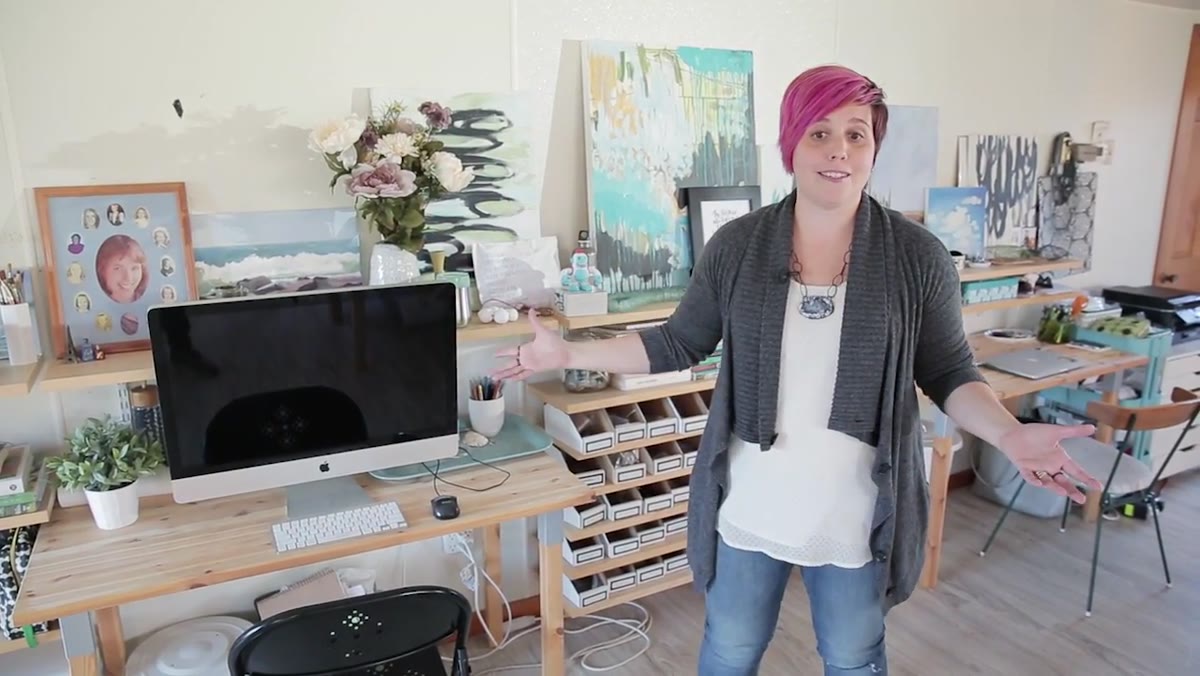
Auman keeps her computer and business operations in the same room as her making workspace, but she separates them into distinct physical zones. One area handles email, marketing, planning, and customer service. Another handles production. The key is that both zones live under the same roof, allowing her to move between creative and administrative work without breaking momentum or losing context.
For studio photographers, this is directly applicable. I used to keep my editing machine in a separate room from my shooting space, thinking the separation would help me focus. What it actually did was create friction every time I needed to reference a shot mid-setup. Having a clearly defined “post and admin” corner inside the studio itself, even a small one, keeps the whole operation running faster.
Step 3: Treat Inventory as Active Capital, Not Just Storage
 Inventory organization area with sorted jewelry pieces
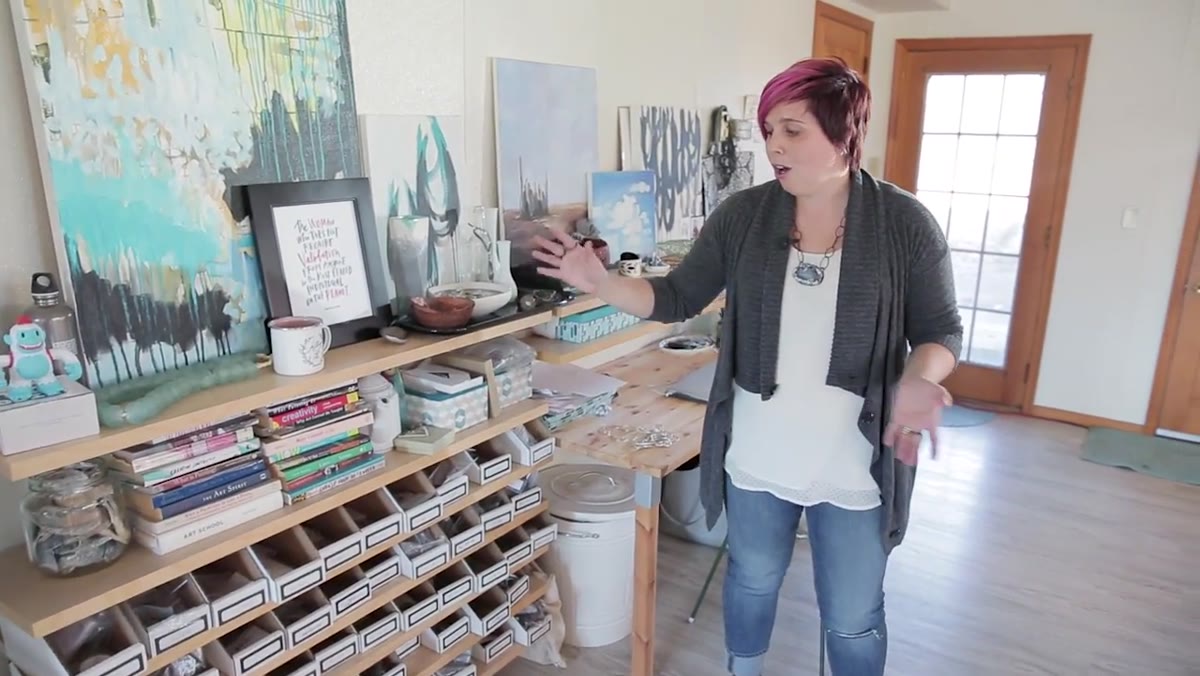
Auman is straightforward about her relationship with finished inventory: she finds it stressful, because to her it represents money that isn’t moving. She keeps enough stock ready to ship to meet demand, but she doesn’t over-produce just to have a full shelf. Everything she stores is sorted and accessible, reducing friction when it’s time to pack an order.
Photographers can apply this same logic to physical products, whether that’s print inventory, sample albums, or packaged products for retail. Having six sample albums sitting in a cabinet is capital locked up. Having two well-maintained samples that actually get shown to clients is smarter. Audit what you’re storing and ask honestly whether it’s working for you or just taking up space.
Step 4: Build a Dedicated Packing and Shipping Station
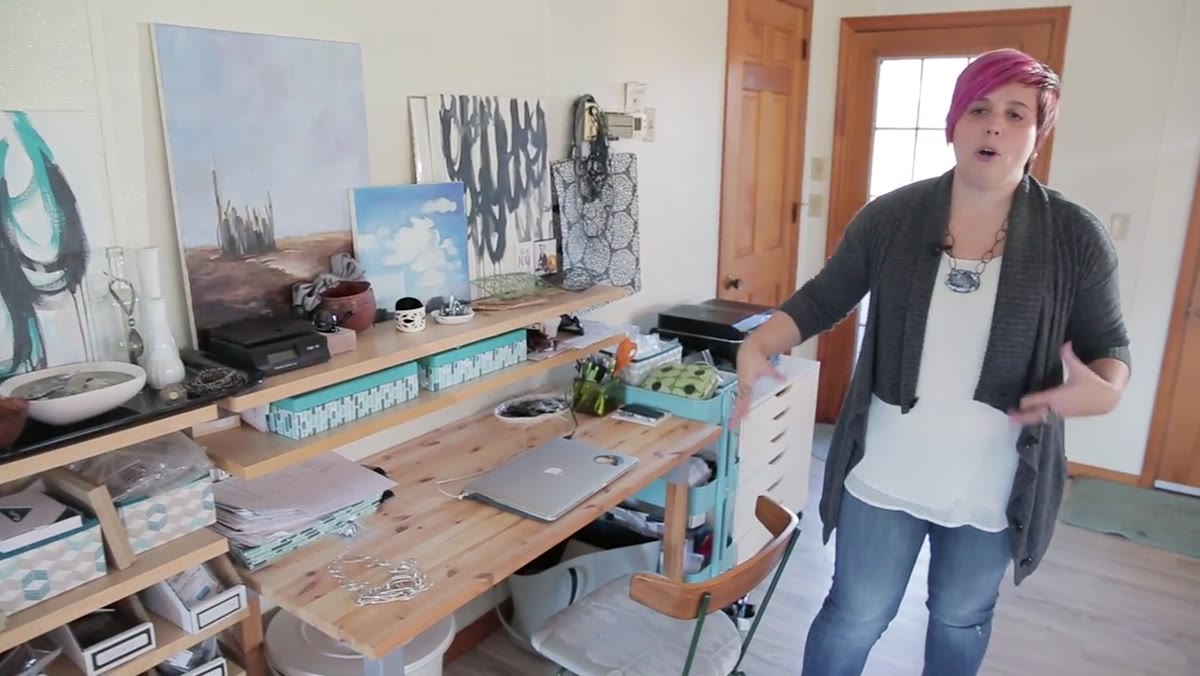 Packing and shipping workspace area in the studio
Adjacent to her inventory zone, Auman has a separate workspace dedicated entirely to packing and shipping outgoing orders. It’s not an afterthought tucked onto a corner of a desk. It’s a proper station with its own surface and tools, designed to handle that specific task efficiently.
I added a dedicated shipping corner to my studio after watching this, and I’ll admit I underestimated how much mental overhead the lack of one was costing me. When packing supplies are scattered or you’re clearing space off your editing desk to wrap a print, it takes longer and you make more mistakes. A fixed station for that one task, even if it’s just a small table with a label printer and packaging materials, pays for itself immediately in time saved.
Step 5: Apply the “Store Low, Display High” Rule Everywhere
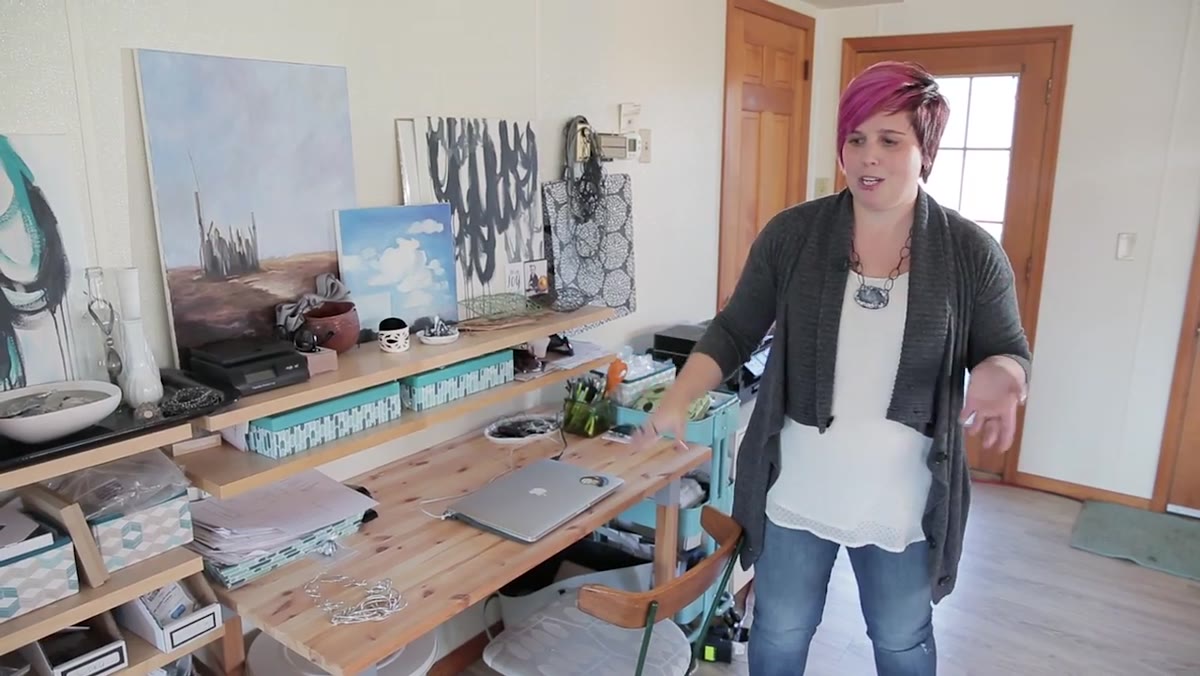 Floating shelves displaying inspiring objects and personal pieces
This is the principle that’s had the most direct impact on my own studio. Auman designed her storage around a simple rule: functional, utilitarian storage goes low and out of sightlines, while the upper visual field is reserved for things that inspire and delight. In her studio, that means floating shelves displaying personal objects, jewelry she’s currently wearing, paintings, and curios collected from travels.
In a photography studio, this might mean keeping stands, sandbags, and cable bins on low shelves or in rolling carts below desk height, while reserving the upper walls for mood boards, test prints, or reference images. What you spend the most time looking at shapes how you think. If your eye line is constantly hitting gear clutter and storage boxes, that’s what your brain is processing. Give your upper visual field something worth looking at.
Step 6: Curate a Visual Reference Environment Intentionally
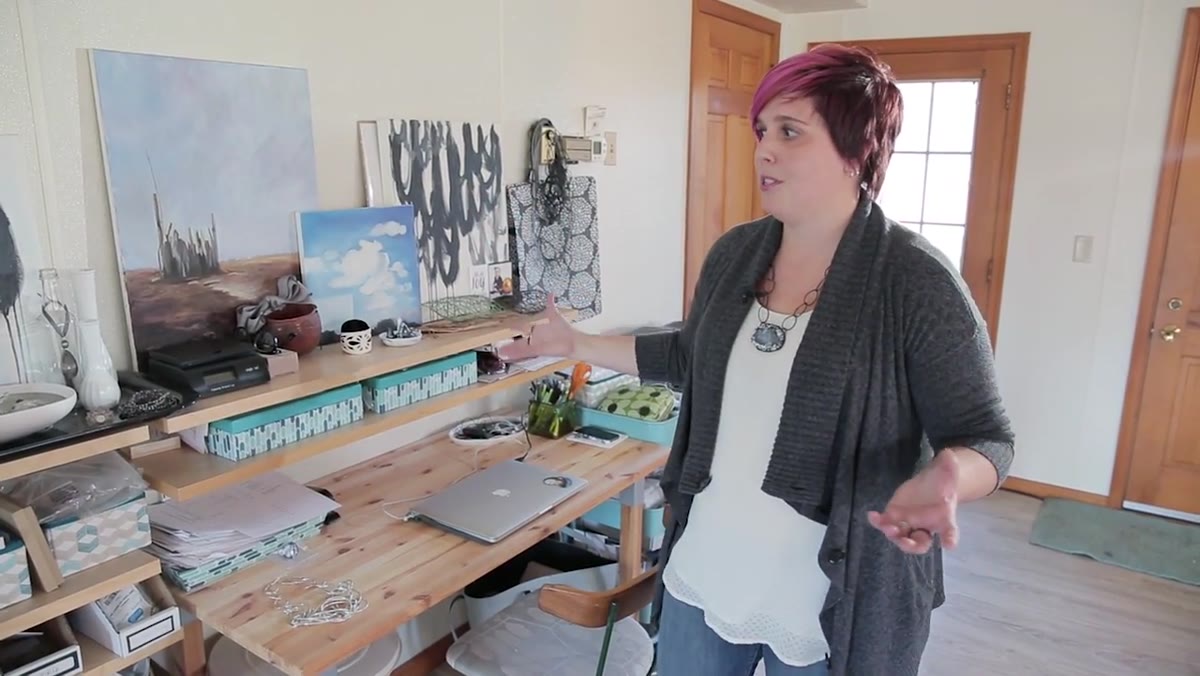 Personal objects and inspiring pieces arranged on display shelves
Auman is explicit about why she keeps interesting objects around. She’s not decorating. She’s feeding the part of her brain that generates design ideas. Shapes, patterns, textures, and objects from different contexts give her visual material to draw from when she’s working through new pieces.
This is something I believe in enough to have written it in my lighting journal more than once. My wife, who has an eye for how things look together that I genuinely cannot explain, taught me early on that your environment is always influencing your eye, whether you’re aware of it or not. The reference images I pin up in my studio, the objects on the shelf behind my editing monitor, the lighting diagrams I sketch and keep visible, all of it shapes what I reach for when I’m building a shot. Don’t leave your visual environment to chance.
What I’d Add From My Own Experience
The one thing the tour doesn’t address directly is lighting control, which matters for any studio space but especially one with the kind of generous natural light Auman’s converted pool room provides. Beautiful diffused natural light is an asset, but it changes throughout the day and by season. If you’re doing any product photography or shooting work that needs consistency, you need a plan for controlling or supplementing that natural light. Blackout panels, diffusion fabric on the windows, and at least one reliable artificial source calibrated to a known color temperature will save you from the kind of inconsistency that makes client work unpredictable. I learned that lesson the hard way on a shoot early in my career and I’ve never gone back to winging it.
The most useful thing Auman’s tour communicates is that a studio is a system, and every element of that system either supports your work or gets in its way. The space she built isn’t beautiful by accident. It was designed with specific, repeated tasks in mind, and every organizational decision serves one of those tasks. That’s the standard worth holding your own space to.
Watch the full tutorial on YouTube and pay attention to how she talks about why each zone exists. The reasoning behind the choices is more transferable than the choices themselves.
Comments
Leave a Comment