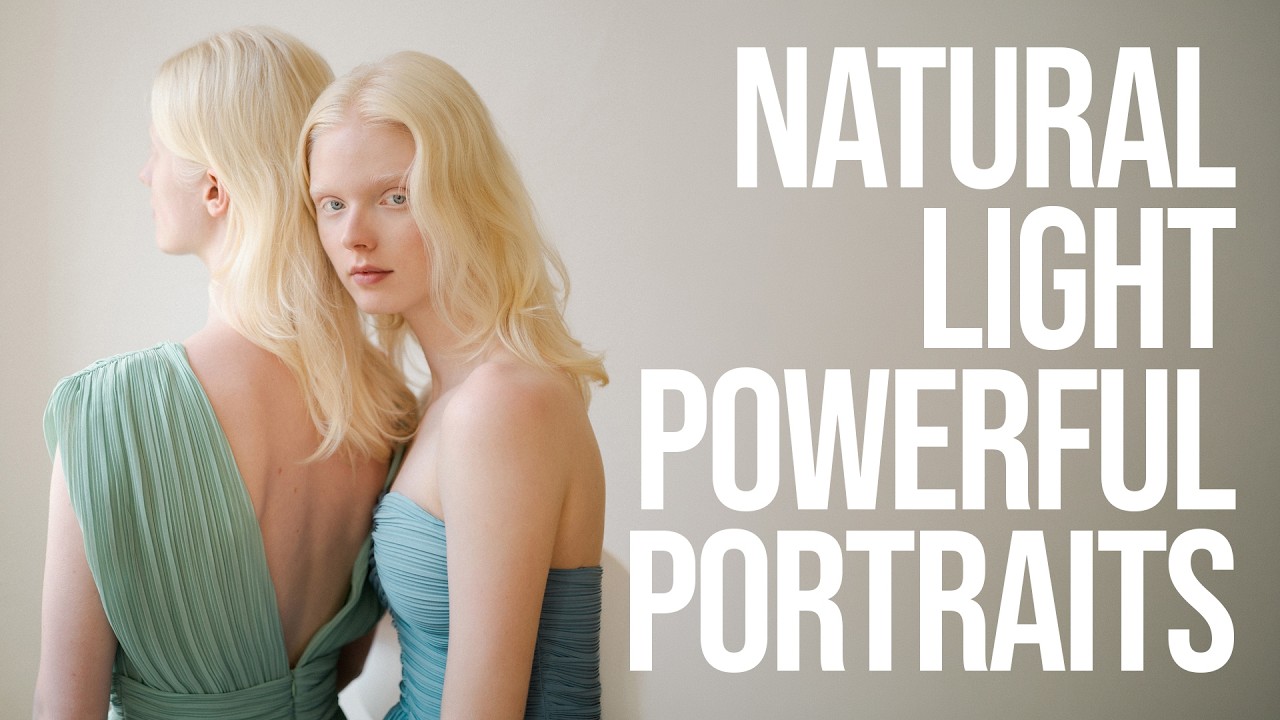
There’s a problem I keep running into with newer photographers who come through my studio: they think more gear equals better portraits. More lights, more modifiers, more complexity. I spent years building my kit in exactly that direction, and I still reach for my four-light setups on commercial jobs without hesitation. But the most useful thing for someone learning portraiture is often understanding what you can strip away without losing what makes a portrait work. That question has been sitting in the back of my head for a while.
Watch the full tutorial on YouTube
In this Sean Tucker documentary, Tucker profiles Svetlana Jovanovic, a New York-based portrait photographer and former psychologist who won the Hasselblad Masters competition in the Portrait category for her project “Otherness,” a series photographing identical twins. What immediately struck me about her work is the quality of the light. Clean, directional, dimensionally rich. You’d assume it came from a carefully dialed-in softbox setup. It doesn’t. It comes from a window. What she’s actually teaching, without framing it as a technical tutorial, is a complete method for making portraits that feel like they reveal something true about a person. That’s harder than it sounds, and her approach is worth breaking down step by step.
Step 1: Accept the Minimalist Premise
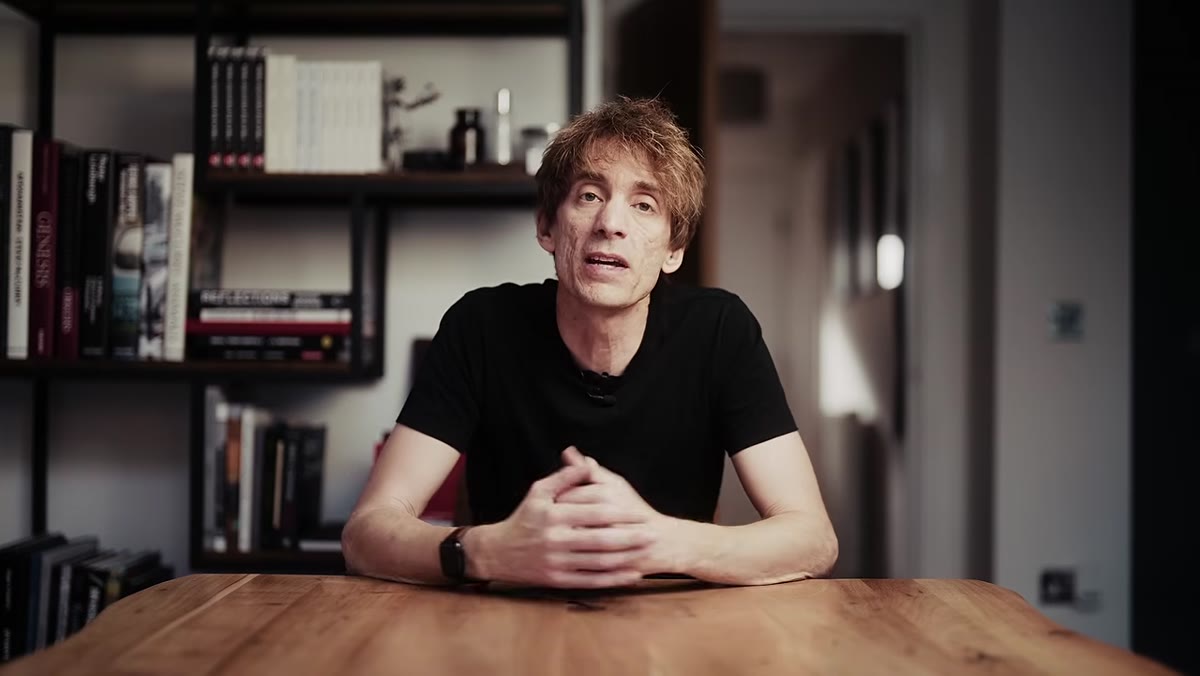 Svetlana working in a small room with a single window
Before you touch a camera, you need to buy into the working philosophy or none of the technique matters. Jovanovic operates with what Tucker calls a truly minimalist setup: typically just herself, the subject, and one camera. No assistants, no reflectors on stands, no grid spots to carve out the background. If you’ve been conditioned to think a portrait session requires a lighting plan sketched out in advance, this will feel uncomfortable at first.
The practical starting point is this: find a room with one window that produces directional light, not a skylight and not a window facing direct sun at noon. Overcast light through a large north-facing window is the ideal starting condition. The goal is a single, soft, controllable light source you can position your subject relative to. That’s your whole rig.
Step 2: Use Your Psychology Before You Use Your Camera
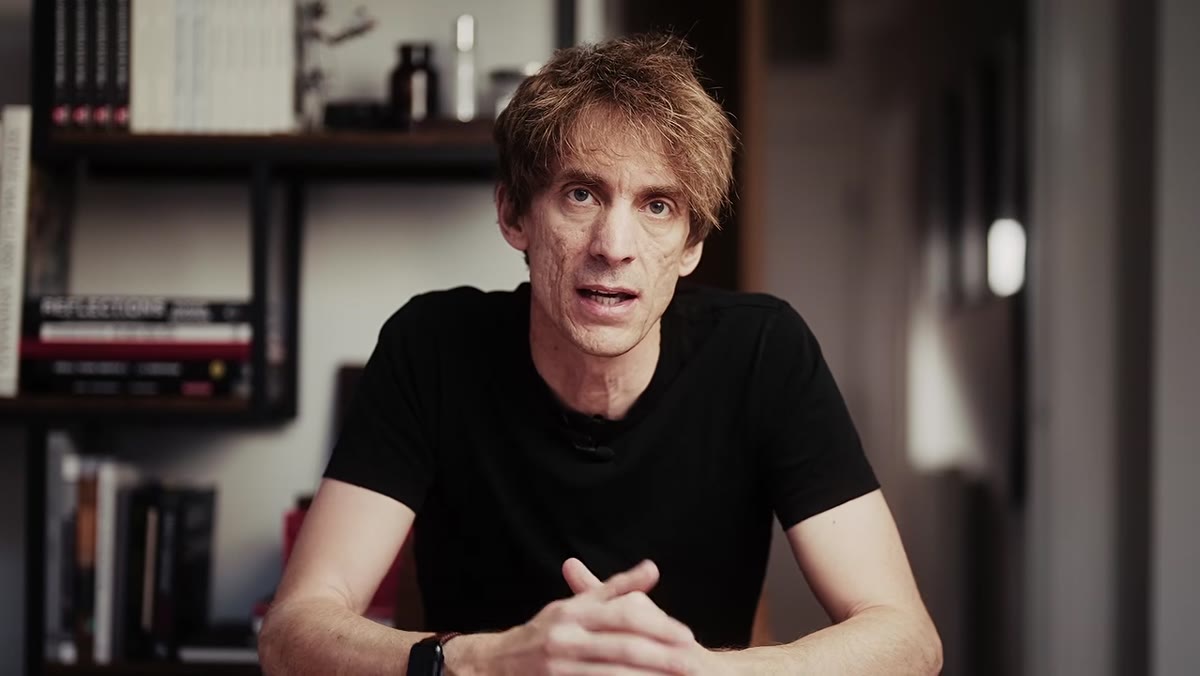 Svetlana in conversation with a subject, camera lowered
Jovanovic’s background as a psychologist isn’t just biographical texture. It’s the actual core of her technique. She spends real time with subjects before shooting, and that investment changes what appears in the frame. The camera only comes up when something genuine is already happening in the room.
The actionable version of this is simple but it requires patience: talk to your subject about something they actually care about. Not “turn your chin slightly left.” Ask them about their work, their family, something they’re proud of or confused by. Watch their face. The moment it relaxes or lights up or gets complicated is the moment worth photographing. Your job in that pre-shoot window is to lower their self-consciousness enough that the camera stops being the event.
Step 3: Position the Subject Relative to the Window, Not the Other Way Around
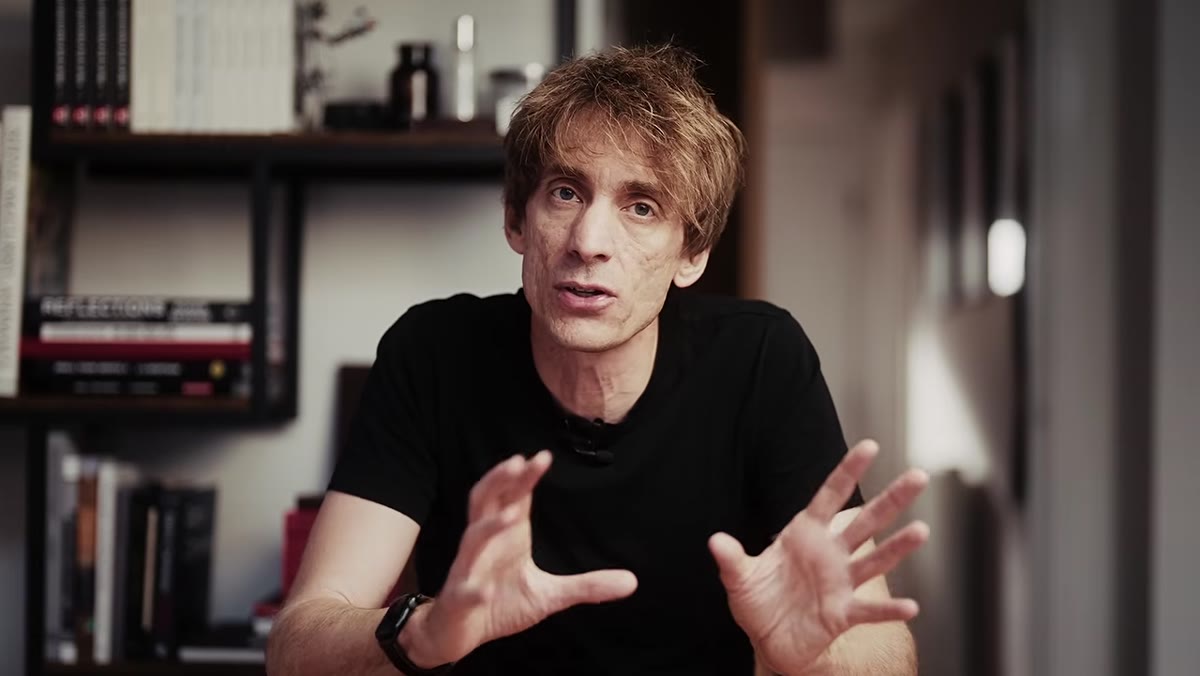 Subject positioned at an angle to a window, shadow falling across one side of face
Window light behaves like a large softbox with a fixed position, so you’re doing all your “lighting adjustments” by moving the subject. Jovanovic uses the window as a fixed anchor and shifts her subjects closer, farther, or more oblique to it depending on what she wants the light to reveal.
For most portraits, start by placing the subject at roughly a 45-degree angle to the window. This gives you a classic Rembrandt-style split with a small triangle of light on the shadow-side cheek. Move them more face-on to the window to open up the shadows and create a flatter, softer feel. Move them more perpendicular to it and the shadows get dramatic. Each position is a different mood. I’d suggest shooting five frames at each angle before moving on. You’ll see the difference clearly in review and start to internalize what each position does to the face.
Step 4: Control the Distance to Manage Light Quality
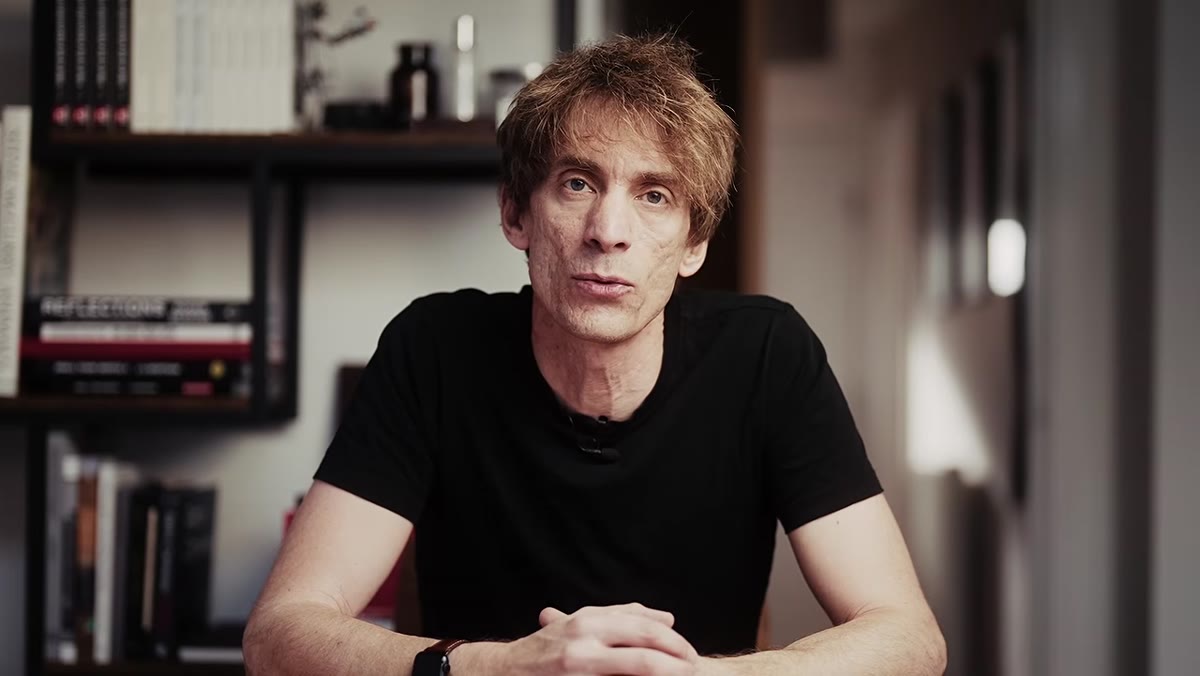 Photographer moving subject closer to window, observing the light change
Distance from the light source changes quality, not just intensity. This is the same principle that applies when I’m sizing a softbox for a fashion shoot: a large source close to the subject produces soft, wrapping light with gentle shadow transitions. As you move the subject back from the window, the source appears smaller relative to the face and the shadows become harder and more defined.
For skin texture and softness in a beauty-style portrait, keep your subject within two to three feet of the window. For more dramatic, characterful work, move them four to six feet back. Jovanovic’s portraits in “Otherness” tend toward that closer, softer quality, which keeps the focus on expression and micro-detail rather than chiseled shadow structure. Neither is wrong. Know which you’re choosing and why.
Step 5: Reveal Something True in the Edit by Doing Less
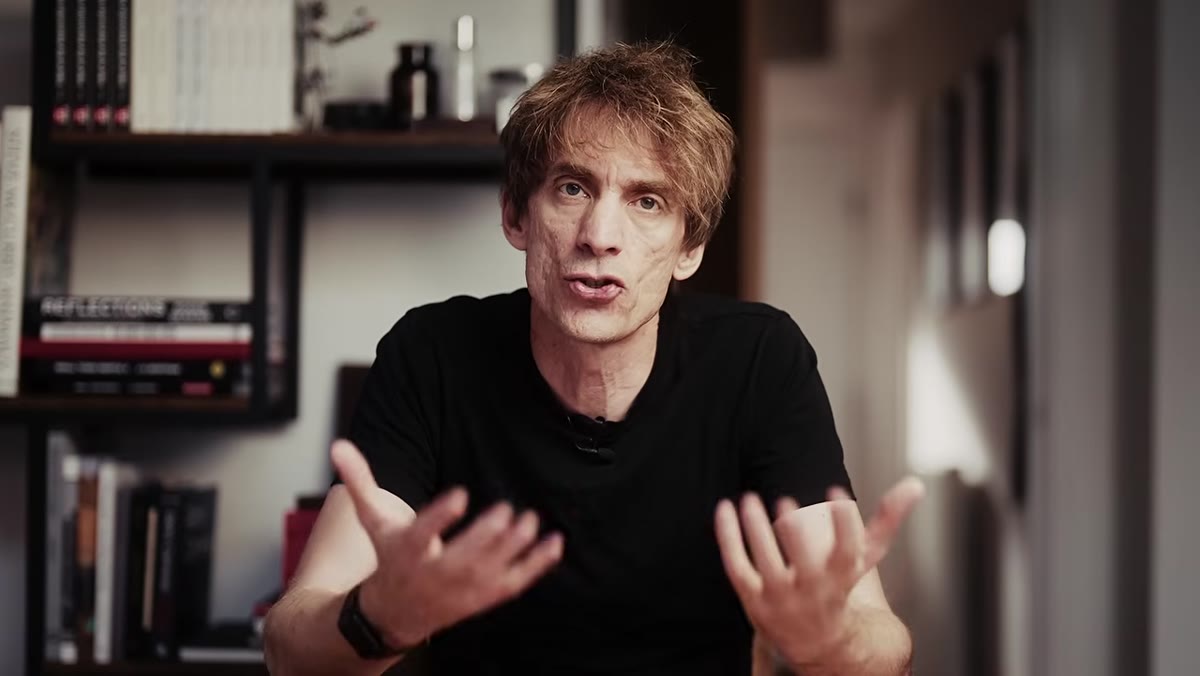 Final portrait images displayed, minimal processing visible
Jovanovic’s finished images hold a lot of tonal subtlety in the skin. They don’t look retouched into smoothness. The processing supports the intimacy of the working method: if you strip down the shoot to just light and connection, the edit should honor that by staying out of the way.
Practically: shoot in RAW, expose to protect the highlights in the skin, and in post, resist the urge to dodge and burn aggressively. Bring the shadows up slightly to hold detail without flattening the light you worked to create with the window positioning. Add a small amount of clarity rather than structure if you want to emphasize skin texture. The goal is to look like you captured something, not constructed it.
A Note From My Own Studio Work
I work with strobes almost every day and I still keep a lighting journal where I sketch out every setup from every shoot. It’s a habit I developed after I ruined an early editorial job by misjudging color temperature, and it forced me to be more systematic. What Jovanovic’s approach made me reconsider is how much of my diagramming is actually serving the portrait versus serving my own need to feel prepared.
Her method transfers to artificial light too. The principle of a single, large, close source positioned at a deliberate angle to the subject is exactly what I replicate with a large Octa placed close and slightly to one side. If you understand why the window works, you understand why that modifier works. The difference is that the window teaches you the fundamentals without letting you hide behind knob-turning. I’d recommend shooting a full session with window light only, even if you have a full lighting kit sitting ten feet away. What you learn about your subjects and your own instincts will be worth more than any new modifier.
The single most important takeaway from Jovanovic’s method is this: the light is the setup, but the relationship is the photograph. Everything she does technically is in service of creating conditions where a person can be genuinely themselves in front of a camera. Get that part right and the window does the rest.
Watch the full tutorial on YouTube
Comments (6)
Simple but effective. Sometimes that's all you need.
Just used this on a wedding shoot edit. Client was thrilled.
Really solid breakdown. This pairs perfectly with the landscape work I've been writing about.
Applied this to my portfolio shots and the improvement is noticeable.
Quality content like this is rare. Keep it up.
Couldn't agree more. I've seen this make a huge difference in compositing work specifically.
Leave a Comment