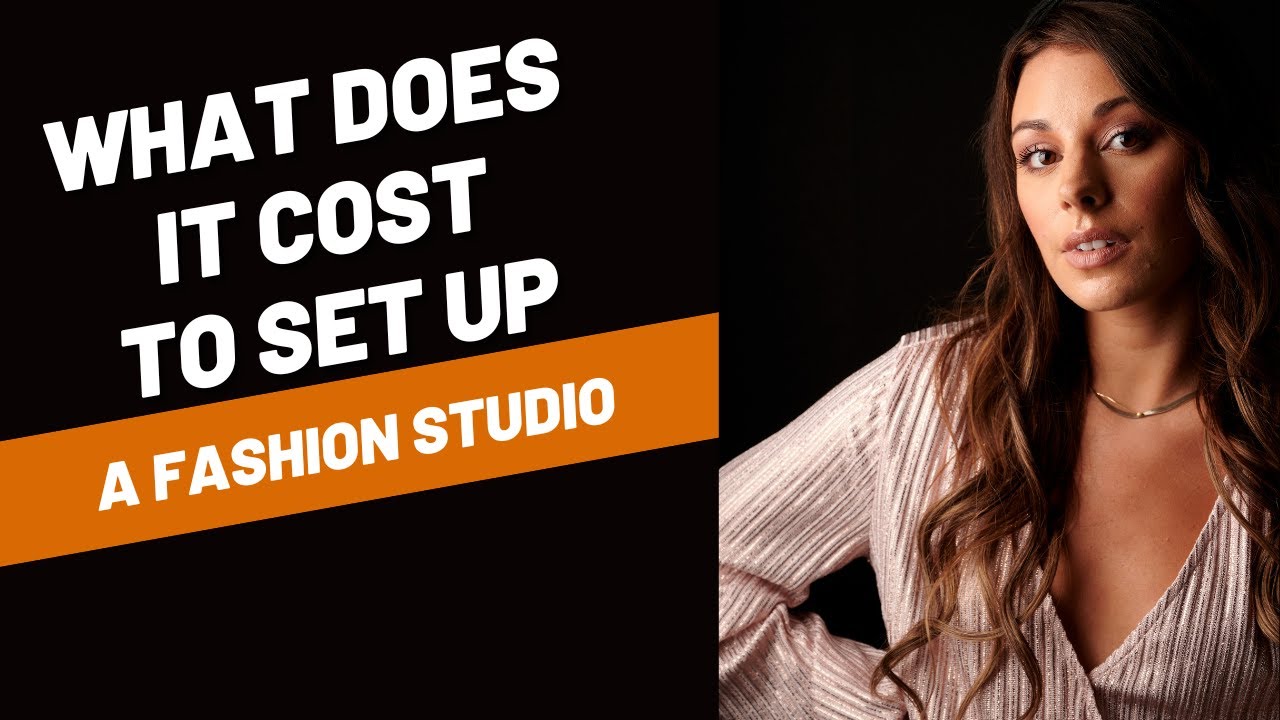
Every few years I walk through what it would cost to start over. Not because I’m planning to, but because it keeps me honest about what equipment actually matters versus what I’ve accumulated out of habit. The exercise gets uncomfortable fast, especially when clients ask me to help them build out an in-house studio for their clothing brand. They always underestimate the lighting budget and overestimate how much the camera matters.
That’s exactly the scenario Daniel Norton addresses in this tutorial, and it’s one I’ve referred clients to more than once. Watch the full tutorial on YouTube before you buy a single thing. Norton frames the project around a specific, practical goal: producing full-length on-figure and off-figure product images on white, the kind of clean e-commerce work that clothing brands need constantly. Ignoring the camera entirely, he shops for the lighting infrastructure from scratch using Amazon with a fresh browser session, which is a smart way to simulate what a newcomer would actually find.
The approach is methodical enough that I sketched the whole thing into my lighting journal while watching. Here is the walkthrough.
Step 1: Define the Shooting Goal Before You Open a Single Tab
 Daniel Norton describing full-length on-figure fashion shoot requirements
Before you search for anything, know exactly what you are shooting. Norton is explicit: full-length clothing images, on white, for web use. That single constraint drives every equipment decision that follows. Full-length means you need enough space to shoot a standing model from head to foot, which means your background needs to be wide enough and your lights need to illuminate it evenly edge to edge. On white means you are not just exposing the subject correctly, you are also blowing out or controlling the background separately. These are two different lighting problems happening in the same frame.
Daniel Norton describing full-length on-figure fashion shoot requirements
Before you search for anything, know exactly what you are shooting. Norton is explicit: full-length clothing images, on white, for web use. That single constraint drives every equipment decision that follows. Full-length means you need enough space to shoot a standing model from head to foot, which means your background needs to be wide enough and your lights need to illuminate it evenly edge to edge. On white means you are not just exposing the subject correctly, you are also blowing out or controlling the background separately. These are two different lighting problems happening in the same frame.
If you skip this step you will buy modifiers and light positions that fight each other. I made that mistake once setting up a pull-and-shoot catalog situation for a small apparel client, and we spent two hours on set trying to fix hot spots we could have avoided with better planning.
Step 2: Set Your Power Target Before Shopping
 Norton explaining watt-second requirements for a four-light fashion setup
Norton recommends four monolights with a combined output around 2,000 watt-seconds. That is not a random number. He arrives at it from experience running a working fashion studio where he regularly used two 1,200 watt-second pack-and-head systems, sometimes pushing six heads total. The four-monolight approach at the budget level mirrors that philosophy at a lower price point.
Norton explaining watt-second requirements for a four-light fashion setup
Norton recommends four monolights with a combined output around 2,000 watt-seconds. That is not a random number. He arrives at it from experience running a working fashion studio where he regularly used two 1,200 watt-second pack-and-head systems, sometimes pushing six heads total. The four-monolight approach at the budget level mirrors that philosophy at a lower price point.
Why four units specifically? For a white-seamless setup you typically need at least two lights dedicated to the background, one key light on your subject, and one fill or hair light. That is your minimum viable configuration for clean, commercial-quality clothing work. Dropping to three lights forces you to compromise somewhere, usually on background evenness, which creates extra work in post. Buy four from the start.
Step 3: Search Fresh and Filter by Brand Reputation
 Amazon search results for 500W studio flash showing multiple budget brands
Norton runs his Amazon search with a private browser tab, which strips out personalized results and shows you what an average buyer would see. This is worth doing. What he finds immediately are brands he has never heard of at prices that feel too low. His instinct is to skip anything unfamiliar at 164 dollars a head, and I share that instinct. A monolight that fails on set is not a bargain at any price.
Amazon search results for 500W studio flash showing multiple budget brands
Norton runs his Amazon search with a private browser tab, which strips out personalized results and shows you what an average buyer would see. This is worth doing. What he finds immediately are brands he has never heard of at prices that feel too low. His instinct is to skip anything unfamiliar at 164 dollars a head, and I share that instinct. A monolight that fails on set is not a bargain at any price.
He gravitates toward Godox for good reason. The brand has genuine market penetration among working photographers, a real support ecosystem, and enough units in the field that you can find honest long-term reviews. Budget does not have to mean disposable. Godox sits in a tier where you are buying a real tool, not a gamble.
Step 4: Match Flash Power to Individual Unit Wattage
 Calculating individual monolight watt-seconds against total power goal
Once you have a total power target of roughly 2,000 watt-seconds across four units, the math is simple: you want each unit to land around 400 to 500 watt-seconds. A 500 watt-second monolight gives you room to run your background lights at reduced power while keeping your key light near full output, which is exactly how a proper white-seamless setup is dialed in.
Calculating individual monolight watt-seconds against total power goal
Once you have a total power target of roughly 2,000 watt-seconds across four units, the math is simple: you want each unit to land around 400 to 500 watt-seconds. A 500 watt-second monolight gives you room to run your background lights at reduced power while keeping your key light near full output, which is exactly how a proper white-seamless setup is dialed in.
Running background lights at two stops below your key is a common starting point. You expose the background to pure white without it spilling back onto your subject and washing out your clothing detail. If your individual units are too weak, you end up chasing power and losing the ability to make those fine adjustments. Four 500 watt-second heads gives you the headroom to work.
Step 5: Account for Modifiers, Stands, and Background
 Norton listing the non-light components needed for a complete studio setup
The lights are not the whole budget. Norton is clear that a complete fashion studio setup means accounting for light stands, modifiers, and a seamless paper background system. For fashion work on white you will want at least one large softbox for your key light, a wider or strip-style modifier for fill, and reflectors or dedicated heads for the background. A background stand kit with a crossbar and seamless paper roll is not optional.
Norton listing the non-light components needed for a complete studio setup
The lights are not the whole budget. Norton is clear that a complete fashion studio setup means accounting for light stands, modifiers, and a seamless paper background system. For fashion work on white you will want at least one large softbox for your key light, a wider or strip-style modifier for fill, and reflectors or dedicated heads for the background. A background stand kit with a crossbar and seamless paper roll is not optional.
Seamless paper in bright white costs relatively little, but the stand system to hang it costs more than people expect. Budget for it separately and do not let it be the thing that gets cut. Shooting a clothing product against a wrinkled or poorly lit background means every single image needs additional post work. The paper is cheap. The time is not.
A Note on What the Budget Does Not Cover
I have walked clients through this same exercise more times than I can count, and there is always a moment where they realize the list is longer than expected. Norton focuses on lighting, which is correct. But the real-world setup for a fashion studio that runs regularly also needs a tethering solution, a sturdy camera stand or boom for consistent framing, and some system for hanging or supporting garments off-figure. A simple C-stand with a garment hook handles the off-figure work, but it needs to be on the list.
The other thing I always flag: color consistency across sessions. I ruined an early editorial shoot by trusting that my flashes were color-balanced out of the box. They were not, and the client noticed immediately when the images sat next to each other in their layout. Gel calibration or at minimum a grey card check at the start of every session will save you that conversation.
The single most important idea in Norton’s tutorial is the power-per-unit calculation. Getting four lights that each hit 400 to 500 watt-seconds gives you a system flexible enough to handle the full range of fashion studio work at a budget that is actually achievable. Everything else scales from that foundation.
Watch the full tutorial on YouTube to see his exact Amazon picks and the final price total he lands on. The shopping walkthrough is worth watching in real time.
Comments (2)
The tip about what it actually costs to buil was the missing piece for me. Thank you.
Couldn't agree more. I've seen this make a huge difference in business work specifically.
Leave a Comment