I’ve been in a lot of studios. Shot in borrowed spaces, rented daylight lofts, converted warehouses, and one genuinely terrible basement in Burbank where the ceiling was so low I had to angle every softbox sideways. What I’ve learned across all of them is that the physical space isn’t neutral. It talks to your clients before you do. It tells them what kind of photographer you are, what they can expect to pay, and whether they should trust you with something as personal as their own portrait. That’s why, when I came across Watch the full tutorial on YouTube, a studio walkthrough of Sue Bryce’s new space from The Portrait System, I stopped what I was doing and watched it twice.
Sue Bryce has been a portrait photographer for nearly three decades. She built her first real business from scratch with a single camera body and a kit lens, shooting natural light out of a garage in New Zealand. Within a year she had turned over close to half a million dollars. By 2011 she was teaching other photographers. By 2016, Canon USA had named her an Explorer of Light. So when she designs a studio, she’s not making aesthetic choices arbitrarily. Every decision is load-bearing. In this The Portrait System tutorial, hosted by Christina Hauser, the walkthrough moves through the space methodically and the reasoning behind each design decision is right there on the surface if you know how to read it.
What follows is my breakdown of the core principles from that tour, written the way I’d explain it to a photographer setting up their first dedicated studio space.
Step 1: Design the Entrance to Do the Selling for You
 caption: Three large portrait prints displayed in the studio entrance
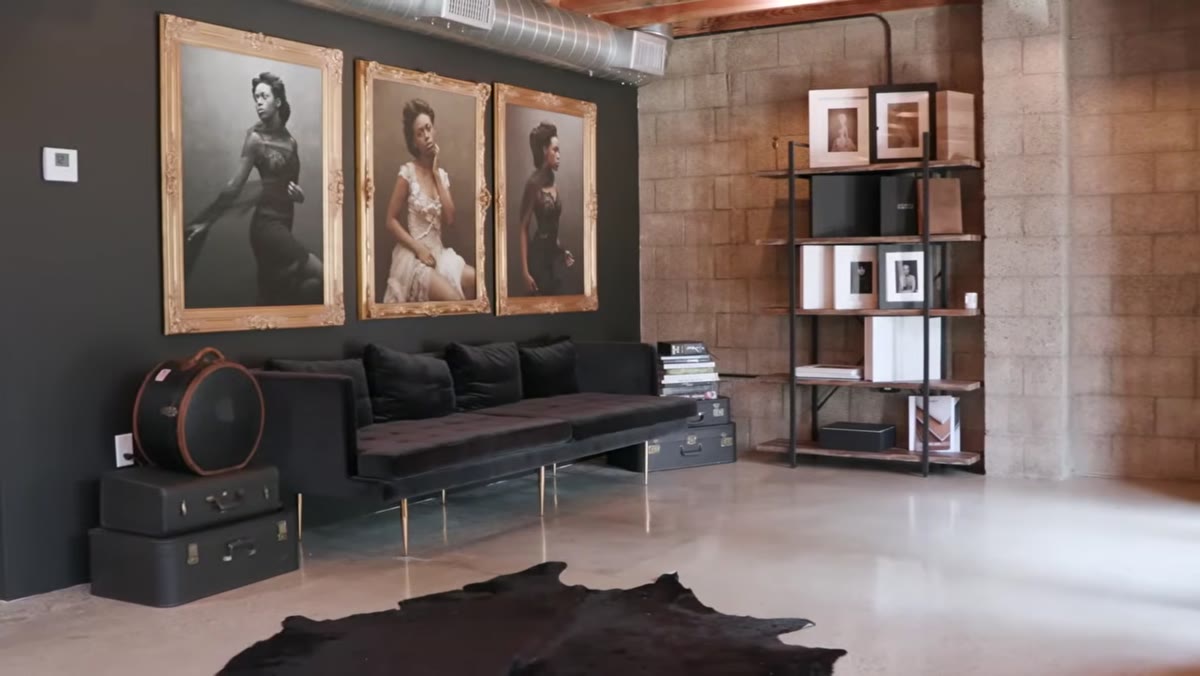
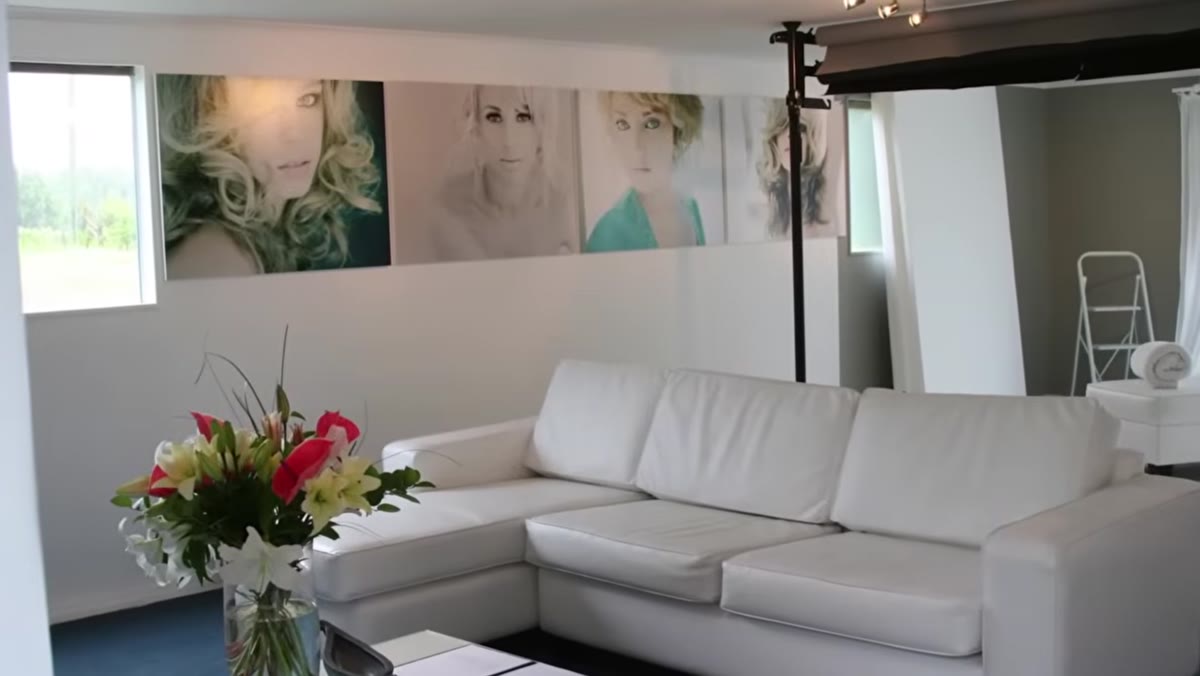
The first thing Bryce describes is what a client sees the moment they walk through the door. Three large portraits hang immediately in the entranceway, and the space around them includes printed boxes, albums, and framed work at various sizes. Nothing in that entrance is accidental. She’s not decorating. She’s reminding the client, before a single word is spoken, why they came and what they’re going to leave with.
caption: Three large portrait prints displayed in the studio entrance
The first thing Bryce describes is what a client sees the moment they walk through the door. Three large portraits hang immediately in the entranceway, and the space around them includes printed boxes, albums, and framed work at various sizes. Nothing in that entrance is accidental. She’s not decorating. She’s reminding the client, before a single word is spoken, why they came and what they’re going to leave with.
I’ve started doing something similar in my own space. I label every piece of displayed work with the print size on a small card, not the price, just the dimensions. Clients immediately start spatially imagining the image on their own walls. That’s the first yes you need from them, and the room can get it for you before the conversation starts.
Step 2: Treat Every Product on Display as a Price Anchor
 caption: Frames, albums, and printed boxes arranged in the studio entrance
Bryce frames the products in her entrance not as merchandise but as legacy objects. Her language around this is deliberate: a portrait outlives the subject. It becomes a family heirloom. That framing changes what a client thinks they’re purchasing. They’re not buying a photo session. They’re commissioning something permanent.
caption: Frames, albums, and printed boxes arranged in the studio entrance
Bryce frames the products in her entrance not as merchandise but as legacy objects. Her language around this is deliberate: a portrait outlives the subject. It becomes a family heirloom. That framing changes what a client thinks they’re purchasing. They’re not buying a photo session. They’re commissioning something permanent.
For photographers trying to move clients toward larger wall prints and away from digital file packages, this is the most practical sales tool available. If the room already communicates “this is worth investing in,” you’re not fighting that battle at the ordering session.
Step 3: Use Your Own Story as Proof of the Process
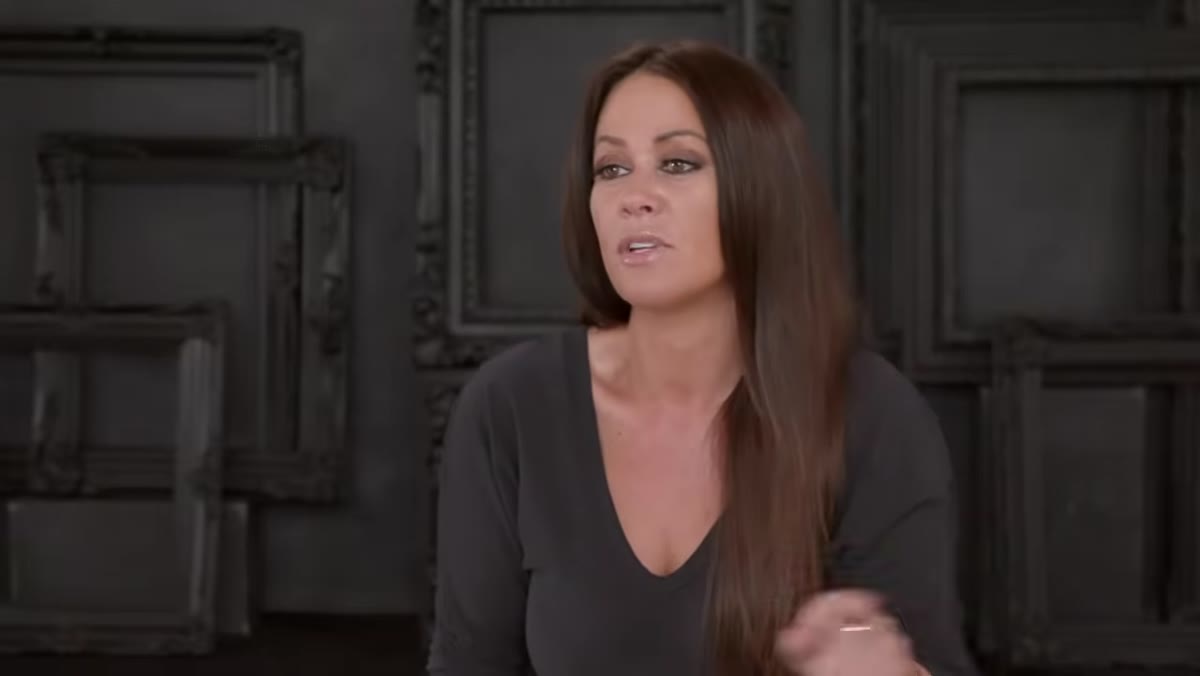 caption: Sue Bryce recounting her early career building a photography business
Bryce walks through her career arc directly in this tour, and it isn’t self-indulgence. It’s a demonstration of the business model itself. She started with almost nothing, shot genres she didn’t love (weddings, families, events), hit a wall, and then made a deliberate pivot toward the only work that made her feel fully present: one woman, one camera, one session focused entirely on making her subject feel seen and beautiful.
caption: Sue Bryce recounting her early career building a photography business
Bryce walks through her career arc directly in this tour, and it isn’t self-indulgence. It’s a demonstration of the business model itself. She started with almost nothing, shot genres she didn’t love (weddings, families, events), hit a wall, and then made a deliberate pivot toward the only work that made her feel fully present: one woman, one camera, one session focused entirely on making her subject feel seen and beautiful.
The lesson I pull from this for studio design is that your space should reflect the specific work you’ve chosen to do, not the work you’ve done just to pay rent. If you shoot beauty and portrait work but your studio still has a newborn beanbag in the corner and a wedding album on the coffee table, you’re sending a mixed signal. Commit to the space the way she committed to the work.
Step 4: Maximize Natural Light Before Adding Artificial Sources
 caption: Large open studio room flooded with natural light through wide windows
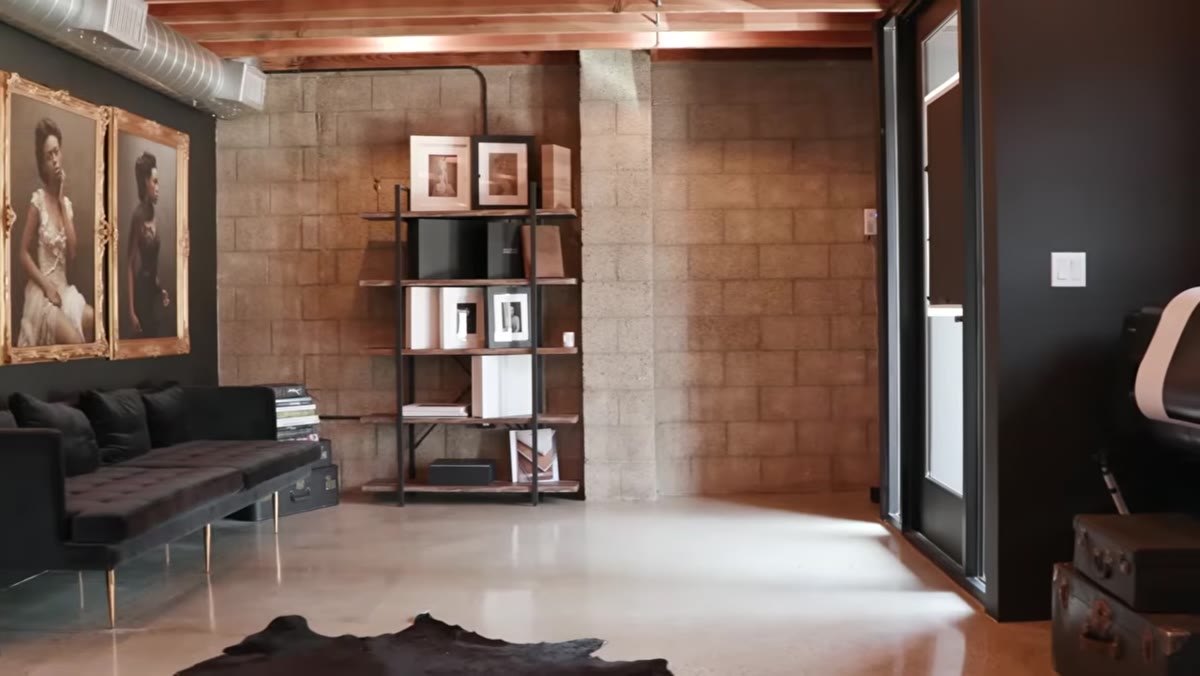
The main shooting space in Bryce’s new studio is described as grand, open, and flooded with natural light. One of its features is a full garage door that opens completely, echoing, intentionally, the garage studio where she started. The continuity isn’t just sentimental. A large opening to the outside gives you a massive, soft, directable light source that no modifier can fully replicate.
caption: Large open studio room flooded with natural light through wide windows
The main shooting space in Bryce’s new studio is described as grand, open, and flooded with natural light. One of its features is a full garage door that opens completely, echoing, intentionally, the garage studio where she started. The continuity isn’t just sentimental. A large opening to the outside gives you a massive, soft, directable light source that no modifier can fully replicate.
My own approach: I map the light in any new space I’m working in before I set up a single strobe. I’ll shoot a matte gray card at every hour from 8am to 4pm on the first day I’m in a new studio, and I log the color temperature readings. I ruined an early editorial job years ago because I didn’t account for how the afternoon sun shifted the ambient color temperature through a south-facing window. The strobes were dialed in but the fill light from the window went warm and wrecked the skin tones. Now I know before the client arrives exactly what that room is doing at any given hour.
Step 5: Let the Space Evolve With Your Career, Not Ahead of It
 caption: Sue Bryce describing the studio’s open potential and room to grow
Bryce and Hauser both comment on how the new studio feels full of open potential. There’s room to grow into it, room to change. Bryce’s career moved from a country garage to a Sydney loft to educating thousands of photographers internationally, and each space reflected where she was, not where she wished she was.
caption: Sue Bryce describing the studio’s open potential and room to grow
Bryce and Hauser both comment on how the new studio feels full of open potential. There’s room to grow into it, room to change. Bryce’s career moved from a country garage to a Sydney loft to educating thousands of photographers internationally, and each space reflected where she was, not where she wished she was.
This is a practical caution against over-investing in a studio buildout early. Start with the light you have. Work the space you can afford. The photographers I’ve seen overextend on studio infrastructure in year one are often the ones who can’t book enough work to sustain it, because the overhead pressure changes how they sell and how they shoot. Build the room that fits your current client volume and let the space grow as the business grows.
From My Own Studio Notebook
I keep a lighting journal, a physical notebook where I sketch every setup from every shoot, with notes on modifier distances, power ratios, and what the light actually did versus what I expected. Looking back at those sketches, the clearest pattern is this: the best light in any session usually started with the room itself. The ambient quality, the reflective surfaces, the ceiling height. The modifiers and strobes refined it. They didn’t create it from nothing.
Sue Bryce built her career around natural light and that’s not a limitation, it’s a philosophy. The studio she designed reflects that philosophy at every scale, from the garage door that opens to the sky to the gold-cream tones of the print room. Every element of a working studio should connect back to the work you actually want to make.
The single most important thing I took from this tour is that your studio is a client experience before it’s a shooting environment. The enrollment, the emotional buy-in, the decision to spend real money on a portrait, often happens in the first two minutes inside the door. Design for that moment and the photography will have room to do what it’s supposed to do.
Watch the full tutorial on YouTube and pay particular attention to how Bryce describes her entrance design. That two minutes alone is worth the watch.
Comments
Leave a Comment