Location shoots have a way of exposing every gap in your preparation. You show up to a corporate office expecting a clean, accessible space and find yourself in a conference room with one outlet behind a filing cabinet and fluorescent overheads that can’t be turned off. That’s not a hypothetical. That’s a Tuesday. Over the years I’ve refined my kit down to a set of tools that lets me walk into almost any location and build a controlled, repeatable portrait setup without hunting for extension cords or improvising around whatever the building offers me.
This CreativeLive tutorial from a working location portrait photographer lays out exactly the kind of location kit philosophy I’ve arrived at myself, and it’s worth breaking down step by step. Watch the full tutorial on YouTube if you want to see the gear in hand, but what follows is a detailed walkthrough of the reasoning behind each piece, written so you can build your own version of this kit before your next job.
Step 1: Pack Four Lights Even If You Plan to Use Three
 Photographer explaining his four-light packing philosophy
The reasoning here is simple and I wish someone had told me earlier: equipment fails at the worst possible moment. Bringing a fourth light as a backup is not paranoia, it’s professionalism. If a flash tube cracks or you drop a head on the way in, you’re still operational without a phone call to a rental house.
Photographer explaining his four-light packing philosophy
The reasoning here is simple and I wish someone had told me earlier: equipment fails at the worst possible moment. Bringing a fourth light as a backup is not paranoia, it’s professionalism. If a flash tube cracks or you drop a head on the way in, you’re still operational without a phone call to a rental house.
In this tutorial, the photographer uses Profoto B1 and B2 kits, which happen to come as two-light packages, so four lights is a natural result of owning both. The more important point is that both systems are battery powered. On location, you cannot guarantee outlet access, and even when outlets exist they may be inconveniently placed. Battery-powered strobes let you place lights where the shot needs them, not where the wall permits them.
Step 2: Choose Umbrella-Style Modifiers for Speed and Portability
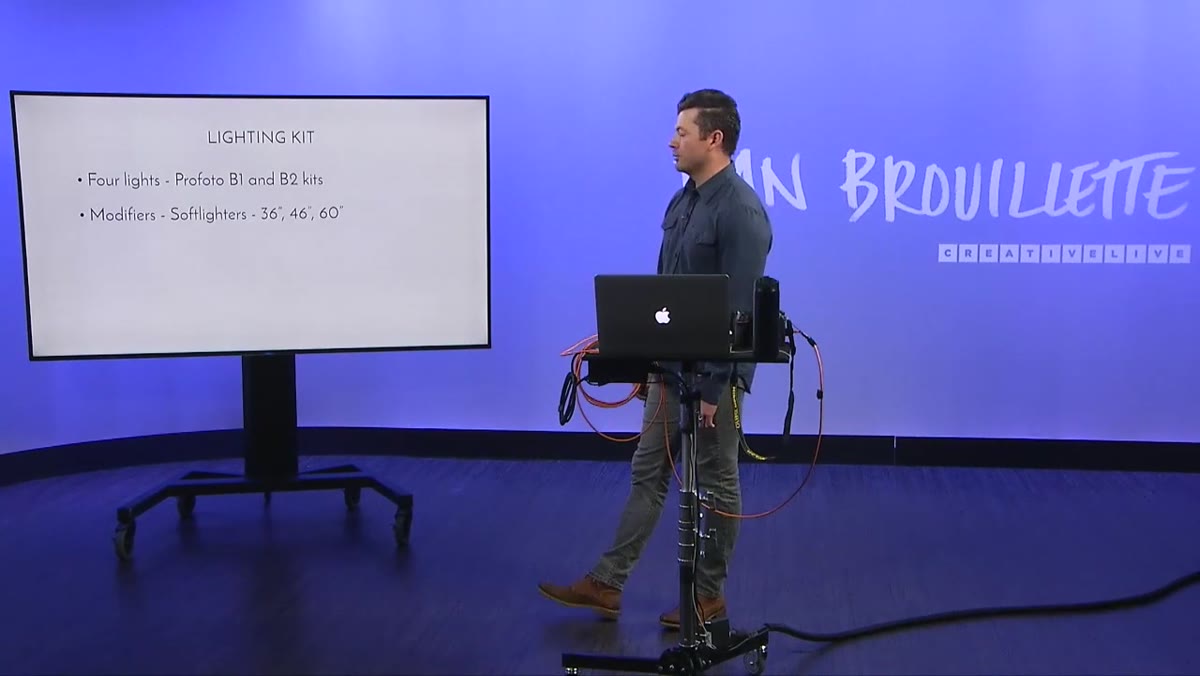 Photographer showing Fotec soft lighter umbrella modifiers in different sizes
The modifier selection in this kit is deliberate. The photographer uses Fotec soft lighters in 36-inch, 46-inch, and 60-inch sizes. These are bounce umbrellas with a diffusion panel across the front, and they hit a specific sweet spot: they’re inexpensive enough that you’re not treating them like fragile cargo, and they set up in seconds because they open exactly like an umbrella.
Photographer showing Fotec soft lighter umbrella modifiers in different sizes
The modifier selection in this kit is deliberate. The photographer uses Fotec soft lighters in 36-inch, 46-inch, and 60-inch sizes. These are bounce umbrellas with a diffusion panel across the front, and they hit a specific sweet spot: they’re inexpensive enough that you’re not treating them like fragile cargo, and they set up in seconds because they open exactly like an umbrella.
On a corporate portrait day where you’re moving through three different department heads in 90 minutes, that setup speed matters. No rods to thread into a softbox frame, no worrying about poking someone with a corner strut. The 36-inch becomes a near-permanent fill light in this shooter’s kit, and the 60-inch handles most main light duties. For higher-end work he also uses Profoto deep umbrellas, which are a larger investment but produce a noticeably deeper, more controlled light source. Both options are worth having. Start with the soft lighters.
Step 3: Add a Strip Box with Grid for Directional Control
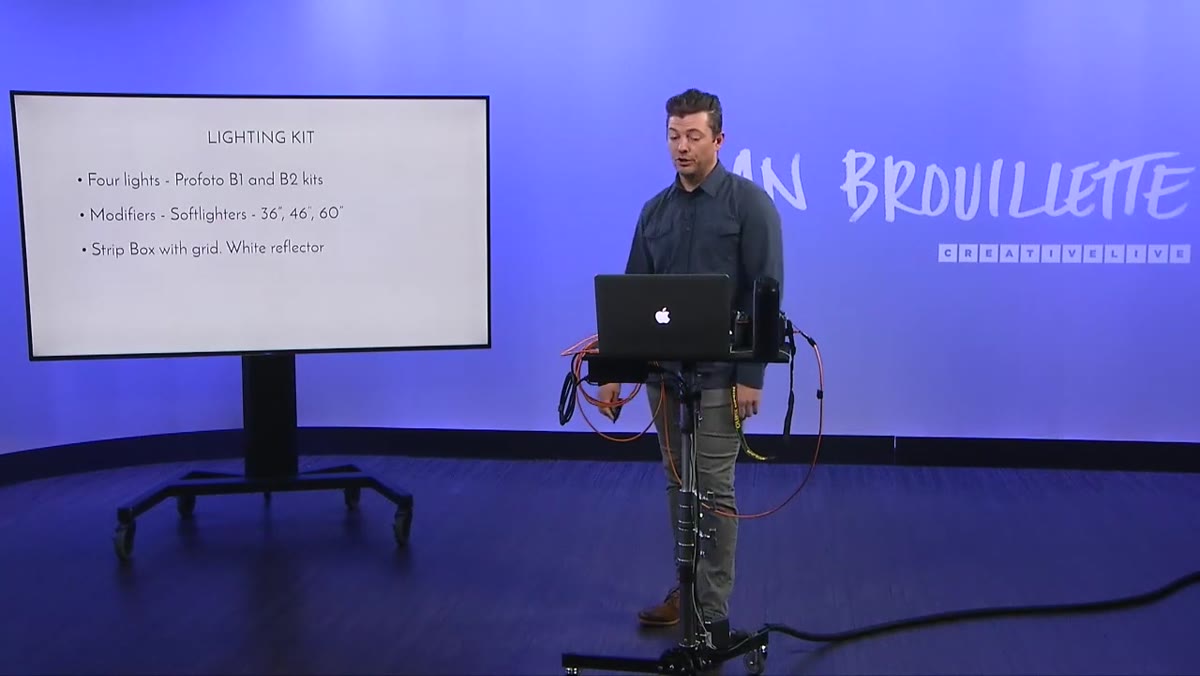 Photographer referencing strip box as a preferred modifier for specific jobs
A 1x3 strip box with a grid is the modifier that does the work no umbrella can. Strip boxes produce a narrow, elongated light source that’s ideal for rim lighting, hair lights, or adding a controlled edge to a subject without spill bleeding onto the background. The grid tightens the beam further, keeping the light exactly where you aim it.
Photographer referencing strip box as a preferred modifier for specific jobs
A 1x3 strip box with a grid is the modifier that does the work no umbrella can. Strip boxes produce a narrow, elongated light source that’s ideal for rim lighting, hair lights, or adding a controlled edge to a subject without spill bleeding onto the background. The grid tightens the beam further, keeping the light exactly where you aim it.
The photographer specifically calls out the 1x3 size as his preference because of how it fits into a location bag. Larger strip boxes are more cumbersome to break down and transport. If you haven’t worked with a strip box and grid together yet, put it on your list. The combination gives you a sculpting tool that umbrella setups can’t replicate.
Step 4: Bring a White Reflector with Diffusion Fabric
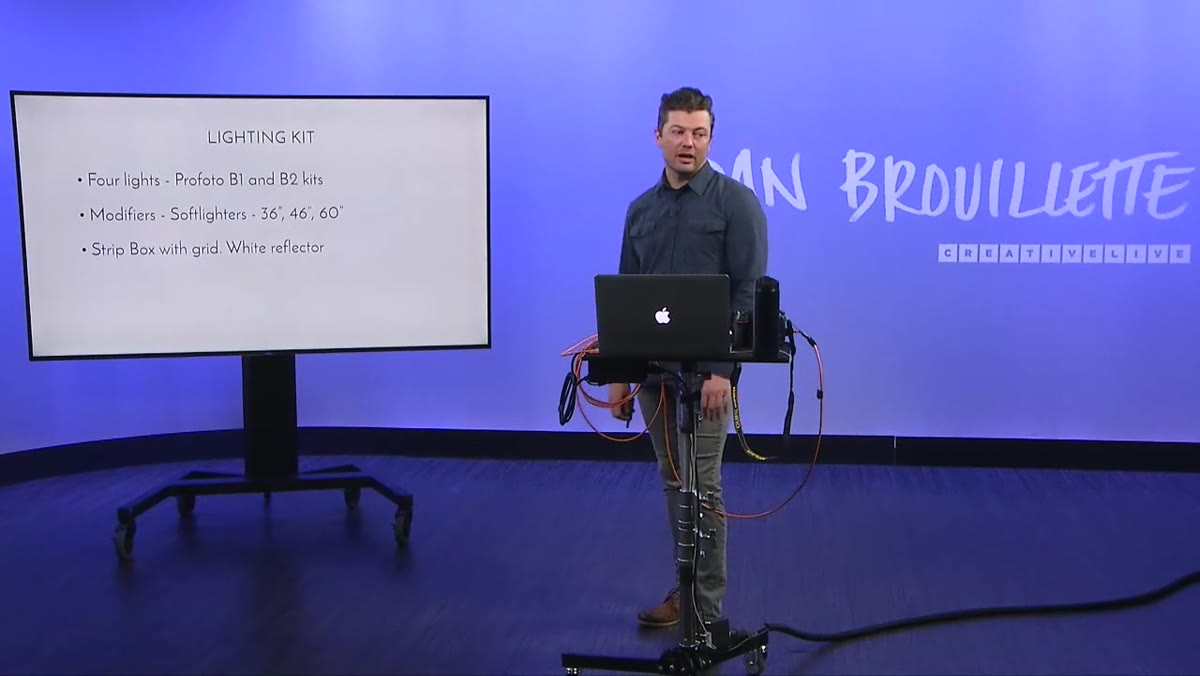 Photographer noting he always includes a white reflector with diffusion panel
A reflector seems like a basic addition, but the detail here is that he always includes the diffusion fabric. A bare reflector bounces hard, direct light. The diffusion panel softens the bounce, making it usable as a supplemental fill source rather than just a reflector. On jobs where you want to keep the kit minimal, a single strobe plus a diffusion reflector can get you further than you’d expect.
Photographer noting he always includes a white reflector with diffusion panel
A reflector seems like a basic addition, but the detail here is that he always includes the diffusion fabric. A bare reflector bounces hard, direct light. The diffusion panel softens the bounce, making it usable as a supplemental fill source rather than just a reflector. On jobs where you want to keep the kit minimal, a single strobe plus a diffusion reflector can get you further than you’d expect.
This is also a lightweight redundancy. If battery power becomes an issue midway through a shoot, a good reflector can save the fill side of your frame without requiring any power at all.
Step 5: Pack Seamless Background Paper in White
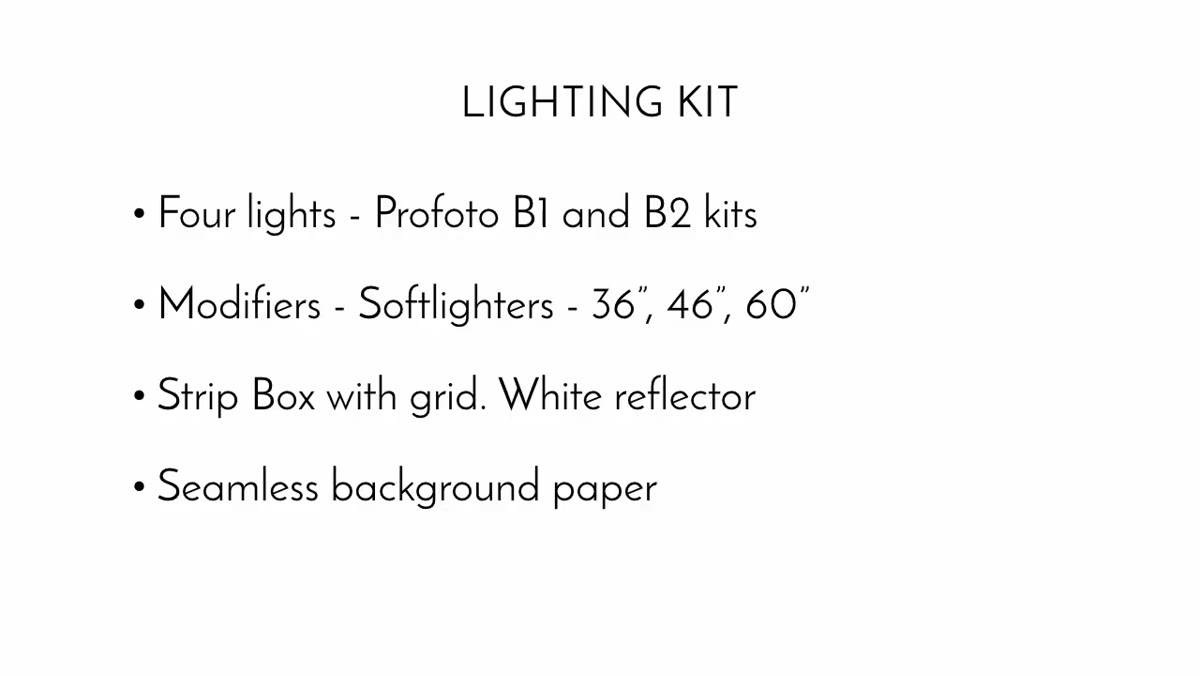 Photographer discussing seamless paper rolls and storage at client locations
Seamless background paper is one of those things that seems optional until you’re on location without it and the wall behind your subject is a taupe that reads as gray-green in camera. The photographer recommends a 48-inch wide roll in white because white gives you the most flexibility. Light it heavily and it reads as pure white. Pull the exposure back on it and it goes neutral gray. Those two looks cover the majority of corporate and editorial portrait needs.
Photographer discussing seamless paper rolls and storage at client locations
Seamless background paper is one of those things that seems optional until you’re on location without it and the wall behind your subject is a taupe that reads as gray-green in camera. The photographer recommends a 48-inch wide roll in white because white gives you the most flexibility. Light it heavily and it reads as pure white. Pull the exposure back on it and it goes neutral gray. Those two looks cover the majority of corporate and editorial portrait needs.
The practical move he mentions is leaving rolls at repeat client locations. If you shoot a company twice a year, it’s worth asking if they’ll store a roll in a closet for you. That’s one less item to carry in and out every visit, and it builds goodwill with the client because it signals you’re thinking ahead on their behalf.
Step 6: Use a C-Stand Instead of a Full Background Stand
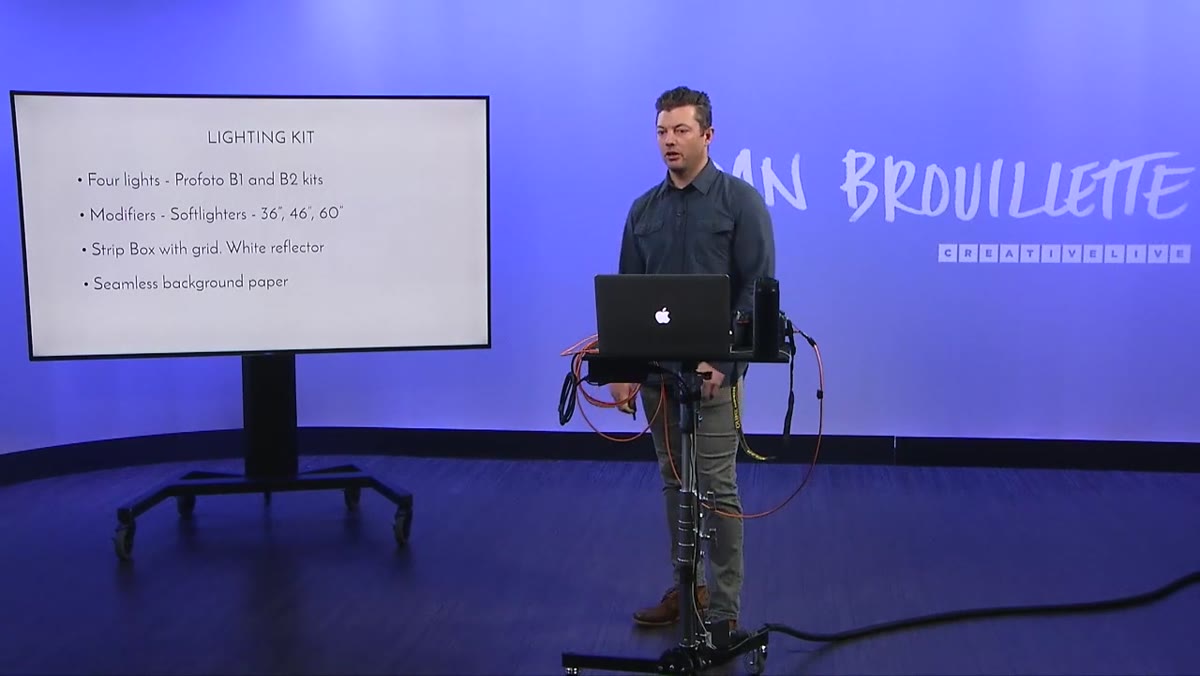 Photographer explaining C-stand and arm setup for 48-inch paper roll
For a 48-inch roll specifically, a full two-pole background stand is more hardware than you need. A C-stand with an arm handles the width cleanly, and a sandbag on the base keeps it stable. C-stands are workhorses that earn their place in a location kit because they serve multiple purposes: background support, light positioning, reflector holding. Fewer specialized pieces of gear means faster setup and a lighter car.
Photographer explaining C-stand and arm setup for 48-inch paper roll
For a 48-inch roll specifically, a full two-pole background stand is more hardware than you need. A C-stand with an arm handles the width cleanly, and a sandbag on the base keeps it stable. C-stands are workhorses that earn their place in a location kit because they serve multiple purposes: background support, light positioning, reflector holding. Fewer specialized pieces of gear means faster setup and a lighter car.
Step 7: Shoot Tethered and Build It Into the Client Workflow
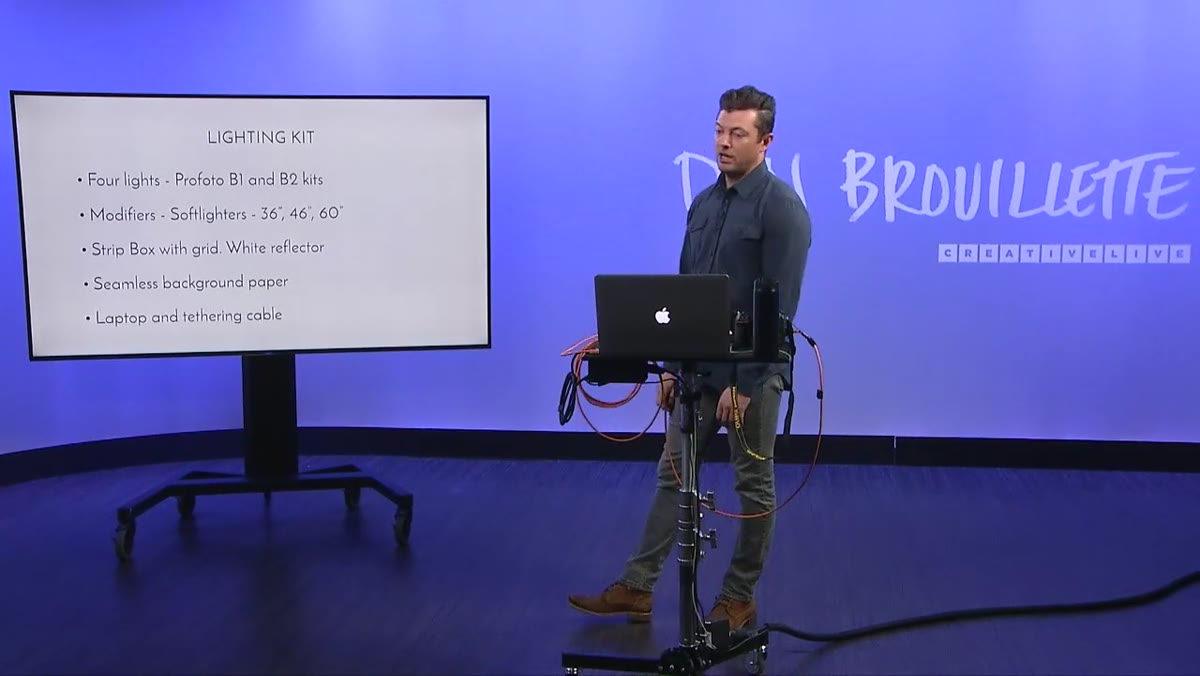 Photographer explaining tethered shooting and on-set review process
Tethered shooting changed the reshoots-per-year number for this photographer, and I understand exactly why. When subjects can’t see themselves during the shoot, small problems become expensive surprises. A crooked collar, a tie that reads strangely, a shadow that neither of you noticed. These only surface two weeks later when the client calls.
Photographer explaining tethered shooting and on-set review process
Tethered shooting changed the reshoots-per-year number for this photographer, and I understand exactly why. When subjects can’t see themselves during the shoot, small problems become expensive surprises. A crooked collar, a tie that reads strangely, a shadow that neither of you noticed. These only surface two weeks later when the client calls.
The workflow described here is efficient: shoot for roughly three minutes, then walk the subject to the laptop to review. They don’t need to select final images on the spot, they just need to confirm they’re generally happy with how they look. That confirmation eliminates the callback. Connect your camera via USB to Capture One, build this review step into every portrait session, and the reshoot conversation nearly disappears from your calendar.
What I’d Add From My Own Experience
The one thing I’d layer onto this kit is a small piece of white card stock taped to the back of each modifier. I label every light in my studio with masking tape already, and on location I’ve started doing the same thing with the modifiers themselves, noting the size so I’m not squinting at the ribs during teardown. It sounds minor until you’re packing up in a dim hallway at 6pm and grabbing the wrong bag twice.
The other addition worth noting: a color checker card used at the top of each new location setup. I learned from an early editorial disaster that even battery strobes can shift slightly in color temperature as batteries drain, and a quick calibration frame buys you consistency across the full shoot.
The central lesson in this tutorial is that a location lighting kit isn’t about having the most gear. It’s about having the right gear in a form you can move quickly and deploy reliably. Every item earns its place or it stays in the studio.
Watch the full tutorial on YouTube to see the actual gear laid out and the photographer’s hands-on explanation of how it all fits together.
Comments (4)
Clear and practical. No fluff. Appreciate that.
This is fantastic. I've been recommending this approach to my readers too.
Clear and practical. No fluff. Appreciate that.
Great breakdown. The step-by-step approach really helps.
Leave a Comment