I keep a lighting journal. Every setup from every shoot gets a rough sketch, the modifier positions, the rough ratios, sometimes a note about what I was thinking when I built it. I started doing this because I noticed something uncomfortable: when I stepped into the studio without a clear visual in my head, I wasted an hour chasing a feeling I couldn’t name. The setup would be technically fine. The light would be even and flattering. But it wouldn’t mean anything. The images came out correct and forgettable.
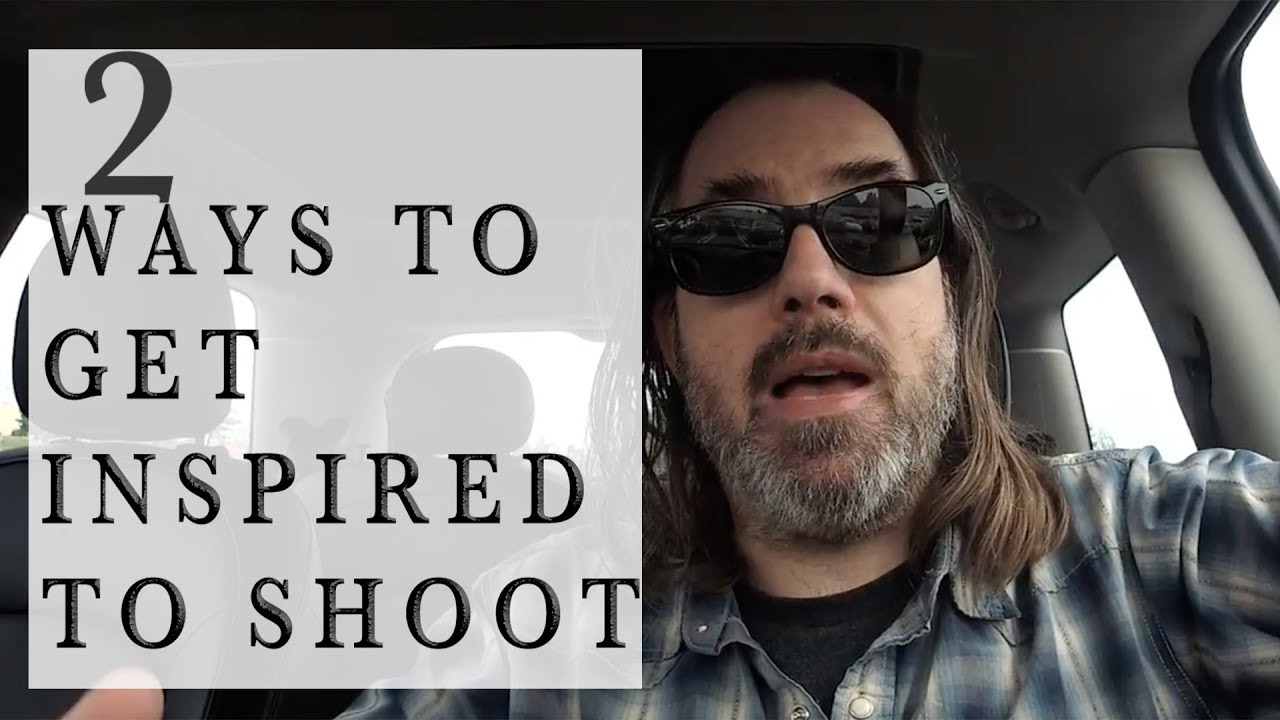
That problem, the gap between competent and intentional lighting, is exactly what Daniel Norton addresses in a recent video. Watch the full tutorial on YouTube before or after reading this, because what he describes is short, practical, and worth hearing in his own words. His framework is simple enough to explain in a few minutes but rich enough that it has quietly reorganized how I approach every brief I pick up.
He identifies two distinct sources of lighting inspiration that working photographers actually use. Neither involves scrolling Pinterest. Both require a specific kind of attention you can train. Here is how to put each method into practice.
Step 1: Start Observing Light Everywhere, Not Just in Studios
 Daniel speaking in car, describing seeing interesting light in everyday situations
The first method is environmental observation, which sounds obvious until you realize how few photographers actually practice it deliberately. The idea is simple: when you notice interesting light falling on a person or surface in daily life, you stop and analyze it before the moment passes. A stranger leaning against a wall in a subway station. The way diffuse afternoon light comes through a frosted shop window and wraps around someone’s face. You are not taking a photo. You are taking a mental note.
Daniel speaking in car, describing seeing interesting light in everyday situations
The first method is environmental observation, which sounds obvious until you realize how few photographers actually practice it deliberately. The idea is simple: when you notice interesting light falling on a person or surface in daily life, you stop and analyze it before the moment passes. A stranger leaning against a wall in a subway station. The way diffuse afternoon light comes through a frosted shop window and wraps around someone’s face. You are not taking a photo. You are taking a mental note.
The key is to be specific enough that the memory is actually useful later. Do not just think “that looked cool.” Think: the source is above and to the left, it is soft but there is still some directionality to it, the shadow side goes almost completely dark, the catch light would sit at about ten o’clock. That level of description turns a vague impression into something you can reconstruct with a strip box and a flag.
Step 2: Build a Mental Catalog You Can Actually Search
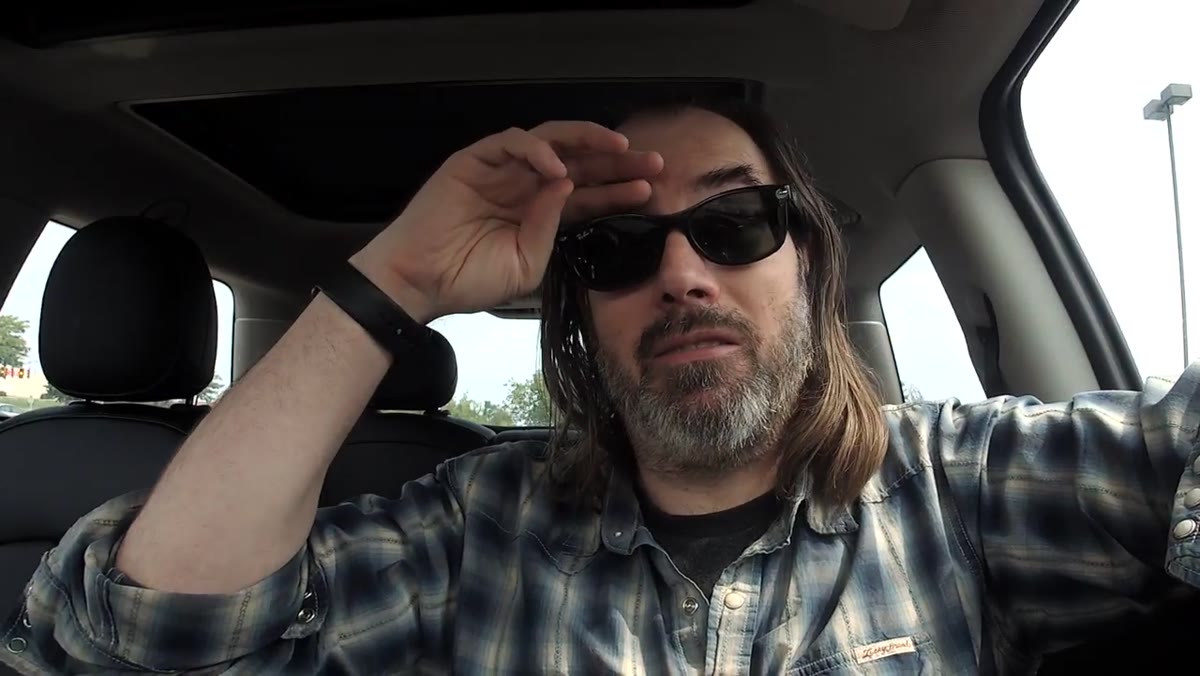 Daniel gesturing, explaining how he references internal images when planning a shoot
Observation only pays off if you file what you see in a retrievable way. Norton describes a mental catalog, a library of light moments he has collected over years of paying attention in ordinary places. When he is in the studio and looking at a subject, the outfit, the mood of the brief, the set, those inputs trigger a search through that catalog and surface a relevant memory.
Daniel gesturing, explaining how he references internal images when planning a shoot
Observation only pays off if you file what you see in a retrievable way. Norton describes a mental catalog, a library of light moments he has collected over years of paying attention in ordinary places. When he is in the studio and looking at a subject, the outfit, the mood of the brief, the set, those inputs trigger a search through that catalog and surface a relevant memory.
This is exactly how I use my written lighting journal, except the journal gives me something I can actually flip through on shoot days. If you are early in your career and your mental catalog is thin, keep a physical or digital notebook. Write down light observations the same day you see them. Describe the quality, the direction, the color temperature if you can estimate it, the emotional register. After a year of this, you have a searchable personal reference library that no stock image site can replicate.
Step 3: Match the Recalled Light to a Modifier and Setup
 Daniel describing how he translates a remembered light quality into a specific studio tool
Once you have a visual reference in mind, the next step is translation: what modifier or combination of modifiers produces that quality of light in a controlled environment? This is where technical fluency becomes non-negotiable. If you cannot reliably predict what a large octabank does to shadows versus a medium rectangular softbox, the inspiration stays stuck in your head.
Daniel describing how he translates a remembered light quality into a specific studio tool
Once you have a visual reference in mind, the next step is translation: what modifier or combination of modifiers produces that quality of light in a controlled environment? This is where technical fluency becomes non-negotiable. If you cannot reliably predict what a large octabank does to shadows versus a medium rectangular softbox, the inspiration stays stuck in your head.
When I see a soft but directional window light in my mental catalog, I know that translates roughly to a 3x4 foot softbox placed at a 45-degree angle to the subject, feathered slightly, with a black reflector on the opposite side to deepen the shadow. That is a repeatable recipe. Build enough of these recipes and the translation step becomes fast. The modifier label on the light in my studio, written in masking tape, is the last step in a chain that started with something I noticed walking through Silver Lake three months ago.
Step 4: Use Music Lyrics as a Second Creative Input
 Daniel describing hearing a Bob Seger song and immediately visualizing a photograph
Norton’s second inspiration source is the one that surprised me when I first heard it, and then immediately made sense: evocative music lyrics. Not the melody, specifically the words. Story songs and descriptive lyrics force your brain to construct a scene, a location, a time of day, a person in a specific emotional state. That constructed scene almost always has light in it.
Daniel describing hearing a Bob Seger song and immediately visualizing a photograph
Norton’s second inspiration source is the one that surprised me when I first heard it, and then immediately made sense: evocative music lyrics. Not the melody, specifically the words. Story songs and descriptive lyrics force your brain to construct a scene, a location, a time of day, a person in a specific emotional state. That constructed scene almost always has light in it.
When a lyric puts you on a long highway at dusk, or in a quiet room with someone alone, your imagination automatically renders the lighting conditions of that moment. The light through a tour bus window at three in the morning is different from noon on a park bench, and your brain knows this instinctively. Norton’s point is that you can capture that automatic rendering and build a studio shot from it. The lyric is the brief.
Step 5: Write Down Evocative Lines Before the Image Fades
 Daniel describing his habit of keeping a notebook for lyrics and evocative phrases
The practical version of this method requires one habit: write the lyric or phrase down immediately, while the visual it triggered is still sharp. Norton kept a physical notebook for exactly this purpose. The mental image that a great lyric generates is vivid for about ninety seconds and then it softens. If you catch it in that window and put even a rough description on paper, you have a shot concept you can develop into a full lighting plan later.
Daniel describing his habit of keeping a notebook for lyrics and evocative phrases
The practical version of this method requires one habit: write the lyric or phrase down immediately, while the visual it triggered is still sharp. Norton kept a physical notebook for exactly this purpose. The mental image that a great lyric generates is vivid for about ninety seconds and then it softens. If you catch it in that window and put even a rough description on paper, you have a shot concept you can develop into a full lighting plan later.
I now keep a notes section in my lighting journal specifically for this. A line from a Tom Waits song last winter became a low-key, single-source setup with hard shadows and a slightly warm color grade that ended up being one of my favorite test shots of the year. The setup took forty minutes. The concept took thirty seconds to write down six months earlier.
What I Would Add From My Own Practice
The two methods Norton describes both depend on the same underlying skill: seeing light with enough precision to describe it in technical terms. When I was starting out in commercial work, I could appreciate interesting light but I could not decode it fast enough to be useful. The habit that closed that gap was shooting under natural light without any modifiers and forcing myself to name every quality of the light before I pressed the shutter. Direction, size of source relative to the subject, hardness, color temperature, fill ratio. Doing that exercise for a few months wired the analysis process deeply enough that it now runs automatically in daily life and in session.
If Norton’s catalog method feels abstract to you right now, that exercise is where to start. The catalog fills itself once you can read light accurately.
The single most important idea in this tutorial is that inspiration for lighting is not a mood or a mystery. It is information you collect deliberately over time from the world around you, stored specifically enough to be useful, and connected to a technical vocabulary that lets you reproduce it. That combination, observation plus catalog plus translation, is how working photographers make intentional pictures instead of competent ones.
Watch the full tutorial on YouTube and pay particular attention to how Norton describes the specificity of the images he recalls. That level of detail is the whole game.
Comments
Leave a Comment