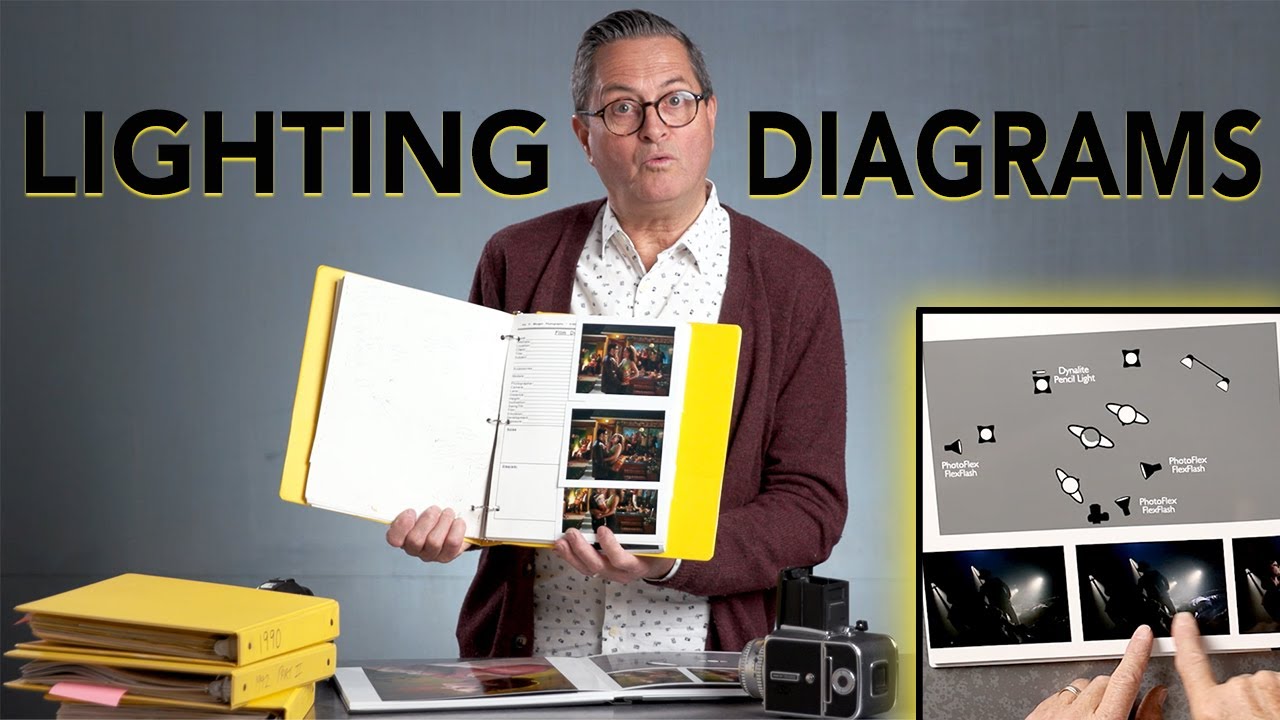
There’s a particular kind of frustration that comes from recreating a setup you know you’ve nailed before - but can’t quite remember how. I’ve stood in my studio staring at a photograph I made two years ago, genuinely unable to reverse-engineer my own work. What modifier was that? Where exactly was the key in relation to the subject? What was the ratio? I’ve lost more time to that guessing game than I care to admit. That’s why a recent tutorial from The Slanted Lens hit closer to home than most. Watch the full tutorial on YouTube - it’s one of the more quietly essential videos I’ve seen about the actual practice of working as a lighting photographer.
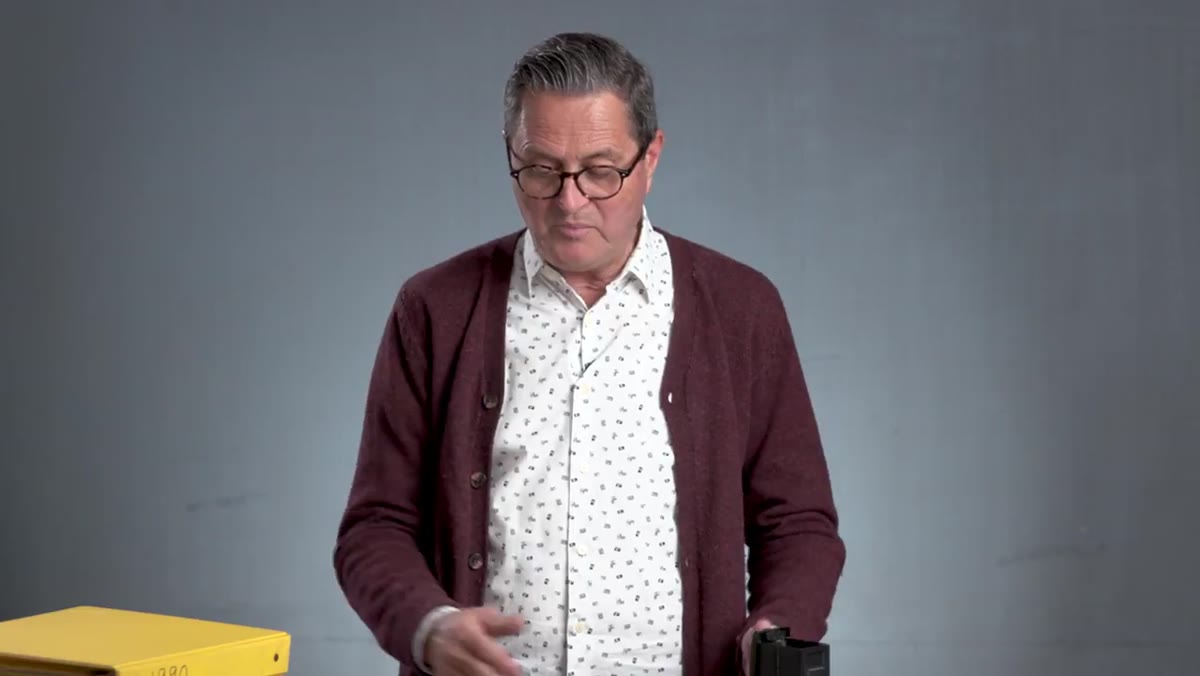
In the video, photographer JP Morgan walks through nearly 35 years of obsessive lighting documentation - from hand-drawn Polaroid diagrams on film documentation sheets all the way to polished digital diagram books. His argument isn’t really about nostalgia. It’s about building a repeatable, searchable memory for your lighting brain. The more I watched, the more I recognized the same instinct I’ve had since early in my career: the feeling that every good setup deserves to be recorded before it disappears.
What follows is my breakdown of how JP structures this practice, along with how I’ve adapted it for my own commercial and editorial work. Think of this as a recipe you can follow - because that’s exactly what a lighting diagram is.
Step 1: Treat Every Shoot as a Documentation Opportunity
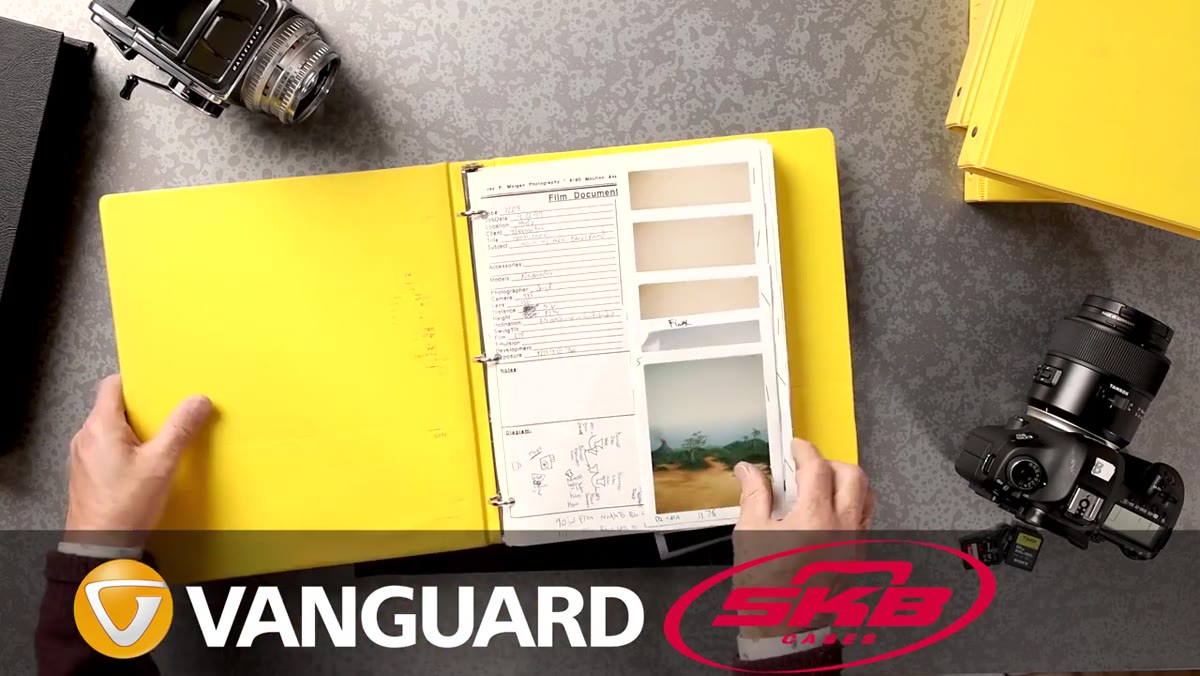 Showing handwritten film documentation sheets with lighting notes
Before a single light fires, commit to the habit of recording what you’re building. JP’s early system involved dedicated film documentation sheets where he logged the client, camera, lens, distance from subject, camera height, film stock, development push or pull, and aperture - everything a metadata tag now does automatically, but with critical additions like modifier placement and light ratios that your camera will never record for you. The mindset shift is treating documentation as part of the shoot, not an afterthought.
Showing handwritten film documentation sheets with lighting notes
Before a single light fires, commit to the habit of recording what you’re building. JP’s early system involved dedicated film documentation sheets where he logged the client, camera, lens, distance from subject, camera height, film stock, development push or pull, and aperture - everything a metadata tag now does automatically, but with critical additions like modifier placement and light ratios that your camera will never record for you. The mindset shift is treating documentation as part of the shoot, not an afterthought.
For digital shooters, your EXIF data covers the basics, but it tells you nothing about where your lights were, what modifiers you used, or what power each head was set to. That gap is where a lighting diagram lives. I keep a simple notes field in Lightroom for power ratios, and I sketch the physical diagram either on paper or in a diagramming app immediately after I lock in a setup I like - before I start shooting, not after.
Step 2: Capture the Physical Geometry of the Setup
 Hand-drawn diagram on back of documentation sheet showing light positions
The core of any useful lighting diagram is spatial accuracy. JP’s hand-drawn versions mapped out exactly where each light sat in relation to the subject - distances, angles, and modifier types all included. This isn’t art. It doesn’t need to be beautiful. It needs to be accurate enough that someone else could walk into an empty studio and rebuild your setup from scratch.
Hand-drawn diagram on back of documentation sheet showing light positions
The core of any useful lighting diagram is spatial accuracy. JP’s hand-drawn versions mapped out exactly where each light sat in relation to the subject - distances, angles, and modifier types all included. This isn’t art. It doesn’t need to be beautiful. It needs to be accurate enough that someone else could walk into an empty studio and rebuild your setup from scratch.
When I diagram a setup, I note the subject position at center, then mark each light source with its distance in feet, its height relative to the subject’s face or body, and its angle off the shooting axis. A key light at 45 degrees and four feet away produces a very different result than that same light at 60 degrees and seven feet. Both details belong on the diagram. I also note modifier size - a 24-inch beauty dish and a 47-inch octabox are not interchangeable, and future-you will want to know which one actually made that image sing.
Step 3: Record Metadata That Your Camera Doesn’t
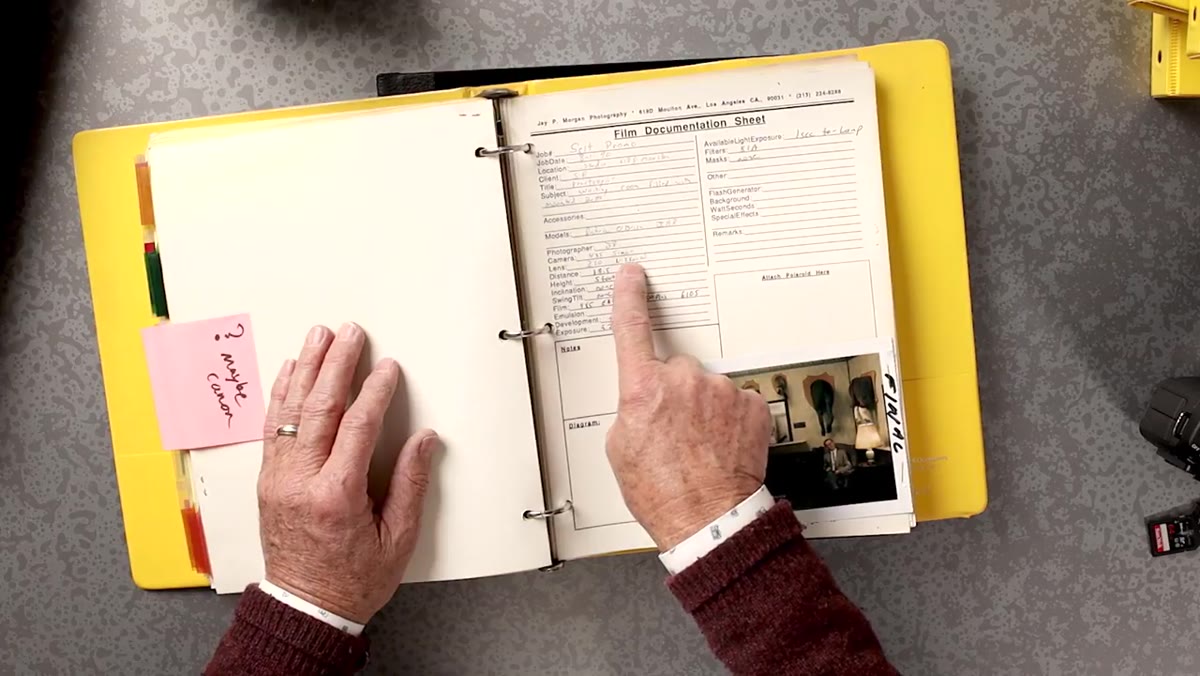 Close-up of documentation sheet listing camera, lens, distance, film stock, and exposure details
JP’s sheets included the camera format, lens focal length, camera height off the floor, aperture, and even ambient exposure burn times for practical lights in the scene. In his film days, none of this was automatic - every piece had to be written by hand. For those of us shooting digitally, it’s tempting to assume EXIF handles it. It doesn’t handle everything.
Close-up of documentation sheet listing camera, lens, distance, film stock, and exposure details
JP’s sheets included the camera format, lens focal length, camera height off the floor, aperture, and even ambient exposure burn times for practical lights in the scene. In his film days, none of this was automatic - every piece had to be written by hand. For those of us shooting digitally, it’s tempting to assume EXIF handles it. It doesn’t handle everything.
Write down your strobe power settings and the resulting meter reading at the subject. Note your ambient shutter speed if you’re balancing flash with available light - this is the detail that trips people up most when trying to recreate a look. I also note the modifier grid size if I’m using one, because a 40-degree grid and a 20-degree grid behave completely differently in a tight studio. These are the specifics that separate a diagram you can actually use from one that’s just a sketch.
Step 4: Build a Reference Library You’ll Actually Return To
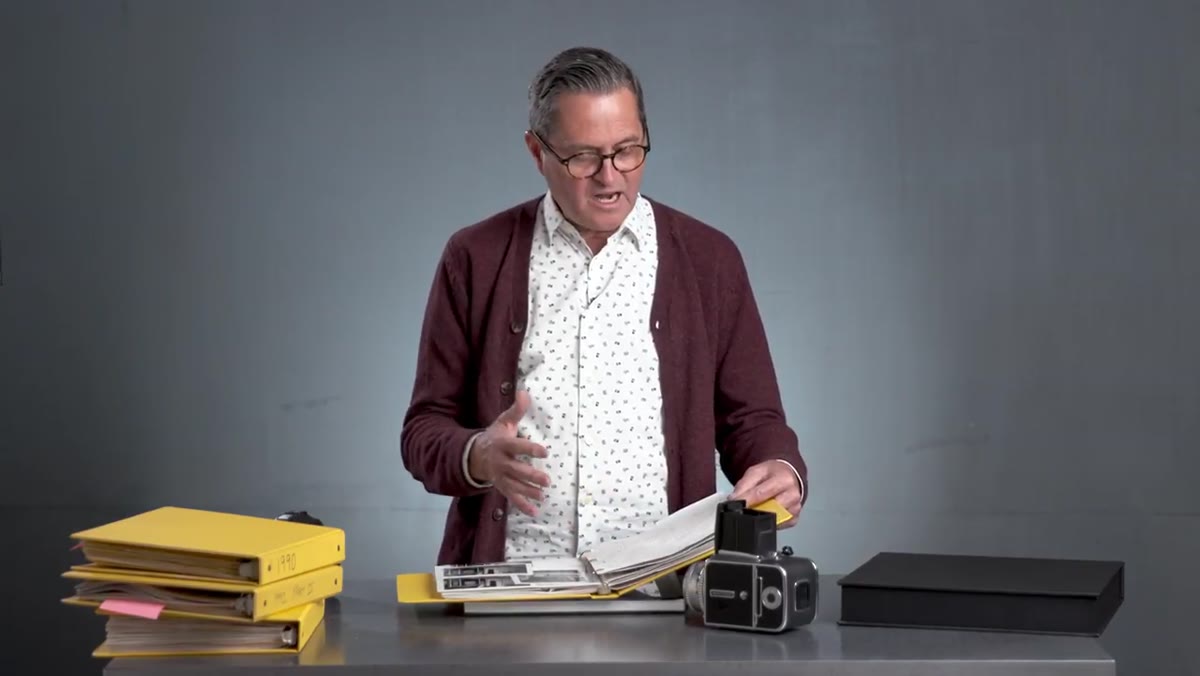
 JP flipping through multiple documentation books stored on shelves
JP has 30 books of these records. Thirty. That volume isn’t about pride - it’s about having a searchable creative archive. When he’s looking for ideas or troubleshooting a problem, he goes back through the books and looks for what worked, what didn’t, and what he’d change. That retrospective habit is where the compounding value of documentation reveals itself.
JP flipping through multiple documentation books stored on shelves
JP has 30 books of these records. Thirty. That volume isn’t about pride - it’s about having a searchable creative archive. When he’s looking for ideas or troubleshooting a problem, he goes back through the books and looks for what worked, what didn’t, and what he’d change. That retrospective habit is where the compounding value of documentation reveals itself.
Whether you use printed books, a digital folder organized by shoot type, or an app, the key is that you can find things again. I organize mine by lighting pattern first - Rembrandt, loop, split, beauty - then by modifier type within each category. That structure means when a client asks for “something dramatic and directional,” I’m not starting from zero. I’m pulling from 15 years of setups that actually delivered that result.
Step 5: Evolve Your Format as Your Tools Evolve
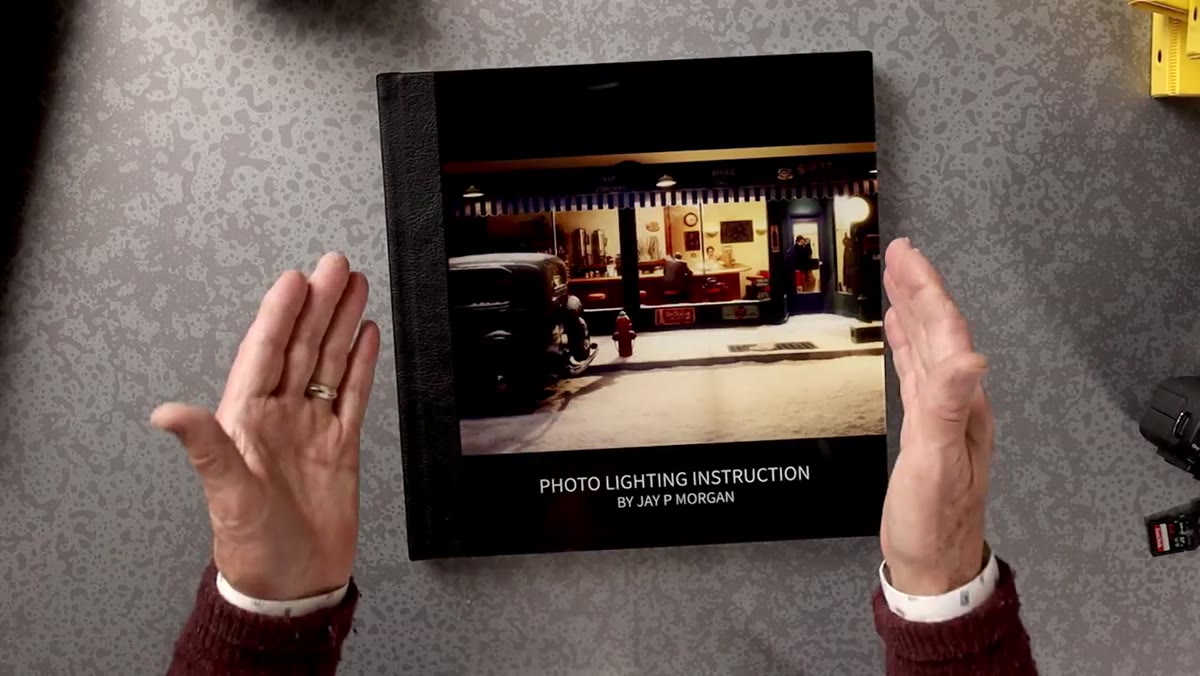 Showing printed digital diagram book with clean PSD-built lighting diagrams
JP’s transition from pencil drawings to PSD-based digital diagrams represents a key principle: the format should serve the habit, not replace it. His current books use layered Photoshop documents with icons for softboxes, grids, and other modifiers - all placed accurately relative to subject and camera position. The diagrams are cleaner and easier to share, but the underlying discipline is identical to what he was doing in the film era.
Showing printed digital diagram book with clean PSD-built lighting diagrams
JP’s transition from pencil drawings to PSD-based digital diagrams represents a key principle: the format should serve the habit, not replace it. His current books use layered Photoshop documents with icons for softboxes, grids, and other modifiers - all placed accurately relative to subject and camera position. The diagrams are cleaner and easier to share, but the underlying discipline is identical to what he was doing in the film era.
I built a simple template in Affinity Designer with a top-down room grid, and I drop modifier icons onto it after every shoot. It takes me about five minutes. The consistency of that format means I can compare two setups side by side at a glance and immediately see what changed between them. If you’re comfortable with Photoshop, building your own diagram template is a one-afternoon project that pays dividends for years.
What I’d Add From My Own Practice
JP’s system is fundamentally about lighting memory, and I’d extend that to include the why behind each setup decision, not just the what. I keep a short annotation under each diagram - two or three sentences about what problem the setup was solving. Was I controlling a spill onto the background? Trying to hold detail in a specular surface? Matching a window that was already in the room? Those notes turn a diagram from a technical record into a creative log, and that’s the version you’ll find yourself actually reading when you’re stuck on a new shoot.
I also photograph the physical setup from above using a phone mounted on a light stand before we make any changes. That image lives next to the diagram in the same folder. The combination of a drawn diagram and an actual photograph of the real layout catches the details that even careful diagramming can miss.
The single most important idea in this tutorial is one that sounds obvious until you realize how few photographers actually do it: your best lighting work is an asset that will expire if you don’t record it. A setup you’ve made once and loved is only useful to you if you can make it again. Start with the next shoot. Sketch it out. Write down the numbers. You’ll thank yourself two years from now when a client asks for something that looks exactly like that one image you made back in the day - and you can just open the book.
Watch the full tutorial on YouTube to see JP’s actual diagram books and the film noir setup breakdown he walks through in the second half of the video.
Comments
Leave a Comment