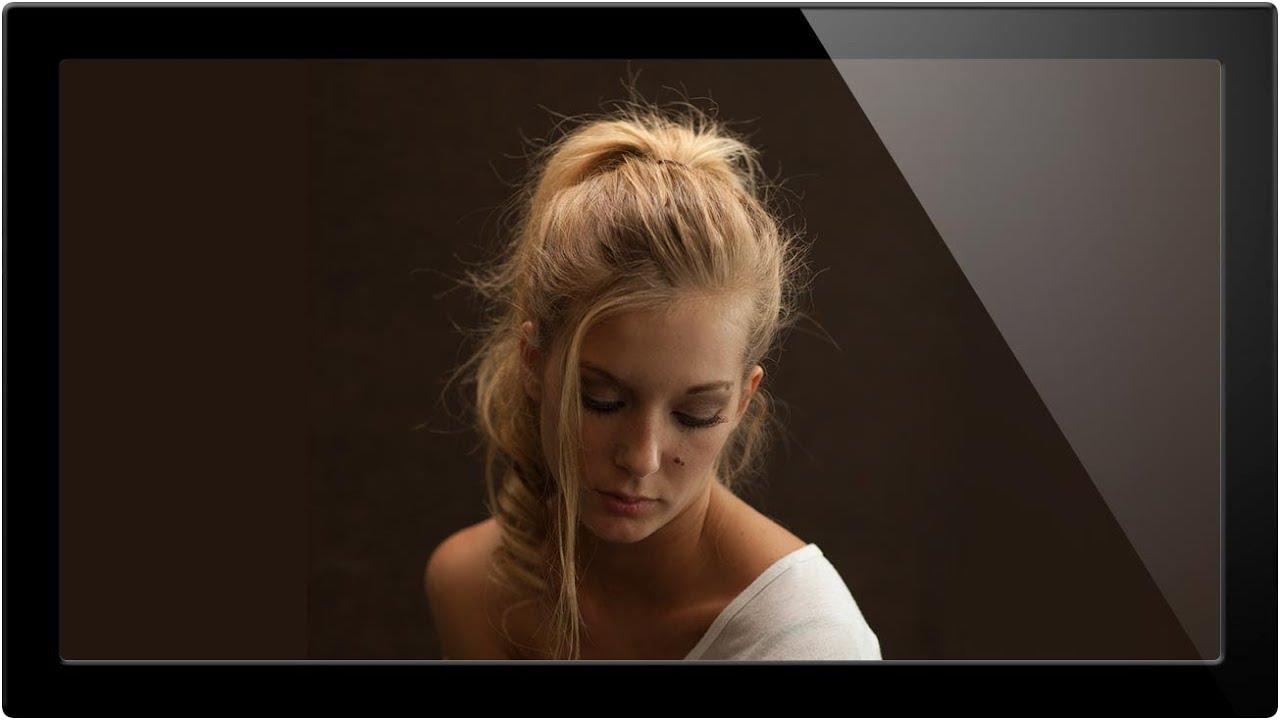
There is a specific kind of frustration that comes from walking into a studio with a fast prime, knowing exactly what you want the image to look like, and then watching the exposure spiral out of control the moment you open up the aperture. I have been there more than I would like to admit. Studio strobes are designed to put out light. Fast lenses are designed to gather it. Those two things are genuinely fighting each other the moment you try to shoot wide open indoors, and without a deliberate strategy, you end up either blowing out the frame entirely or stopping down until all that beautiful compression and blur just disappears.
That is exactly why I keep coming back to this tutorial. In this Aaron Nace (PHLEARN) tutorial, Watch the full tutorial on YouTube, Nace walks through a full shallow-DOF portrait session in a live studio environment using a Canon 85mm f/1.2 and a working model. What makes it useful is not the glamour of the lens. It is the practical chain of decisions he makes to manage light at the source, in the camera, and on the lens itself. Every one of those decisions is repeatable, and I will walk you through each of them here.
Step 1: Choose the Right Lens for Shallow-DOF Studio Work
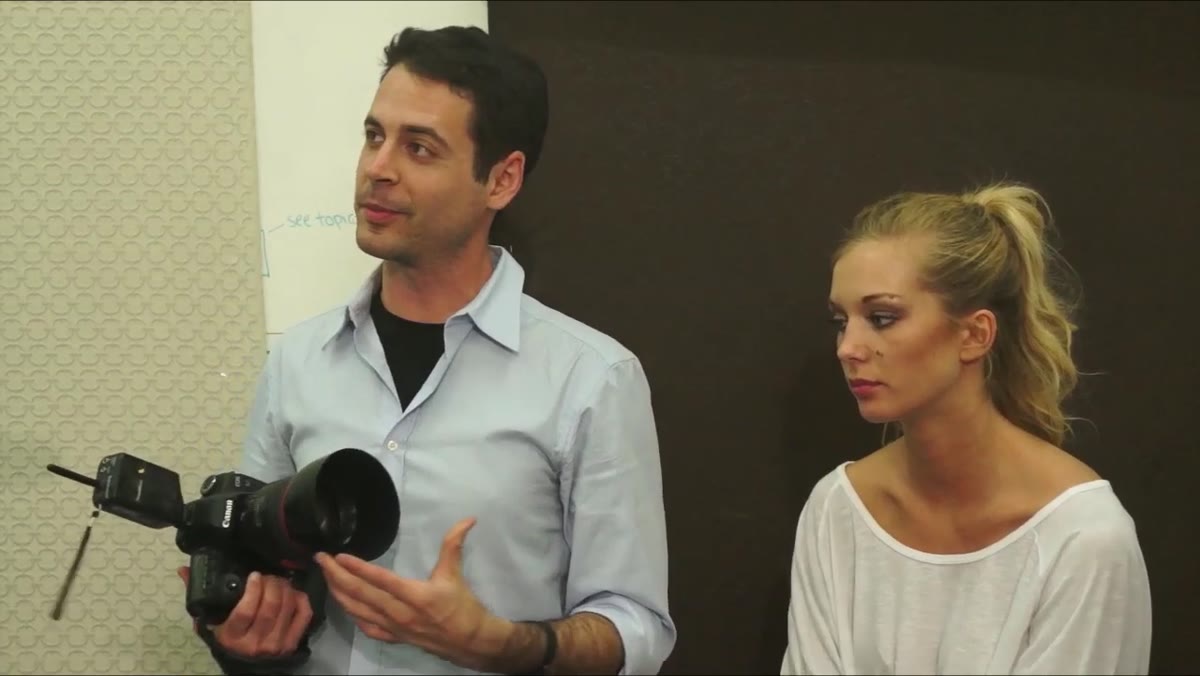 Aaron holds the 85mm 1.2 lens up for the camera
The 85mm f/1.2 is not mandatory here, but the principle it represents is. You want a prime lens with a maximum aperture of at least f/1.8, and ideally faster. In a studio portrait context, focal lengths between 85mm and 135mm compress the face flatly, separate the subject from the background naturally, and give you enough working distance to actually direct your model without crowding her. Nace shoots at f/2.5 in this session, not fully wide open, which is a reasonable compromise between maximum blur and the ability to keep both eyes sharp. If you do not own an 85mm, an inexpensive 50mm f/1.8 on a crop sensor will get you close to the same field of view and can work the same way.
Step 2: Pull Your Studio Lights Down to Minimum Power
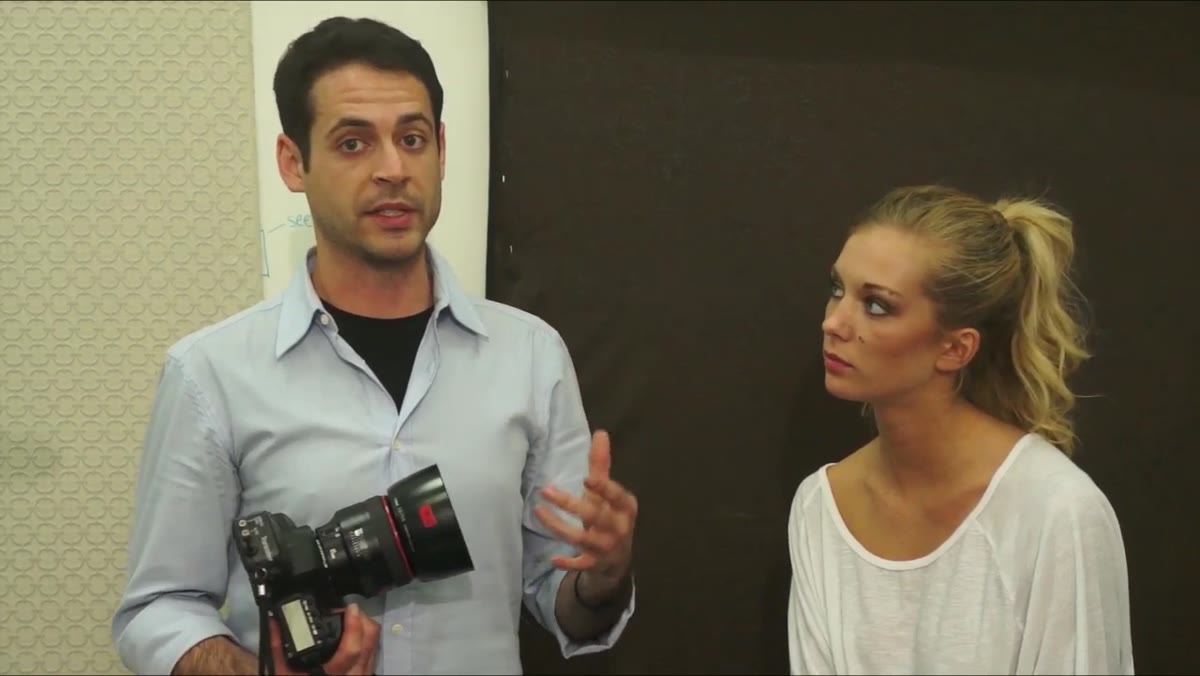 Studio softbox at minimum power setting on the pack
This is the step most photographers skip, and it is the whole ballgame. When you open your aperture to f/2.5 or wider, you are letting in a significant amount of light. Standard studio monolight output at half or full power will overexpose your frame completely at that aperture. The fix is simple but counterintuitive: before you adjust anything on the camera, go to every light in the setup and drop it to its lowest power setting. In this session, Nace is running two lights, a 50-inch softbox as the main key and a strip box positioned above the subject as a hair light. Both are at minimum. This is where you start, not where you end up after trial and error. Set the lights first, then build your camera exposure around what they give you.
Step 3: Set Up a Two-Light Wrap Around the Subject
 50-inch softbox positioned to camera left of model
The 50-inch softbox functions as a large, diffuse key light. The larger the modifier relative to your subject, the softer the light wraps around the face, which is especially effective when you are using shallow depth of field because viewers are already primed to read the image as natural and intimate. A strip box positioned directly overhead adds separation to the hair without introducing a competing shadow pattern on the face. This two-light configuration, one broad and soft at a 45-degree angle to camera left, one above for hair separation, is a solid starting point for beauty and portrait work. Neither light is working hard. They are both there to wrap, not to blast.
Step 4: Lower Your ISO as Far as the Camera Will Go
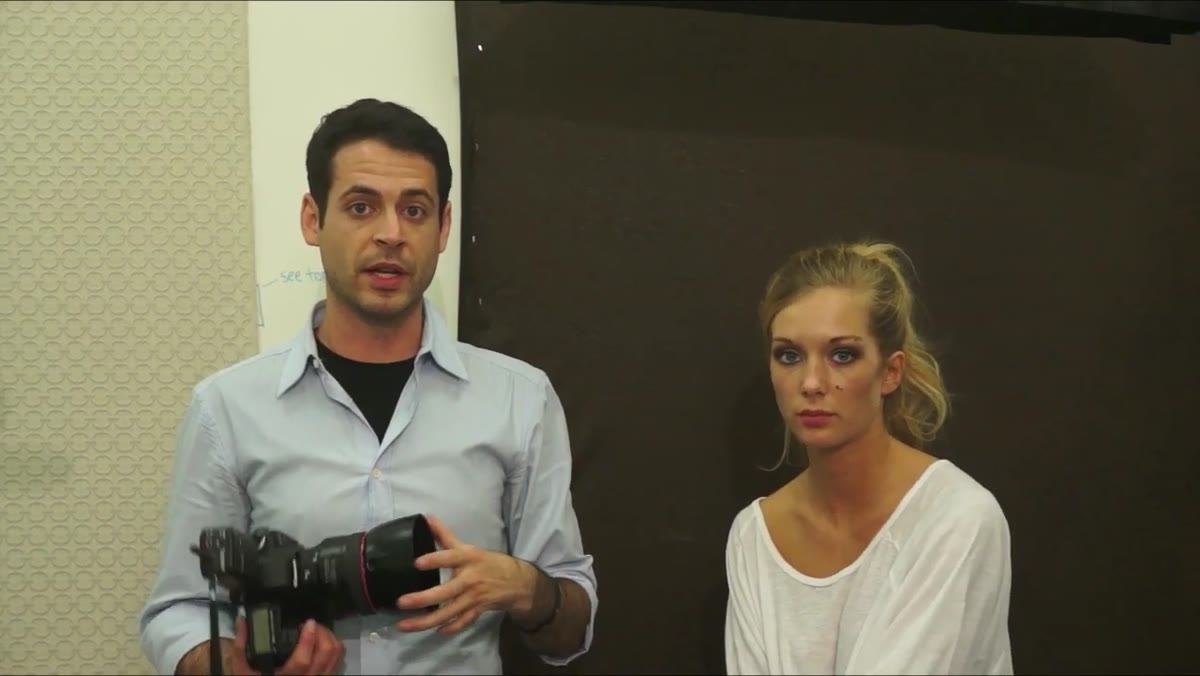 Camera body ISO setting shown at extended low value
Most modern cameras bottom out at ISO 100. Some Canon bodies, including the 5D Mark II and Mark III, offer an expanded low setting that drops the sensor sensitivity to the equivalent of ISO 50. If your camera offers that option, use it here. The lower the ISO, the less sensitive the sensor is to incoming light, which gives you room to shoot at a wide aperture without overexposing. This is not about image quality tradeoffs in the traditional sense. At base or expanded-low ISO in a controlled studio environment, noise is not your problem. Light management is. Drop it as low as your body allows and work outward from there.
Step 5: Add a Neutral Density Filter If You Still Have Too Much Light
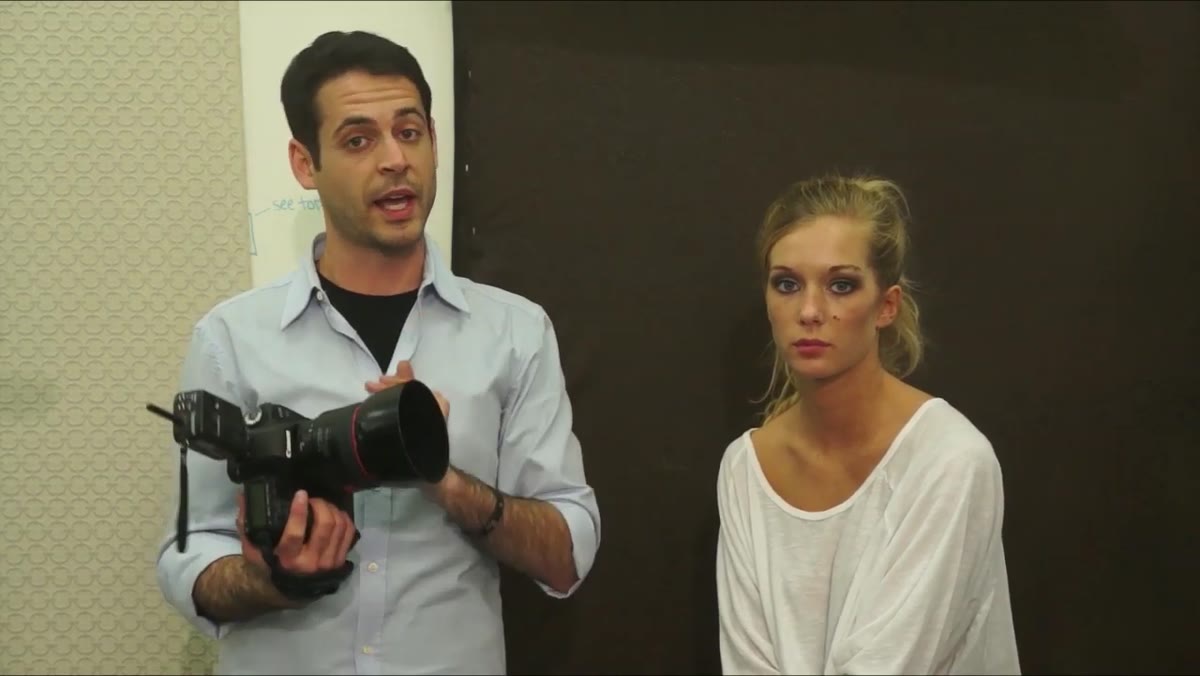 ND filter mentioned as lens attachment option for aperture control
If pulling your lights to minimum and dropping your ISO still gives you an overexposed frame, a neutral density filter is your next tool. An ND filter screws onto the front of the lens and physically reduces the amount of light reaching the sensor, the same way sunglasses reduce what reaches your eyes. In a studio setting this feels like an odd choice because you are intentionally handicapping your light gathering, but that is exactly the point. A 3-stop ND filter, for example, buys you roughly three full stops of additional exposure headroom, which could be the difference between shooting at f/2.8 and shooting at f/1.4. I keep a variable ND in my kit bag specifically for wide-aperture studio situations.
Step 6: Use a High Shooting Position and Direct the Model Downward
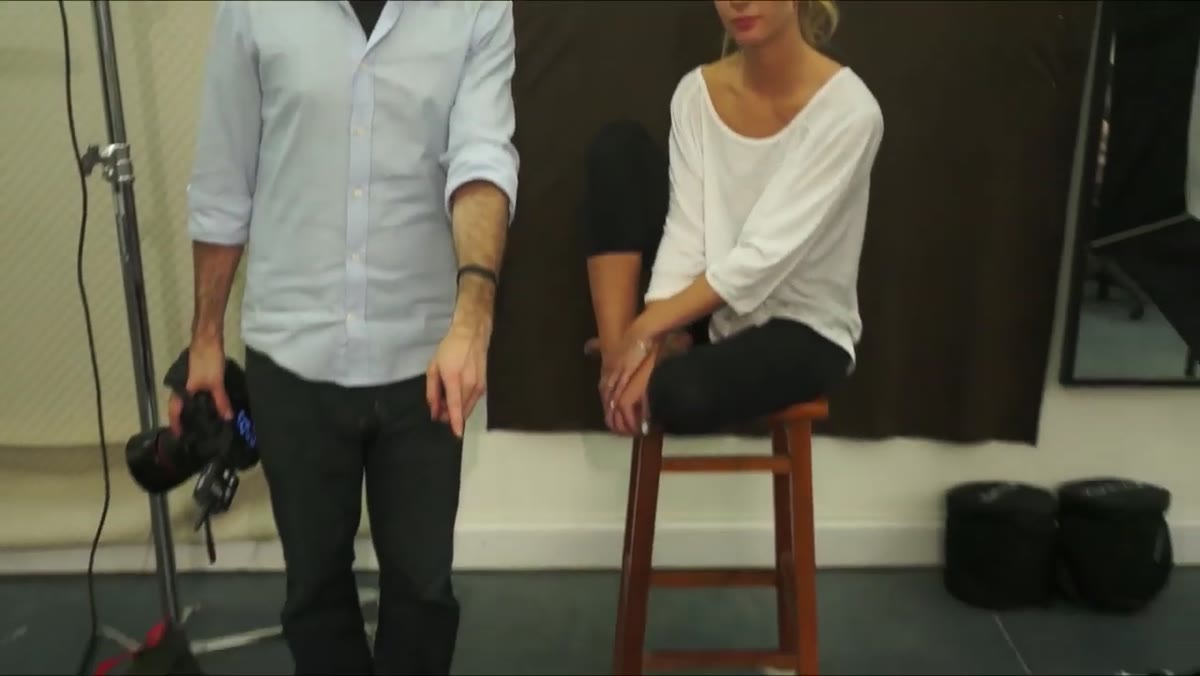 Aaron standing on apple box above model, shooting down
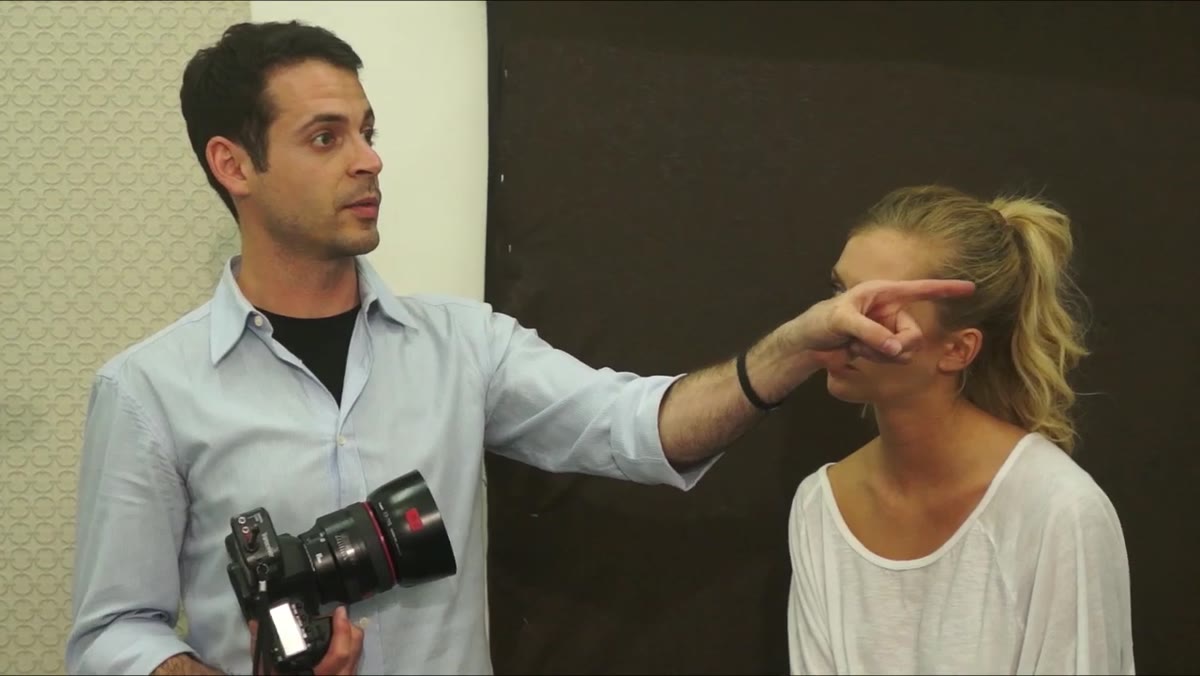
Nace stands on an apple box to elevate his shooting position and then directs the model to look down. This angle does several things simultaneously. It elongates the neck, reduces the apparent size of the nose, and allows the light from the large softbox to rake across the planes of the face in a flattering direction. When you shoot from above on a wide aperture, the focal plane runs roughly parallel to the top of the subject’s head, which means sharp eyes fall off quickly toward a soft chin. That is a pleasing, editorial look when it is intentional.
Step 7: Focus on the Eye, Then Recompose for Every Single Frame
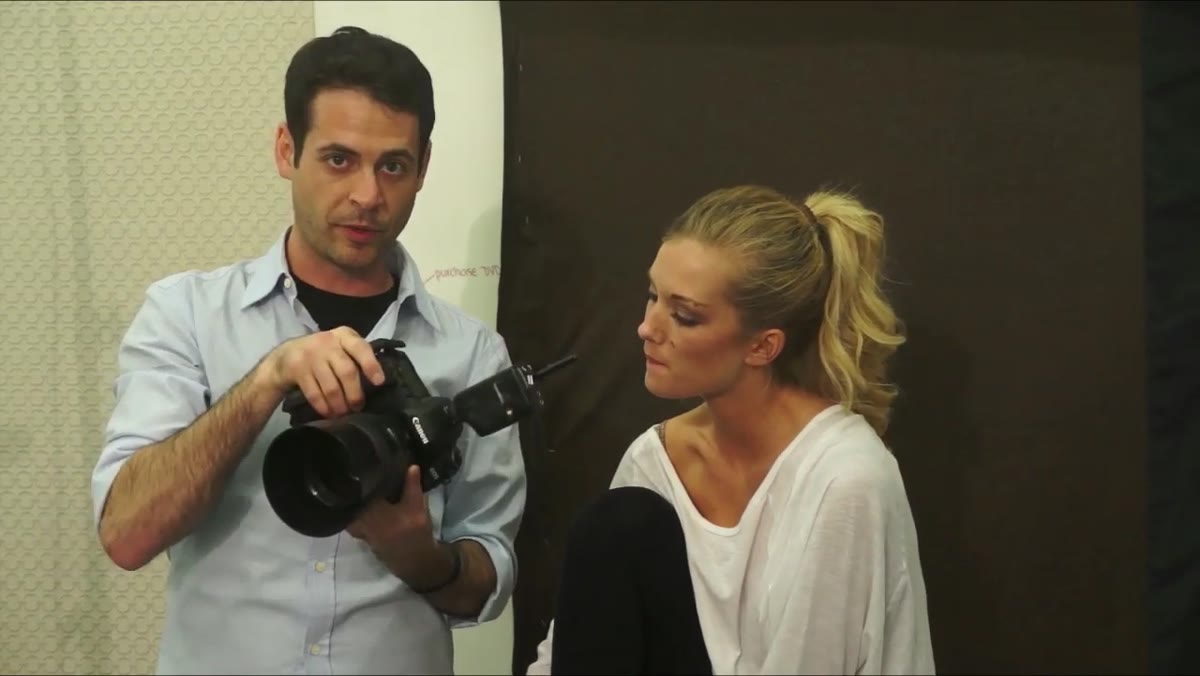 Aaron describes refocusing on the eye between each shot
At f/2.5 on an 85mm lens, the depth of field is thin enough that the difference between a sharp eye and a soft one can be measured in centimeters. Nace keeps his focus point centered and reacquires focus on the near eye before every frame. He does not rely on continuous tracking or off-center points. The habit is deliberate: half-press to lock focus on the eye, recompose, shoot, release, repeat. It slows down the shooting rhythm slightly, but it is the only reliable way to guarantee the eye is tack sharp when everything else in the frame is falling away. A sharp eye is load-bearing in a portrait. Everything else can be soft.
One Thing I Would Add From My Own Studio Work
I would put a gaffer-tape label on every light in this setup before the session starts, with the modifier name and the current power setting written on it. It is a habit I picked up after a shoot where I had to rebuild a setup from scratch halfway through because I had moved a head and could not remember where it was. When you are running minimum power across two or three lights and the differences between stops matter that much, being able to glance at the tape and know exactly where everything is set saves real time. It also makes the lighting journal entry at the end of the session much easier to write accurately.
The single most transferable idea from this tutorial is that managing shallow depth of field in a studio is fundamentally an exercise in light subtraction, not light addition. Strip everything back before you pick up the camera. Minimum power, minimum ISO, ND filter if needed, and then let the lens do what it was designed to do.
Watch the full tutorial on YouTube to see Aaron Nace demonstrate the full session, including how he works with the model in real time to get the final shots.
Comments (2)
This is exactly what I needed today. Been struggling with this for weeks.
Simple but effective. Sometimes that's all you need.
Leave a Comment