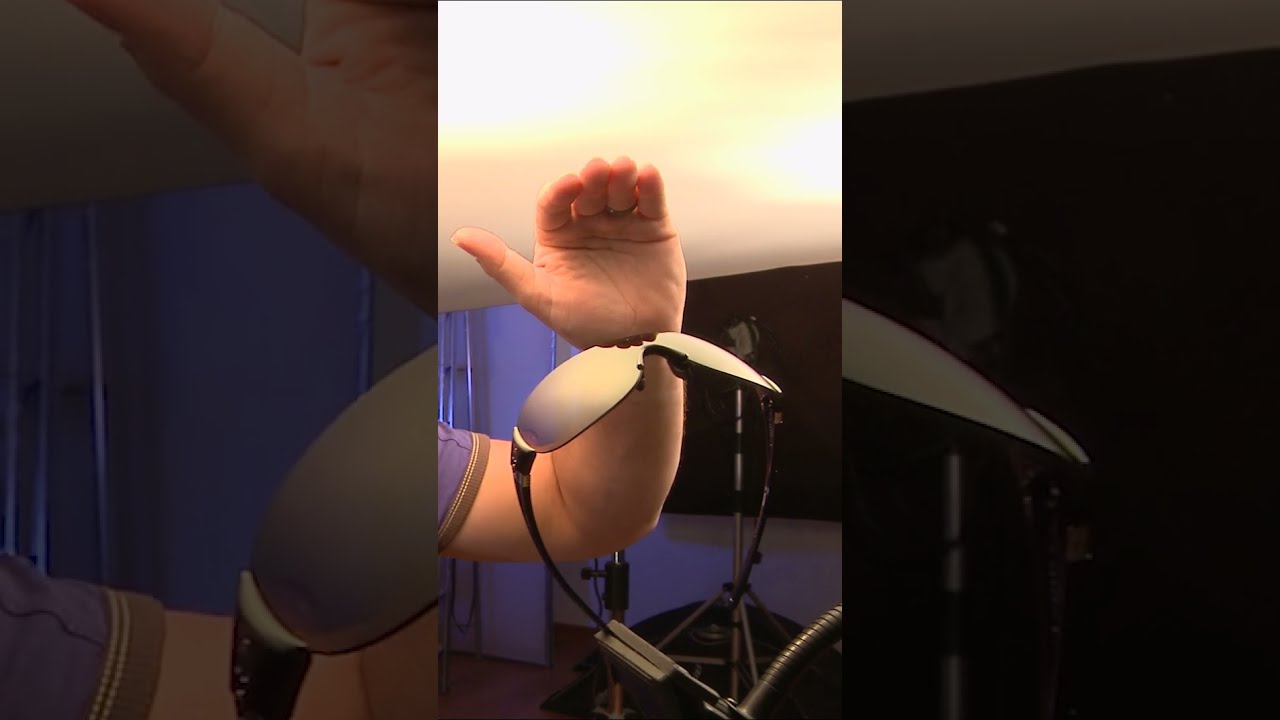
Sunglasses are one of those product categories that exposes every weakness in your lighting setup. The lenses are mirrors. The frames are usually glossy. And whatever light source you point at them, you will see it reflected back in the shot — shape, edge, and all. I’ve lost count of how many times I’ve watched a junior photographer spend twenty minutes repositioning a softbox, wondering why the reflection looks clunky, not realizing that the modifier itself is the problem.
That’s why this short tutorial from Visual Education stopped me mid-scroll. Watch the full tutorial on YouTube — it’s brief, but it identifies something that most lighting guides skip entirely: the difference between uniform light and gradient light, and why that distinction is everything when you’re shooting reflective products like sunglasses.
The core argument is simple and correct. Softboxes are engineered to eliminate hotspots. That diffusion panel exists specifically to make the entire surface glow at the same intensity, edge to edge. For a portrait or a flat lay, that’s exactly what you want. For sunglasses, it means the reflection in the lens will show a hard, rectangular cutoff wherever the softbox ends. It doesn’t look like light. It looks like a modifier. The fix requires a completely different approach to how light is shaped and graduated across the product.
Step 1: Understand Why Uniform Light Fails on Reflective Surfaces
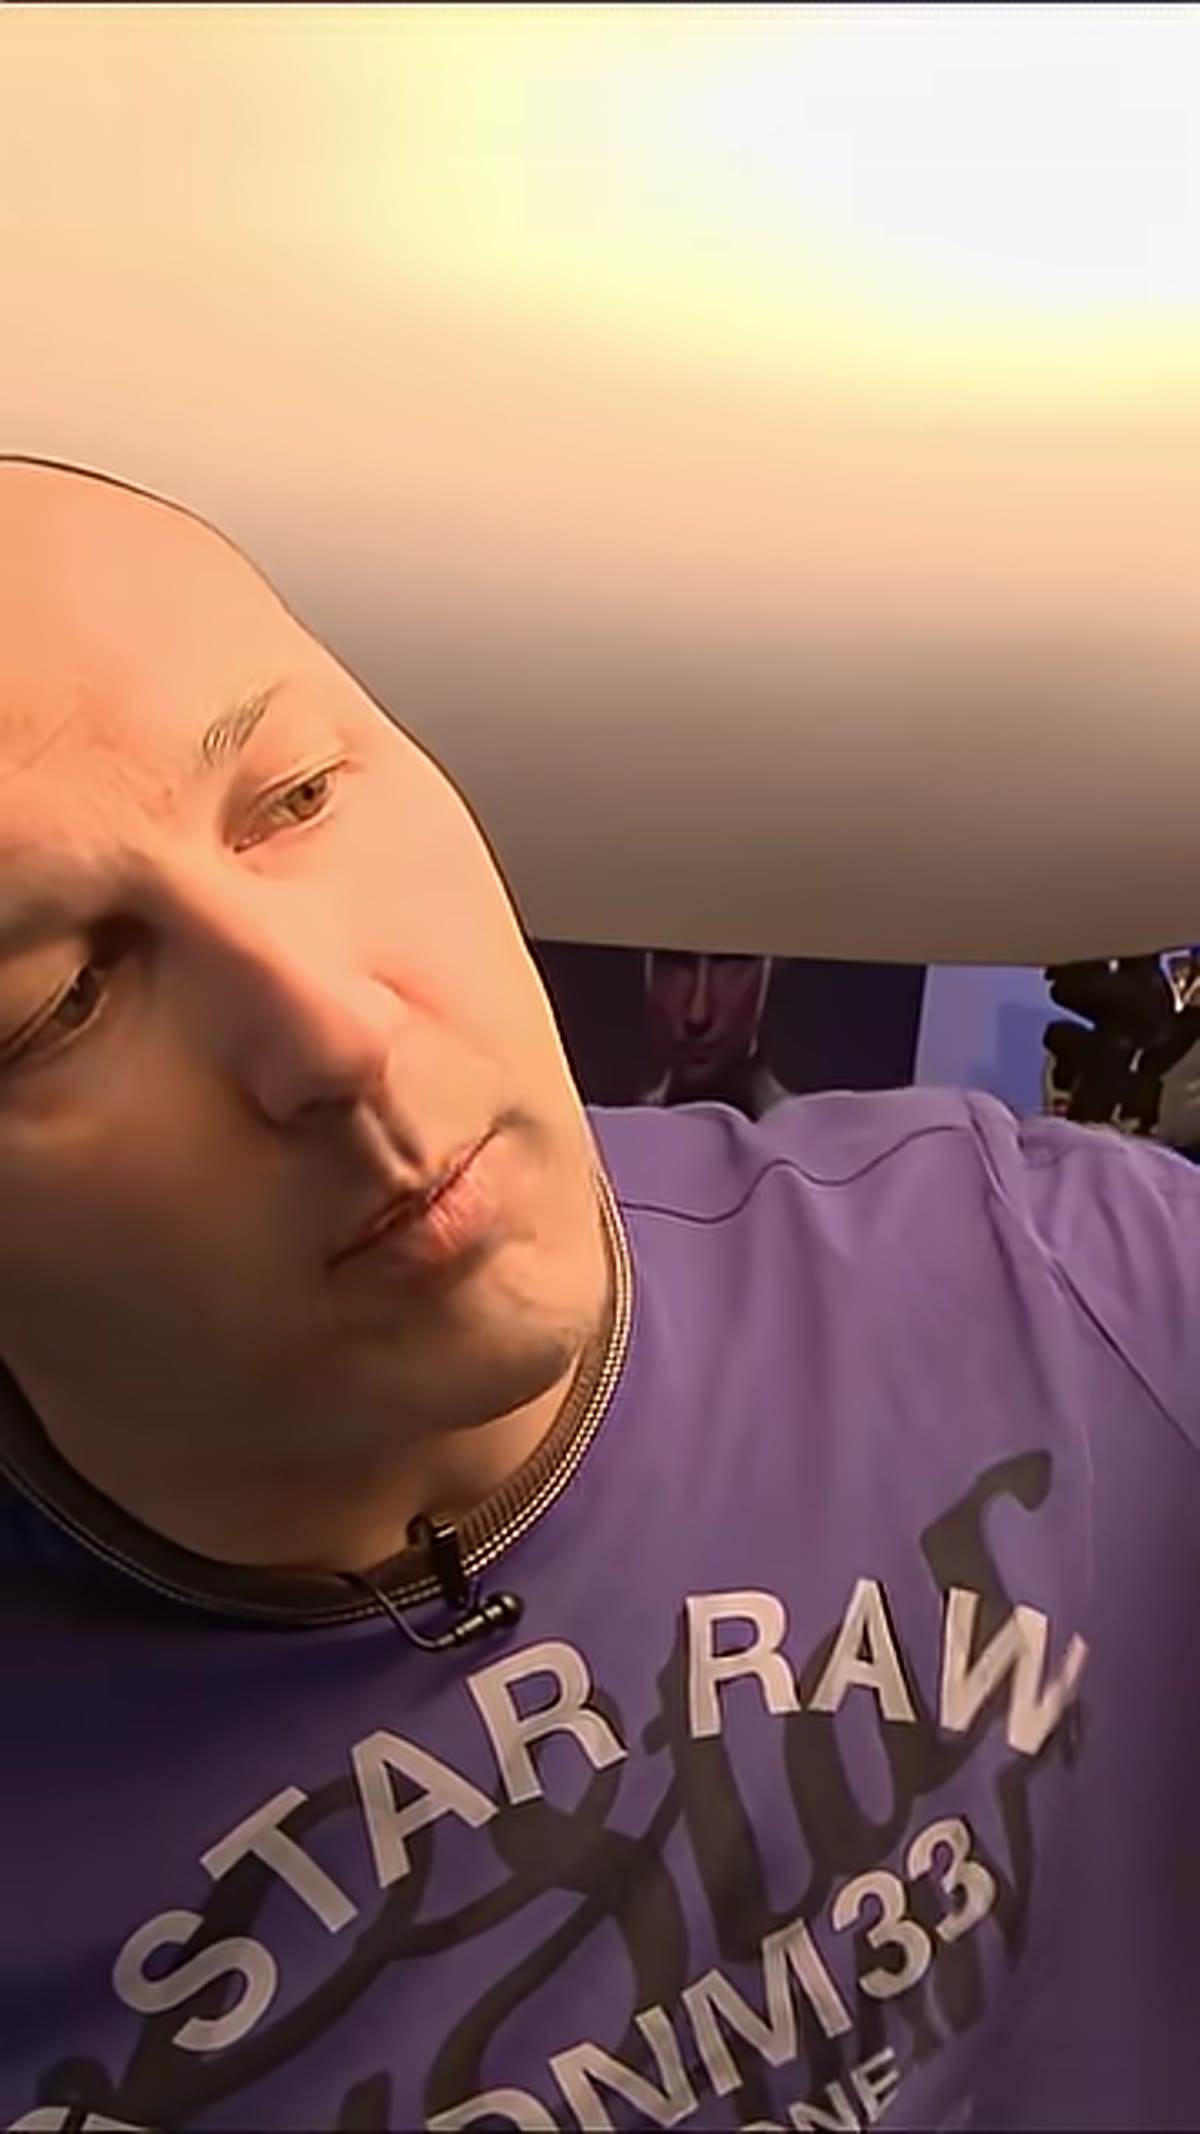 Softbox positioned near sunglasses showing reflection in lens
Before you change any gear, you need to understand the problem at the physics level. A softbox produces what photographers call a flat field of illumination. The intensity across its surface is intentionally consistent, so when that surface reflects in a curved lens, you get a shape with a defined, visible edge. The gradient stops abruptly. On a matte surface, this doesn’t matter. On a mirrored sunglass lens, it reads as an artifact, something the viewer’s eye immediately flags as artificial.
The goal for eyewear is to have light that falls off gradually, so the reflection in the lens transitions smoothly from bright to dark. That transition is what creates the sense of dimension and depth. Without it, the lenses look flat, or worse, they look like they have a studio light stamped into them.
Step 2: Choose a Modifier That Produces a Natural Gradient
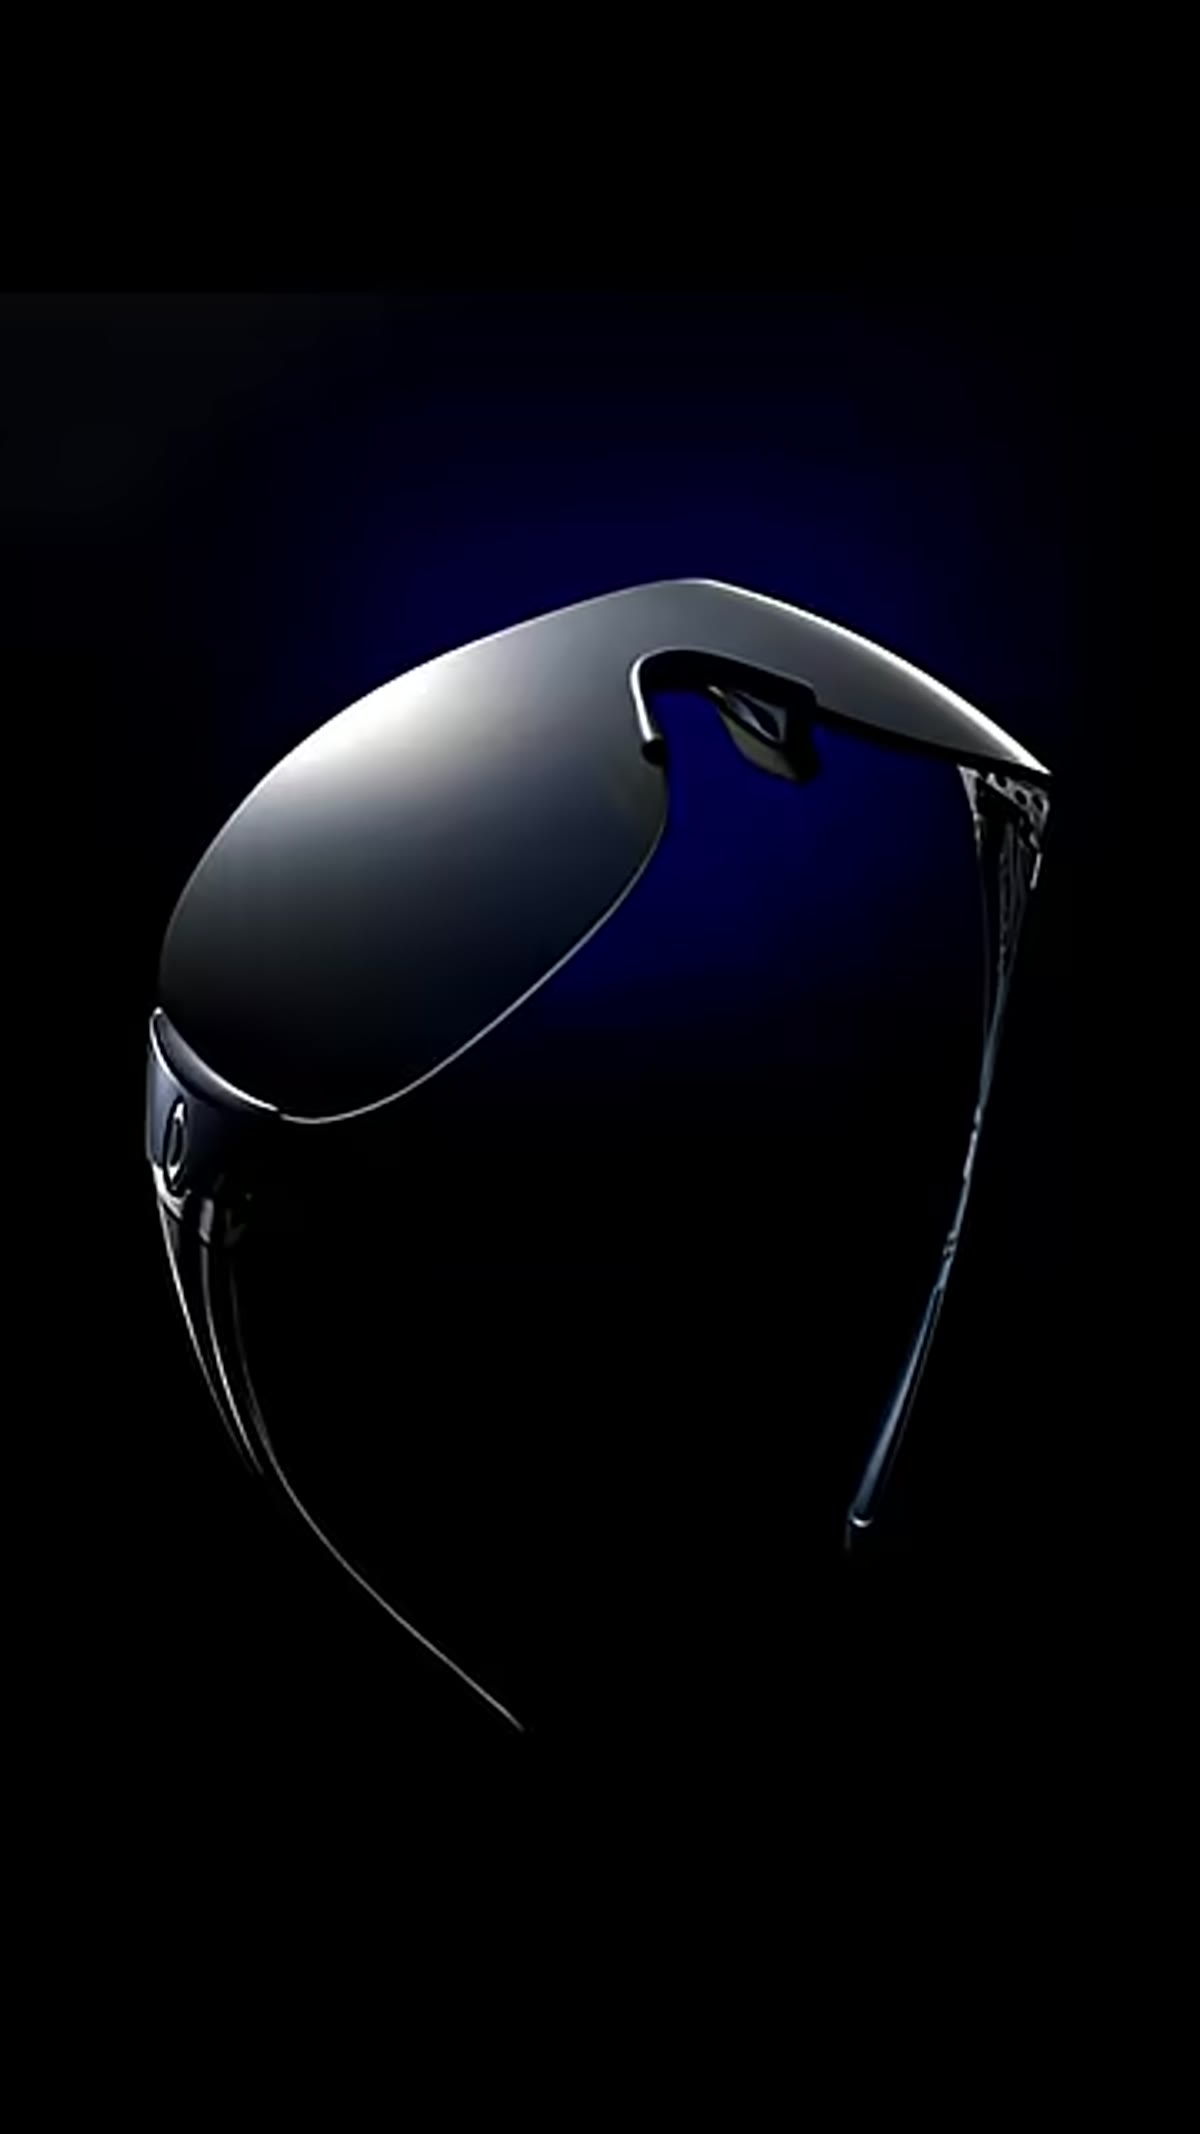 The gradient of light visible across the sunglass lenses
The solution the tutorial demonstrates is switching away from a standard softbox to a modifier that inherently produces a graduation of light rather than a uniform field. Think about light sources that do this naturally: a window on a bright day is brighter in the center and falls off toward the edges. A bare strobe produces a hotspot in the middle that rolls off to darkness. These gradients are what make reflections feel real.
For product work on sunglasses, this often means using a strip with no diffusion, a bare rectangular reflector, or a specifically designed gradient panel. The key characteristic is that the center of the light source is significantly brighter than the edges, so when it appears as a reflection, it reads as a natural highlight rather than a stamped rectangle.
Step 3: Position the Light Source for the Reflection You Want
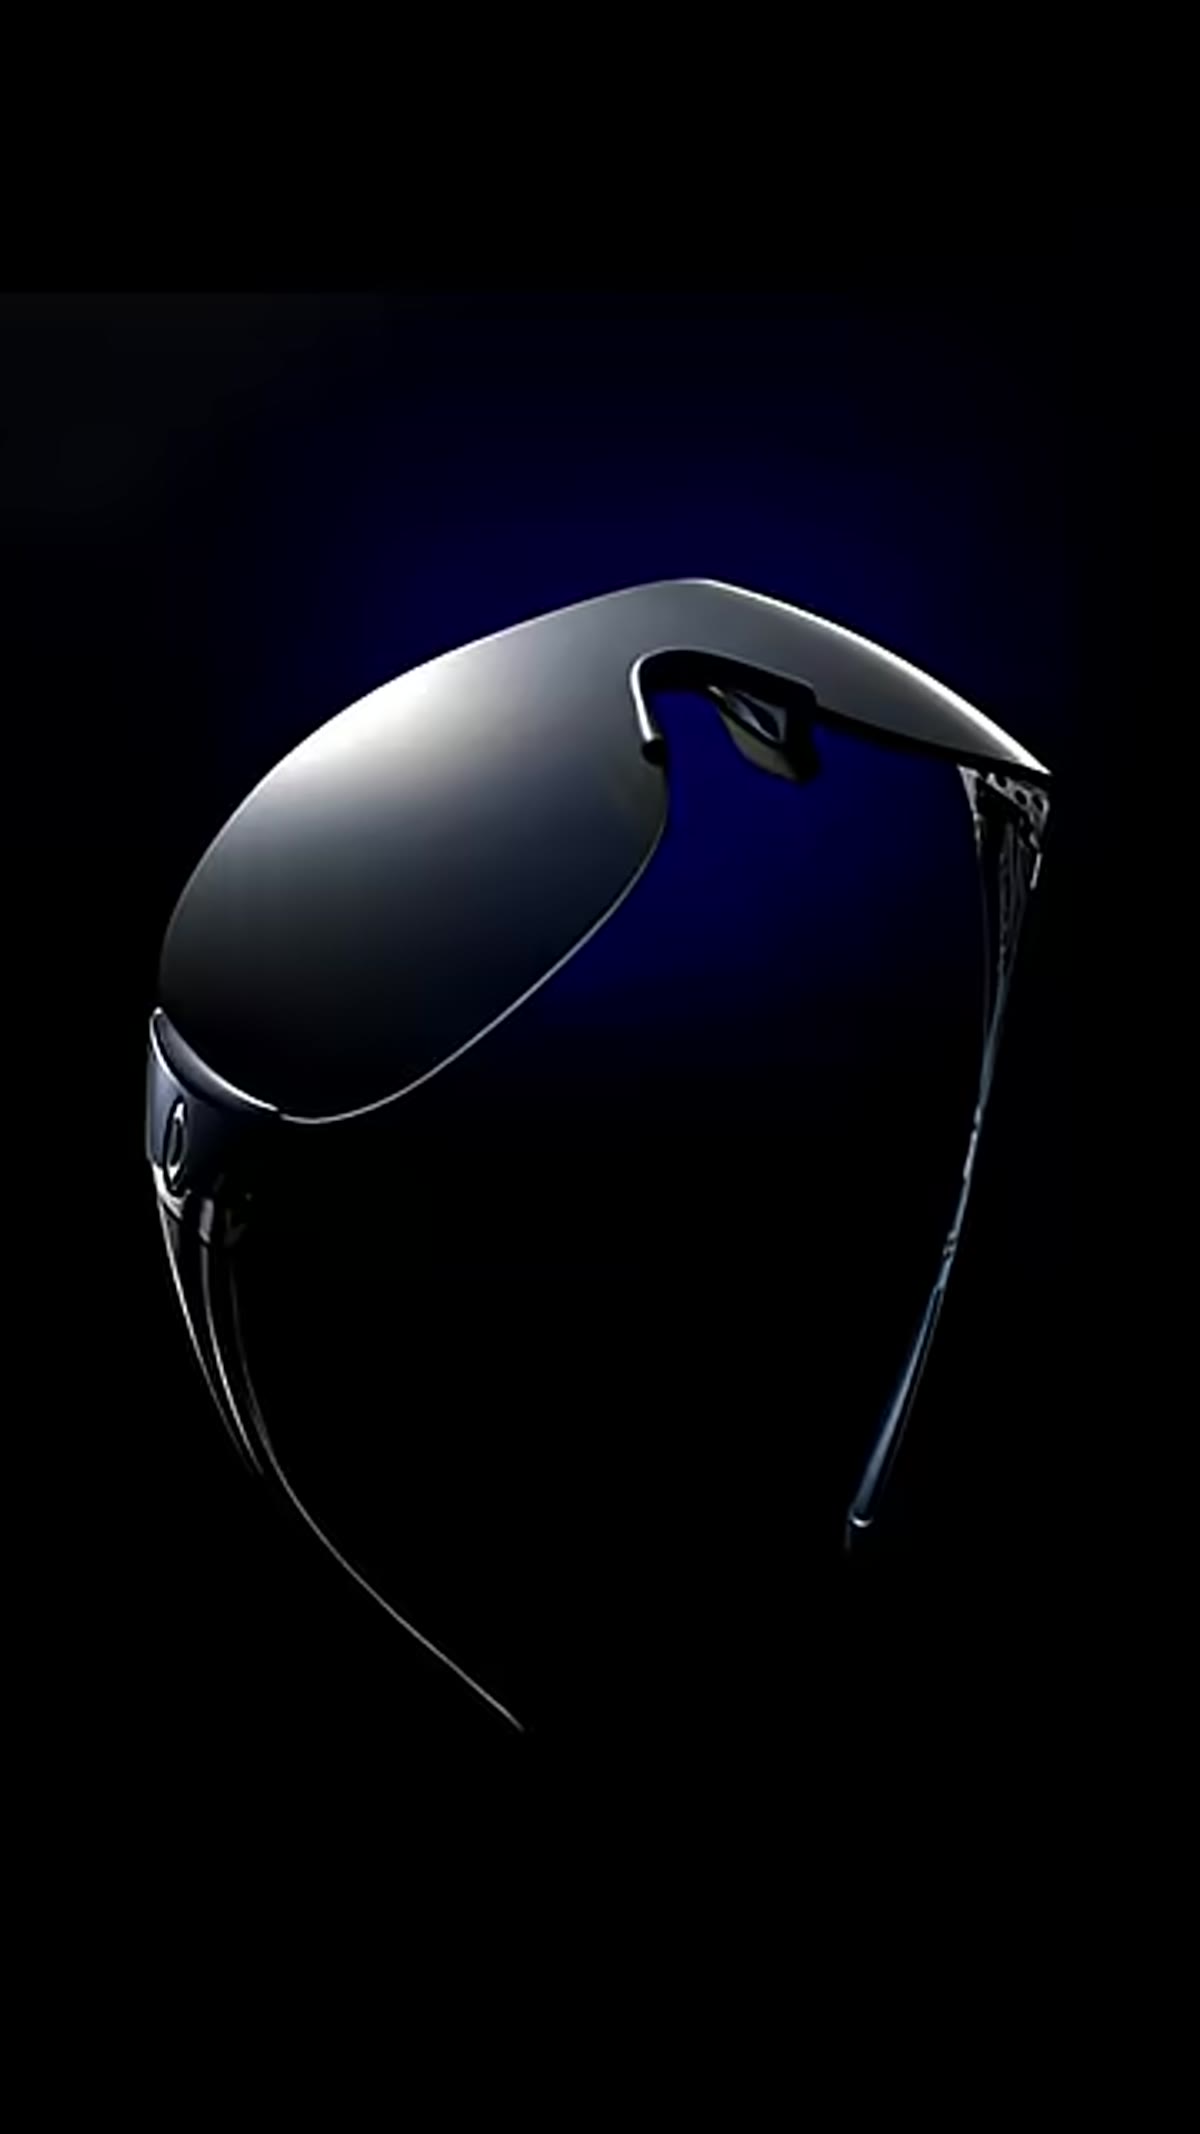 Light source positioned to camera left creating gradient across lenses
Reflection placement on a sunglass lens is entirely controlled by the angle of your light relative to the lens surface. This is basic angle-of-incidence geometry, but it has to be applied deliberately. Move the light higher and the reflection climbs on the lens. Move it to the side and the highlight shifts laterally. The goal is usually to place the brightest part of the gradient in the upper third of the lens, mimicking where natural overhead light would fall.
Before you lock in your position, physically look at the lens from the camera’s perspective. Get your eye close to the lens axis. What you see in the lens is exactly what the camera will record. This is the fastest way to dial in placement without wasting test shots.
Step 4: Adjust Distance to Control the Size of the Gradient
 Softbox surface shown as uniformly glowing square shape
Distance changes everything when you’re working with a gradient source. Pull the light back and the gradient spreads out, giving you a wider, softer transition across the lens. Push it closer and the gradient compresses, creating a tighter, more defined highlight. For smaller sunglasses frames, you generally want the modifier farther back so the gradient covers the full lens area without feeling cramped or blown out in the center.
This is where I always do at least three test exposures before committing. I bracket the light distance, not the exposure, and compare the reflections. The right position is usually more obvious on the back of the camera than it feels during setup.
Step 5: Evaluate the Full Frame, Not Just the Lenses
 Final gradient effect visible across the complete sunglasses product
Once the gradient looks right on the lenses, check everything else. The frames, the nose pads, the temples. A gradient source that solves your lens problem can sometimes create a harsh shadow on the frame if the light is too directional. You may need a secondary fill source, something very low output, just to open up the shadow side of the frame without introducing a competing reflection.
Keep the fill subtle. The whole point of this setup is controlled contrast. If you flood the shadow side with fill light, you lose the dimensionality that the gradient is creating. Aim for a 3:1 or 4:1 ratio between your main gradient source and any fill.
What I’d Add From My Own Setups
I keep a lighting journal, and my eyewear pages are some of the most annotated in the book. One thing I’ve learned through repetition that the tutorial doesn’t cover: the color of the background affects the lens reflection more than most photographers expect. Dark backgrounds create dark zones in the lower portion of the lens, which can read as a gradient continuation. Light or white backgrounds push light into those same zones and can flatten your carefully built gradient. If you’re shooting on white, consider flagging the background out of the lens reflection using a black card positioned below the product. It’s a small adjustment that protects the shadow end of your gradient and keeps the depth intact.
Also worth noting: sunglass lenses with mirrored coatings, the ones with blue, red, or chrome finishes, reflect color from the modifier itself. If you’re using a warm-toned reflector or a strobe that’s even slightly yellow, it will show in the lens as a cast. I keep a daylight-balanced strobe reserved specifically for eyewear and chrome products. It’s labeled on the stand with a strip of masking tape that just says “NEUTRAL.” Small habit, eliminates a whole category of problem.
The single most important shift this tutorial reinforces is this: modifier choice is not about quantity of light, it’s about the character of the light as it appears reflected in your subject. For sunglasses, that character needs to be gradual, natural, and controlled. A softbox is the wrong tool not because it’s bad, but because it was designed to do the opposite of what you need here.
Watch the full tutorial on YouTube and pay attention to the moment the gradient is shown on the lens. Once you see what gradient lighting actually looks like in a product shot, you won’t be able to unsee the softbox problem in the shots you’ve been settling for.
Comments (3)
This is going in my reference folder. Incredibly useful.
This is exactly what I needed today. Been struggling with this for weeks.
Really solid breakdown. This pairs perfectly with the photoshop work I've been writing about.
Leave a Comment