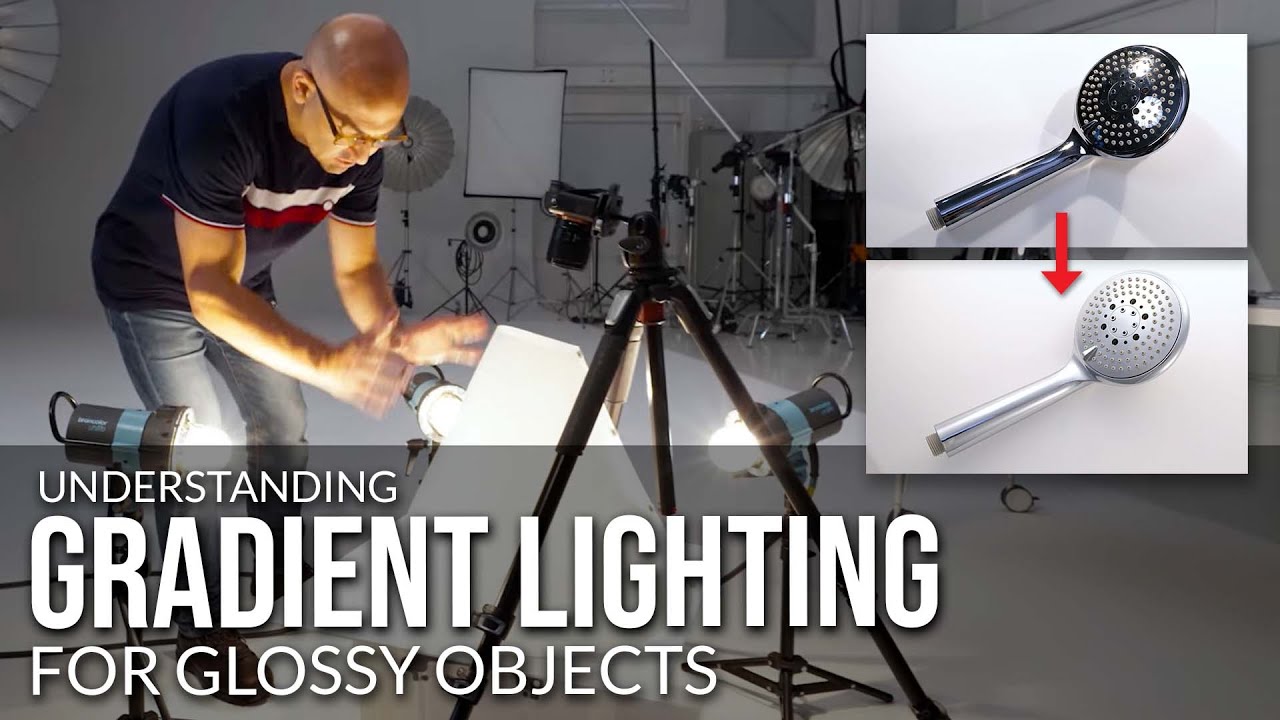
Every product photographer has a drawer of shame. Mine has a set of contact sheets from an early commercial shoot - a chrome espresso machine, lit beautifully by every standard I knew at the time, and completely ruined by harsh reflections, dark patches, and a softbox stripe that cut across the body of the product like a fault line. I knew the exposure was right. I knew the composition was solid. What I didn’t understand yet was that glossy surfaces don’t behave like surfaces at all. They behave like mirrors, and you have to light them accordingly.
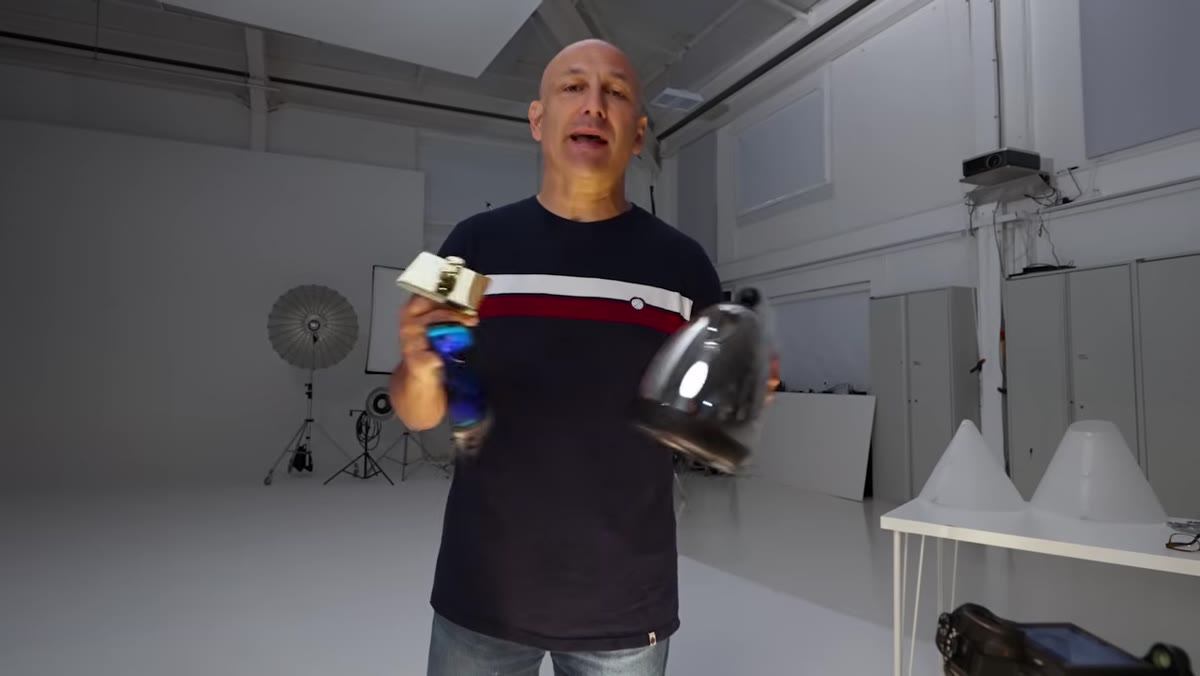
That’s why this Visual Education tutorial on gradient lighting stopped me mid-scroll. Watch the full tutorial on YouTube - it’s one of the clearest explanations I’ve seen of why standard modifiers fail on reflective products, and what to do instead. The instructor, Carl, walks through the physics of what’s actually happening on a glossy surface, then demonstrates a practical solution using a tool he designed called the light cone. Whether or not you use that specific tool, the underlying logic here is worth internalizing completely.
The core insight is this: a shiny product is not a subject you’re illuminating. It’s a spherical mirror capturing a 360-degree image of your entire studio. Every dark wall, every shadow gap, every abrupt edge of a softbox - it all shows up. Gradient lighting is the answer, and once you understand why, you’ll never look at a reflective product the same way.
Step 1: Identify What Your Glossy Surface Is Actually Reflecting
 Highly reflective chrome products showing dark, high-contrast reflections
Before you move a single light, study what the product is showing you. Pull up your tethered view or shoot a test frame and zoom in. On a polished chrome or lacquered surface, you’re seeing a compressed reflection of the full room. The dark areas aren’t underexposed - they’re reflections of dark surfaces in your studio. The harsh lines aren’t bad light placement - they’re the edges of your modifiers showing up as hard boundaries on the product.
Highly reflective chrome products showing dark, high-contrast reflections
Before you move a single light, study what the product is showing you. Pull up your tethered view or shoot a test frame and zoom in. On a polished chrome or lacquered surface, you’re seeing a compressed reflection of the full room. The dark areas aren’t underexposed - they’re reflections of dark surfaces in your studio. The harsh lines aren’t bad light placement - they’re the edges of your modifiers showing up as hard boundaries on the product.
This diagnostic step sounds obvious but most photographers skip it and go straight to adjusting power. Spend two minutes identifying every dark element the product is picking up. That list becomes your problem list, and you solve it by blocking those elements with better light sources - not by adding more power.
Step 2: Understand Why Softboxes Fail Here
 Softbox creating uniform patch of light with abrupt edge on glossy surface
A softbox produces what’s called a homogeneous light source - meaning the output is even in intensity from edge to center to the opposite edge. For beauty portraits and matte-surface products, that evenness is exactly what you want. For a glossy surface, it creates a problem that’s hard to fix in post.
Softbox creating uniform patch of light with abrupt edge on glossy surface
A softbox produces what’s called a homogeneous light source - meaning the output is even in intensity from edge to center to the opposite edge. For beauty portraits and matte-surface products, that evenness is exactly what you want. For a glossy surface, it creates a problem that’s hard to fix in post.
What you see on the product is a uniform white rectangle, and then nothing. The light doesn’t taper or fade - it stops. That abrupt transition from bright to dark reads as a flaw on the product, not as elegant lighting. The glossy surface is faithful to a fault. It shows you the exact shape of your light source, edges and all. What you need instead is a light source that transitions smoothly from bright to dark - which is the definition of a gradient.
Step 3: Understand the Principle of Gradient Lighting
 Smooth tonal gradations transitioning across glossy product surface
Gradient lighting works by creating a controlled fall-off across a diffusion surface, so the product reflects a smooth tonal transition rather than a hard-edged shape. Think of it as the difference between a window with a sheer curtain and a lightbox with no curtain - both transmit light, but one creates a gradual fade from bright center to softer edge.
Smooth tonal gradations transitioning across glossy product surface
Gradient lighting works by creating a controlled fall-off across a diffusion surface, so the product reflects a smooth tonal transition rather than a hard-edged shape. Think of it as the difference between a window with a sheer curtain and a lightbox with no curtain - both transmit light, but one creates a gradual fade from bright center to softer edge.
The key variables are the density of the diffusion material and the distance between your light source and that material. A light placed very close to the diffusion surface creates a bright hot spot at the center with a steep fall-off. Moving the light farther back spreads the gradient more gradually. Carl notes that the optical density of the diffusion material itself has to be carefully chosen - too thin and you lose the gradient, too thick and you lose the output.
Step 4: Set Up Multiple Light Sources for Full Control
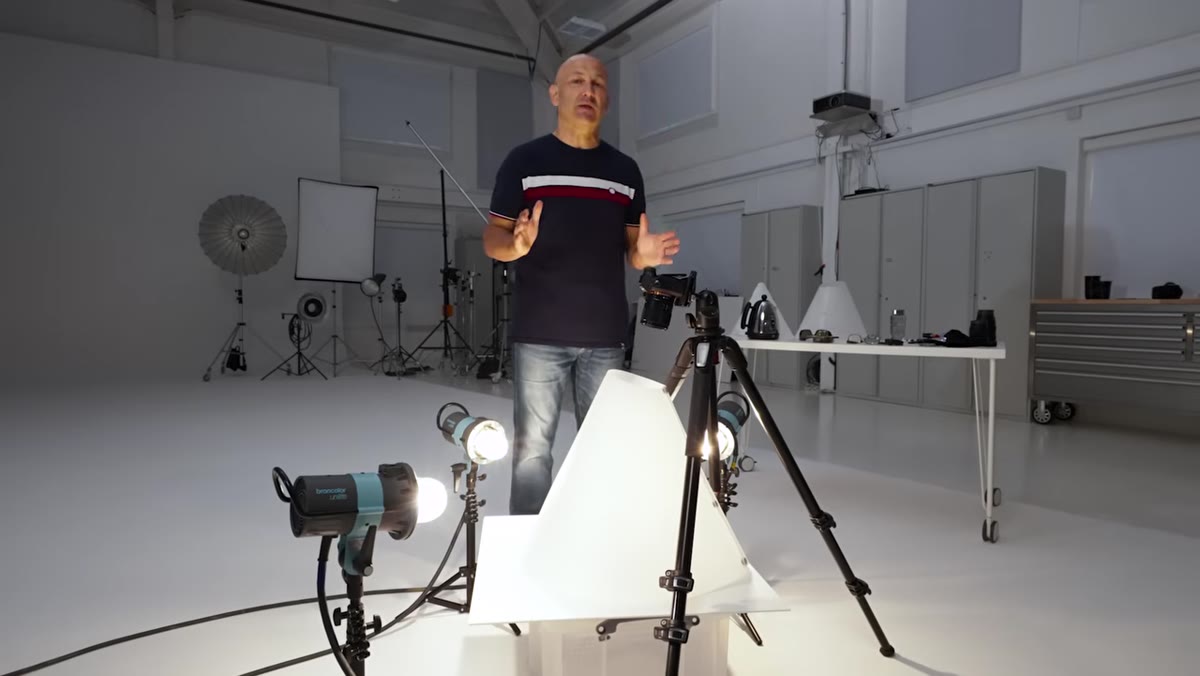
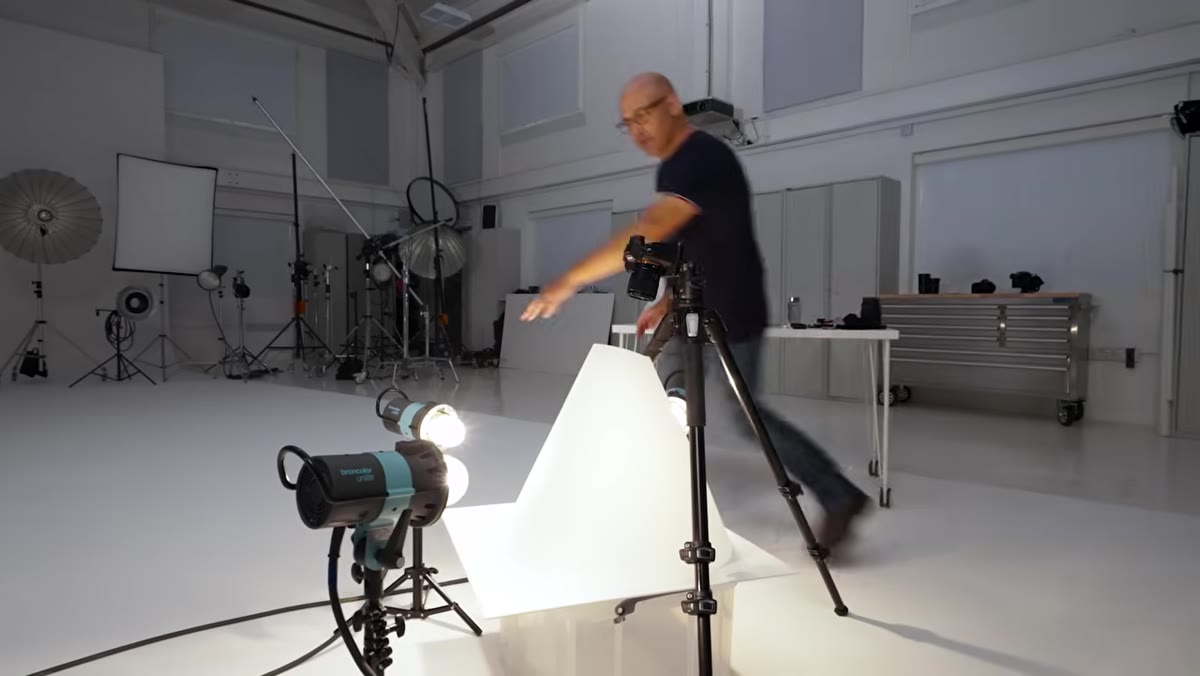 Three studio flash units positioned around the product setup
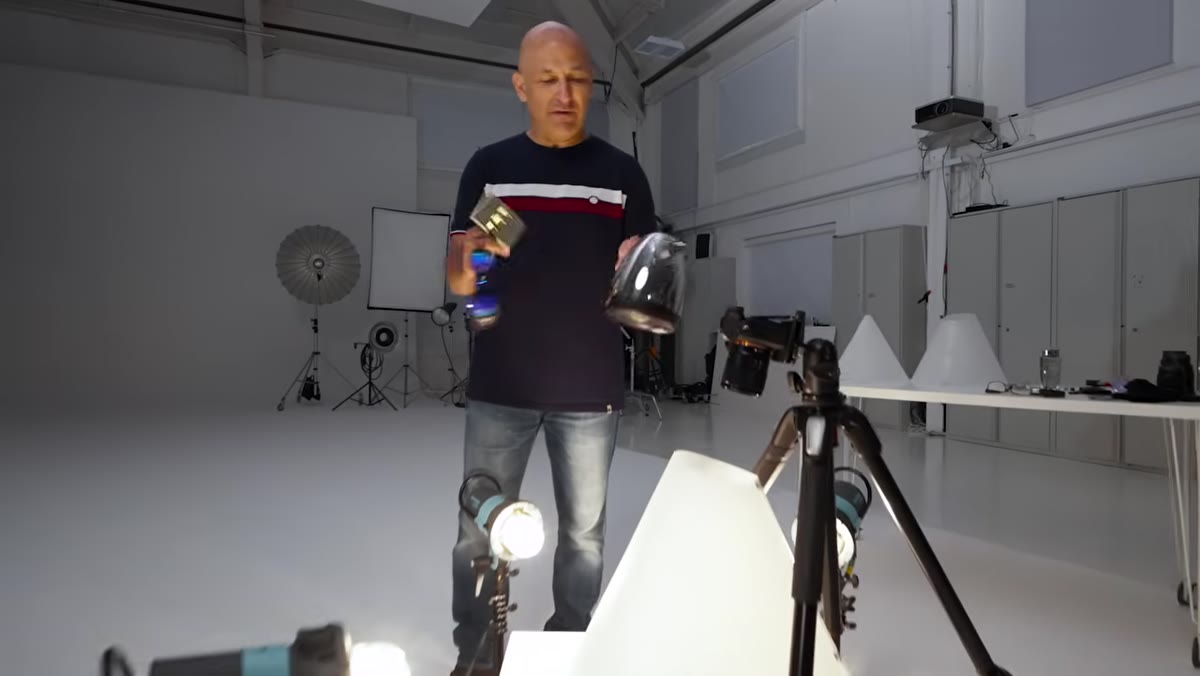
Carl uses three studio flash units in this demonstration, and the multi-light approach is deliberate. With a single gradient source, you’re limited in how much of the product’s curved surface you can wrap light around. Multiple lights, each passing through or reflecting off diffusion material, let you address different zones of the product independently.
Three studio flash units positioned around the product setup
Carl uses three studio flash units in this demonstration, and the multi-light approach is deliberate. With a single gradient source, you’re limited in how much of the product’s curved surface you can wrap light around. Multiple lights, each passing through or reflecting off diffusion material, let you address different zones of the product independently.
Each light is power-controlled separately. This matters because the gradients need to blend into each other, not compete. On a spherical or heavily curved product - a perfume bottle, a chrome tap, a polished helmet - you’re essentially painting the reflections you want the product to show. One light handles the top third of the reflection. Another handles the midsection. A third manages the base. The goal is a seamless ramp from highlight to shadow with no visible seams or edges.
Step 5: Compare With and Without the Diffusion System
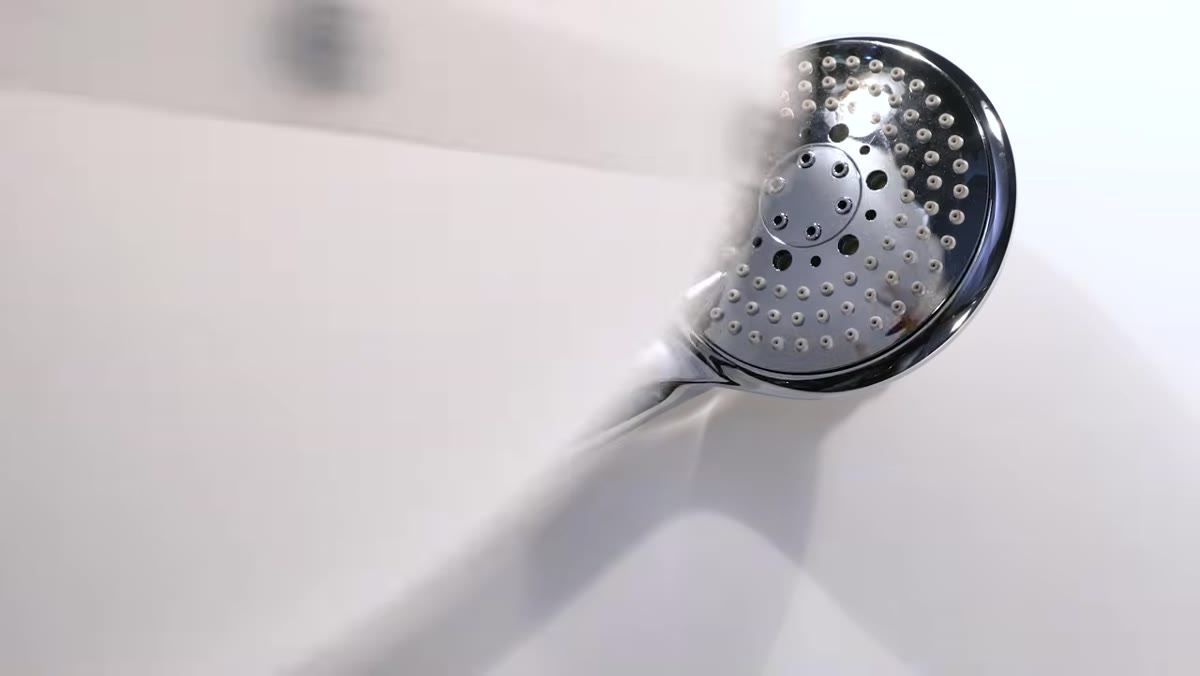 Before and after comparison: chrome shower head with and without light cone
Carl shows a chrome shower head first without his light cone, then with it, and the difference is not subtle. Without it, the product looks like it was photographed in a room full of dark shapes - because it was. With it, the surface transitions through a series of smooth tonal bands that read as luxurious, intentional, and expensive.
Before and after comparison: chrome shower head with and without light cone
Carl shows a chrome shower head first without his light cone, then with it, and the difference is not subtle. Without it, the product looks like it was photographed in a room full of dark shapes - because it was. With it, the surface transitions through a series of smooth tonal bands that read as luxurious, intentional, and expensive.
Run this same before-and-after test on your own products. Shoot your test frame raw. Then build your gradient source - even a simple curved piece of white acrylic or a large sheet of diffusion material placed between your strobe and the product - and shoot again. The comparison will tell you more about the physics of reflective surfaces than any explanation could.
Step 6: Control Gradation Placement by Adjusting Light Position
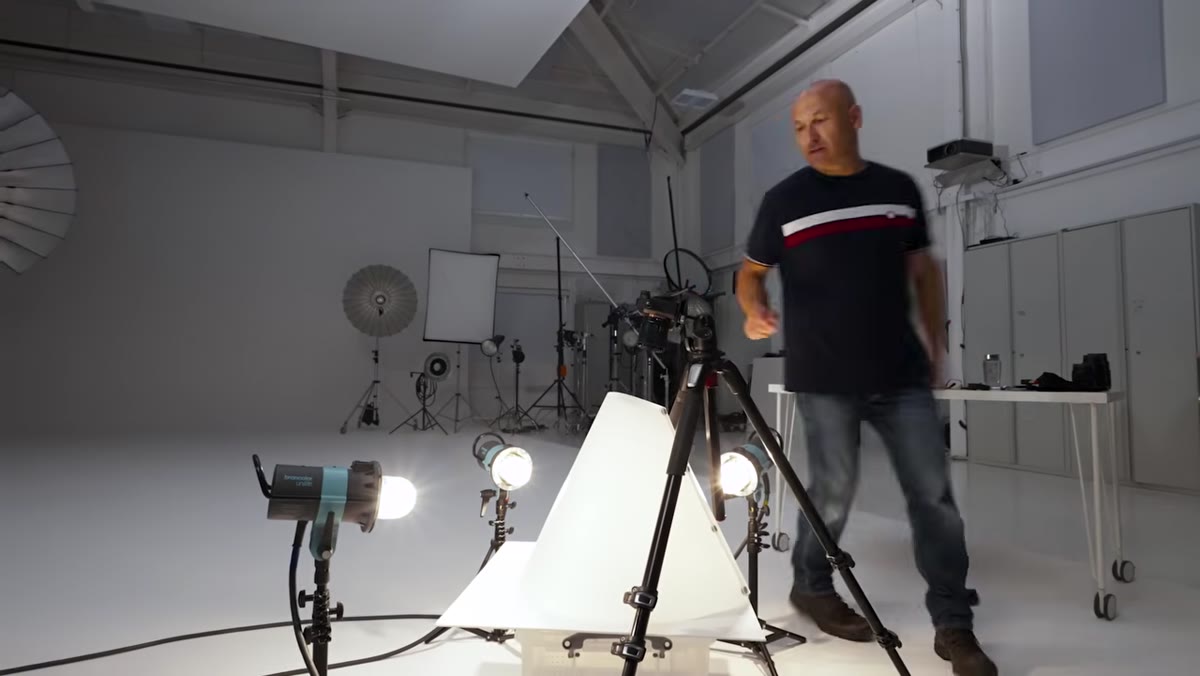 Demonstrating how light position changes gradation across product surface
Once your diffusion system is in place, the gradient itself becomes steerable. Moving the light source laterally shifts where the bright area falls on the diffusion panel, which shifts where it falls on the product. Raising or lowering the light changes whether the gradient runs top-to-bottom or hits the shoulder of the product at a different angle.
Demonstrating how light position changes gradation across product surface
Once your diffusion system is in place, the gradient itself becomes steerable. Moving the light source laterally shifts where the bright area falls on the diffusion panel, which shifts where it falls on the product. Raising or lowering the light changes whether the gradient runs top-to-bottom or hits the shoulder of the product at a different angle.
This is slower, more deliberate work than adjusting a softbox. I’d recommend moving one light at a time and shooting a test frame after each adjustment. I keep a sketch in my lighting journal for every reflective product setup - not because I’ll use it again exactly, but because drawing it forces me to understand what each light is actually doing.
One Thing the Tutorial Doesn’t Cover - Which Matters in Practice
Carl’s light cone is designed for smaller products in a controlled studio environment, and it works extremely well for that use case. But I’ve found that when the product is larger - a motorcycle helmet, a full-sized appliance - you need to scale the diffusion surface proportionally or the gradient doesn’t wrap far enough around the curve. The physics stay the same but the math changes.
My approach for larger subjects is to use a curved sweep of 1/4-stop diffusion material stretched between two light stands, backlit by two or three heads set at slightly different powers. It’s unwieldy, which is exactly why Carl built his tool. But understanding the principle lets you improvise when the product doesn’t fit the modifier.
The single most important thing to take away from this tutorial: a glossy product is always showing you a reflection of its environment, and your job is to engineer that environment so every reflection is intentional. Gradient lighting is how you do it.
Watch the full tutorial on YouTube and pay close attention to the live demonstration in the second half - seeing the gradation shift in real time as Carl adjusts his setup is worth more than any static explanation.
Comments
Leave a Comment