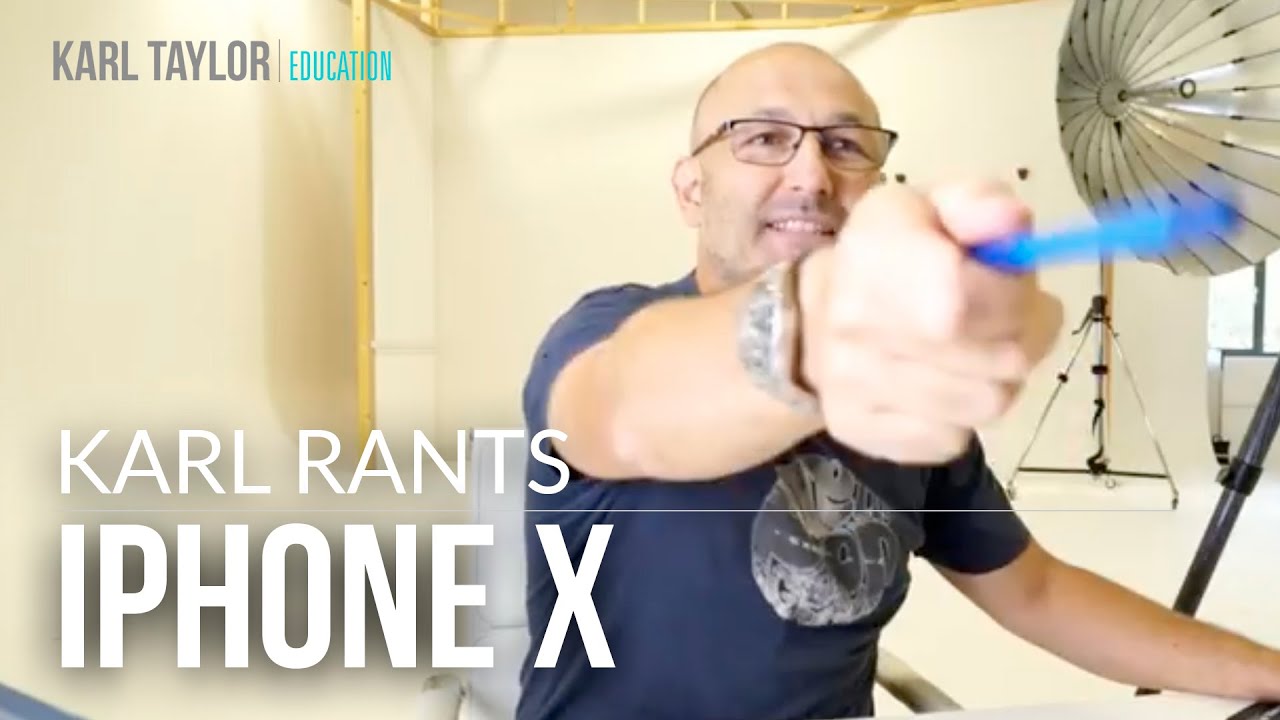
I’ve been shooting commercial portraits in my Los Angeles studio long enough to know that the word “revolutionary” gets thrown around the moment any company wants to charge you more for something. So when Apple rolled out the iPhone X’s Portrait Lighting mode and started using phrases like “studio lighting” to describe what their software was doing, I had questions. Fortunately, Karl Taylor had already asked them louder than I would have.
In this Visual Education tutorial, Watch the full tutorial on YouTube, Taylor walks through Apple’s own promotional material for the iPhone X camera and puts the Portrait Lighting feature under a professional’s microscope. The video is short, candid, and a little ranty, which is exactly why it stuck with me. But underneath the frustration is a genuinely useful lesson about what lighting actually means, and why software that mimics its aesthetics is not the same thing as controlling light.
This matters to me practically because clients sometimes arrive at a shoot having seen a phone-generated portrait and asked for “that look.” Understanding what the phone is actually doing, versus what a studio setup does, lets me explain the difference without sounding defensive. It also sharpens my own eye for what constitutes a real lighting decision.
Step 1: Identify What Apple Is Actually Claiming
 Apple website showing “True Depth Camera” portrait mode copy
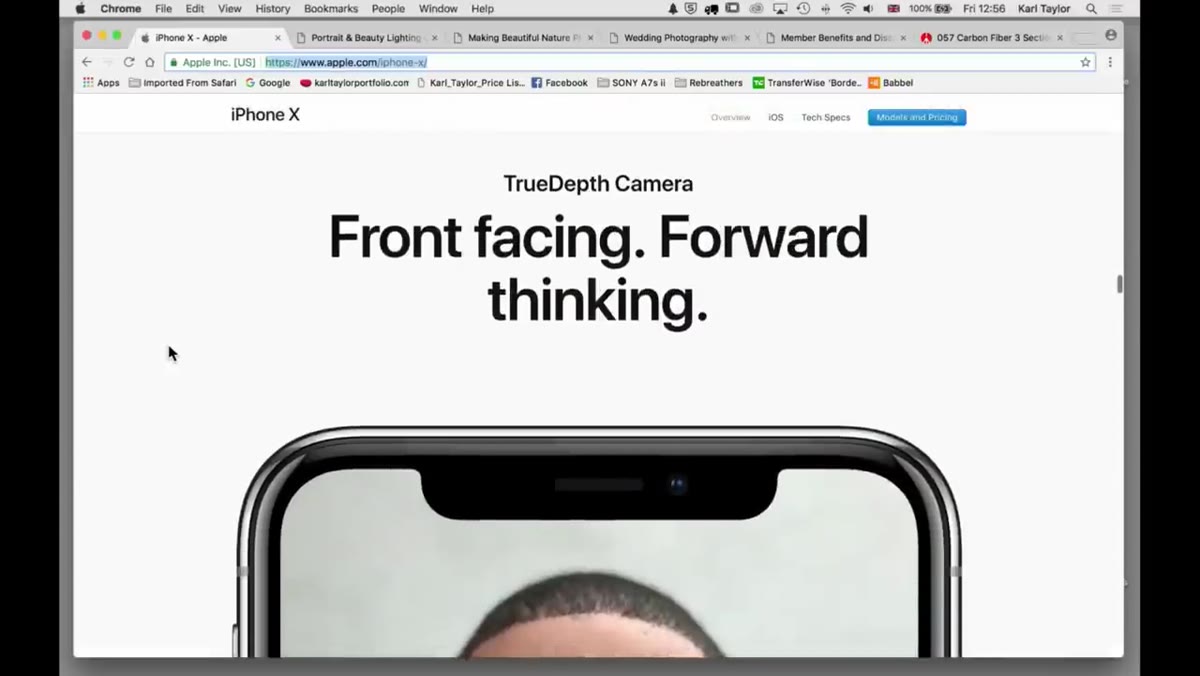
Before you can critique a tool, you need to read its marketing carefully. Taylor pulls up Apple’s website and reads the claims directly: sharper foregrounds, beautiful selfies, and a “True Depth Camera” system. The language is aspirational and deliberately vague. Words like “studio quality” and mode names like “Stage Mono” are doing a lot of heavy lifting.
Apple website showing “True Depth Camera” portrait mode copy
Before you can critique a tool, you need to read its marketing carefully. Taylor pulls up Apple’s website and reads the claims directly: sharper foregrounds, beautiful selfies, and a “True Depth Camera” system. The language is aspirational and deliberately vague. Words like “studio quality” and mode names like “Stage Mono” are doing a lot of heavy lifting.
When you encounter marketing copy like this, treat it as a checklist. Ask: what is the input light source? What is being changed physically? What is being changed digitally? Those three questions will cut through almost any camera or modifier claim you’ll ever read.
Step 2: Watch the Mode Switch in Real Time
 iPhone screen cycling through portrait lighting mode options
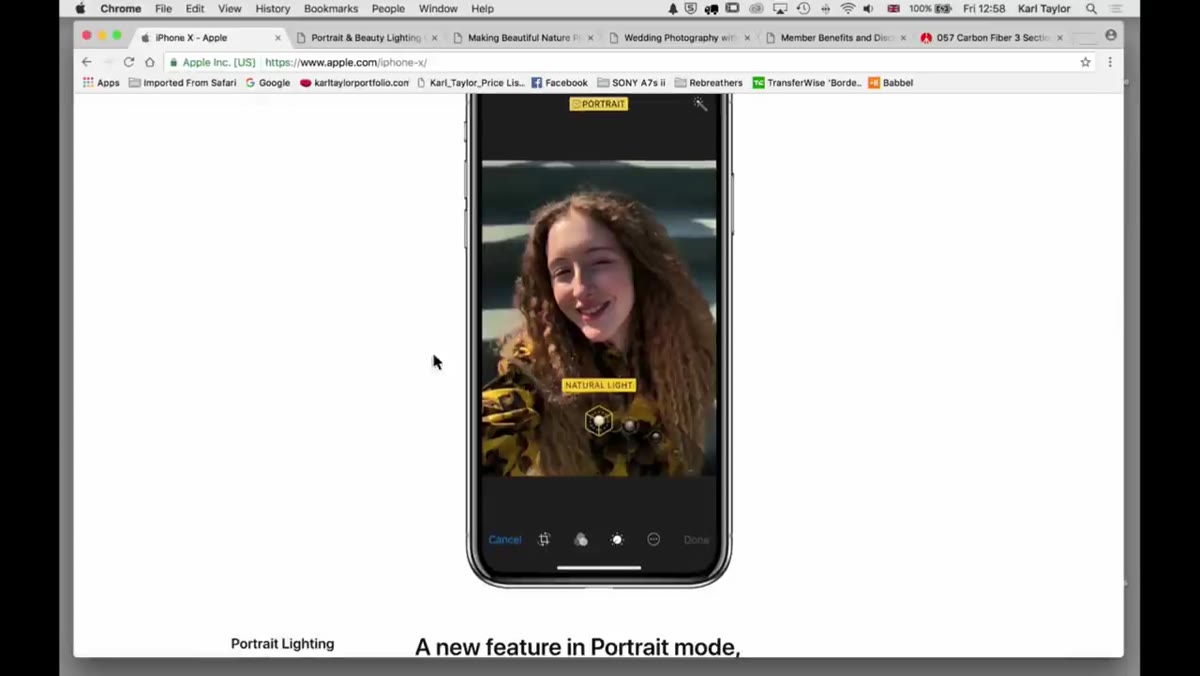
Taylor demonstrates the Portrait Lighting feature cycling through its modes on the phone screen. You can watch the image shift from a standard capture to increased contrast, then to a black-and-white conversion with a darkened or removed background. The phone labels these as distinct lighting setups.
iPhone screen cycling through portrait lighting mode options
Taylor demonstrates the Portrait Lighting feature cycling through its modes on the phone screen. You can watch the image shift from a standard capture to increased contrast, then to a black-and-white conversion with a darkened or removed background. The phone labels these as distinct lighting setups.
What you’re actually watching is a computational process: the dual cameras calculate depth information, separate the subject from the background using that map, and then apply contrast and color grading presets to the subject layer. The modes have names borrowed from studio lighting vocabulary, which is where the confusion begins.
Step 3: Separate the Background Replacement from the Lighting
 Portrait mode applying dark background cutout around subject
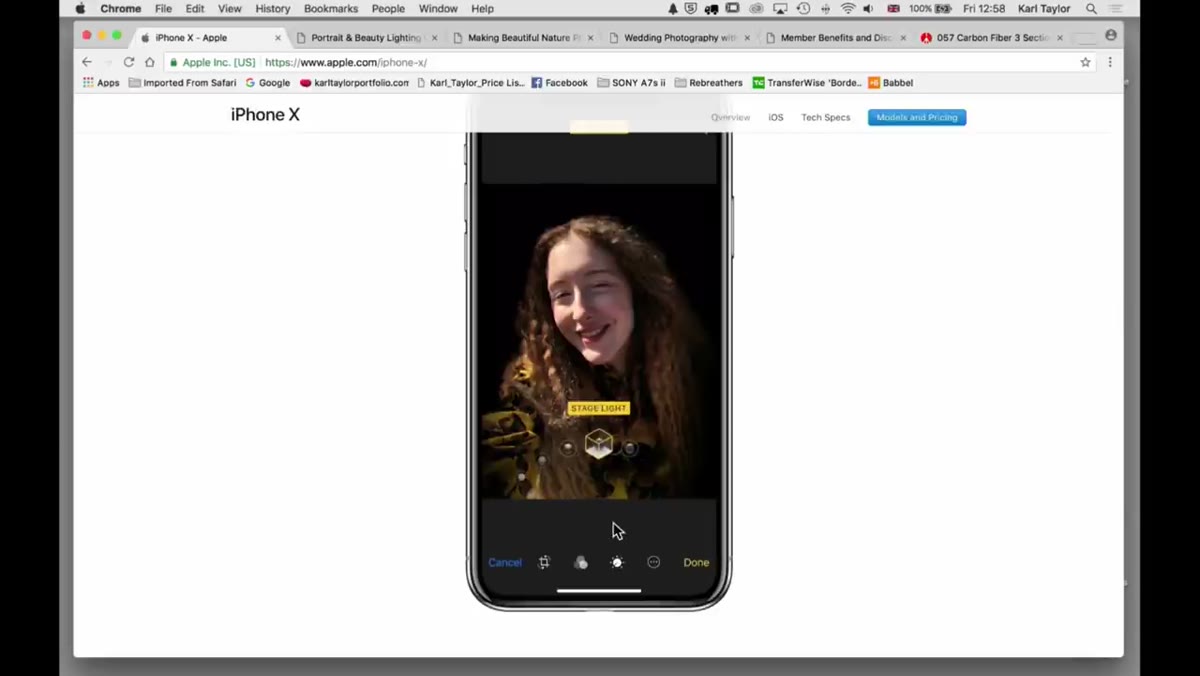
This is the step where Taylor’s critique lands hardest, and it’s where I think the real teaching moment lives. The phone produces an image with a black or blurred background and a subject that appears to pop forward. That reads visually as “studio portrait.” But look at the light on the face itself.
Portrait mode applying dark background cutout around subject
This is the step where Taylor’s critique lands hardest, and it’s where I think the real teaching moment lives. The phone produces an image with a black or blurred background and a subject that appears to pop forward. That reads visually as “studio portrait.” But look at the light on the face itself.
In the example Taylor shows, the subject is lit by harsh, directional sunlight raking across her face. The background has been digitally replaced or darkened, but the quality, direction, and color of the light on the skin is completely unchanged. A studio setup changes where the light comes from, how soft it is, and how it wraps around facial structure. The phone changes what is behind the person. Those are not the same operation, and training your eye to see that difference is foundational.
Step 4: Name the Light Quality, Not Just the Look
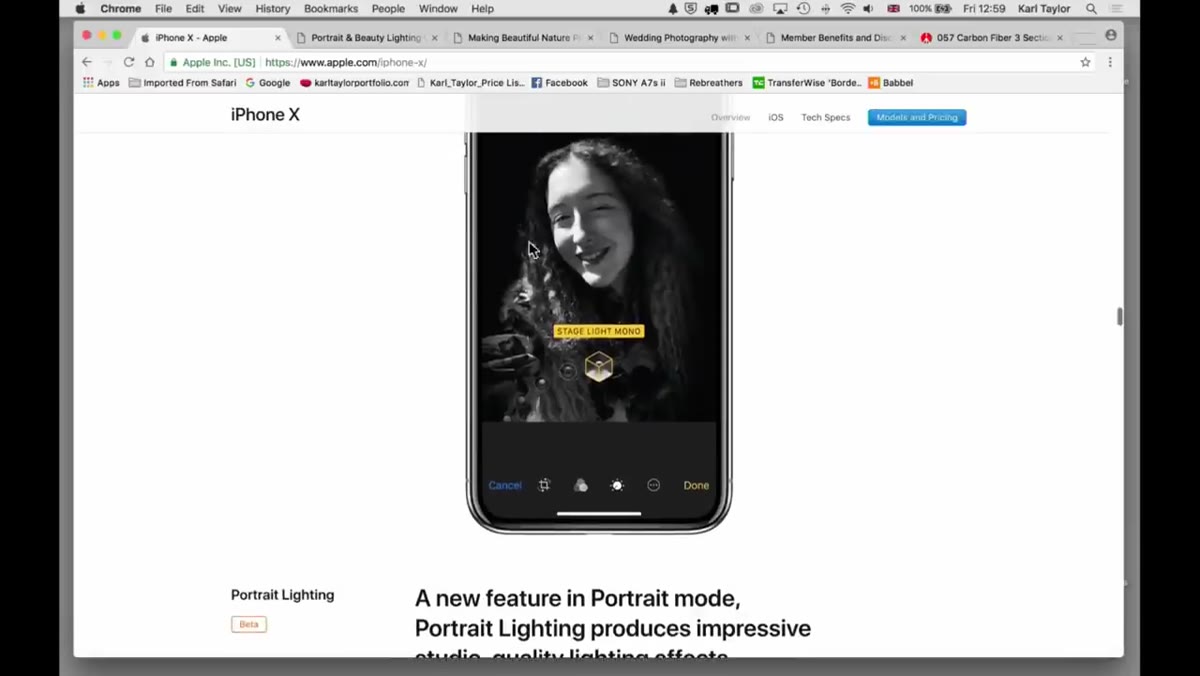 Comparison of harsh sunlight on face versus darkened background
Taylor points out that harsh sunlight streaking across a face is still harsh sunlight, regardless of what background sits behind it. This is a diagnostic habit worth building into every evaluation you make of a portrait, your own or anyone else’s.
Comparison of harsh sunlight on face versus darkened background
Taylor points out that harsh sunlight streaking across a face is still harsh sunlight, regardless of what background sits behind it. This is a diagnostic habit worth building into every evaluation you make of a portrait, your own or anyone else’s.
When I assess a lighting setup, I sketch it into my lighting journal before I change anything, including whether the light is hard or soft, the angle relative to the subject’s nose and eye socket, and whether there is separation between the subject and background. Those are the variables that define portrait lighting. A mode name on a phone does not change any of them.
Step 5: Understand What Background Separation Actually Requires
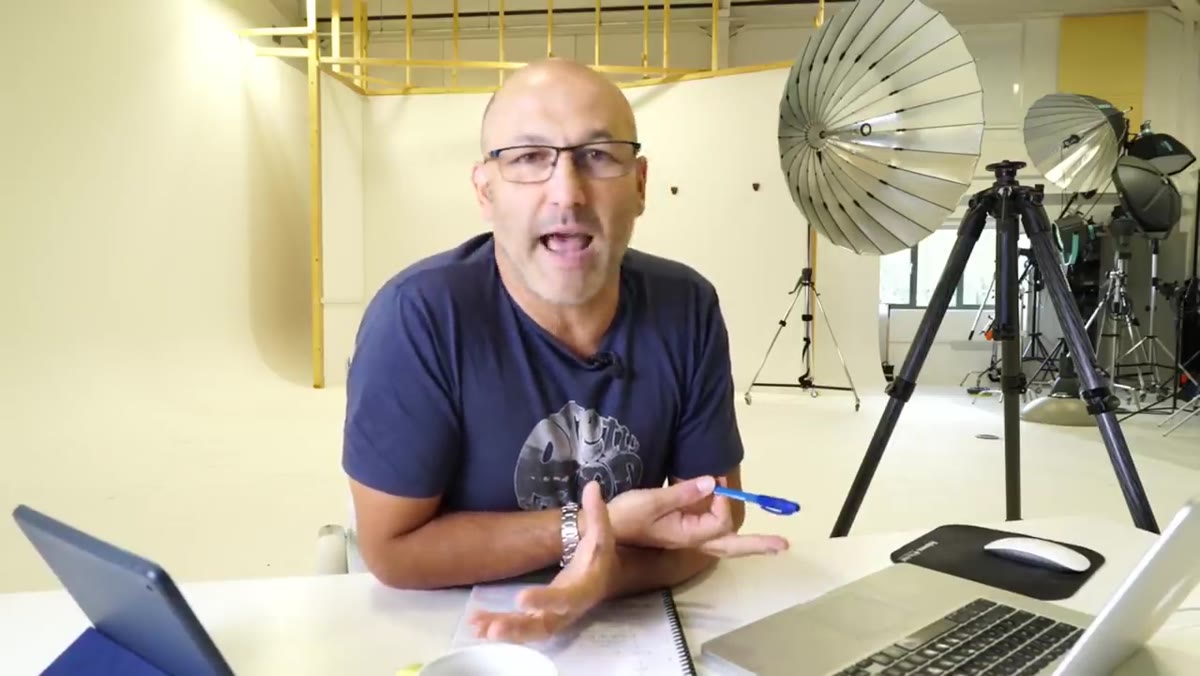 Phone screen showing “Stage Mono” mode label on portrait
The background blur and replacement in Portrait Mode does have legitimate uses, and Taylor acknowledges this. For casual shots of kids or quick environmental portraits, the shallow depth-of-field simulation can be a genuine improvement. The issue is the labeling, not the feature itself.
Phone screen showing “Stage Mono” mode label on portrait
The background blur and replacement in Portrait Mode does have legitimate uses, and Taylor acknowledges this. For casual shots of kids or quick environmental portraits, the shallow depth-of-field simulation can be a genuine improvement. The issue is the labeling, not the feature itself.
In a real studio setup, background separation comes from distance between subject and background, and from controlling how much light falls on each independently. That physical separation determines whether your background goes clean or graduates. The phone approximates the visual result using depth data, but you cannot adjust the light on the background independently, because there is no light you are controlling. Understanding this helps you explain to clients why a studio session produces something that a phone portrait mode cannot replicate, even when the phone’s output looks polished at a glance.
Step 6: Evaluate Any Tool by Its Input Variables, Not Its Output Labels
 Karl Taylor gesturing at phone screen during critique
Taylor closes his critique by stepping back from the specific phone and making a broader point: the compact camera market has already been significantly disrupted by phone cameras, and the language of professional photography is now being borrowed to describe computational photography. That is not going to stop.
Karl Taylor gesturing at phone screen during critique
Taylor closes his critique by stepping back from the specific phone and making a broader point: the compact camera market has already been significantly disrupted by phone cameras, and the language of professional photography is now being borrowed to describe computational photography. That is not going to stop.
The professional response is not to dismiss every phone feature, but to develop the vocabulary to describe precisely what is and is not happening. When a client shows you a phone portrait and says they want that, you can now say: the background separation I can do and improve on. The light quality in that image is actually what I would not want to replicate, and here is why. That conversation makes you a better collaborator and a clearer thinker about your own craft.
What I’d Add from the Studio Side
Taylor’s critique is focused on what the phone does wrong by professional standards. I want to add what it reveals about how we teach lighting to beginners.
The iPhone Portrait Lighting modes are named after real studio setups: Contour, Stage Light, Stage Mono. Those names have specific meanings in a working studio. Stage Light, for instance, typically refers to a single overhead source with no fill, which gives a dramatic, theatrical shadow under the chin and nose. If you are learning studio lighting and you have access to a phone with this mode, use it as a vocabulary builder, not as a lighting tool. Put the phone’s “Contour” mode next to a proper Rembrandt setup and study what the actual studio light does to the eye socket that the phone’s contrast filter cannot replicate. That comparison will teach you more than a diagram alone.
The single most important takeaway from Taylor’s walkthrough is this: changing the background is not the same as changing the light. Every time you evaluate a portrait, whether it is your own work or a phone advertisement, ask what the light source is doing to the skin before you look at anything else. The background is the last thing that defines a portrait. The light is the first.
Watch the full tutorial on YouTube and pay attention to the moment Taylor isolates the face in the phone’s “studio” portrait. That single frame is worth pausing on.
Comments
Leave a Comment