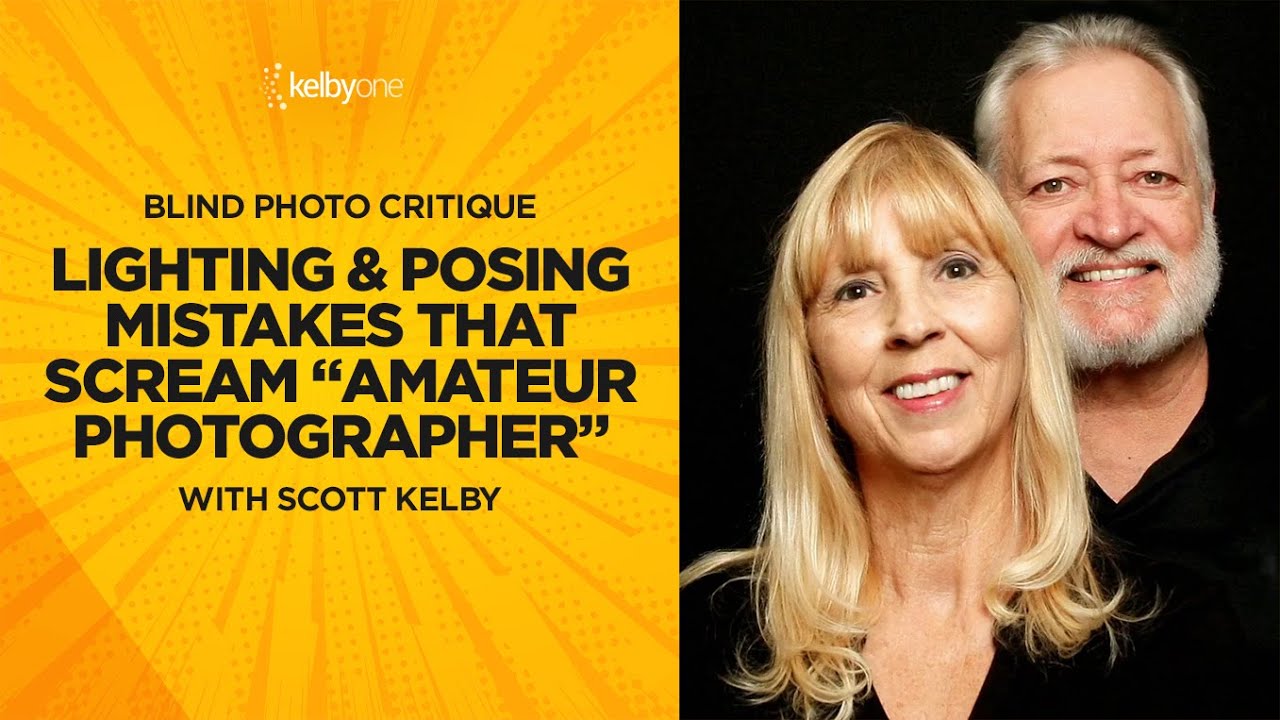
Every so often you watch something that makes you quietly audit your own hard drives. I was running through tutorials last week and landed on a KelbyOne blind portrait critique with Scott Kelby, and within the first few minutes I had a mental list of things I have either done myself or seen in portfolio submissions from photographers trying to break into commercial work. Watch the full tutorial on YouTube - it’s worth your time even if you’ve been shooting professionally for years.
What makes blind critiques valuable is the honesty. Nobody is softening feedback to protect a working relationship. Kelby calls the problems by name - flat lighting, bad angles, wrong lens choice, unflattering catchlights - and explains exactly why each one fails. That kind of direct analysis is what I wish someone had given me earlier in my career, when I was still lighting subjects like they were sitting for a passport photo and wondering why my portraits looked lifeless.
I’ve broken down the core lessons from that session into a step-by-step guide you can take directly into your next studio shoot.
Step 1: Separate Your Subject from the Background with a Rim Light
 Scott Kelby noting missing rim light causing floating heads
When your subject’s hair, jacket, or shoulders are close in tone to the background, they visually merge into it. The result is what Kelby calls “floating heads” - a portrait where the subject appears to hover against a void rather than exist in three-dimensional space. A rim light, placed behind and to one side of the subject, creates a thin edge of separation that grounds them in the frame. You don’t need it to be powerful. I typically run a rim light at about one stop below my key light, flagged so it doesn’t spill onto the background or create lens flare.
Scott Kelby noting missing rim light causing floating heads
When your subject’s hair, jacket, or shoulders are close in tone to the background, they visually merge into it. The result is what Kelby calls “floating heads” - a portrait where the subject appears to hover against a void rather than exist in three-dimensional space. A rim light, placed behind and to one side of the subject, creates a thin edge of separation that grounds them in the frame. You don’t need it to be powerful. I typically run a rim light at about one stop below my key light, flagged so it doesn’t spill onto the background or create lens flare.
This is one of those details I track in my lighting journal for every shoot because it changes depending on the subject’s hair color and clothing. A dark-haired subject in a navy blazer against a grey seamless needs that rim light far more urgently than a blonde in white. Set it, check your camera’s live view, and look for the edge definition before you ever fire a test frame.
Step 2: Watch Your Hands - They Tell the Real Story
 Discussion of hand tension revealing emotional state in couples portraits
Kelby makes a point about hands that I think gets skipped in most posing discussions because everyone is focused on faces. Hands carry tension. A subject who looks relaxed in the face but is gripping their partner tightly, or pressing their fingers into their own arm, reads as anxious the moment you study the image closely. Clients notice this in their own portraits even when they can’t articulate why something feels off.
Discussion of hand tension revealing emotional state in couples portraits
Kelby makes a point about hands that I think gets skipped in most posing discussions because everyone is focused on faces. Hands carry tension. A subject who looks relaxed in the face but is gripping their partner tightly, or pressing their fingers into their own arm, reads as anxious the moment you study the image closely. Clients notice this in their own portraits even when they can’t articulate why something feels off.
Before each frame, I do a quick check from top to bottom - head, shoulders, hands. If a subject’s hands look tense, I give them something simple to do: shift their weight, touch their collar lightly, or just relax their fingers open. Active but soft hands almost always photograph better than clenched or rigid ones. Make it a habit.
Step 3: Never Shoot Up at Your Subjects
 Low camera angle creating unflattering distortion on couple
Camera angle is one of the fastest ways to undermine an otherwise competent portrait, and shooting low is the most common version of that mistake. When you place your lens below your subject’s eye line and shoot upward, you distort proportions - the chin juts forward, the forehead recedes, and any figure in the frame who is closer to the camera looks disproportionately large relative to others. This is an angle that reads as aggressive or unstable. It is not a neutral choice.
Low camera angle creating unflattering distortion on couple
Camera angle is one of the fastest ways to undermine an otherwise competent portrait, and shooting low is the most common version of that mistake. When you place your lens below your subject’s eye line and shoot upward, you distort proportions - the chin juts forward, the forehead recedes, and any figure in the frame who is closer to the camera looks disproportionately large relative to others. This is an angle that reads as aggressive or unstable. It is not a neutral choice.
The selfie instinct Kelby references is actually a useful piece of evidence here. People consistently hold their phones slightly above eye level when photographing themselves because it is genuinely more flattering - it lengthens the neck, reduces the chin, and opens up the eyes. Shoot at or slightly above your subject’s eye line for flattering portraits. Reserve low angles for intentional dramatic effect, not as a default.
Step 4: Choose a Focal Length That Flatters at Your Working Distance
 Discussion of wrong lens choice making subject appear small
Lens choice compounds whatever angle mistake you’re already making. A wide-angle lens at close range exaggerates perspective distortion in ways that can make one subject look significantly smaller than another, or make facial features look disproportionate. For studio portraiture, I stay between 85mm and 135mm on full frame. That range compresses perspective in a way that flatters most face shapes and keeps proportions accurate across couples or group shots.
Discussion of wrong lens choice making subject appear small
Lens choice compounds whatever angle mistake you’re already making. A wide-angle lens at close range exaggerates perspective distortion in ways that can make one subject look significantly smaller than another, or make facial features look disproportionate. For studio portraiture, I stay between 85mm and 135mm on full frame. That range compresses perspective in a way that flatters most face shapes and keeps proportions accurate across couples or group shots.
If your subject looks small or compressed in the frame and you didn’t intend that, the lens is usually the first variable to reconsider before you move lights or change angles.
Step 5: Move Your Key Light Off Center - The 45-Degree Rule
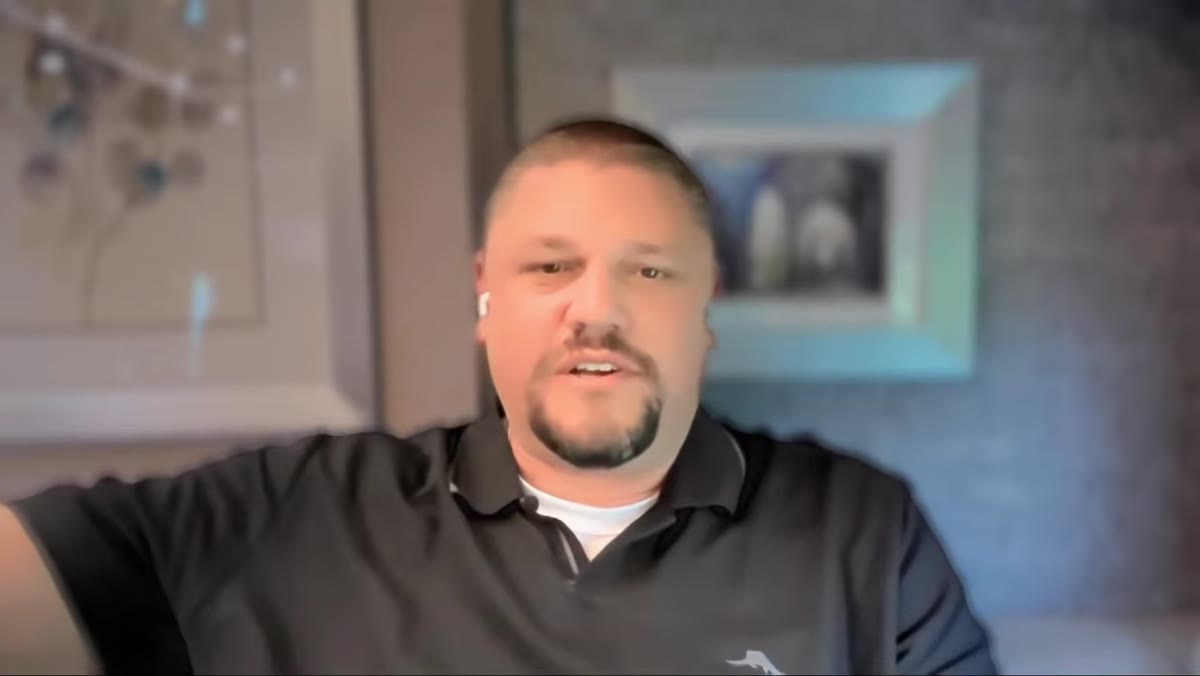 Explanation of 45 degree up and 45 degree over key light position
This is the single most correctable error Kelby identifies across the critiqued images: the main light is placed dead center in front of the subject. Front-and-center lighting eliminates shadows, which eliminates depth, which produces a flat, clinical result. The catchlights in the subject’s eyes tell you exactly where the light is - if they appear symmetrically on both sides, or sit at six o’clock dead center, your light position is wrong.
Explanation of 45 degree up and 45 degree over key light position
This is the single most correctable error Kelby identifies across the critiqued images: the main light is placed dead center in front of the subject. Front-and-center lighting eliminates shadows, which eliminates depth, which produces a flat, clinical result. The catchlights in the subject’s eyes tell you exactly where the light is - if they appear symmetrically on both sides, or sit at six o’clock dead center, your light position is wrong.
The 45-degree starting position - 45 degrees to the side and 45 degrees above the subject - has been the foundation of flattering portrait lighting from the old masters through to every major commercial photographer working today. Loop lighting, Rembrandt, butterfly - all of them are variations built around that same basic principle. Park your key light there, check the shadow that falls from the nose (it should fall at a slight downward angle toward the corner of the mouth, not straight down or not at all), and work outward from that starting point. The depth and dimension you get immediately is not subtle.
Step 6: Use Catchlights to Verify Light Position Before You Shoot
 Kelby pointing out symmetrical catchlights indicating front-on flat lighting
Most photographers wait until they review an image to evaluate the lighting. You can shortcut that by reading the catchlights in your subject’s eyes directly during your setup. Stand close, look at the eyes, and note where the reflection of your light source appears. One clean catchlight sitting between ten and two o’clock on the iris indicates a well-positioned main light. Two symmetrical catchlights mean you have lights flanking the subject on both sides - which produces that flat, department-store look immediately. Kill one of them or reposition.
Kelby pointing out symmetrical catchlights indicating front-on flat lighting
Most photographers wait until they review an image to evaluate the lighting. You can shortcut that by reading the catchlights in your subject’s eyes directly during your setup. Stand close, look at the eyes, and note where the reflection of your light source appears. One clean catchlight sitting between ten and two o’clock on the iris indicates a well-positioned main light. Two symmetrical catchlights mean you have lights flanking the subject on both sides - which produces that flat, department-store look immediately. Kill one of them or reposition.
This check takes about five seconds and saves you from burning frames on a setup that was wrong from the start.
What I’d Add from My Own Studio Work
The critique touches on unflattering light but doesn’t have time to go deep on modifier choice, and that’s where I’d extend the lesson. A bare strobe placed at the correct 45-degree angle will still produce harsh shadows and hot spots on noses and foreheads. The angle is the foundation, but you need the right modifier on top of it. For most portrait work I reach for a large softbox or an octa - something that wraps light rather than throws it. The larger the source relative to your subject, the softer and more forgiving the light. For beauty and fashion work I’m usually running a 47-inch octa as my key, sometimes with a beauty dish for a slightly crisper catch. Test your modifiers when you get them. I set up a mannequin head every time something new arrives in the studio and fire ten frames before it goes on a shelf. You’ll know within minutes whether it earns a place in your regular rotation.
The single biggest takeaway from Kelby’s critique session is that bad portrait lighting isn’t usually about missing exotic equipment - it’s about front-on, flat, directionless light that any photographer at any level can fix by moving one light 45 degrees to the side and tilting it down. That adjustment alone separates portraits that feel alive from portraits that feel like documentation.
Watch the full tutorial on YouTube to see Kelby work through the actual images - seeing him identify problems in real photographs makes the lesson considerably more concrete than any diagram can.
Comments
Leave a Comment