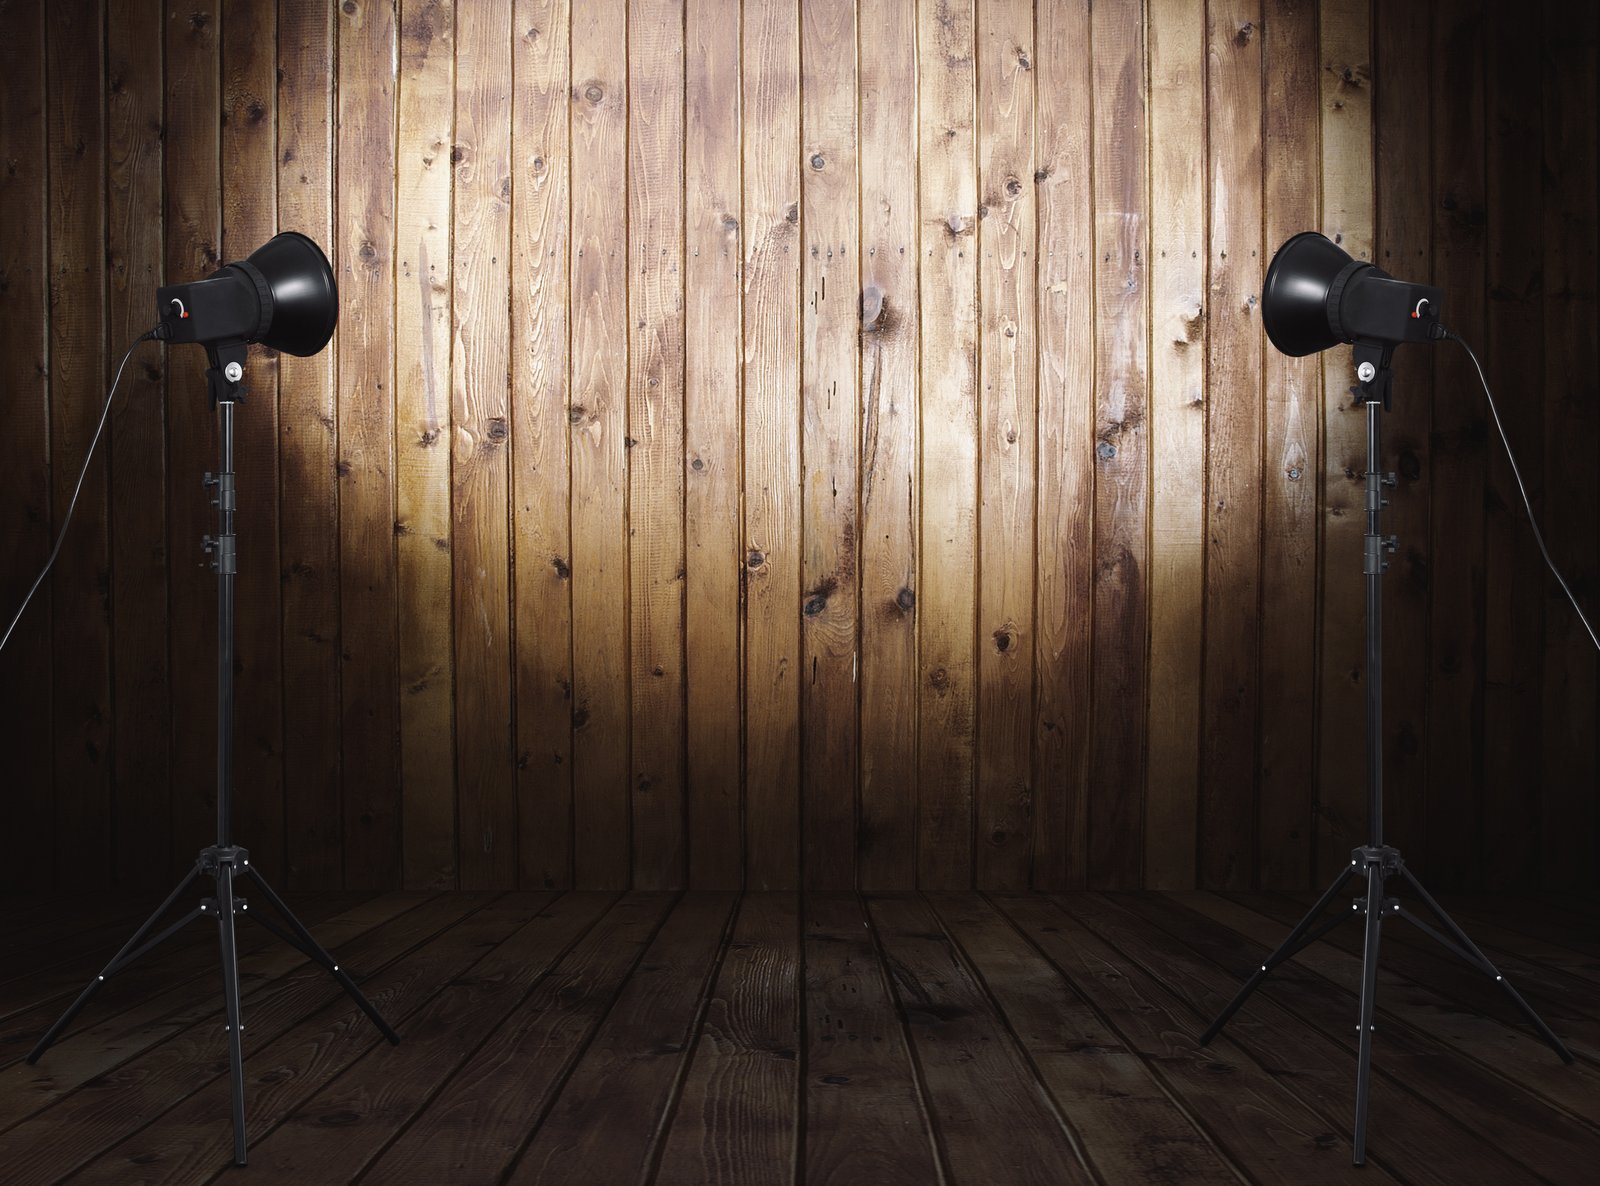
Every shoot I’ve ruined taught me something the ones that went perfectly never could.
My worst was an editorial for a mid-sized fashion client early in my career. I was using two different strobe manufacturers, neither of which I’d color-checked against each other, and I wrapped an eight-hour day feeling solid. Clean exposures, sharp frames, confident talent. Then I pulled the cards into Lightroom and found a 400K temperature swing between my key light and my fill. The shadows on my subject’s face had a green-blue cast so obvious it looked like a stylistic choice I’d made badly. It wasn’t salvageable. I had to reshoot on my own dime.
I’ve been methodical about studio workflow ever since. Not obsessive. Methodical. There’s a difference, and the distinction matters when you’re billing by the day.
The Real Cost of an Unverified Setup
Most photographers think of workflow as what happens after the shoot. Culling, editing, delivery. But the decisions that cost you the most time and money get made in the thirty minutes before your first talent walk-through.
Every variable you leave unverified compounds. A key light that’s half a stop brighter than your last test frame shifts your whole exposure baseline. A softbox you haven’t opened since your last shoot may have picked up enough dust on the diffusion panel to cut its transmission by a measurable amount. I test every modifier the day it arrives, and I recheck any piece of gear that’s been in a bag for more than two weeks. This isn’t paranoia. It’s calibration.
The underlying physics is simple: your camera meter reads reflected light, but your strobes fire incident light, and any inconsistency between your modeling lamp behavior and your actual pop will mislead you during blocking. You’re building a mental model of the scene that doesn’t match reality, and you won’t find out until you chimp the first real frame.
Building the Setup Sequence Like a Recipe
I label every light in my studio with masking tape. Key, fill, hair, background. When I’m pulling from storage, I’m not thinking, I’m reading. The key light goes to its mark first, because everything else is built in ratio to it.
Here’s the sequence I run on every studio day, regardless of client size:
Set the key at your working aperture. I typically work at f/8 to f/11 for beauty and editorial, which gives me enough depth without the diffraction edge I start to see above f/13 on my Sony sensors. Meter incident at the subject position. Write it down.
Set your fill second. For beauty I’m usually running a 3:1 ratio, key to fill, which means my fill fires roughly 1.6 stops under the key. A 200Ws key at full power gets a fill at around 63Ws. Not 64, not 60. I adjust by output dial, not by moving the head, because distance changes the quality of the light, not just the quantity.
Hair light goes in third, feathered slightly behind the subject’s plane. I set it at around the same output as the fill or slightly below. If it reads equal to or hotter than the key at the hair position, it’ll blow out fine strands and separate the subject from the frame in a way that reads as cheap.
Background last. Bare head or gridded, 1.5 stops under the key exposure at the background surface. Any hotter and it starts to eat your depth.
Why Color Temperature Calibration Is Not Optional
After that editorial disaster, I built a step into my workflow I haven’t skipped since. Before every shoot, I fire each light individually into an ExpoDisc 2.0 and set a custom white balance per light. Then I fire them together and verify the combined reading. If I’m mixing manufacturers, I use a Sekonic C-700 spectrophotometer to check for any green or magenta spike in either unit’s output. The C-700 runs around $1,200 and I resisted buying it for two years. The reshoot it would have prevented cost me more than that in billable hours.
For clients shooting tethered into Capture One, I use a ColorChecker Passport at the top of the first card and build a profile before we move into hero frames. This adds about four minutes to setup and eliminates color correction as a variable entirely.
Keeping a Record That Actually Gets Used
I keep a lighting journal. Physical notebook, pen, a small ruler for sketching modifier positions to rough scale. Every setup from every shoot gets a diagram with the light output values, the modifier specs, the distance from subject, and the resulting exposure. After several years of commercial work, I have a reference library I can pull from in minutes.
This came into its own when a repeat client requested “that look from the spring campaign.” I opened the journal to the right page and rebuilt the entire setup in under twenty minutes. No guessing, no test-and-adjust spiral. The assistant called it magic. It wasn’t. It was just record keeping.
There are apps that do this, including one I designed for my own use, but the physical journal works for me because the act of drawing the diagram forces me to notice details I’d otherwise skip. If you’re going to use a digital tool, the discipline of actually logging every setup is what matters, not the platform.
When the Setup Fights You Back
Occasionally a setup that looks correct on paper falls apart in person. The most common reason is that the subject’s skin tone is interacting with the modifier’s color cast in a way your test shots on a gray card didn’t reveal. I learned this working alongside my wife, who pointed out once, watching me adjust a beauty dish, that the specular highlight on her cheekbone was reading yellow-warm even though my light meter said everything was balanced. She was right. The dish’s silver interior was warming the direct specular and I was calibrating for the broader field.
The lesson wasn’t technical. It was perceptual. Metering tells you what’s correct. Looking tells you what’s true.
Run your workflow tightly enough that the technical is automatic, then spend your actual attention watching the light fall on a real human face.
Comments
Leave a Comment