The Shoot That Made Me Rethink Everything
I once showed up to a corporate headshot day with twelve subjects booked in four hours and no written lighting plan. I had the setup in my head. I’d shot similar work a hundred times. What I hadn’t accounted for was the studio assistant I’d never worked with before, a modeling session that ran over and compressed my setup window, and the fact that I’d swapped my key light modifier the night before and hadn’t re-metered the ratios.
By subject three I was troubleshooting instead of shooting. By subject seven I was guessing. The files were usable, barely, but I spent three times longer in post correcting inconsistency than I would have spent writing a proper plan before the shoot.
That was the last time I walked into a studio without a documented workflow.
What “Workflow” Actually Means Before You Fire a Single Frame
Most photographers treat workflow as a post-production concept. Culling, editing, delivering. But the decisions that cost you the most time happen before the camera is ever in your hand.
A studio workflow is a decision architecture. It determines the order in which you make choices, which choices are fixed versus flexible, and where human error is most likely to enter the process. When that architecture is solid, everything downstream moves faster and more predictably.
The physics side of this matters. Every light in your studio interacts with every surface in that room. Your modifier choice affects your required output, which affects your power setting, which affects your recycle time, which affects your shooting rhythm. Change one variable without accounting for the others and you’re not adjusting, you’re improvising. Improvisation is fine in the moment, but it’s expensive when it becomes your default mode.
The Before-Shoot Protocol That Actually Works
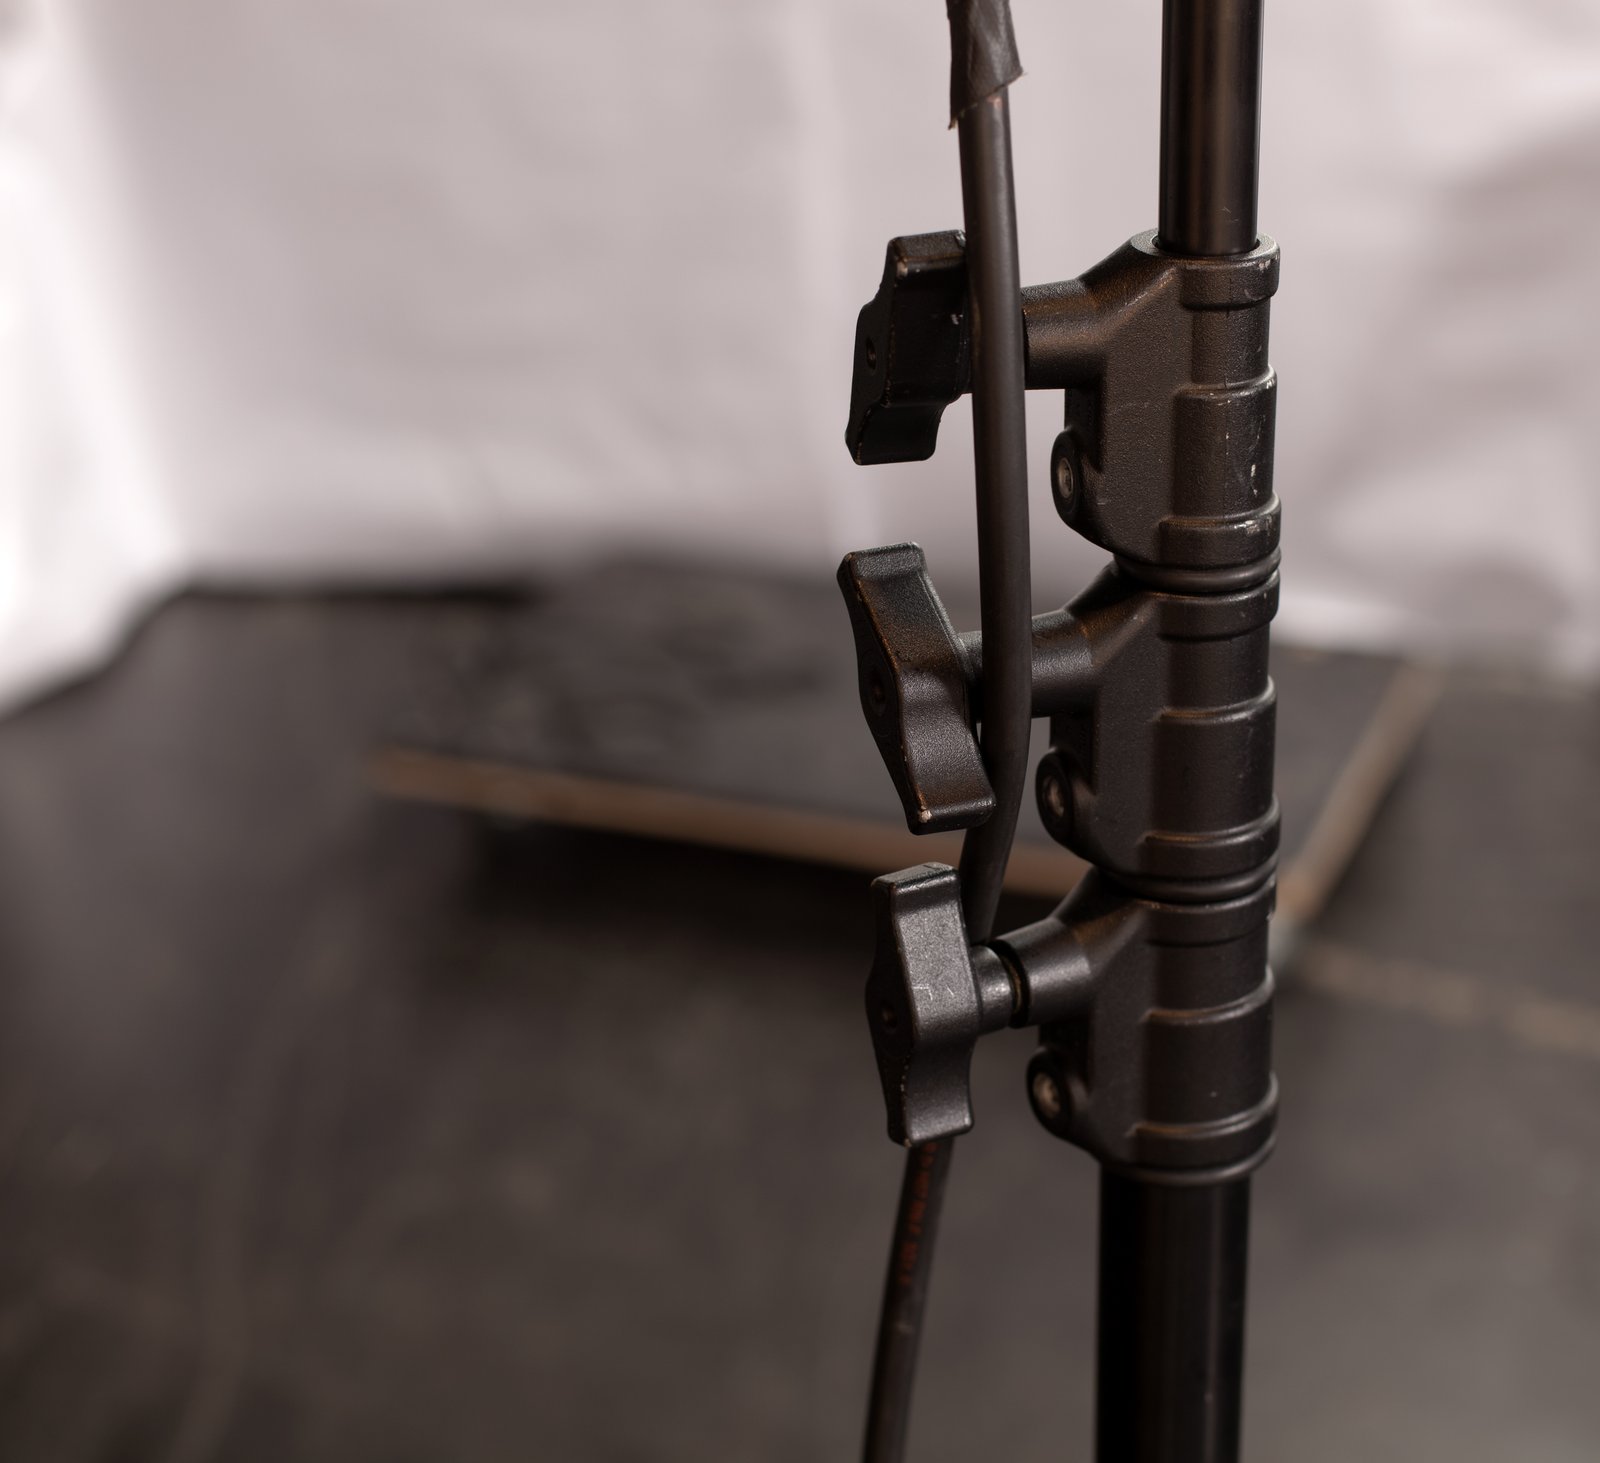
I label every light in my studio with masking tape: key, fill, hair, background. Not clever nicknames. Not “A” and “B.” The actual function. When a new assistant comes in, there is no ambiguity. When I’m tired at the end of a twelve-hour day, I still know exactly what I’m reaching for.
Before any shoot, I build from a reference diagram. I have a lighting diagram app I designed myself, which some people find excessive. I find it necessary. Each diagram includes modifier type, distance from subject, power setting in fractions (1/4, 1/2, full), and the resulting incident meter reading in f-stops. I shoot tethered to Capture One, and I set a custom session for each client with a base correction layer that accounts for my color calibration target, shot at the top of every new lighting setup.
For a standard beauty setup, I’m typically running a large octabox at roughly 3 feet from the subject as my key, metered at f/8, with a fill card rather than a second strobe on the shadow side. Hair light is usually a gridded strip at 1/8 power. That gives me a 3:1 ratio with enough separation that skin holds texture without going flat. I write that down. Every time. I keep a physical lighting journal where I sketch every setup from every shoot, and I can tell you right now that I’ve gone back to entries from 2019 to recreate looks for clients who came back with a specific reference.
The Modifier Decision Is Not Aesthetic, It’s Technical
I test every new modifier the day it arrives. Not because I’m impatient, but because I need data before I need inspiration.
When a 47-inch Westcott Octa comes in, I meter it at 3 feet, 5 feet, and 7 feet at half power and write down the f-stop at each distance. I note the quality of the shadow edge. I check how it renders against a gray card and a skin-tone reference. This takes about 20 minutes and saves me from discovering something unexpected mid-shoot with a client watching.
Modifier choice is not about aesthetics first. It’s about the light output you need for the aperture you want to shoot at, given the space you’re in. If you’re in a small studio with bright white walls, even a tightly gridded source will bounce and fill your shadows. If you’re in a large dark space, you’ll need more output to maintain the same exposure. Work backward from your target aperture. For fashion, I’m usually at f/8 to f/11. For beauty close-ups, f/5.6 to f/8. Know your target before you reach for a modifier.
Recycle Time Is the Invisible Drain on Your Shooting Rhythm
Here’s something nobody talks about enough: recycle time kills sessions. If you’re shooting at full power on a monolight with a 1.5-second recycle, you are physically incapable of shooting faster than that. You will either wait and lose the moment, or you’ll shoot before the capacitors are fully charged and get inconsistent exposure.
This is an argument for running your lights at lower power with faster, more efficient modifiers. A Profoto B10 at half power recycles in under a second. A large, efficient octa at close range often means you can drop to 1/4 power and recycle nearly instantly. If your budget doesn’t stretch to Profoto, the Godox AD400 Pro runs about $700 and performs within a stop of that standard. The recycle time at half power is roughly 0.5 seconds. That’s workable.
Build your exposure around what your lights can sustain at a pace that matches your shooting style. A dramatic ratio does you no good if you miss the expression while you’re waiting for the strobe to catch up.
The Real Cost of Starting Without a Plan
The hour you lose mid-shoot to troubleshooting is almost never about the gear. It’s almost always about the absence of a decision made in advance. Label your lights. Meter every setup before the subject arrives. Test your modifiers on your own time. Keep a record of what worked.
The photographers who shoot fast and clean are not better at improvising. They’ve just made more decisions before the client walks in the door.
Comments
Leave a Comment