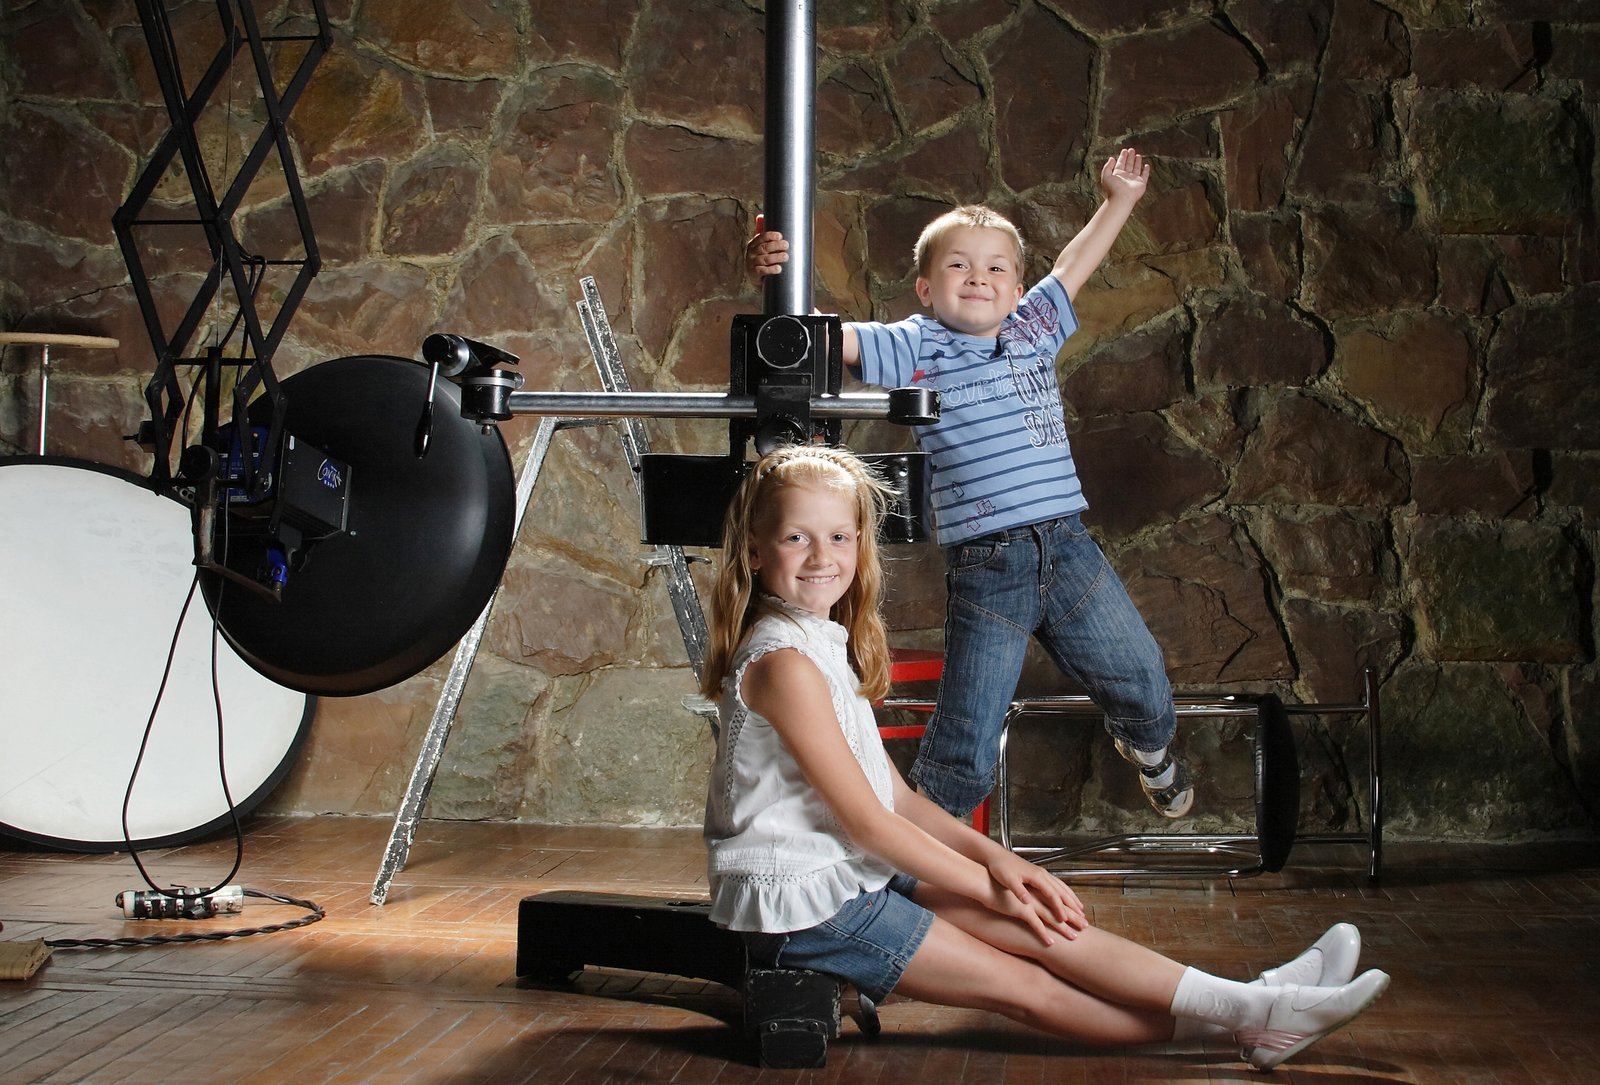
I spent forty minutes last spring resetting a lighting configuration I had built two weeks earlier. Same client, same product category, same approximate look. I had no notes, no diagram, no tape marks on the floor. I was rebuilding from memory and getting it wrong, and I knew I was getting it wrong, but I couldn’t prove it because I had nothing to compare against. That forty minutes cost me the front half of my shooting window and put the whole day behind schedule. It was the last time I let that happen.
Studio photography has a repeatability problem that nobody talks about enough. We spend enormous energy chasing the perfect light and almost no energy capturing what we actually did to get there.
The Hidden Cost of Starting from Zero Every Time
When you reset a lighting configuration without documentation, you’re not just guessing at positions. You’re guessing at distances, angles, modifier choice, power settings, and the relationship between all of those variables simultaneously. Change one and you’ve changed the light. Strobe output follows the inverse square law, which means moving your key light from 5 feet to 7 feet doesn’t just make it “a little dimmer.” It reduces the intensity by roughly 50 percent. That’s a full stop. If you’re also off by 15 degrees on the angle, you’ve shifted your shadow placement. If your modifier isn’t seated the same way in the speed ring, your diffusion is uneven. Each small error compounds.
Most photographers absorb this cost silently, attributing slow shoots to difficult clients or complex setups. The real culprit is usually the absence of a system.
The Four-Layer Setup I Use on Every Shoot
My workflow is built around four documentation and preparation habits that I treat as non-negotiable, regardless of shoot size.
First, I tape. Every light in my studio gets a strip of masking tape with the light’s role written in marker: KEY, FILL, HAIR, BACKGROUND. This seems embarrassingly simple but it eliminates the single most common error in multi-light setups, which is pulling power from the wrong head during adjustments.
Second, I diagram before I shoot. I use a lighting diagram app I built myself for this, but any dedicated app, or even a paper sketch, works. The diagram captures light positions in relation to the subject, modifier types, distance in feet, and power output in tenth-stop increments. A Profoto B10 at 4.7, a 47-inch Westcott Rapid Box at 5 feet camera left at a 45-degree angle, flagged on the right edge with a 24-inch black foam core. That’s a repeatable recipe. “Soft key light slightly to the left” is not.
Third, I calibrate color temperature before the first frame. I shoot a custom white balance using an X-Rite ColorChecker Passport at the start of every session. This takes four minutes and prevents the kind of error I made early in my career that cost me my first major editorial job, where mixed ambient and strobe color temperatures turned a beauty shoot into an unfixable correction session in post. Four minutes of calibration versus eight hours of retouching. The math is obvious.
Fourth, I log power ratios, not just settings. A 3:1 key-to-fill ratio is a 3:1 ratio regardless of which strobes I’m using or what their absolute output is. Writing down the ratio means I can rebuild the look on different equipment if I need to.
How Long This Actually Takes
The full setup documentation for a standard three-light portrait configuration takes me roughly eight minutes from first power-on to first test frame. That includes taping, diagramming, and taking a custom white balance. On a six-hour shoot, eight minutes is negligible. On the back end, the same documentation means I can hand a junior assistant my lighting journal and have them pre-build a configuration while I’m in the client meeting that precedes the shoot.
For gear, I keep two Profoto D2 monolights as my primary strobes, a Godox AD300 Pro as a practical hair light because I don’t need TTL precision on a rim, and a 60x90cm Photek Softlighter II as my default key modifier. The Softlighter runs around $120 and produces a wraparound quality that punches well above its price. I test every new modifier the day it arrives. Not because I’m impatient, though I am, but because I need to understand how it behaves before a client is in the room watching me squint at a histogram.
When the System Gets Stress-Tested
Two years ago I was hired to recreate a lighting style from a published editorial for a beauty brand that wanted a similar visual language in their campaign. Working from the reference images, I diagrammed what I believed the original setup was based purely on shadow direction, highlight shape on the skin, and the relative contrast between subject and background. I used a large octabox at camera right, roughly 6 feet from the subject, a white 4x8 foam core reflector on the opposite side at about a 4:1 ratio, and a medium stripbox behind and above for a subtle shoulder highlight. The client approved the first round of test frames. The system worked because I was applying the same analytical vocabulary I use when documenting my own setups.
This is also why I keep a lighting journal. Every setup from every shoot, sketched by hand, with the client name, date, and any notes about what worked or didn’t. The journal has around 200 entries now. It is, functionally, my entire career as searchable reference material.
What Consistency Actually Looks Like in Practice
A repeatable studio workflow doesn’t make photography mechanical. It makes the technical layer invisible, which is where you want it. When I know exactly what my lights are doing, I can stop thinking about them and start thinking about the person in front of me, the frame, the moment.
The single most useful habit I’ve built in twenty years of studio work is writing down what I did before I start doing the next thing. Everything else in this article follows from that.
Comments
Leave a Comment