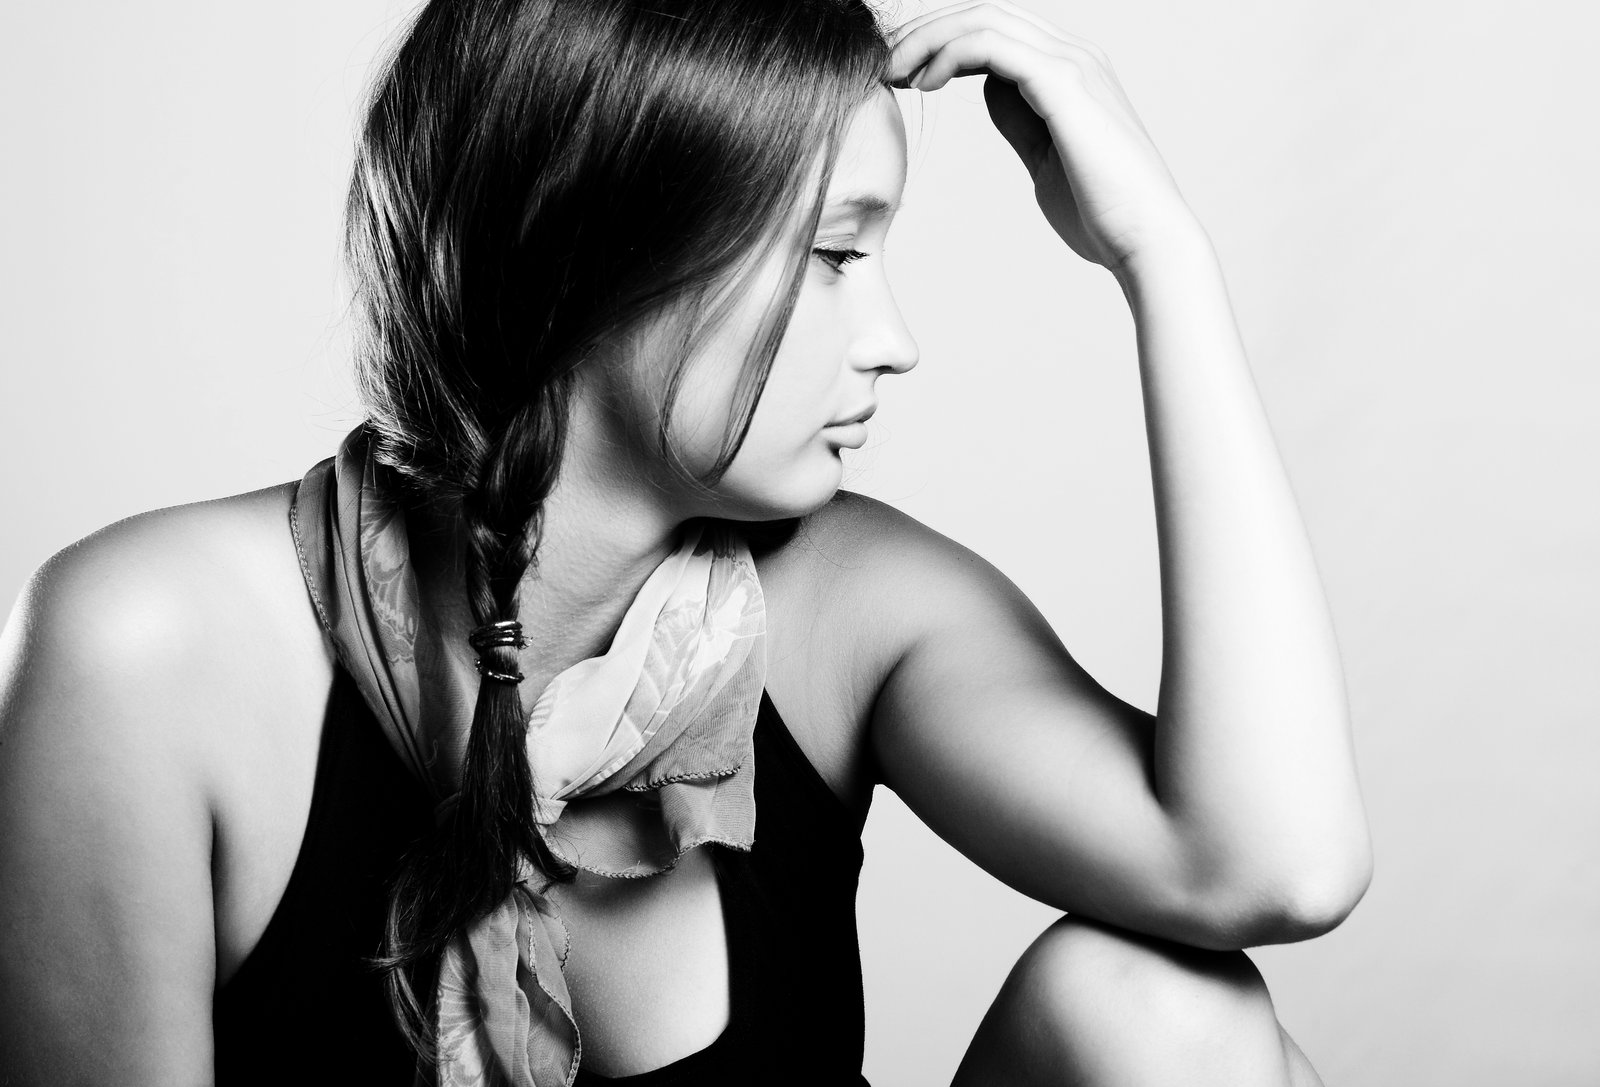
I had a model in my studio last spring, booked by a beauty brand for a skincare campaign. She had done runway work, catalog shoots, catalog shoots, the whole resume. And she stood in front of my strobe setup like she was waiting for a bus. Shoulders square, weight centered, chin doing absolutely nothing useful. The client was watching on a laptop feed from the couch. I had maybe forty minutes left on the clock.
The problem wasn’t her. It was me. I hadn’t given her a single useful instruction.
Posing is a language, and most photographers are trying to speak it without having learned any vocabulary. We say things like “look natural” or “relax your shoulders” and then wonder why the frame looks lifeless. After fifteen years shooting fashion, beauty, and corporate work in this city, I’ve built a repeatable framework that I use regardless of whether I’m working with a professional model or a CEO who has never been in front of a camera. It is not magic. It is geometry, weight distribution, and clear verbal cues.
The Physics of Why a Posed Body Looks Wrong
When a person stands facing a camera with their weight evenly distributed, their body becomes a symmetrical shape. Symmetrical shapes read as static in photographs. The camera flattens three-dimensional space into two dimensions, and a body with no tilt, no angle, and no deliberate weight shift loses all of its structural tension.
Beyond geometry, there’s the issue of joints. Straight arms hang like ropes. Locked knees create a rigid vertical line. A jaw held flat compresses the neck and softens the jawline in ways that no amount of retouching wants to fix. Every joint in the body is either helping you or working against you in a frame, and your job as the photographer is to make a decision about each one.
This is why I always start a session by asking myself: where is the weight, where are the angles, and where are the hands?
The Three-Point Check I Run Before Every Frame
Before I trigger a single frame, I run through three things.
First, the base. Where is the weight? I want it on one foot, almost always the back foot if the subject is at an angle to camera. This drops the hip on the weighted side, creates a natural curve through the torso, and immediately breaks the static symmetry. I tell subjects to “press your heel into the floor on your right side.” That’s a physical cue, not an aesthetic one, and physical cues produce consistent results.
Second, the torso. I want the shoulders and hips on different planes. If the hips are angled toward camera-left, I want the shoulders rotated slightly back toward camera-right. This creates a gentle S-line through the body, visible even under clothing. A 10-to-15-degree difference between shoulder plane and hip plane is usually enough. More than 30 degrees starts to look contorted unless you’re shooting fashion editorial where that’s intentional.
Third, the hands. Hands are where amateur posing falls apart completely. A flat palm pressed against a hip or thigh reads as tense, even when the face looks relaxed. I cue subjects to “lightly rest” rather than press, and I ask them to let their fingers fall naturally rather than spread them or clench them. For hanging arms, I have them angle the hand slightly so the edge of the hand faces camera rather than the palm. It narrows the visual width of the hand and keeps it looking light.
Adjusting for Lens Compression and Subject Distance
The posing cues I use at 85mm are different from the ones I use at 135mm, and that gap matters more than most photographers realize.
At shorter focal lengths, the camera exaggerates the distance between elements that are close to the lens. A hand extended toward camera reads larger. A nose angled toward the lens pushes forward in the frame. At 85mm, I keep hands below the chest line and chin angles conservative. At 135mm, which is my standard for beauty work, the compression flatters almost everything and I have more latitude to push angles and extensions.
I also adjust based on how much of the body is in the frame. For a three-quarter shot cropped at the thigh, the lean of the upper body matters most. For a full-length frame, the foot position has to be deliberate. I tell full-length subjects to angle their feet to about a 45-degree L-shape, one foot pointed at camera and one foot perpendicular. It’s a posing cliche for a reason: it works at every focal length and flatters almost every body type.
What My Wife Taught Me That No Workshop Did
My wife is not a photographer. She has no interest in f-stops or light ratios. But she has an extraordinary eye for how light and shape work together on a face, and early in our marriage she sat through enough of my test shoots to start offering observations I hadn’t asked for.
She pointed out once that when I asked subjects to “look up slightly,” most of them lifted their entire chin rather than angling just their eyes. That tiny distinction, eyes up, chin neutral versus chin up, is the difference between an elegant gaze and a defensive one. I started cuing “lift your eyes without moving your chin” and the difference in my frames was immediate. I still use that exact phrase on every shoot.
Nobody told her this from a technical standpoint. She just saw it. I’ve since found it in posing literature, but I learned it from someone paying attention to the human face, not the equipment.
Building a Posing Reference System That Works Mid-Shoot
I keep a lighting journal where I sketch every setup after every shoot, but I also keep posing reference images organized by body position in a folder on my phone. When a session goes sideways or I’m working with a non-model subject who needs visual reference, I can pull up a specific pose in under ten seconds and show rather than describe.
I sort by crop type: headshot, three-quarter, full-length, seated. Within each category I have maybe twelve to fifteen reference images that represent different shoulder angles, weight distributions, and hand positions. The images aren’t from magazine shoots. They’re screenshots from my own past work, frames I’ve flagged specifically because the pose solved a problem I was having at the time.
The goal of posing is never to make your subject look like they’re posing. It’s to give the body enough deliberate structure that the camera has something real to record, and then to get out of the way.
Comments
Leave a Comment