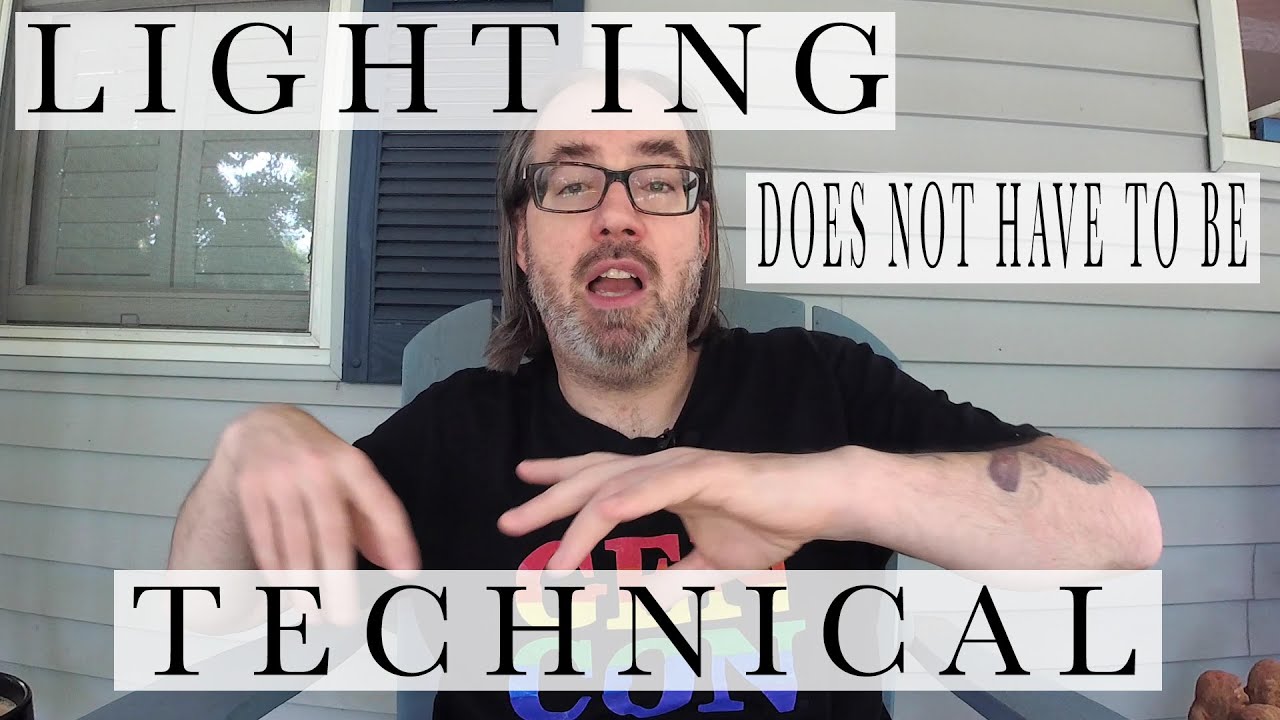
There’s a label maker on my workbench right now, next to a roll of masking tape I use to tag every light in my studio. I’ve always been the kind of photographer who wants to know exactly what everything is doing and why. So when I first heard a working photographer say out loud that he doesn’t consider himself a “technical photographer,” my instinct was to push back. Then I actually listened to what he meant, and it reframed something I’d been overcomplicating for years.
In this Daniel Norton Photographer tutorial, Watch the full tutorial on YouTube, Daniel makes a case that photography has always been a blend of science and instinct, and that the science side has quietly gotten so much easier to manage that leaning harder on intuition is now not just acceptable, it’s practical. For commercial shooters like me who came up reading books full of lighting ratios and f-stop math, this is worth sitting with.
What Daniel is really talking about is removing the mental overhead that keeps newer photographers from actually developing an eye. The technical floor has risen so dramatically in the last decade that you can focus more energy on reading light and less on calculating it. That’s not a shortcut. That’s a shift in where the real skill lives.
Step 1: Reframe What “Technical” Actually Means
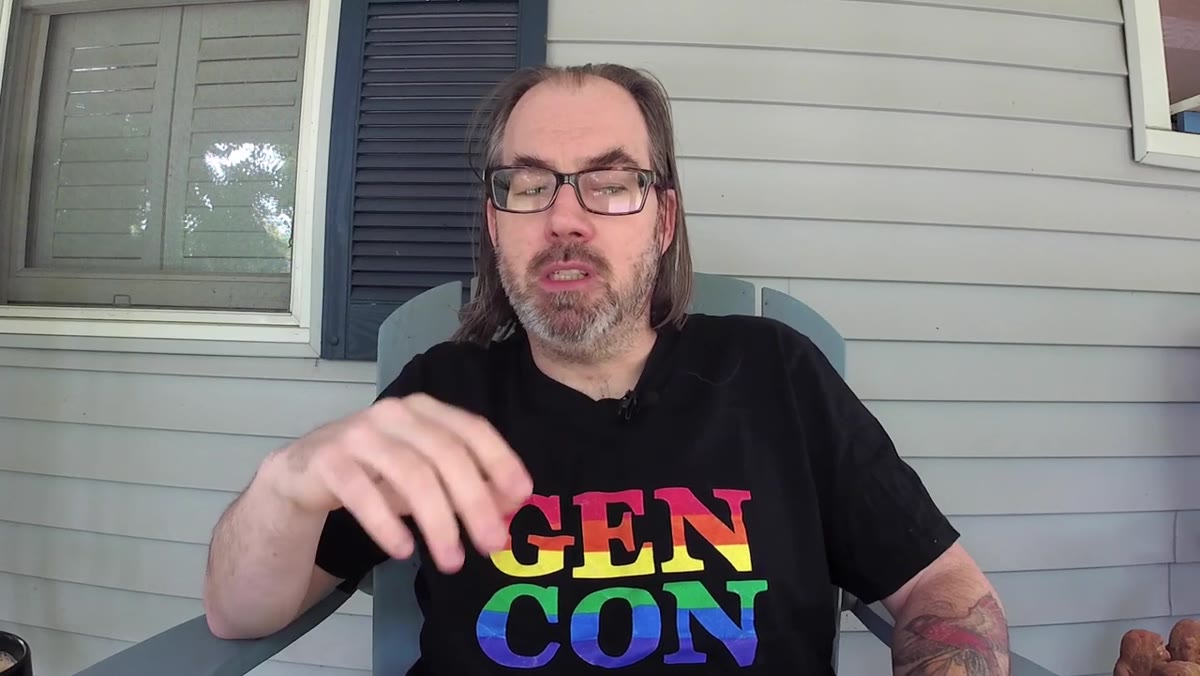 Daniel speaking to camera explaining art vs science in photography
Daniel opens by drawing a line between the science of photography, exposure, light physics, color temperature, and the act of seeing and reacting to light. His point is that these two things get tangled together in photography education in a way that makes beginners think they have to master the science before they’re allowed to trust their eyes. That’s backwards. The science supports the seeing. It doesn’t replace it.
Daniel speaking to camera explaining art vs science in photography
Daniel opens by drawing a line between the science of photography, exposure, light physics, color temperature, and the act of seeing and reacting to light. His point is that these two things get tangled together in photography education in a way that makes beginners think they have to master the science before they’re allowed to trust their eyes. That’s backwards. The science supports the seeing. It doesn’t replace it.
If you’ve ever stood in front of a softbox second-guessing yourself because you couldn’t remember the “correct” ratio for a beauty setup, this is the reframe you need. You already know what flattering light looks like. You’ve seen it your whole life. The technical knowledge helps you reproduce it consistently and troubleshoot when something’s off, but it’s not the source of the good picture.
Step 2: Use Instant Feedback as Your Real-Time Teacher
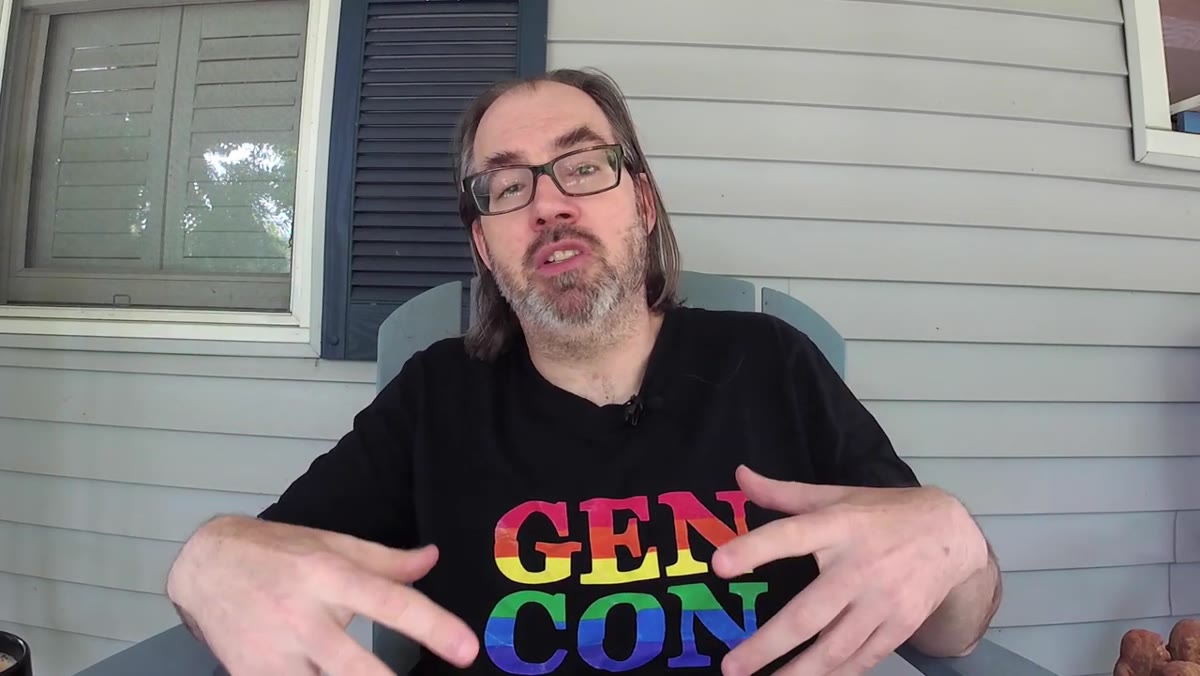 Discussion of digital camera screens and tethered shooting workflow
One of Daniel’s strongest points is about how much modern camera technology has changed the feedback loop. Digital screens on the back of cameras are sharp and accurate enough now that you can look at a frame and immediately know if the light is doing what you want. If you’re shooting tethered to a laptop or monitor, that feedback gets even faster and more reliable.
Discussion of digital camera screens and tethered shooting workflow
One of Daniel’s strongest points is about how much modern camera technology has changed the feedback loop. Digital screens on the back of cameras are sharp and accurate enough now that you can look at a frame and immediately know if the light is doing what you want. If you’re shooting tethered to a laptop or monitor, that feedback gets even faster and more reliable.
The practical move here is to stop shooting and then burying yourself in histograms and EXIF data after every frame. Instead, build the habit of looking at the image critically as a picture first. Is the shadow falling where it should? Is the light wrapping around the face the way you imagined it? If yes, you’re done with that adjustment. Move on. The screen is telling you what the numbers used to tell you, and it’s telling you faster.
Step 3: Stop Chasing Ratios, Start Chasing the Look
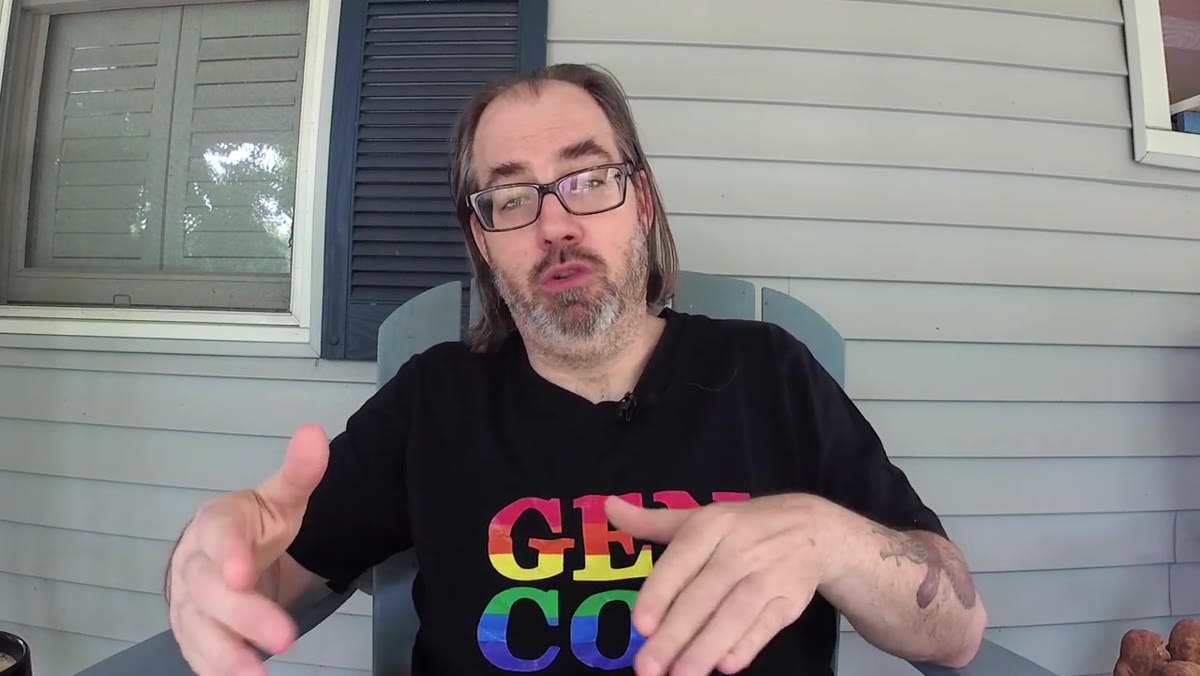 Daniel explaining lighting ratios and why they matter less now
Daniel specifically calls out lighting ratios as an example of technical knowledge that used to be more necessary than it is today. Ratios like 3:1 or 2:1 were a shorthand for describing how much contrast existed between the lit side and shadow side of a face, useful when you couldn’t see your image until it came back from the lab days later.
Daniel explaining lighting ratios and why they matter less now
Daniel specifically calls out lighting ratios as an example of technical knowledge that used to be more necessary than it is today. Ratios like 3:1 or 2:1 were a shorthand for describing how much contrast existed between the lit side and shadow side of a face, useful when you couldn’t see your image until it came back from the lab days later.
Today, you can see the contrast on your screen in real time. So instead of calculating, train your eye to recognize what a 3:1 ratio actually looks like on a human face and just look for that quality of light directly. I keep a lighting journal where I sketch every setup after a shoot, and I stopped writing down ratios years ago. I write down what the light felt like and what the shadow did. That language is more useful when I’m rebuilding a setup from memory.
Step 4: Let TTL and Auto Modes Handle Exposure While You Handle Light Shape
 Discussion of TTL flash systems and affordable off-camera lighting options
Here’s where Daniel’s argument becomes very practical for anyone building out a studio or location kit. TTL flash systems, where the camera and flash communicate to set exposure automatically, have become genuinely reliable. Putting a TTL-capable remote on your camera means the exposure problem is largely solved before you even start thinking about where to put the light.
Discussion of TTL flash systems and affordable off-camera lighting options
Here’s where Daniel’s argument becomes very practical for anyone building out a studio or location kit. TTL flash systems, where the camera and flash communicate to set exposure automatically, have become genuinely reliable. Putting a TTL-capable remote on your camera means the exposure problem is largely solved before you even start thinking about where to put the light.
This matters because it frees your mental bandwidth for the part that actually determines whether a portrait looks good: the direction, quality, and shape of the light. Where is the key light relative to the face? Is the modifier large enough to wrap softly, or tight enough to give you drama? Those questions produce better photos than any manual flash calculation. Use the automation for what it’s good at and spend your attention where it counts.
Step 5: Build Intuition Through Repetition, Not Memorization
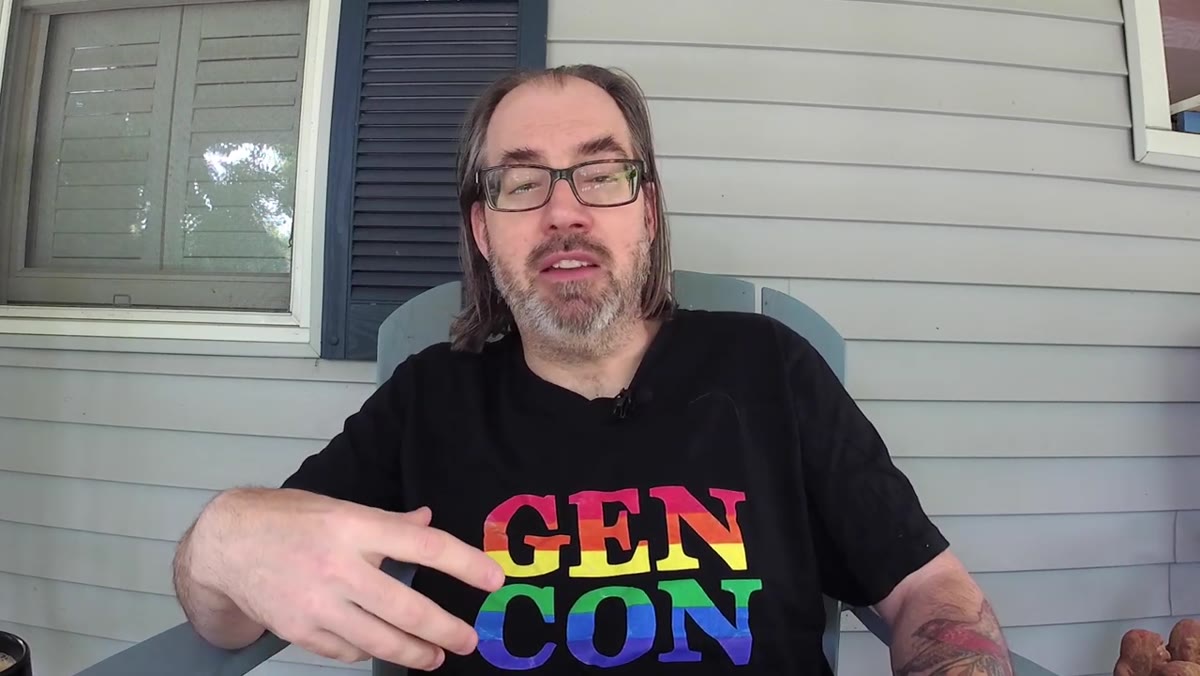 Daniel discussing gut instinct and experience developing over time
Daniel is honest that shooting from instinct isn’t something you arrive at immediately. It develops through experience. But the point is that you should be out there accumulating reps, not waiting until you’ve memorized every technical rule before you start trusting what you see.
Daniel discussing gut instinct and experience developing over time
Daniel is honest that shooting from instinct isn’t something you arrive at immediately. It develops through experience. But the point is that you should be out there accumulating reps, not waiting until you’ve memorized every technical rule before you start trusting what you see.
The path forward is to shoot, look at what you got, identify one thing that’s off, fix that one thing, and shoot again. Not five things. One thing. After a hundred sessions of doing that, your hands start moving the light before your brain has finished the sentence. That’s the intuition Daniel is describing. It’s not mystical. It’s pattern recognition built through deliberate repetition.
What I’d Add From My Own Studio Work
Daniel’s tutorial focuses primarily on mindset, which is the right starting point. But I’d add one concrete habit for anyone trying to build that intuitive eye faster: shoot the same modifier in the same position on a neutral subject, a white mannequin head works, and just walk the light around the subject in a full circle while the camera stays fixed. Watch what every angle does. Do it with the light close. Do it with the light far. Do it with the light high and low.
I did this obsessively when I first started testing new modifiers, and I still do it the day a new piece of gear arrives. You’ll internalize the behavior of that modifier faster than any ratio chart will teach you, because you’re burning the visual into memory, not the number.
The single most important idea in Daniel’s tutorial is this: the goal of learning the technical side of lighting is to eventually stop consciously thinking about it. Once the exposure and the physics are handled, either by your own internalized knowledge or by smart automation, the whole job becomes seeing the light and deciding whether it’s beautiful. That’s a skill worth developing directly.
Watch the full tutorial on YouTube and spend some time with Daniel’s framing before your next studio session. It might change what you pay attention to.
Comments
Leave a Comment