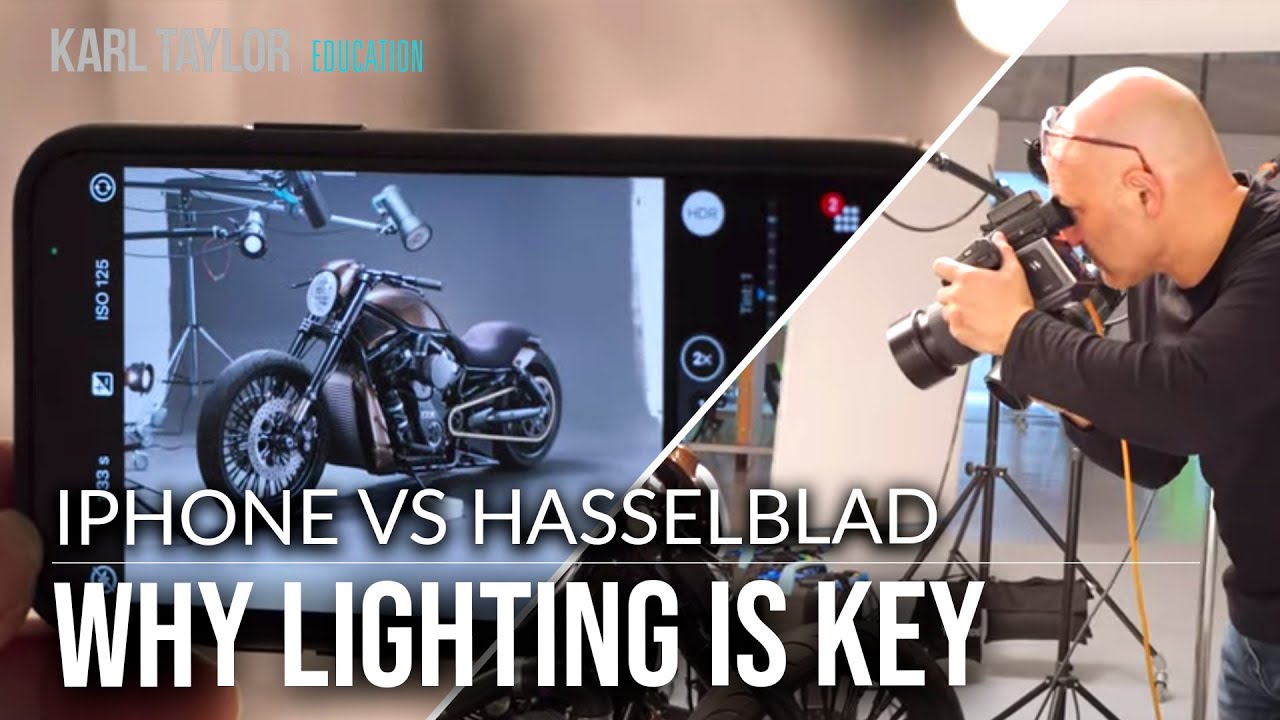
Clients ask me about my camera constantly. At commercial shoots, someone from the brand’s marketing team almost always wanders over and says something like, “Is that a Hasselblad? That must be why the shots look so good.” I’ve stopped arguing about it. But the truth is, the camera is the last thing determining whether your studio image succeeds or falls apart. The first thing is always the light.
That’s why a recent Visual Education tutorial stopped me mid-scroll. In Watch the full tutorial on YouTube, the photographer sets up a full studio lighting rig on a custom Harley-Davidson, photographs it on a $30,000 Hasselblad H6D 100-megapixel camera, and then, without touching a single light, picks up an iPhone and takes the same shot. The results are not what most people expect. And the lesson buried inside that comparison is one that took me years of expensive mistakes to fully absorb.
If you work in a studio, teach others to shoot, or are still convincing yourself that a gear upgrade is the answer to flat, lifeless images, walk through this breakdown carefully. The principle here applies whether you are shooting beauty, fashion, product, or portraiture.
Step 1: Build the Full Lighting Setup First
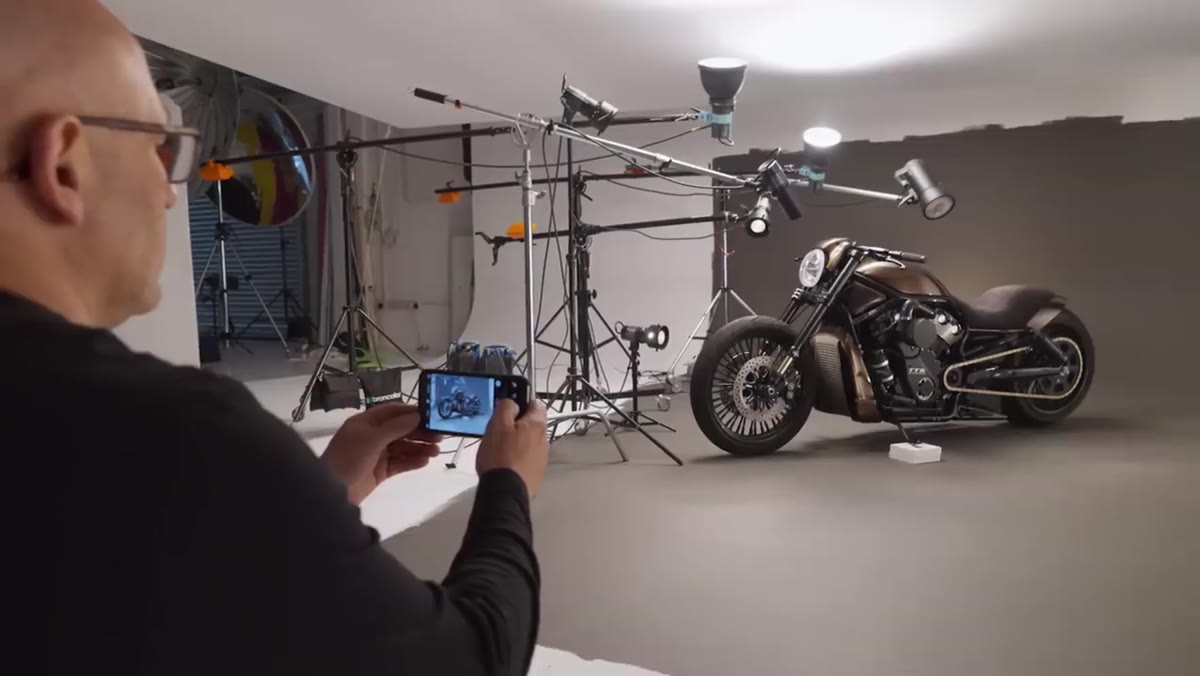
 Harley-Davidson motorbike positioned in photography studio
Before anything else, the photographer commits to the subject and builds the light around it. The Harley-Davidson is positioned in the studio and the full lighting rig is configured, shaped, and refined before a single frame is captured on any camera. This sequencing matters more than most tutorials acknowledge. Light is not a fix applied after the fact. It is the architecture of the image.
Harley-Davidson motorbike positioned in photography studio
Before anything else, the photographer commits to the subject and builds the light around it. The Harley-Davidson is positioned in the studio and the full lighting rig is configured, shaped, and refined before a single frame is captured on any camera. This sequencing matters more than most tutorials acknowledge. Light is not a fix applied after the fact. It is the architecture of the image.
In my own workflow, I sketch the setup in advance and tape the modifier positions to the floor with masking tape before the subject even arrives. That habit was drilled into me after I ruined an editorial shoot early in my career by improvising the rig under time pressure. Getting the light right first, every time, is not perfectionism. It is professionalism.
Step 2: Shoot the Hasselblad Version Using Strobe
 Hasselblad camera capturing Harley-Davidson with studio flash
With the lighting fully dialed in, the Hasselblad H6D is used to capture the primary image, triggered with studio flash. The 100-megapixel sensor delivers a level of detail and tonal range that is genuinely impressive at this stage. You can resolve individual surface textures on the chrome, the paint, the leather. The image has real density to it.
Hasselblad camera capturing Harley-Davidson with studio flash
With the lighting fully dialed in, the Hasselblad H6D is used to capture the primary image, triggered with studio flash. The 100-megapixel sensor delivers a level of detail and tonal range that is genuinely impressive at this stage. You can resolve individual surface textures on the chrome, the paint, the leather. The image has real density to it.
This version represents the ceiling: the best possible output from the best available capture technology, paired with controlled, sculpted light. It is the benchmark. But it is not the experiment. The experiment comes next.
Step 3: Pick Up the iPhone Without Changing Anything
 iPhone being used to photograph motorbike in same position
Here is the core of the tutorial. Without adjusting, moving, or adding a single light, the photographer swaps the Hasselblad for an iPhone and takes the same shot from the same position. The one technical difference is meaningful: the iPhone is shooting under the continuous modeling lights rather than the strobe, which means the sensor is working at a higher ISO to compensate for the reduced light output.
iPhone being used to photograph motorbike in same position
Here is the core of the tutorial. Without adjusting, moving, or adding a single light, the photographer swaps the Hasselblad for an iPhone and takes the same shot from the same position. The one technical difference is meaningful: the iPhone is shooting under the continuous modeling lights rather than the strobe, which means the sensor is working at a higher ISO to compensate for the reduced light output.
The ISO penalty is visible in the final image. There is grain, and resolution is nowhere near comparable. But the lighting quality, the way the light wraps the tank, traces the chrome, and separates the bike from the background, is nearly identical. The structure of the image is intact because the structure was built into the light, not the camera.
Step 4: Compare the Results Honestly
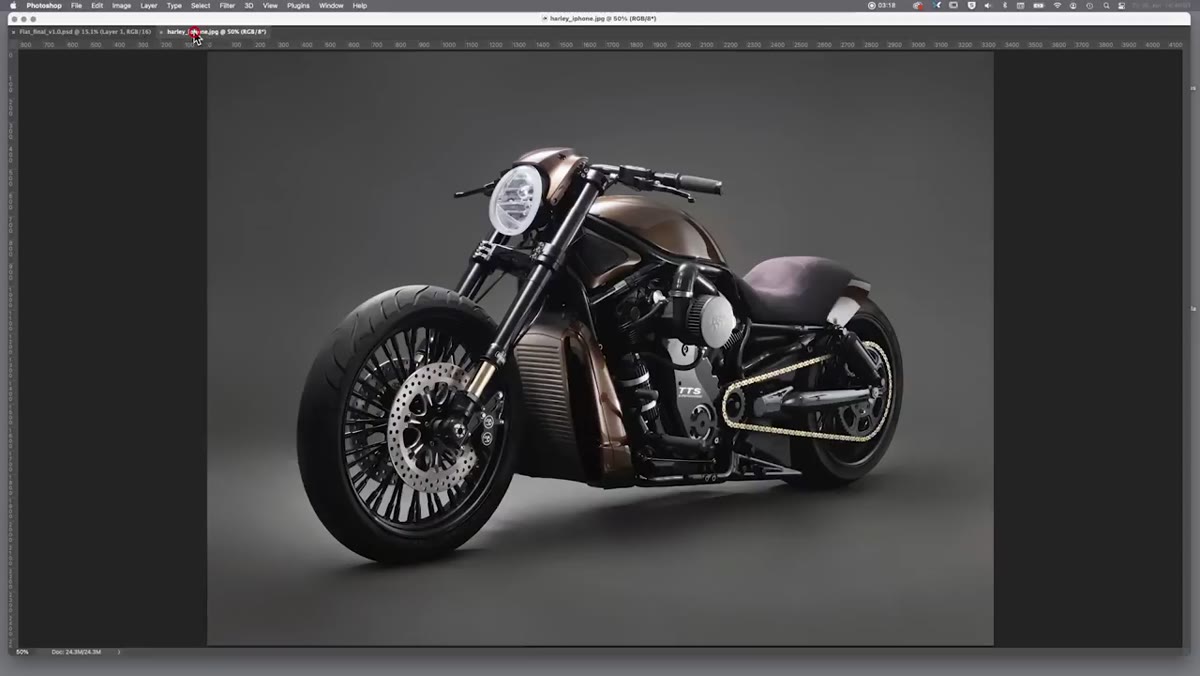 Side-by-side comparison of Hasselblad and iPhone photographs
Placing the two images side by side, the differences are real but not where most people assume they will be. The Hasselblad version has more resolution, cleaner shadow detail, and a silkier tonal transition. These are not trivial advantages in a commercial context where a client is printing large format or retouching at 100 percent. They matter for the deliverable.
Side-by-side comparison of Hasselblad and iPhone photographs
Placing the two images side by side, the differences are real but not where most people assume they will be. The Hasselblad version has more resolution, cleaner shadow detail, and a silkier tonal transition. These are not trivial advantages in a commercial context where a client is printing large format or retouching at 100 percent. They matter for the deliverable.
What does not differ significantly is the compositional read of the image. Both photographs have a clear hero light, visible directionality, separation from the background, and subject dimensionality. A viewer who does not pixel-peep will recognize both images as professionally lit. That is the point. Good lighting communicates before resolution even enters the conversation.
Step 5: Perform Minimal Post-Production Cleanup
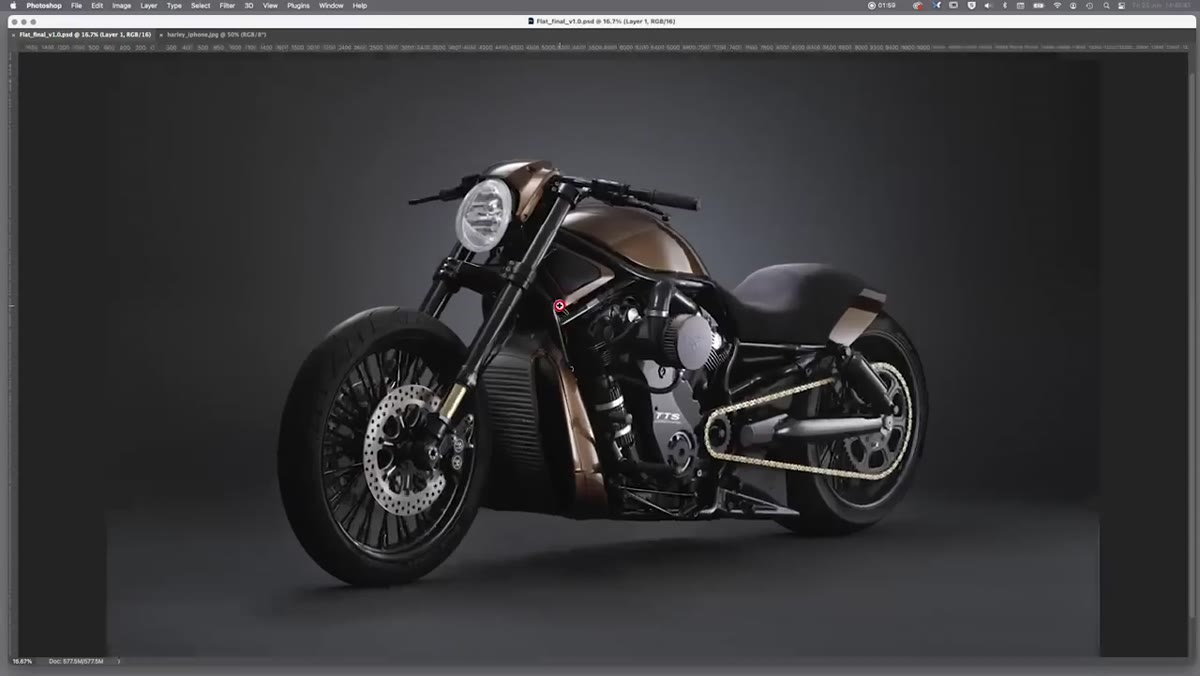
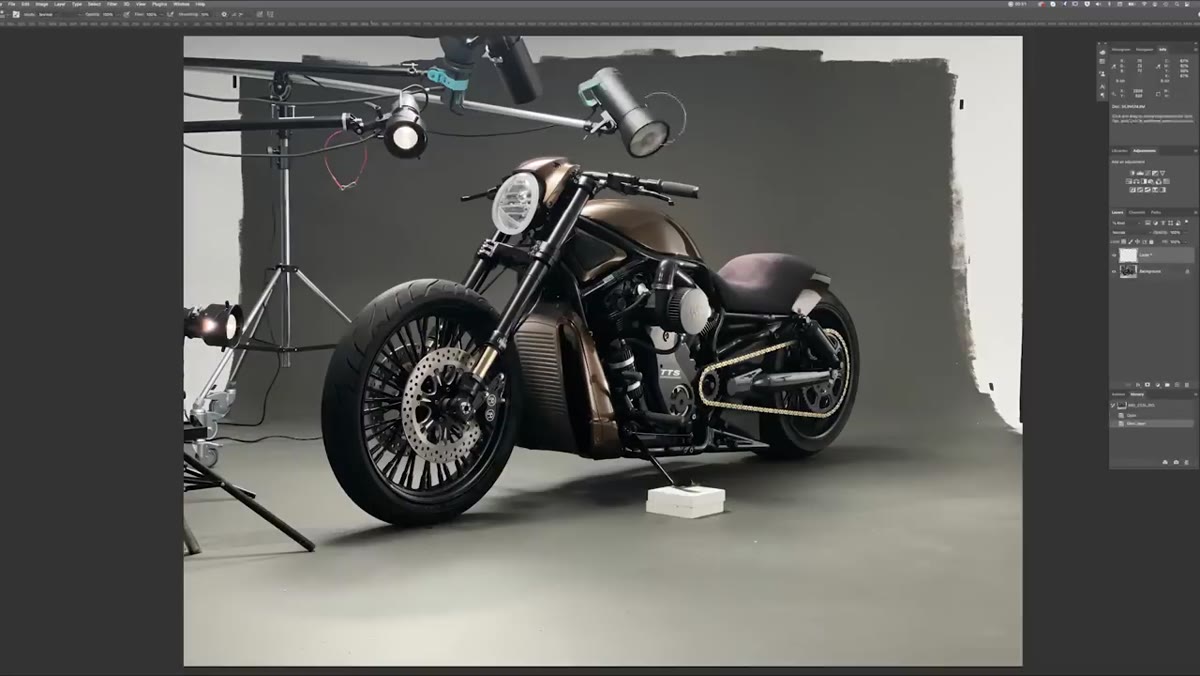 Retouching studio lights out of background in post-production
Both versions required a small amount of retouching to remove lighting equipment visible at the edges of the frame. This is standard in studio product work, particularly when shooting large subjects where the working space is tight and stands and modifiers inevitably clip into the shot.
Retouching studio lights out of background in post-production
Both versions required a small amount of retouching to remove lighting equipment visible at the edges of the frame. This is standard in studio product work, particularly when shooting large subjects where the working space is tight and stands and modifiers inevitably clip into the shot.
The cleanup on the iPhone version was no more complex than on the Hasselblad file. Background removal and light stand elimination are independent of capture resolution once you are working in post. The retouched iPhone image holds up. That outcome forces an honest question about where your investment should actually go.
Step 6: Understand What Single-Light Work Proves About Fundamentals
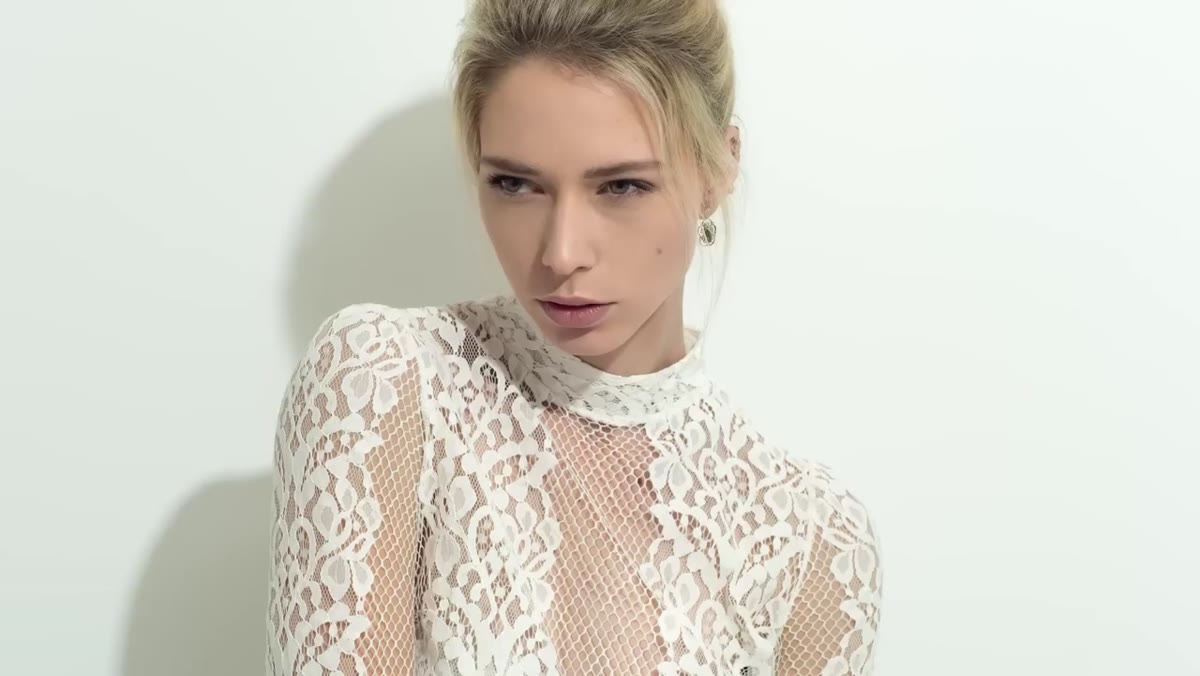 Gallery of single-light studio images shown on screen
The tutorial closes by referencing a library of studio images achieved with a single light source. This is not a novelty exercise. It is a proof of concept. One thoughtfully placed, well-modified light source can produce compelling, usable work. The modifier choice, the distance, the angle relative to the subject, the presence or absence of a reflector on the opposite side - these decisions carry more creative weight than adding a fourth or fifth head to a rig that is not fundamentally working.
Gallery of single-light studio images shown on screen
The tutorial closes by referencing a library of studio images achieved with a single light source. This is not a novelty exercise. It is a proof of concept. One thoughtfully placed, well-modified light source can produce compelling, usable work. The modifier choice, the distance, the angle relative to the subject, the presence or absence of a reflector on the opposite side - these decisions carry more creative weight than adding a fourth or fifth head to a rig that is not fundamentally working.
Before I add another light to any setup, I make myself justify why the existing light is insufficient. It keeps my rigs tight and my problem-solving honest.
What I Would Add from My Own Studio
The tutorial does not address color temperature management, which is where I see studio shooters stumble most often when mixing continuous modeling lights with ambient or practical sources. When you shoot an iPhone under modeling lights the way this experiment does, you may be dealing with tungsten-balanced sources in a room with daylight leaking through, and the iPhone’s auto white balance will make decisions you did not authorize.
I run a quick gray card frame whenever I change light sources mid-shoot, including when I pull out a phone on set. It takes ten seconds and it keeps the color relationship between your reference frames intact. Small discipline, large payoff.
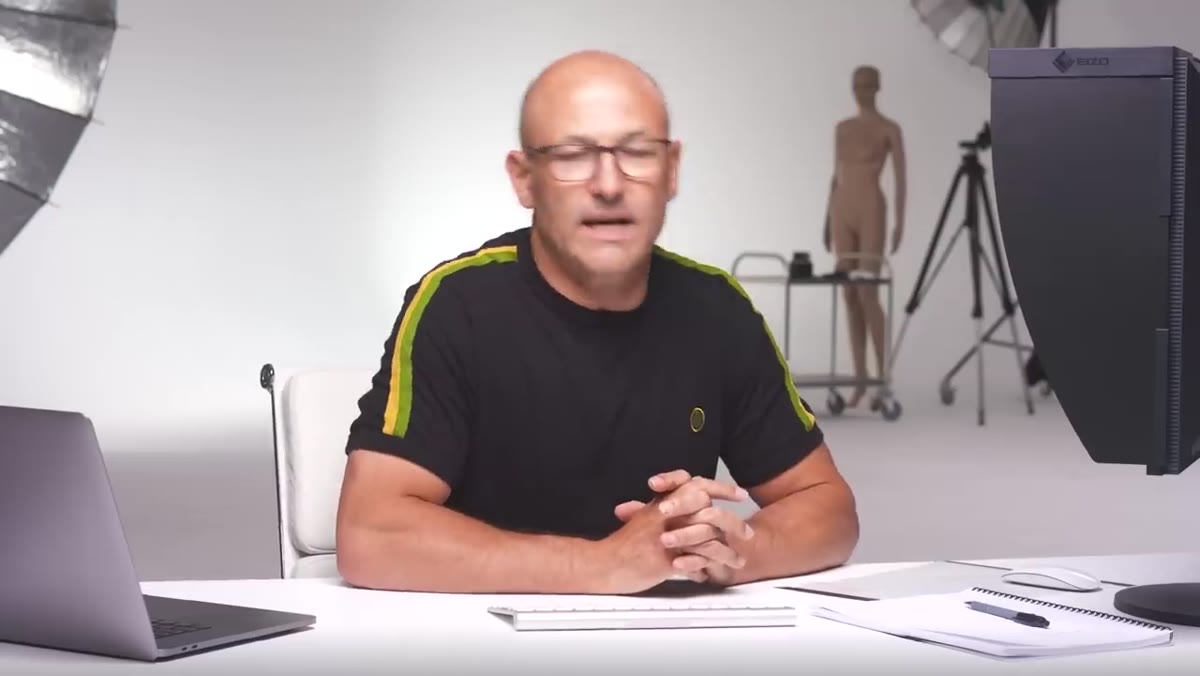
The single most important thing this tutorial demonstrates is that lighting knowledge transfers across equipment. The skill you build learning to shape and place light does not belong to any one camera system. It belongs to you. That is what makes lighting education a permanent investment while gear is a depreciating one.
Watch the full tutorial on YouTube and pay particular attention to the side-by-side comparison. Let it reset your assumptions about where quality actually comes from.
Comments (2)
Been doing this wrong for years apparently. Thanks for the wake-up call.
Couldn't agree more. I've seen this make a huge difference in photography work specifically.
Leave a Comment