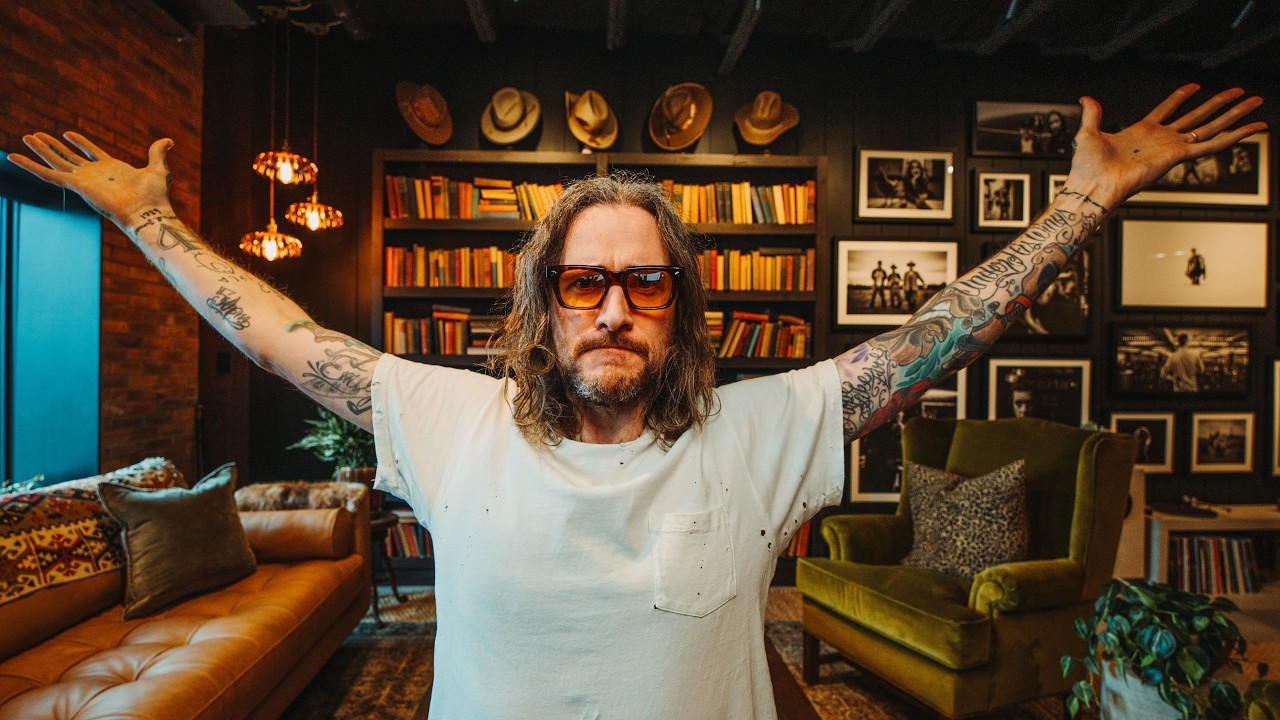
There’s a specific kind of frustration that only studio photographers understand. You’ve dialed in your key light, your fill ratio is exactly where you want it, your background is clean, and then a client asks if you can shoot “from the other side.” Suddenly everything falls apart. The light hits the backdrop stand. The extension cord crosses the frame. The whole setup was engineered for one angle, and that angle only. I’ve rebuilt my own studio in Los Angeles three times trying to solve this problem, and I still catch myself designing setups that lock me into a single position.
That’s why this Peter McKinnon tutorial stopped me mid-scroll. Watch the full tutorial on YouTube. McKinnon is a video creator, not a commercial photographer, but the spatial problem he’s solving is identical to the one I face on editorial days when an art director suddenly wants a three-quarter view instead of the hero shot we planned. His guiding principle for this studio rebuild was what he calls “zero friction,” meaning you walk in and the environment is already set up to let you work. No rearranging. No compromises. Every angle produces a usable image.
What follows is a breakdown of the design decisions in that tour, reframed for photographers and videographers who shoot in fixed studio spaces. I’ve added my own notes where McKinnon’s approach maps directly to lighting and camera positioning logic I use on commercial sets.
Step 1: Define Your Non-Negotiable Aesthetic Before You Place a Single Light
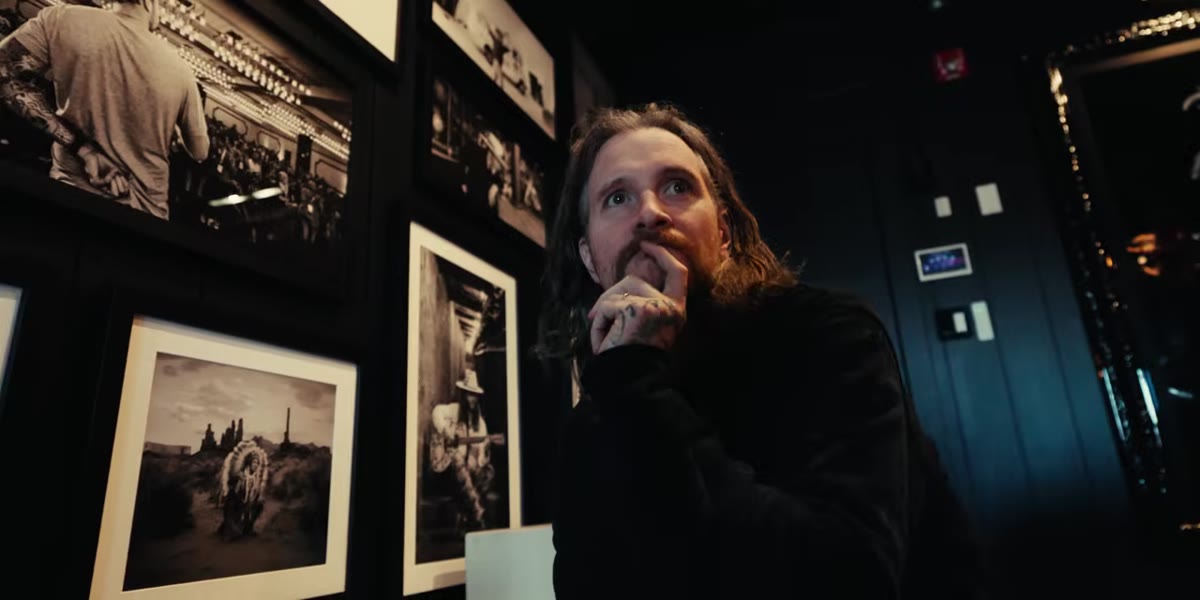 McKinnon listing the functional zones his studio must contain
Before McKinnon moved a piece of furniture, he wrote down what the space had to communicate even when he wasn’t in it. His benchmark was whether a stranger could walk in and immediately know whose studio it was. That’s not an interior design question. That’s a branding question, and it has direct consequences for how you position your lights and cameras.
McKinnon listing the functional zones his studio must contain
Before McKinnon moved a piece of furniture, he wrote down what the space had to communicate even when he wasn’t in it. His benchmark was whether a stranger could walk in and immediately know whose studio it was. That’s not an interior design question. That’s a branding question, and it has direct consequences for how you position your lights and cameras.
In a shooting studio, this translates to identifying your signature look before you bolt a single speed ring to the ceiling. Do you shoot high-key beauty? Then your space needs to accommodate large sources close to the subject from multiple sides, which means wide lanes between stands. Do you shoot moody editorial? Then you need walls you can kill, not walls covered in reflective surfaces that bounce light everywhere. Decide the aesthetic first. The gear placement follows.
Step 2: Map Your Angles Before You Map Your Lighting
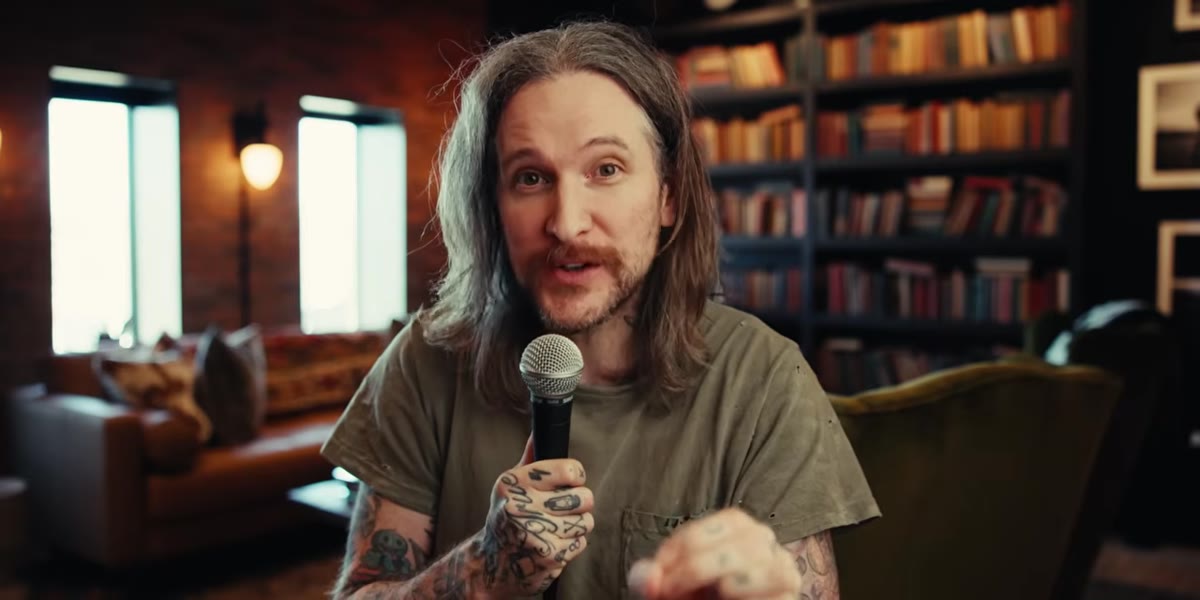 McKinnon demonstrating how the camera position shifts across multiple spots in the room
McKinnon’s central insight in this tour is that a great studio isn’t built around one perfect setup. It’s built around multiple viable camera positions that all read well. He walked through the space showing how moving the camera from one side of the room to another, or simply opening a door to add depth, produced a completely different shot without touching a single light.
McKinnon demonstrating how the camera position shifts across multiple spots in the room
McKinnon’s central insight in this tour is that a great studio isn’t built around one perfect setup. It’s built around multiple viable camera positions that all read well. He walked through the space showing how moving the camera from one side of the room to another, or simply opening a door to add depth, produced a completely different shot without touching a single light.
This is the part that photographers underestimate. When I set up a new studio configuration, I now do a “position audit” first. I stand in six spots around the room with my phone and take a quick test frame from each one. I’m not checking exposure. I’m checking whether the background is clean, whether any stands are visible, and whether the ambient light sources (windows, overhead fixtures) are causing problems. McKinnon essentially does this intuitively, but making it a deliberate step will save you an embarrassing moment when your client asks to try a different angle and you realize half your room is unusable.
Step 3: Design Your Depth Layers, Not Just Your Subject Position
 McKinnon showing the depth created by opening a door behind the shooting area
One of the strongest moves McKinnon demonstrates is using architectural depth as a compositional tool. By simply opening a door behind his primary shooting position, he creates a second plane in the frame that adds visual interest without any additional set dressing.
McKinnon showing the depth created by opening a door behind the shooting area
One of the strongest moves McKinnon demonstrates is using architectural depth as a compositional tool. By simply opening a door behind his primary shooting position, he creates a second plane in the frame that adds visual interest without any additional set dressing.
In studio photography, we call this working with foreground and background separation, but the principle applies to the room itself. If your studio is a flat white box, you’re fighting the architecture. If you can introduce a practical element, a bookcase, an open doorway, a second room visible in the distance, your subject has context and the frame has dimension. When I shoot for editorial clients, I keep a set of freestanding flats and a few large props specifically because I want to be able to build depth into any part of the room on demand. McKinnon achieves this with his actual architecture. If yours doesn’t cooperate, you have to manufacture it.
Step 4: Build in a Storage System That Keeps the Frame Clear
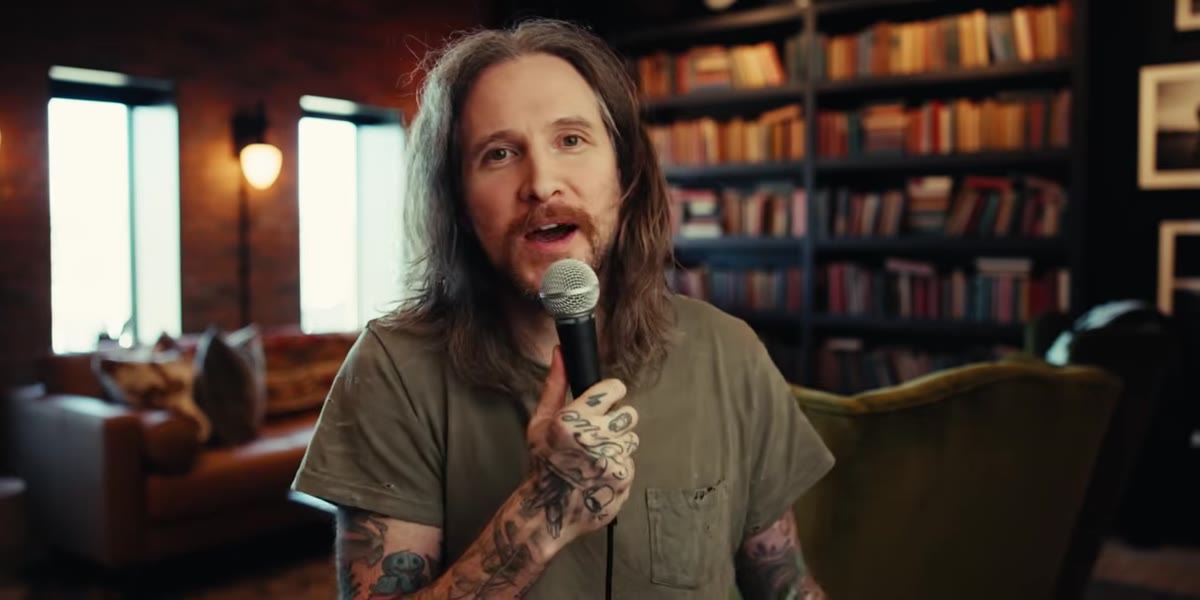 McKinnon referencing a dedicated gear storage room adjacent to the shooting area
McKinnon mentions a proper storage room for gear as one of the five or six functional zones in his studio, and he mentions it quickly, almost as an aside. Do not let that fool you. A cluttered studio is a studio that limits your angles, because there’s always a corner you can’t shoot toward without a c-stand or a pelican case appearing in frame.
McKinnon referencing a dedicated gear storage room adjacent to the shooting area
McKinnon mentions a proper storage room for gear as one of the five or six functional zones in his studio, and he mentions it quickly, almost as an aside. Do not let that fool you. A cluttered studio is a studio that limits your angles, because there’s always a corner you can’t shoot toward without a c-stand or a pelican case appearing in frame.
My own rule: if it’s not in the shot or supporting the shot, it lives behind a closed door or in a labeled bin. I use masking tape labels on everything in my storage room, every power cable, every grid, every gel roll. It takes twenty minutes when you first set it up and saves you twenty minutes every single time you look for something. The goal is to be able to pull a piece of gear, use it, and return it without your shooting space absorbing the chaos.
Step 5: Let Your Space Evolve Incrementally and Document Every Version
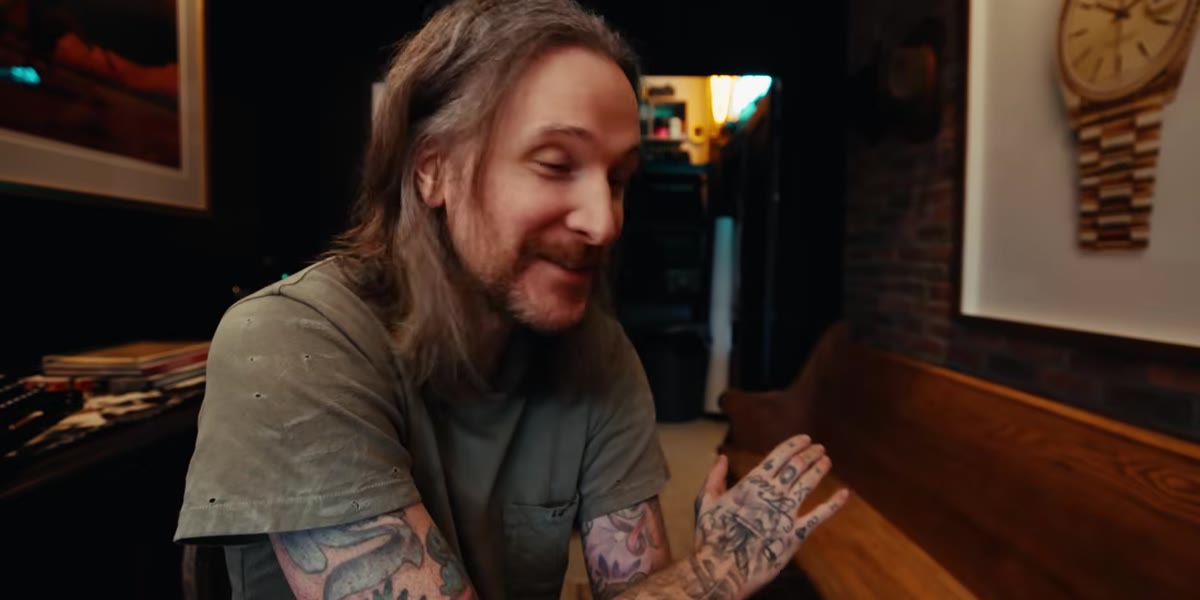
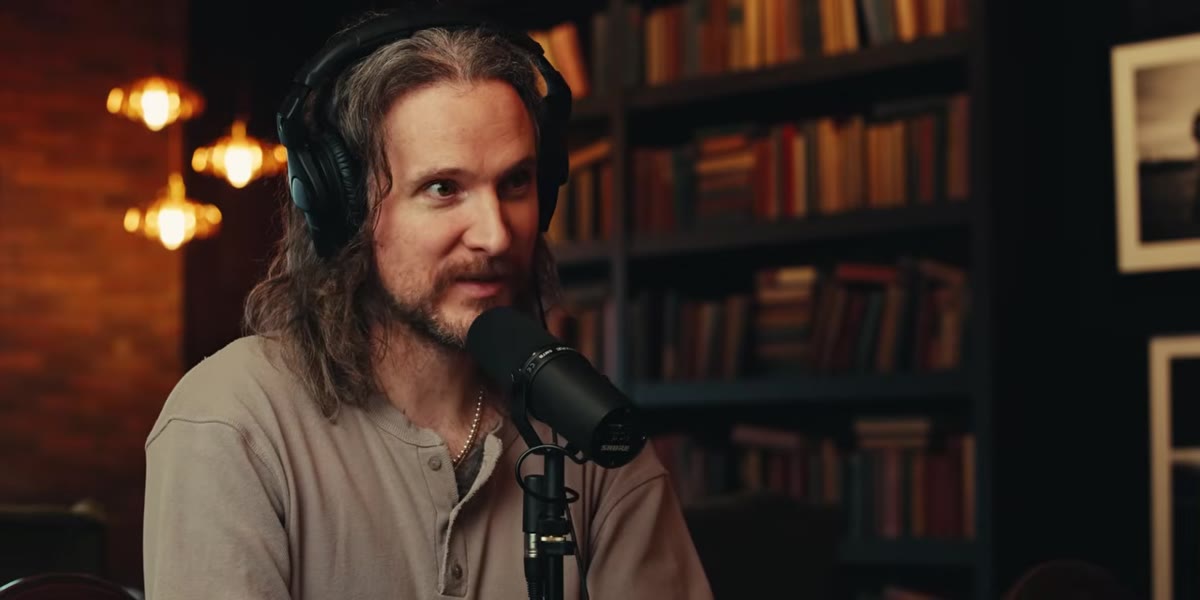 McKinnon showing phone photos of his previous studio configurations to his designer
The most instructive moment in the whole tour is when McKinnon sits down with his designer and pulls up photos of every previous version of his studio. Some of them are rough. The designer is diplomatic. But the point is that McKinnon kept a visual record of every iteration, which means he could actually see the evolution and identify what was working and what wasn’t across multiple setups.
McKinnon showing phone photos of his previous studio configurations to his designer
The most instructive moment in the whole tour is when McKinnon sits down with his designer and pulls up photos of every previous version of his studio. Some of them are rough. The designer is diplomatic. But the point is that McKinnon kept a visual record of every iteration, which means he could actually see the evolution and identify what was working and what wasn’t across multiple setups.
I keep a lighting journal for exactly this reason. After every significant shoot, I sketch the setup, note the modifiers, the distances, the ratios, and any problems I ran into. It’s not precious. It’s functional. Looking back through six months of entries will show you patterns you’d never notice in the moment. You’ll see that your favorite setup keeps reappearing with slight variations, or that you keep making the same positioning mistake. McKinnon’s photo archive of studio versions is the room-design equivalent of that journal.
What I’d Add: Pre-Light for Multiple Angles, Not One
The one thing McKinnon’s video doesn’t address, because he’s a video creator and not a studio photographer, is how to pre-light a space so that multiple camera positions all produce a workable image. My approach is to start with a large, diffused source high and slightly camera-left, which is forgiving enough to hold up across a wide range of subject-to-camera angles. I use a 60-inch octabox as my base, then add a smaller fill from camera-right at roughly half the power. From most positions in the room, that combination reads cleanly. I’ll modify from there depending on the specific shot, but the base rig survives repositioning.
The single idea I’d carry out of this tutorial is this: design your studio for the angle you haven’t planned yet. McKinnon built his space so that every unexpected moment, every “what if we try it from over here,” already has an answer. That discipline is worth more than any single piece of gear.
Watch the full tutorial on YouTube and pay particular attention to how McKinnon moves through the space. The camera work itself is the lesson.
Comments (2)
I've watched a dozen tutorials on this and yours is the clearest by far.
This is the kind of content that keeps me coming back.
Leave a Comment