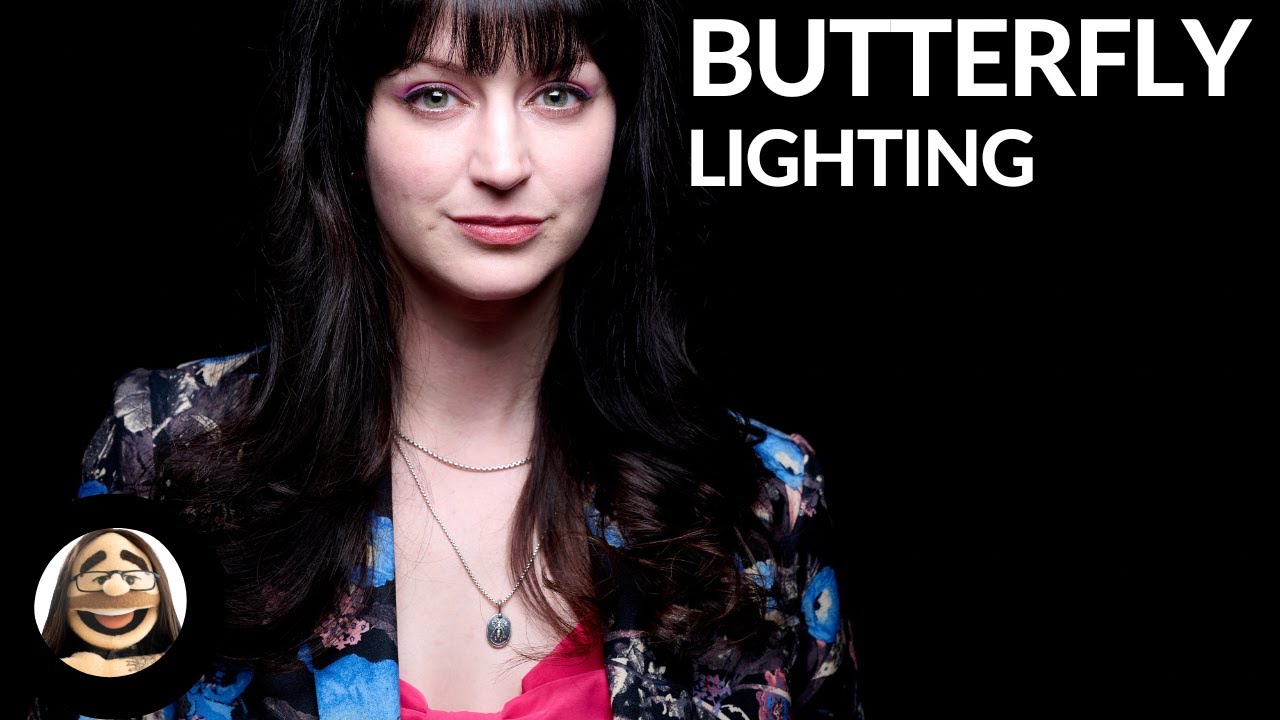
Butterfly Lighting From Setup to Shot: A Step-by-Step Breakdown of Daniel Norton's Method

Butterfly Lighting From Setup to Shot: A Step-by-Step Breakdown of Daniel Norton's Method

Butterfly lighting is one of those techniques I keep coming back to regardless of what I’m shooting. Fashion, beauty, corporate headshots — it shows up constantly because it flatters almost every face it touches. It defines the jaw, carves out the cheekbones, and throws that clean, symmetrical glow across the skin that makes makeup look like it was applied by a team of professionals even when the budget didn’t allow for one.
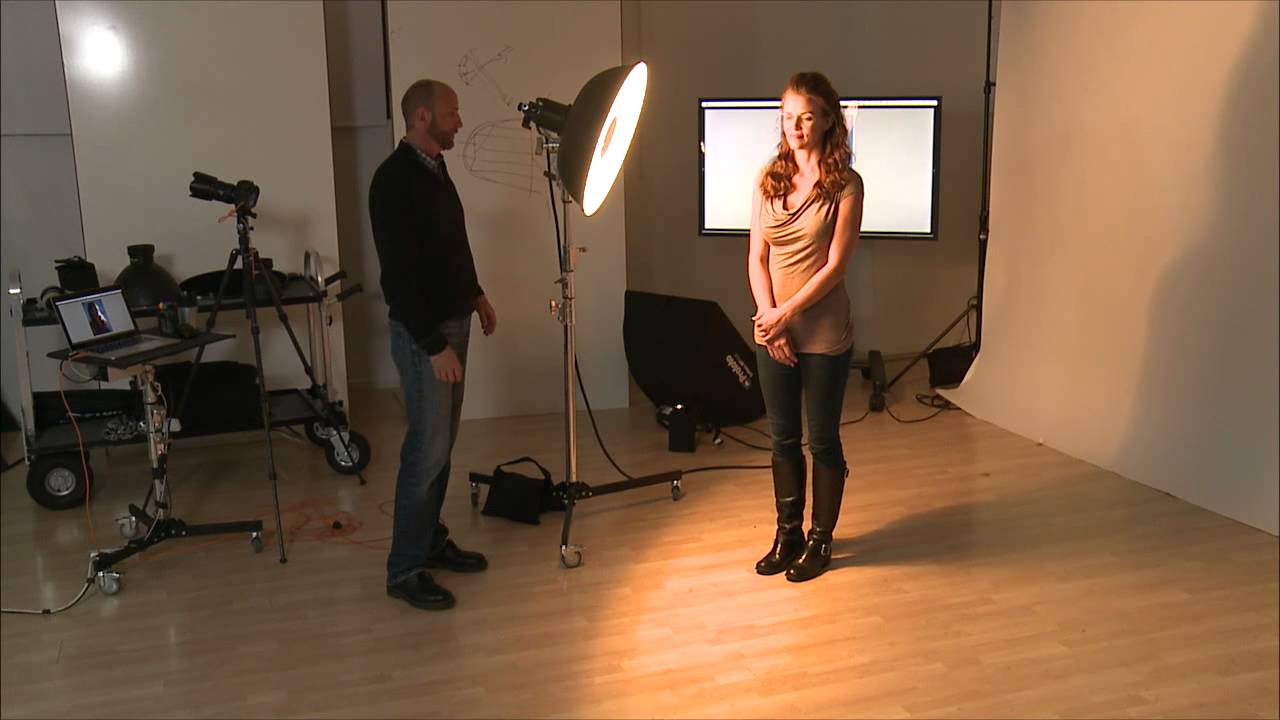

Butterfly Lighting Step by Step: What the Setup Actually Looks Like in Practice

Butterfly Lighting Step by Step: What the Setup Actually Looks Like in Practice

Butterfly lighting is one of those techniques that sounds simple until you try to explain it to someone who has never seen the shadow you’re chasing. I’ve sketched it in my lighting journal probably a dozen times, handed the diagram to assistants, and still watched them position the key light wrong on the first try. The concept is clean: one light, centered above the lens axis, angled down to cast a small, symmetrical shadow directly beneath the subject’s nose.

Butterfly Lighting and the Beauty Setup

Butterfly Lighting and the Beauty Setup

Butterfly lighting — also called Paramount lighting because of its use in classic Hollywood glamour portraits — places the key light directly in front of and above the subject’s face. Named for the butterfly-shaped shadow it creates under the nose, this pattern is the foundation of beauty photography lighting. The Setup Position a single light source directly in front of the subject, centered on their face, and raised 2-3 feet above eye level.