Why Professional Photographers Are Sleeping on Snoots and Projectors

Why Professional Photographers Are Sleeping on Snoots and Projectors

The Attachments That Change Everything I’ve spent enough time in studios to recognize patterns. Most photographers nail the fundamentals—they understand key light, fill light, and backdrop separation. But there’s a tier above this where the real control happens, and it’s occupied by a frustratingly small percentage of shooters. The culprit? Simple neglect of specialized attachments like snoots and projector heads. What Makes These Tools Different A snoot is elegantly straightforward—a tapered tube that concentrates light into a tight, controlled beam.
What Apple's Design Evolution Teaches Us About Lighting and Product Photography

What Apple's Design Evolution Teaches Us About Lighting and Product Photography

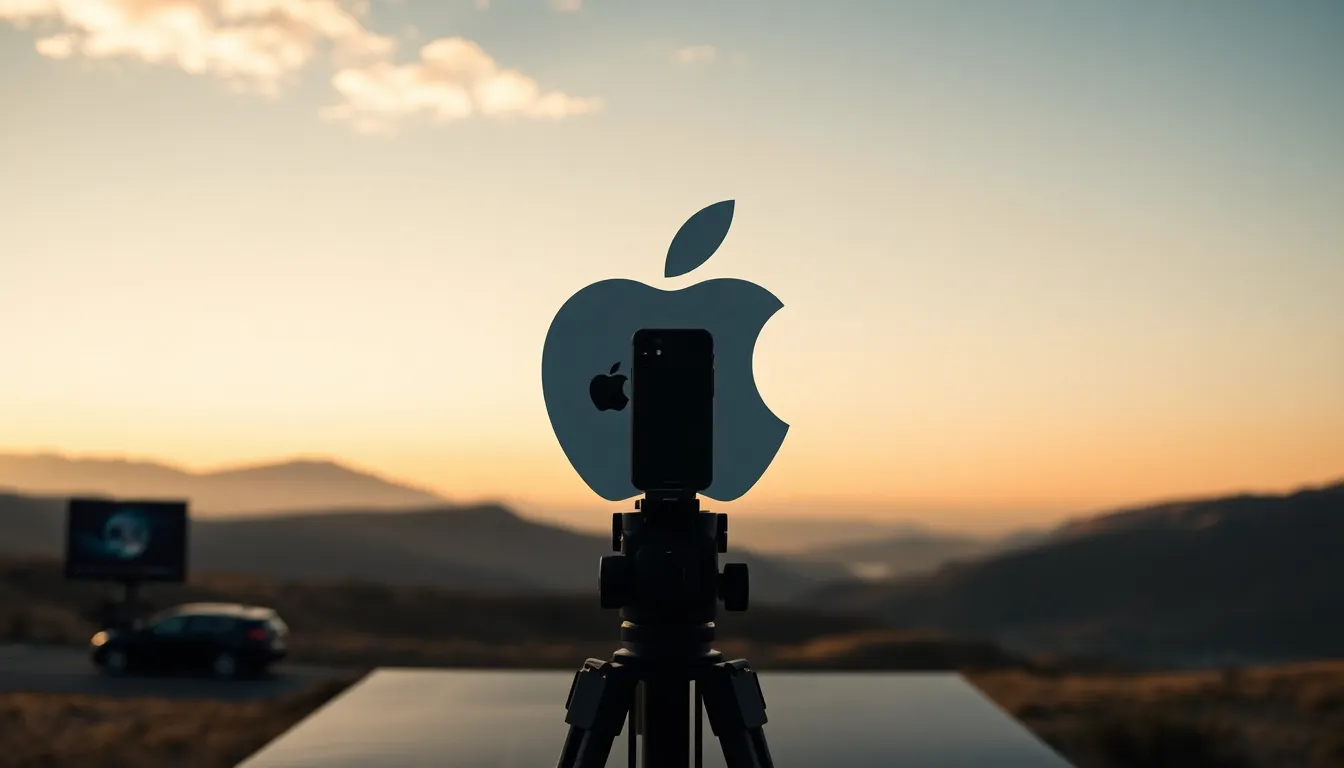
I recently learned about an extraordinary exhibition opening in Roswell, Georgia that’s shifted my thinking about how we photograph technology and industrial design. The Mimms Museum of Technology and Art is launching iNSPIRE: 50 Years of Innovation from Apple, and while the exhibit itself celebrates a tech giant’s history, it’s the visual storytelling behind those products that fascinates me as a studio photographer. Why Apple’s Design Matters to Your Lighting Setup What strikes me most about Apple’s product line isn’t just the innovation—it’s the consistency of visual language.

The Mirror Prism Lighting Trick: Why Shape Matters More Than Power

The Mirror Prism Lighting Trick: Why Shape Matters More Than Power

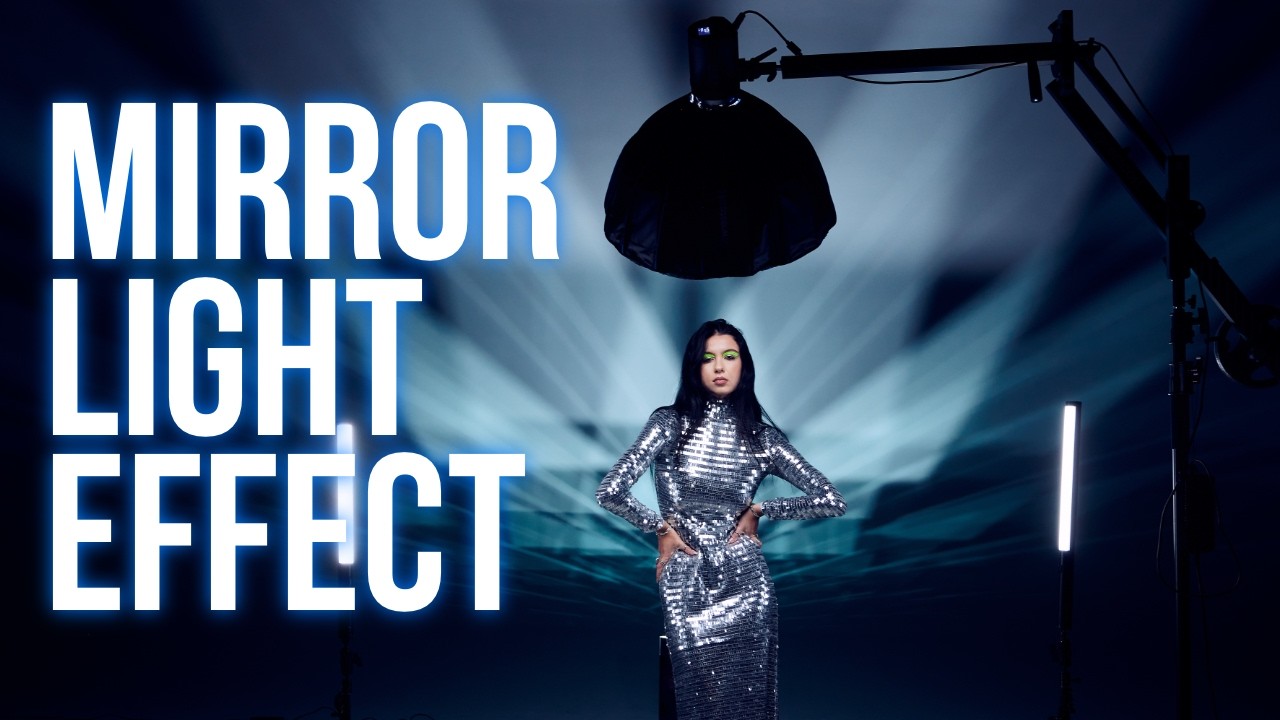
There’s a category of studio effect that looks spectacular on set and falls completely flat in the final image. I’ve been burned by this more times than I care to admit. The disconnect usually comes down to one thing: your eye adapts to what it sees in the room, but the camera captures only what the light is actually doing. That gap between perception and capture is exactly what this technique forces you to confront.

The Four Lighting Patterns Every Studio Photographer Must Master

The Four Lighting Patterns Every Studio Photographer Must Master

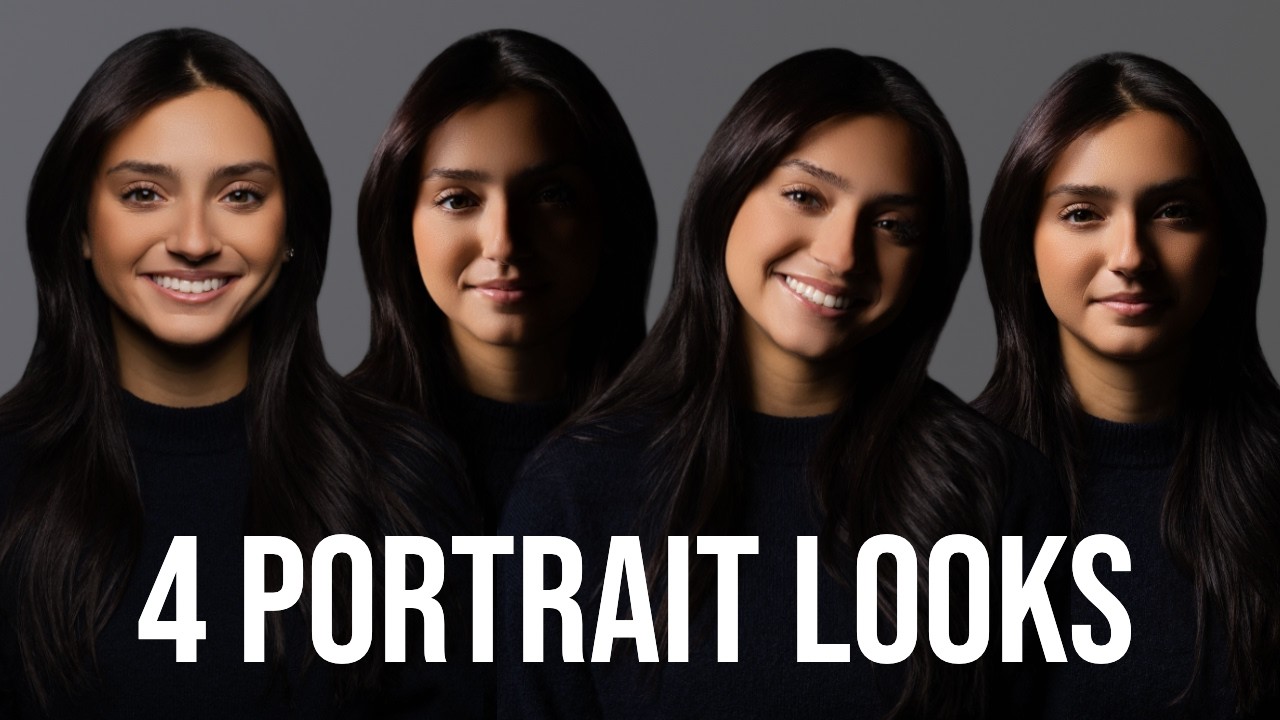
In this excellent tutorial, Joel Grimes breaks down the intimidating world of studio portrait lighting into four manageable, repeatable patterns. If you’ve ever felt overwhelmed by the complexity of studio work, this is exactly where you need to start. I’ve been lighting portraits for fifteen years, and I can tell you with absolute certainty: these four patterns are the foundation of professional photography. Master them, and you’ll immediately understand why your portraits suddenly look like they belong in a portfolio instead of on Instagram.

Rim Lighting: The Technique That Separates Amateurs From Professionals

Rim Lighting: The Technique That Separates Amateurs From Professionals

What Rim Lighting Actually Does Rim lighting isn’t decorative—it’s functional. When placed correctly, a rim light creates a bright edge along your subject’s outline, separating them from the background and adding three-dimensional depth to flat studio environments. I’ve watched photographers obsess over key lights and fill ratios while ignoring this critical tool. That’s a mistake. The rim light accomplishes three things: it defines edges (especially hair), it creates visual separation between subject and background, and it adds a professional polish that clients immediately notice, even if they can’t articulate why.

Rim Lighting: The Essential Technique for Separation and Dimension

Rim Lighting: The Essential Technique for Separation and Dimension

Rim Lighting: The Essential Technique for Separation and Dimension I’ve used rim lighting in roughly 70% of my studio work over the past fifteen years, and I’m not exaggerating when I say it’s transformed how my subjects read in frame. A rim light—also called a backlight or hair light—is a dedicated light source positioned behind your subject to create a glowing outline that separates them from the background. Done correctly, it’s invisible to the casual viewer but absolutely critical to the overall image.

Rim Lighting: Adding Drama and Separation

Rim Lighting: Adding Drama and Separation

Rim lighting — a light positioned behind the subject that creates a bright outline along their edges — is one of the most dramatic tools in portrait photography. That bright edge separates the subject from the background, adds a three-dimensional quality that flat lighting can’t achieve, and creates an immediate sense of production value. What Rim Lighting Does When a light source is positioned behind and slightly above a subject, it skims across the edges of their hair, shoulders, and body contour.

Master These Four Fundamental Portrait Lighting Setups to Transform Your Studio Work

Master These Four Fundamental Portrait Lighting Setups to Transform Your Studio Work

The Foundation That Every Portrait Photographer Needs I’ve spent years refining my approach to portrait lighting, and I can say with confidence that mastering foundational patterns is non-negotiable. Too many photographers jump straight into complex multi-light setups without understanding the principles that make lighting work. It’s like trying to bake without knowing the difference between creaming butter and folding ingredients—you’ll get inconsistent results that frustrate you. The reality is this: once you understand four core lighting patterns, you have a repeatable system that works across nearly every client scenario.

Light Modifiers: The Essential Tools That Make or Break Your Studio Lighting

Light Modifiers: The Essential Tools That Make or Break Your Studio Lighting

Light Modifiers: The Essential Tools That Make or Break Your Studio Lighting I’ve spent fifteen years refining my lighting setup, and I can tell you with certainty: your light source matters far less than what you put in front of it. A modest 400W strobe becomes a professional tool the moment you add the right modifier. Without one, you’re just throwing raw light at your subject and hoping for results.

Light Modifiers: The Essential Grammar of Studio Lighting

Light Modifiers: The Essential Grammar of Studio Lighting

Light Modifiers: The Essential Grammar of Studio Lighting I’ve watched photographers spend thousands on strobes, then wonder why their light looks harsh and unflattering. The problem isn’t the flash—it’s that they’re using the wrong modifier, or worse, none at all. A light modifier is as fundamental to photography as grammar is to writing. Get it wrong, and even your best composition falls apart. After twenty years in studio work, I’ve learned that modifiers aren’t optional accessories.

How Game Studios Are Mastering Character Lighting: Lessons From Darwin's Paradox

How Game Studios Are Mastering Character Lighting: Lessons From Darwin's Paradox

The Octopus That Changed My Perspective on Character Lighting I’ve spent years analyzing how light shapes a subject’s presence in front of the camera. Recently, I discovered that game developers are solving the same problems we face in traditional photography—just with different tools. ZDT Studio’s upcoming platformer, Darwin’s Paradox, offers surprising lessons about sculpting character presence through intelligent lighting design. Understanding Form Through Translucency What fascinated me most about this project is how the creative team approached lighting an octopus protagonist.

Group Lighting: The Recipe for Sharp, Even Exposures Across Multiple Subjects

Group Lighting: The Recipe for Sharp, Even Exposures Across Multiple Subjects

Group Lighting: The Recipe for Sharp, Even Exposures Across Multiple Subjects I’ve lit hundreds of group portraits, and I can tell you this: most photographers fail at group lighting because they treat it like a scaled-up version of single-subject work. It isn’t. The math changes. The angles change. And if you get it wrong, someone always looks like they’re standing in a cave while someone else gets blown out. Let me give you the recipe I use, broken down into actionable steps.