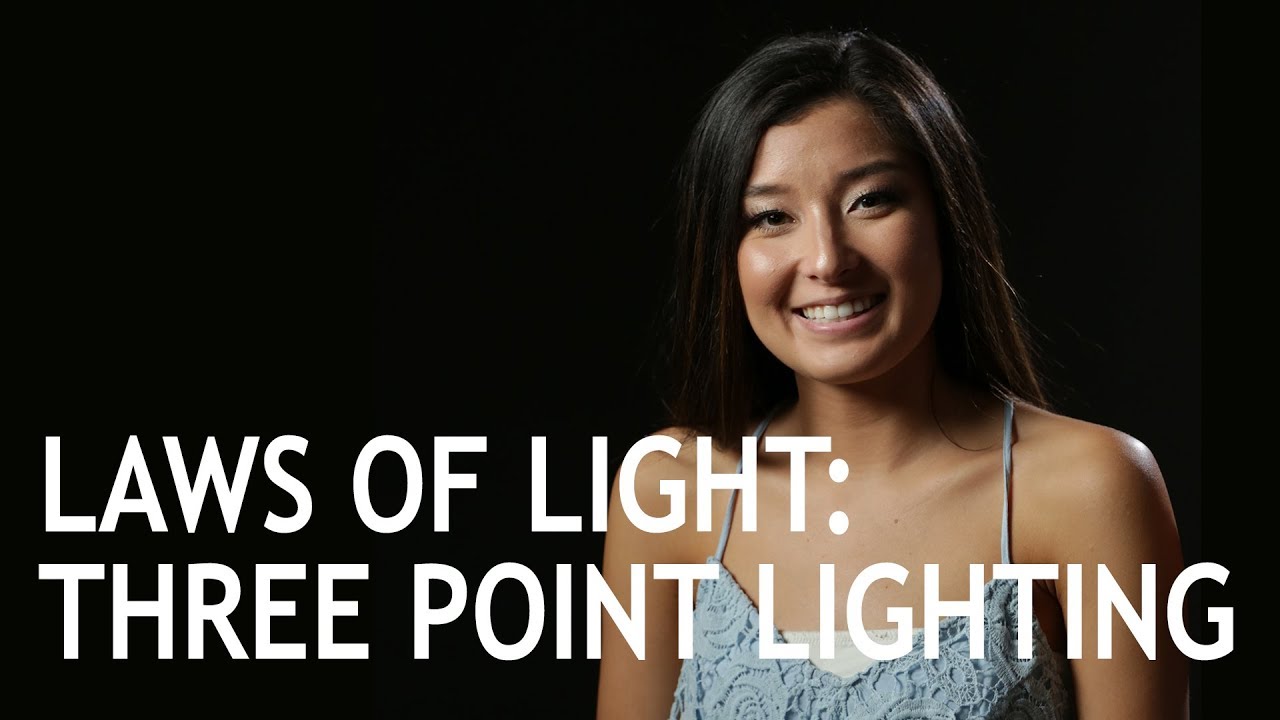
How to Build a Three-Point Lighting Setup That Actually Separates Your Subject

How to Build a Three-Point Lighting Setup That Actually Separates Your Subject

Every portrait photographer hits the same wall eventually. One light looks beautiful in isolation, but the subject disappears into the background, shadows go muddy, and the image loses the dimension that separates a professional result from a snapshot. I’ve stood in my studio at 11pm before a morning editorial call, staring at a flat, lifeless frame and wondering what was missing. The answer, almost every time, was a deliberate three-point lighting strategy rather than a single key light I was trying to coax into doing five jobs at once.
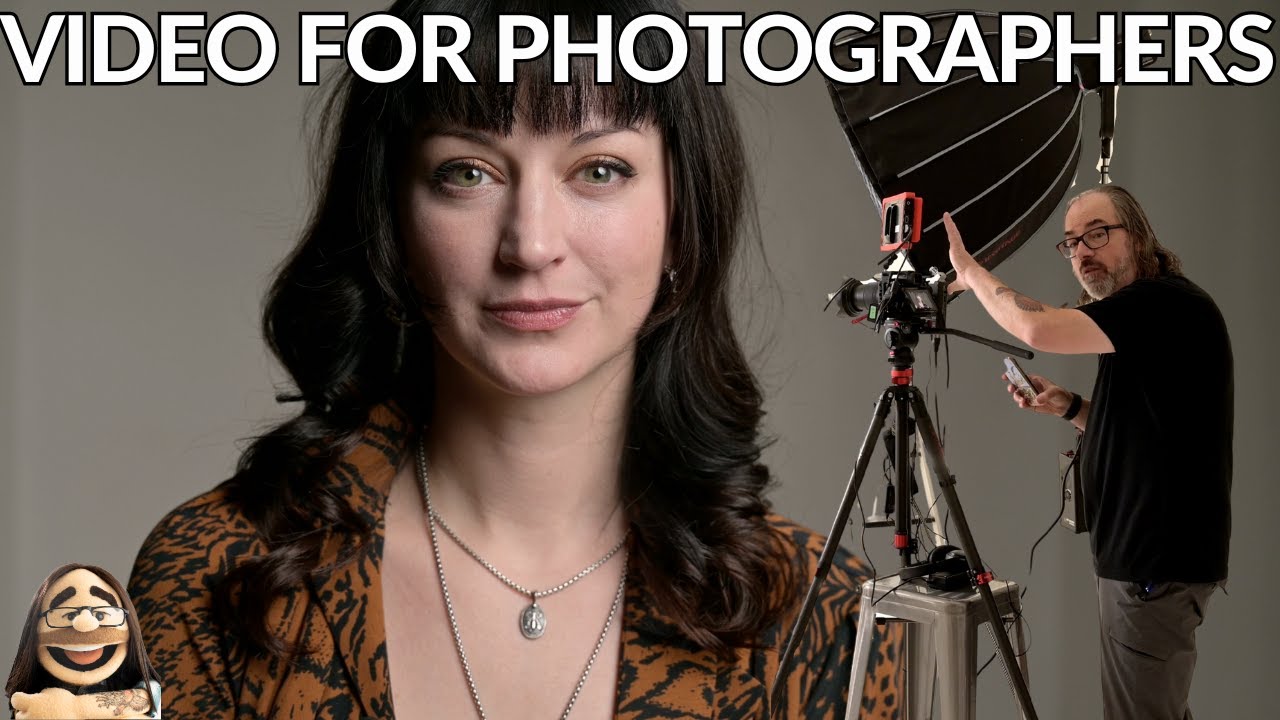
Three-Point Lighting for Video Interviews: What Photographers Already Know (And the One Thing They Don't)

Three-Point Lighting for Video Interviews: What Photographers Already Know (And the One Thing They Don't)

More clients are asking me to shoot talking-head videos alongside the stills. Corporate headshot day now comes with a request for a CEO intro clip. The beauty brand wants behind-the-scenes footage. And the first question every photographer asks when this happens is: do I need to learn an entirely new craft? The honest answer is no, not from scratch. In this Daniel Norton Photographer tutorial, Watch the full tutorial on YouTube, Daniel lays out a three-point interview lighting setup that will feel immediately familiar to anyone who has spent time in a portrait studio.