
Corporate portrait days are brutal in the best possible way. You show up to an unfamiliar room, you have maybe twenty minutes per person, and someone always walks in wearing a bright white shirt when you’ve spent the last hour optimizing for dark fabric. I’ve done enough of these to know that the difference between a smooth shoot and a chaotic one is almost entirely in the prep. So when I came across Watch the full tutorial on YouTube from The Slanted Lens, I sat up a little straighter. JP Morgan walks through a real, paid corporate shoot for an LA accounting firm - sixteen people, one training room, and a four-light setup that’s both practical and repeatable.
What I appreciate most is that this isn’t a staged demo with a model and unlimited time. It’s a working shoot with real constraints. The room is small, the schedule is tight, and the subjects are accountants, not actors. That pressure forces good decisions, and watching how JP responds to each one is where the actual education lives. I’ve sketched the setup in my lighting journal and I’ll be honest: I’ll be stealing at least two ideas from it.
Step 1: Settle the Background Before You Touch a Light
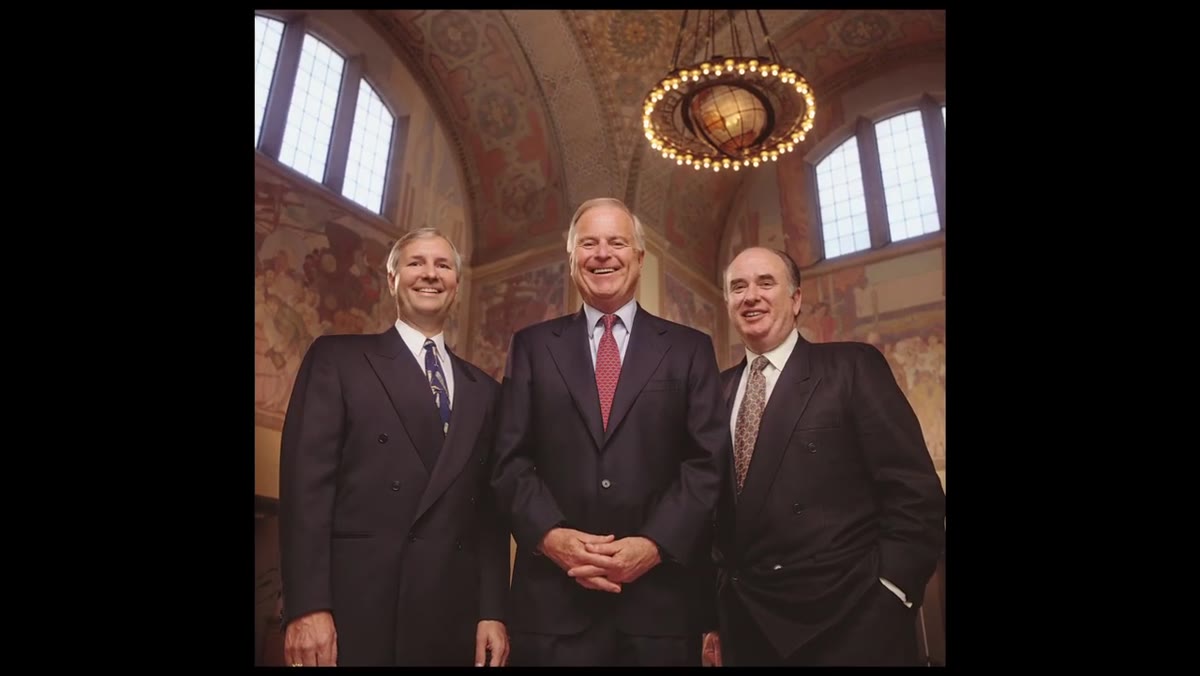 Client discussing background options with photographer
The first conversation with any corporate client should be about the background, not the lighting. JP sends sample images showing both environmental portraits and shots against colored backgrounds, then has a real discussion with the client about what fits their time constraints and space. For this shoot, they land on a Savage Fashion Grey seamless, which gives the resulting images flexibility across print, web, and internal use without locking the firm into a stylistic choice they might regret.
Client discussing background options with photographer
The first conversation with any corporate client should be about the background, not the lighting. JP sends sample images showing both environmental portraits and shots against colored backgrounds, then has a real discussion with the client about what fits their time constraints and space. For this shoot, they land on a Savage Fashion Grey seamless, which gives the resulting images flexibility across print, web, and internal use without locking the firm into a stylistic choice they might regret.
This matters more than photographers admit. A background decision shapes every other choice you make - how far you need to position the subject from it, how much you need to light it separately, and what range of clothing tones will read well. Grey is forgiving, which is exactly what you want when you’re shooting sixteen people who dressed themselves.
Step 2: Build a Real Schedule Before You Arrive
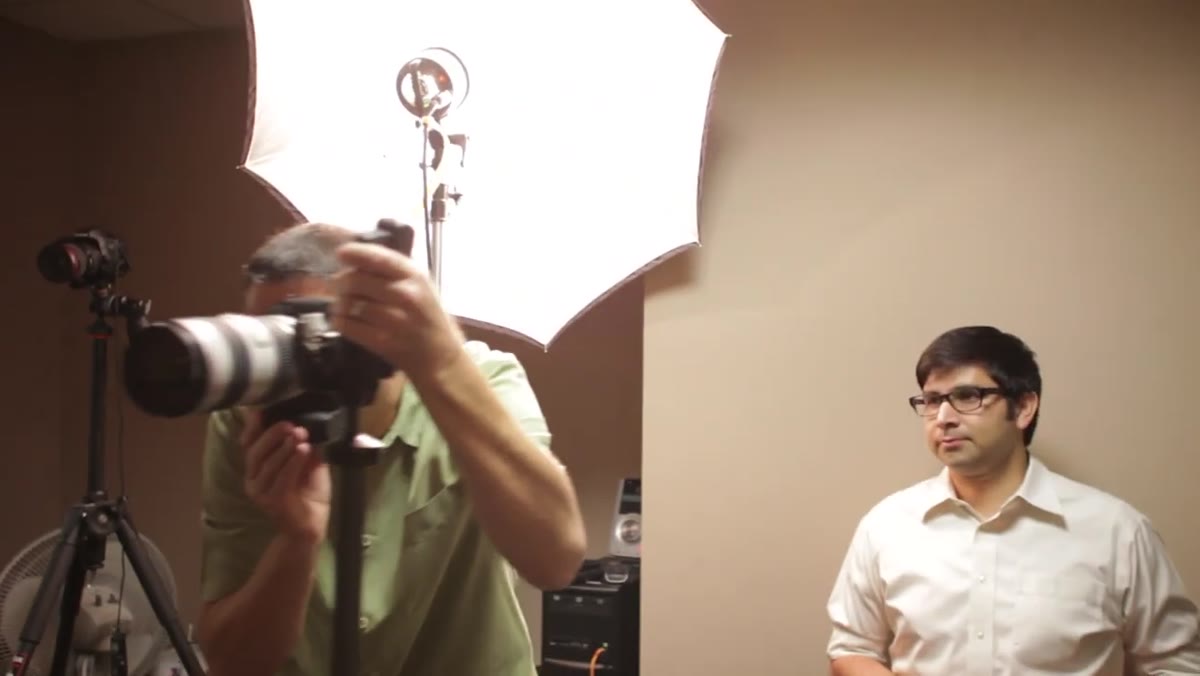 Schedule planning for 16-person shoot day
Budgeting time on a multi-person shoot is a skill that takes real experience to calibrate. JP has sixteen people to photograph and works out that twenty minutes per person is the honest number, but he schedules each slot at fifteen minutes and banks the overflow as buffer. That buffer becomes time for group shots at the end of the day, which the office genuinely enjoyed.
Schedule planning for 16-person shoot day
Budgeting time on a multi-person shoot is a skill that takes real experience to calibrate. JP has sixteen people to photograph and works out that twenty minutes per person is the honest number, but he schedules each slot at fifteen minutes and banks the overflow as buffer. That buffer becomes time for group shots at the end of the day, which the office genuinely enjoyed.
The math also has to include travel time to the location, setup time on arrival, and lunch. He plans to arrive at 7:00 AM and be camera-ready by 8:30 AM. That’s ninety minutes of setup, which sounds generous until you’re running cable across a sixth-floor conference room and your softbox grid isn’t where you thought you packed it. Schedule like something will go wrong, because something always does.
Step 3: Add a Grid to Your Key Light to Protect the Room
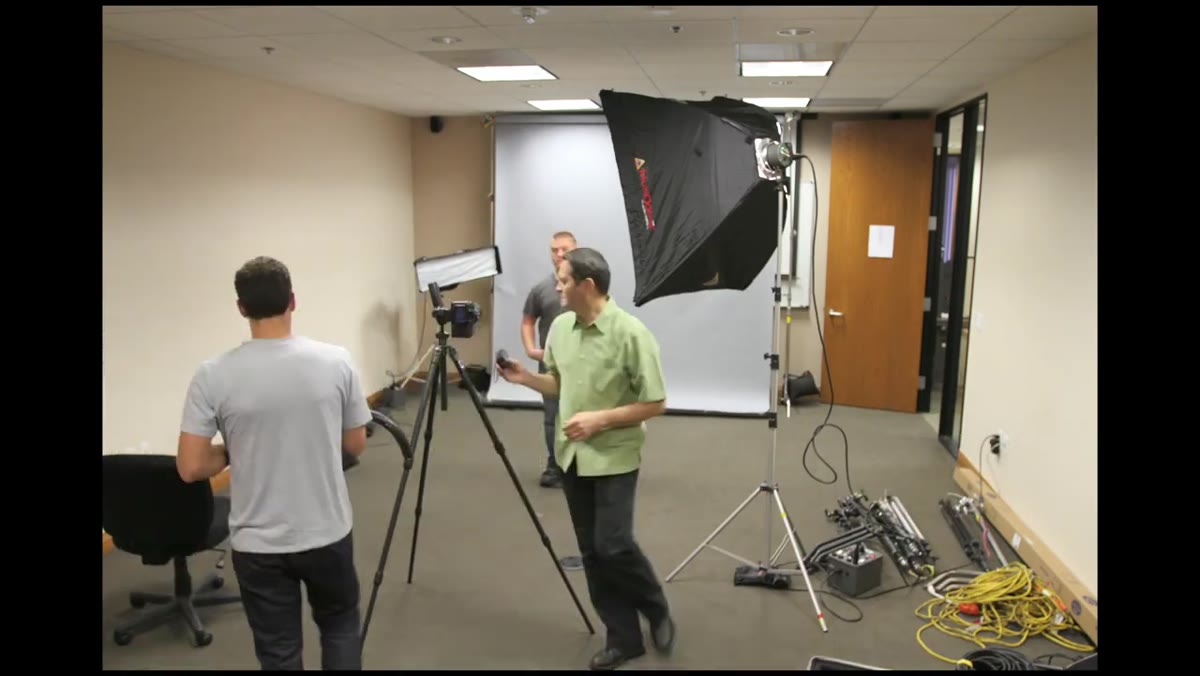 Large softbox with grid positioned as key light
The key light here is a Dynalite pack driving a studio head with a large Photoflex softbox. In a normal-sized studio this would be straightforward. In a small training room, an open-faced softbox becomes a problem: light bounces off every wall and ceiling, fills the shadows you want to hold, and lifts the background to a level you can’t control. The fix is a grid on the softbox.
Large softbox with grid positioned as key light
The key light here is a Dynalite pack driving a studio head with a large Photoflex softbox. In a normal-sized studio this would be straightforward. In a small training room, an open-faced softbox becomes a problem: light bounces off every wall and ceiling, fills the shadows you want to hold, and lifts the background to a level you can’t control. The fix is a grid on the softbox.
The grid keeps the light directional - it hits the subject and mostly stops there. This preserves the shadow structure on the face and keeps the background darker than the subject, which gives you something to work with in post and just looks cleaner straight out of camera. If you’re shooting corporate work in tight spaces and you’re not gridding your key, you’re fighting the room all day.
Step 4: Use a Small Octodome as Your Rim Light
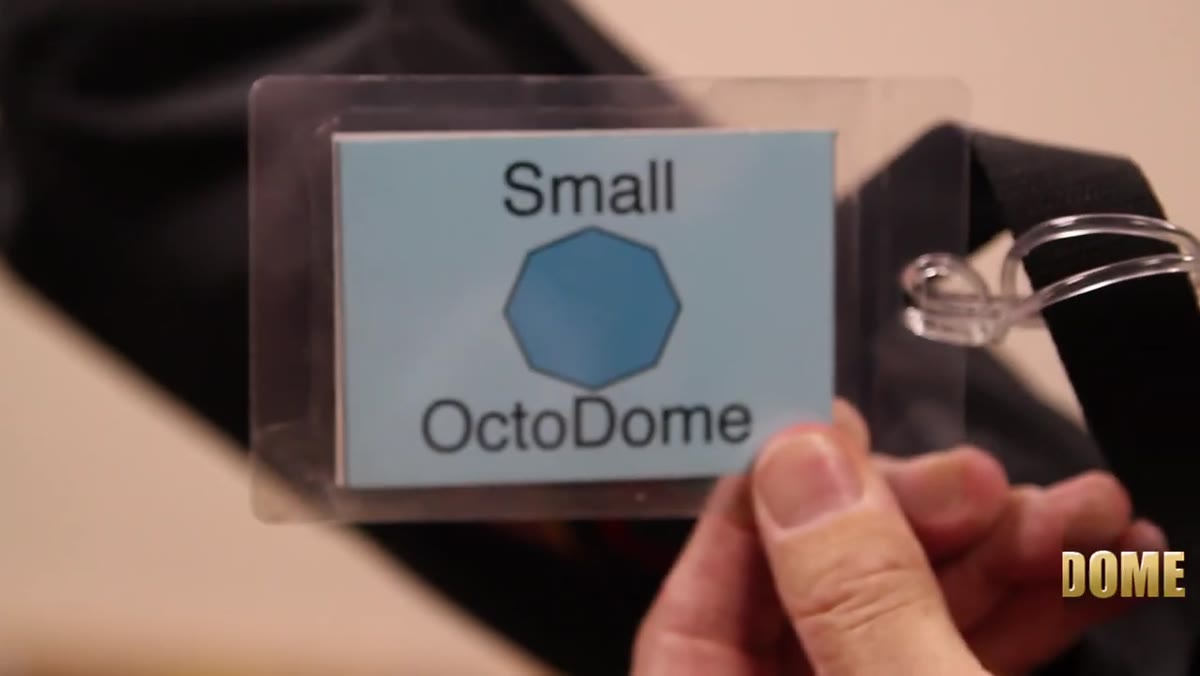 Small octodome with grid positioned as rim light
For separation from the background, JP adds a small octodome with a grid as a rim light. The octodome produces a quality of light that wraps slightly better than a standard strip box at this scale. The grid keeps it from spilling onto the background and washing out the separation effect you’re trying to create.
Small octodome with grid positioned as rim light
For separation from the background, JP adds a small octodome with a grid as a rim light. The octodome produces a quality of light that wraps slightly better than a standard strip box at this scale. The grid keeps it from spilling onto the background and washing out the separation effect you’re trying to create.
Here’s where he also introduces a smart variable: the rim light power gets adjusted based on hair color. Dark hair absorbs light, so it gets dialed up. Light or blonde hair reflects more, so it comes down. This is the kind of per-subject adjustment that separates a consistent professional result from a batch of images that all need individual correction. Build it into your process and it takes seconds to execute.
Step 5: Light the Background Separately and Move It Around
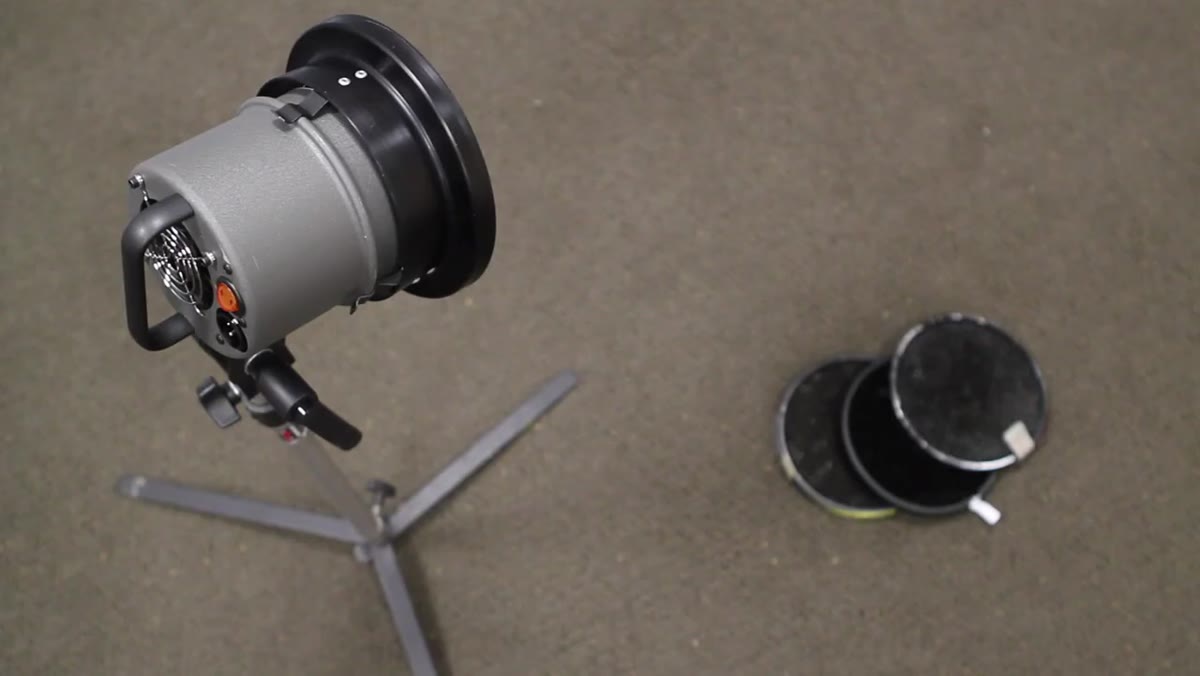 Background light with 20-degree grid positioned on grey seamless
A third Dynalite head with a 20-degree grid handles the background. JP repositions this light for each subject with the goal of creating separation between the person and the grey paper. A small hot spot on the background behind and slightly offset from the subject reads as depth and interest without drawing the eye away from the face.
Background light with 20-degree grid positioned on grey seamless
A third Dynalite head with a 20-degree grid handles the background. JP repositions this light for each subject with the goal of creating separation between the person and the grey paper. A small hot spot on the background behind and slightly offset from the subject reads as depth and interest without drawing the eye away from the face.
The 20-degree grid is key here. A bare head would spray light across the full width of the seamless. The tight grid gives you a controllable pool that you can aim precisely, so you get a gradient that reads as light falling naturally rather than a flat, uniformly lit background.
Step 6: Fill with a Bounced Umbrella and Flag for Clothing
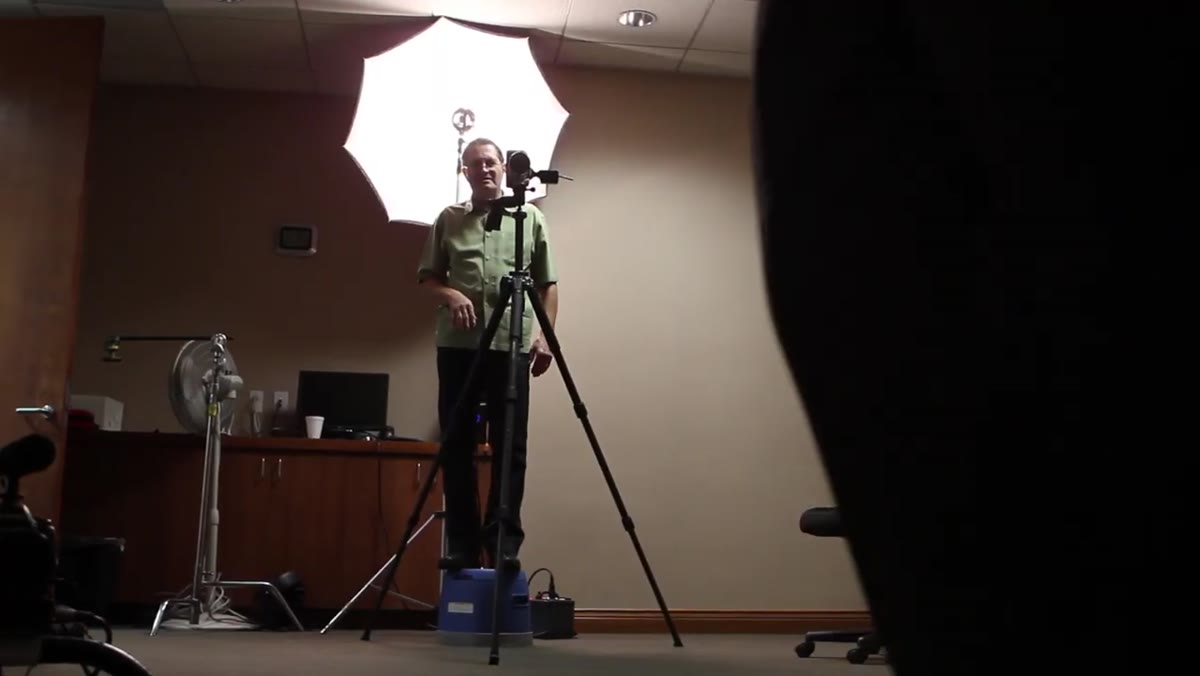 Umbrella fill light positioned behind camera
An umbrella behind the camera acts as fill. JP’s reasoning is direct: he doesn’t care if this light bounces around the room because he wants fill, not directionality. It lifts the shadow side of the face without creating a competing light source with its own visible direction.
Umbrella fill light positioned behind camera
An umbrella behind the camera acts as fill. JP’s reasoning is direct: he doesn’t care if this light bounces around the room because he wants fill, not directionality. It lifts the shadow side of the face without creating a competing light source with its own visible direction.
The more interesting addition is a flag positioned to cut light off white shirts. When a subject comes in wearing bright white, the flag gets placed to reduce the light hitting the torso, bringing the shirt down closer to the tonal range of the face. When they leave, the flag comes out. It’s a simple, fast adjustment that keeps exposure consistent across subjects regardless of what they wore to work that morning.
What I’d Add from My Own Experience
There’s one thing the tutorial doesn’t cover that I’ve learned the hard way: color temperature consistency across a long shoot matters enormously when you’re batch-processing fifteen to twenty selects for a single client. If your modeling lights drift in color, or you’re mixing in any ambient room light that shifts as the day goes on, you’ll spend more time in Lightroom than you saved with a tight schedule.
My habit on every corporate job is to tape over any windows with black wrap or heavy blackout fabric and shoot a test frame with a color checker after setup is complete. I have a note in my lighting journal from a shoot three years ago where I didn’t do this and spent an entire afternoon trying to match color across frames shot near a window. That job came out fine, but it added two hours of editing I hadn’t planned for.
The real lesson from this tutorial is that control compounds. Every decision JP makes, the gridded key, the adjustable rim, the flagging system, is about reducing variables so he can focus on the person in front of him. You can’t direct someone’s expression when you’re troubleshooting your exposure. Build the system, then trust it.
Watch the full tutorial on YouTube to see the full setup in action, including the group shots at the end of the day.
Comments
Leave a Comment