Every few months a client sends me a brief that includes a lifestyle shot with a person holding a product, usually a bottle of some kind, and somewhere in the fine print it says “the product should look great.” It never does. The second a hand wraps around a bottle, you lose control of the light on the glass. The label goes flat, the interior goes dead, and no amount of Photoshop rescues it cleanly. The professional solution is to shoot the bottle separately, light it properly, and composite it into the hero shot. That sounds straightforward until you try it and realize bottle photography has its own set of problems that most lighting tutorials never bother to explain.
In this The Slanted Lens tutorial, JP Morgan walks through exactly how to set up a suspended bottle shoot, from the physical rig to the moisture technique at the end. Watch the full tutorial on YouTube before or after reading this breakdown. What I want to do here is translate the tutorial into the kind of step-by-step notes I’d write in my lighting journal before a product job, so you can follow this without rewinding constantly.
Step 1: Set Up a Black Background (and Understand Why It Has to Be Black)
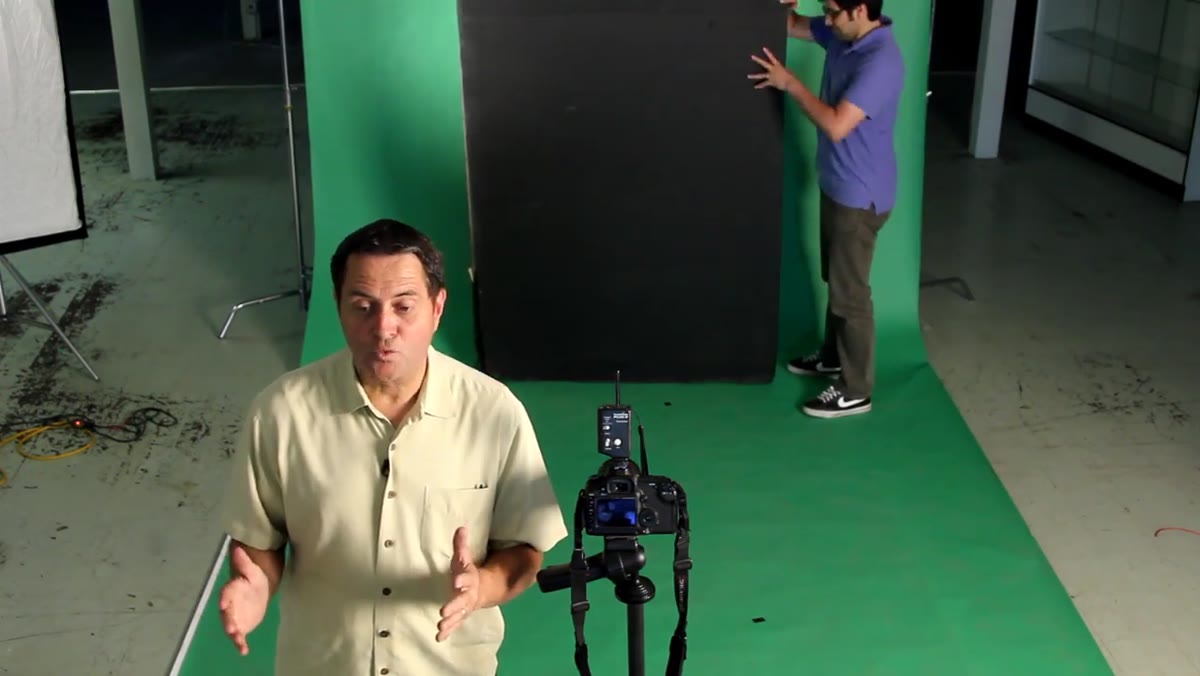 Black background positioned behind suspended bottle rig
The background choice here is not aesthetic, it is functional. A black backdrop reflects into both edges of the bottle as thin dark bands, which is exactly what separates glass from glass. Without those dark edges the bottle has no defined shape. It just looks like a bright smear. Any lighter background floods those edge reflections with color or gray, and the bottle loses its dimensionality immediately. Pull your black seamless or black fabric tight and position it close enough to the bottle that it dominates the reflection on both sides of the glass.
Black background positioned behind suspended bottle rig
The background choice here is not aesthetic, it is functional. A black backdrop reflects into both edges of the bottle as thin dark bands, which is exactly what separates glass from glass. Without those dark edges the bottle has no defined shape. It just looks like a bright smear. Any lighter background floods those edge reflections with color or gray, and the bottle loses its dimensionality immediately. Pull your black seamless or black fabric tight and position it close enough to the bottle that it dominates the reflection on both sides of the glass.
One thing JP emphasizes that I’d underline twice: nothing touches the table. Any surface beneath the bottle will reflect up into the glass and create a muddy hotspot on the bottom of the label or the base of the bottle. The solution to that is the suspended rig, which is the next step.
Step 2: Build the Suspended Rig
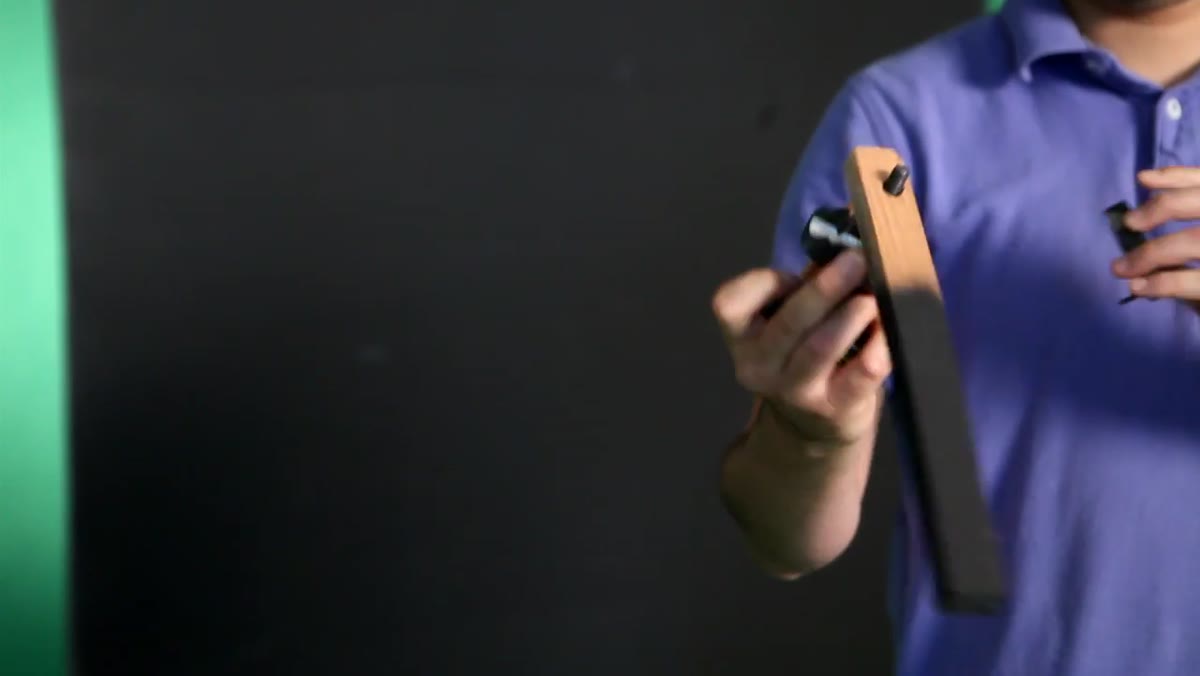 One-by-one wooden dowel suspended through C-stand with earthquake putty on top
Take a 1x1 piece of wood, cut it to about half its length, drill a hole through it, and thread it through a C-stand so it hangs horizontally with nothing beneath it. The bottle then sits on the top face of that wood, elevated and isolated. A small amount of earthquake putty pressed onto the top of the wood keeps the bottle secure without leaving residue and without any adhesive that might show. This rig is cheap, takes about ten minutes to make, and completely solves the reflection problem that comes from resting glass on a table.
One-by-one wooden dowel suspended through C-stand with earthquake putty on top
Take a 1x1 piece of wood, cut it to about half its length, drill a hole through it, and thread it through a C-stand so it hangs horizontally with nothing beneath it. The bottle then sits on the top face of that wood, elevated and isolated. A small amount of earthquake putty pressed onto the top of the wood keeps the bottle secure without leaving residue and without any adhesive that might show. This rig is cheap, takes about ten minutes to make, and completely solves the reflection problem that comes from resting glass on a table.
If you are doing this regularly, it is worth labeling this piece of wood and keeping it in your kit. I keep a pre-drilled one in my studio along with a few different sizes of putty depending on the bottle base.
Step 3: Place the Background Light (Medium Half Dome, Directly Behind)
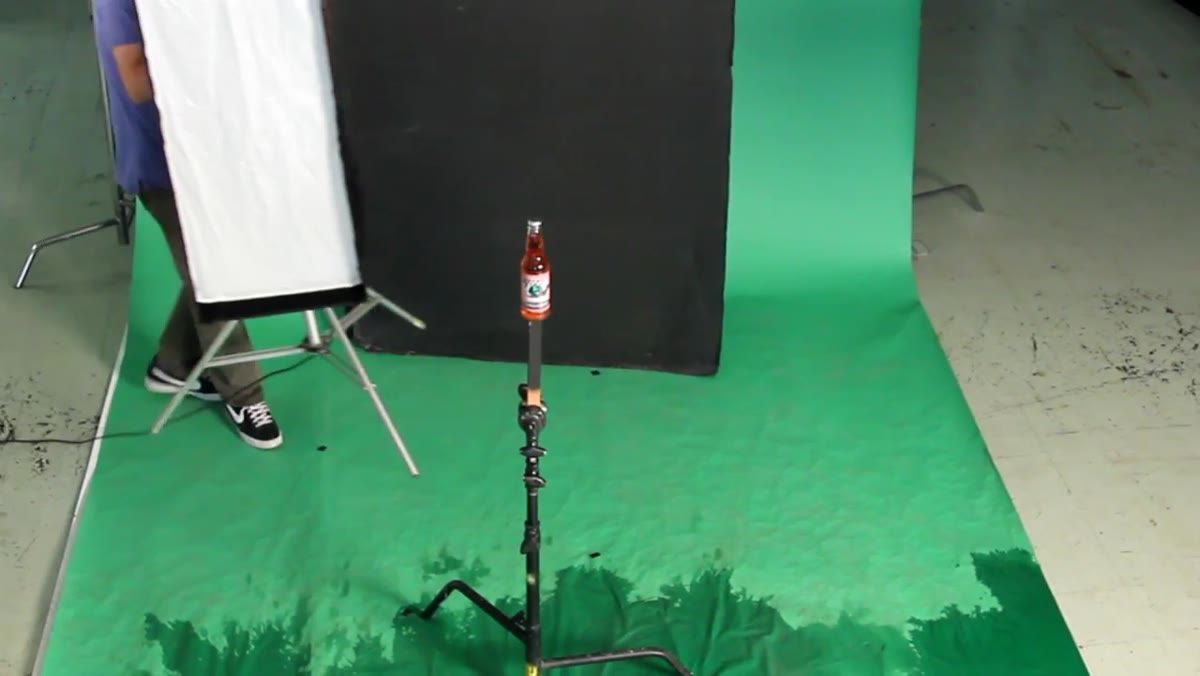 Medium half dome positioned directly behind bottle on black background
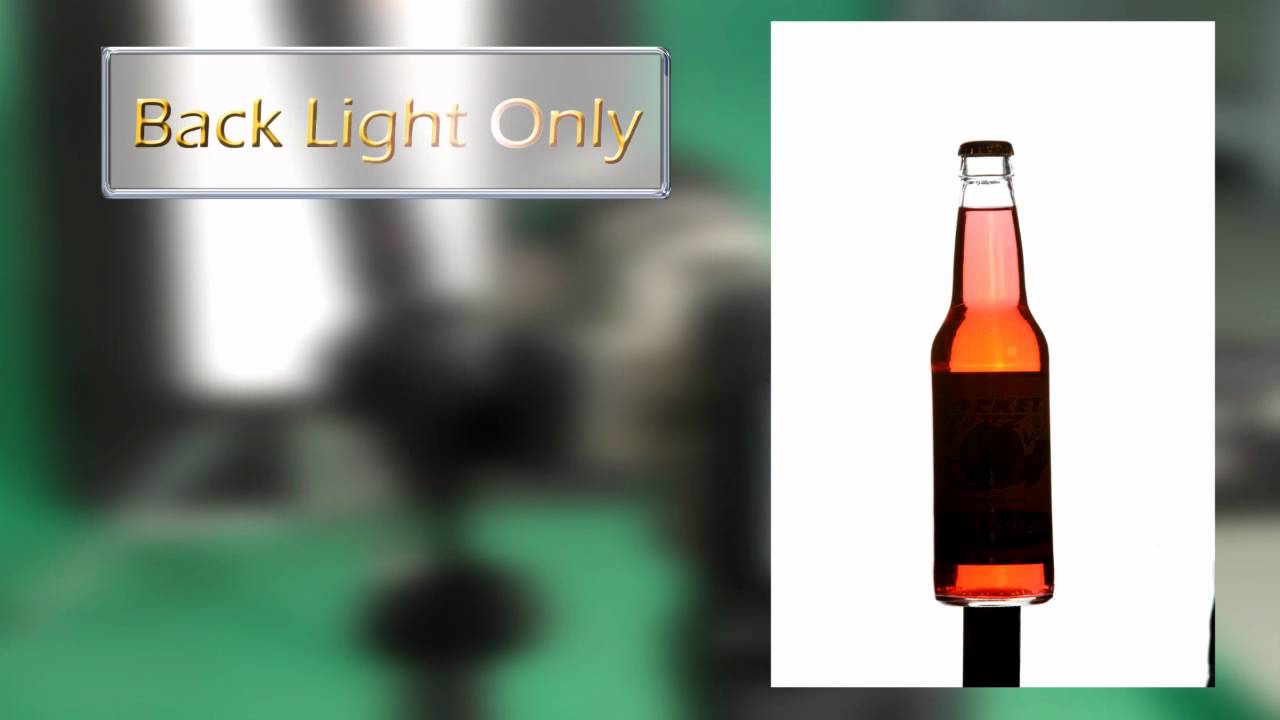
The first and most important light goes behind the bottle. JP uses a medium half dome for a specific reason: it is large enough to throw light through the bottle and create that glowing interior effect, but small enough that the black background still wraps around both sides of the bottle and reflects into the glass edges. A large softbox here would kill the dark edges. A small modifier would not give enough light through the bottle.
Medium half dome positioned directly behind bottle on black background
The first and most important light goes behind the bottle. JP uses a medium half dome for a specific reason: it is large enough to throw light through the bottle and create that glowing interior effect, but small enough that the black background still wraps around both sides of the bottle and reflects into the glass edges. A large softbox here would kill the dark edges. A small modifier would not give enough light through the bottle.
Position this light directly behind the bottle, aimed at the camera. Moving it closer tightens the black edge lines on the sides of the bottle. Moving it further back widens them. For a clean, refined look, you want those black lines narrow. Start with the light a few feet behind the bottle and adjust based on what you see in the live view or test shot.
Step 4: Add the Key Light (Medium Strip Box, Turned on Its Side)
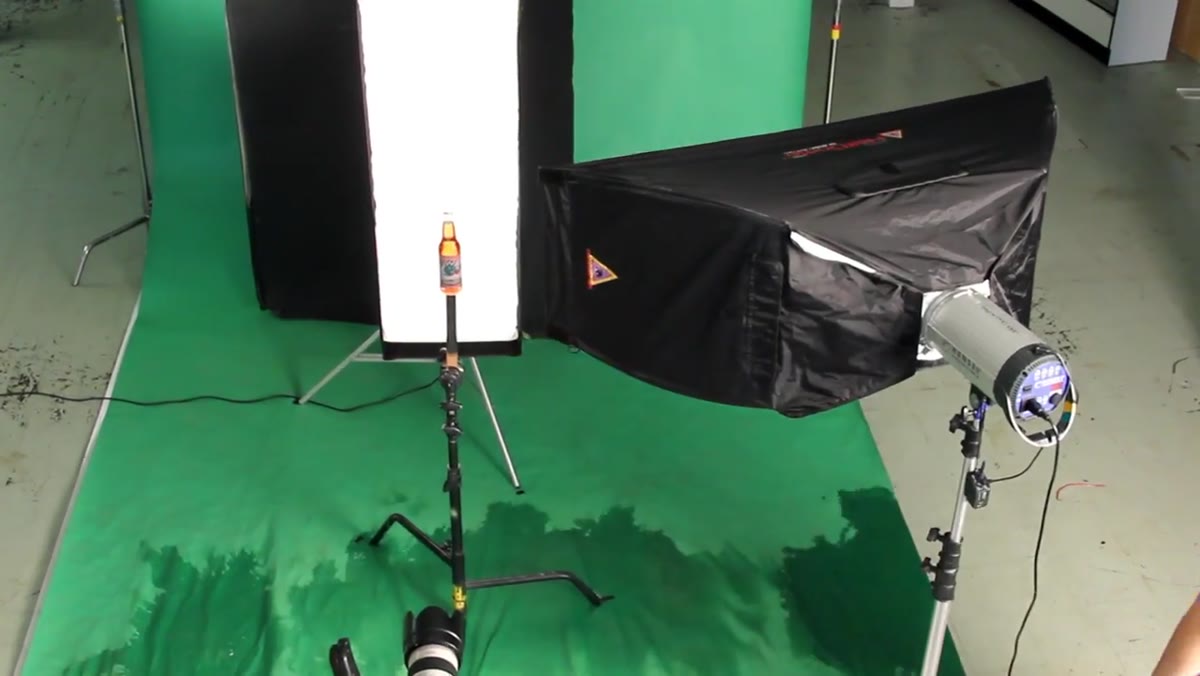 Medium strip box rotated horizontally beside bottle as key and fill
Here is the detail that separates a good bottle shot from a flat one. A medium strip box is rotated 90 degrees so its short edge (roughly 18 inches) faces the bottle as the primary highlight source. That narrow face creates a defined, crisp highlight along the bottle’s shoulder or body. But because the box is now oriented horizontally, its long face becomes a broad, soft fill that opens up the label and lifts the mid-tones. You are getting two functions out of one modifier.
Medium strip box rotated horizontally beside bottle as key and fill
Here is the detail that separates a good bottle shot from a flat one. A medium strip box is rotated 90 degrees so its short edge (roughly 18 inches) faces the bottle as the primary highlight source. That narrow face creates a defined, crisp highlight along the bottle’s shoulder or body. But because the box is now oriented horizontally, its long face becomes a broad, soft fill that opens up the label and lifts the mid-tones. You are getting two functions out of one modifier.
Place this on the camera-right side of the bottle. The height and exact angle will depend on the bottle shape, but generally you want that highlight landing on the upper third of the bottle where the glass curves most dramatically.
Step 5: Add a Small Strip Box on Camera Left for the Neck and Label
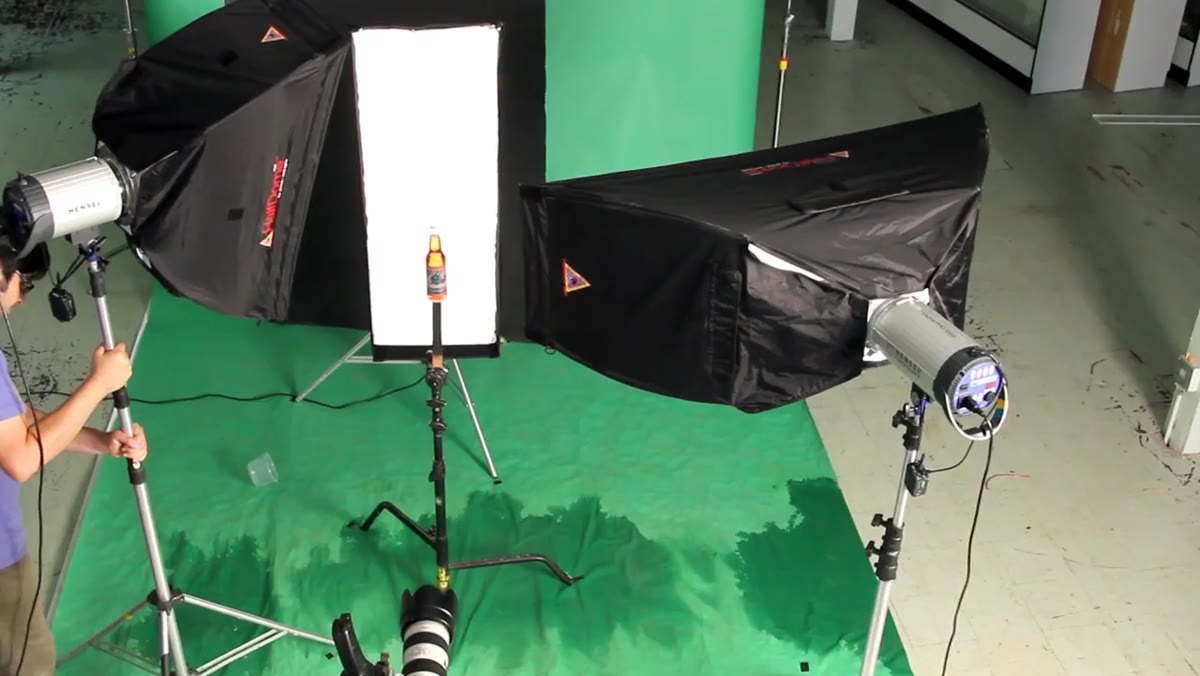 Small strip box on camera left lighting bottle neck and label edge
A small strip box on the opposite side handles the neck of the bottle and the left edge of the label. The goal here is subtle. You want a rim of light on camera left that keeps the label readable and gives the neck some shape, without creating a competing highlight that fights the key. Keep the power on this one lower than the key and feather it slightly away from the bottle so you are catching the edge rather than flooding the front face.
Small strip box on camera left lighting bottle neck and label edge
A small strip box on the opposite side handles the neck of the bottle and the left edge of the label. The goal here is subtle. You want a rim of light on camera left that keeps the label readable and gives the neck some shape, without creating a competing highlight that fights the key. Keep the power on this one lower than the key and feather it slightly away from the bottle so you are catching the edge rather than flooding the front face.
Step 6: Add a Large Reflector Card for Label Metallic Detail
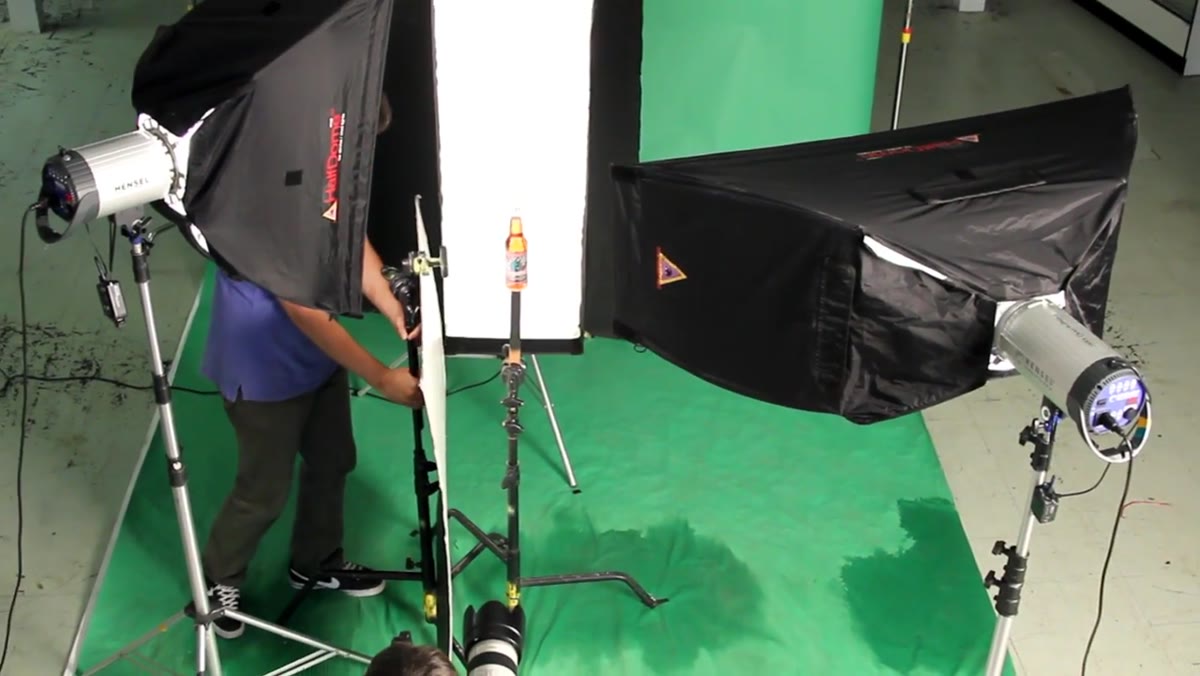 Large white fill card positioned on camera left beside bottle
Metallic labels go dark fast without a dedicated reflection source. A large white fill card positioned on camera left bounces just enough light back into the metallic surface of the label to make it read as metallic rather than just dark. No power output, no modifier, just a card. This is the kind of thing I would not have thought to add until I saw the label look dead in a test shot and started experimenting. Now it is the first card I reach for on any bottle with foil or metallic ink.
Large white fill card positioned on camera left beside bottle
Metallic labels go dark fast without a dedicated reflection source. A large white fill card positioned on camera left bounces just enough light back into the metallic surface of the label to make it read as metallic rather than just dark. No power output, no modifier, just a card. This is the kind of thing I would not have thought to add until I saw the label look dead in a test shot and started experimenting. Now it is the first card I reach for on any bottle with foil or metallic ink.
Step 7: Apply Glycerin Mist for the Fresh-from-the-Cooler Effect
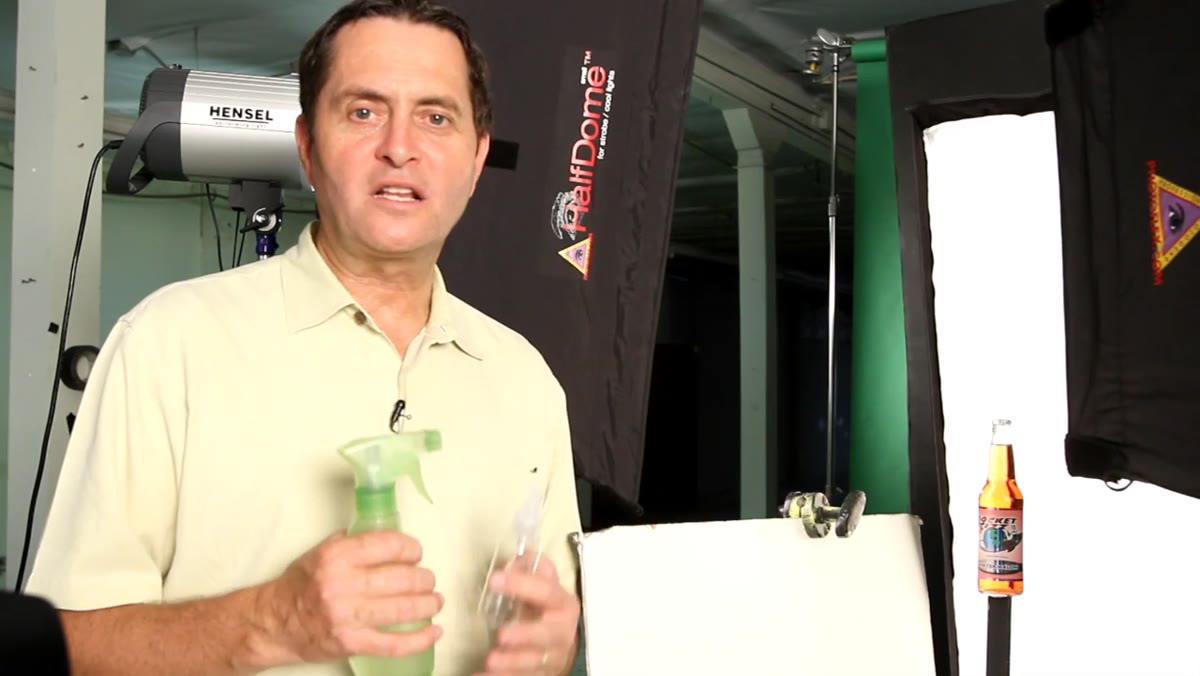 Spritzer bottle with glycerin mixture being applied to bottle surface
Mix glycerin and water at a 50/50 ratio and load it into a spray bottle. The glycerin slows evaporation so the drops stay visible and round on camera instead of sheeting off. Smaller spritzer nozzles create fine mist that reads as a light condensation. Larger nozzles create bigger, more dramatic drops that look like the bottle just came out of ice. JP leans toward the larger drops for this shoot, and I usually agree for beer or soft drink products. For a luxury spirits label, finer mist tends to feel more elevated. Shoot several versions at different levels of moisture and select in post. The drops change fast, so work quickly between takes.
Spritzer bottle with glycerin mixture being applied to bottle surface
Mix glycerin and water at a 50/50 ratio and load it into a spray bottle. The glycerin slows evaporation so the drops stay visible and round on camera instead of sheeting off. Smaller spritzer nozzles create fine mist that reads as a light condensation. Larger nozzles create bigger, more dramatic drops that look like the bottle just came out of ice. JP leans toward the larger drops for this shoot, and I usually agree for beer or soft drink products. For a luxury spirits label, finer mist tends to feel more elevated. Shoot several versions at different levels of moisture and select in post. The drops change fast, so work quickly between takes.
A Note on Matching Color Temperature Before You Composite
When I composite a separately shot bottle into a lifestyle image, color temperature is where the wheels fall off. The bottle lighting rig will almost always have a slightly different white balance than the ambient or strobe setup on the main subject shoot, especially if those two shoots happen on different days or in different rooms. Now I shoot a gray card in both setups and match them in Lightroom before I even think about masking. It is a two-minute step that saves an hour of color grading. Get it right at the raw file stage.
The single most important takeaway from this tutorial is that bottle photography is really reflection management. Every light placement, every card, every choice of modifier size is a decision about what the glass reflects and what it does not. Once you think in those terms, the logic of the setup becomes obvious rather than arbitrary.
Watch the full tutorial on YouTube to see JP and Hector build the setup in real time and compare the test shots at each stage.
Comments
Leave a Comment