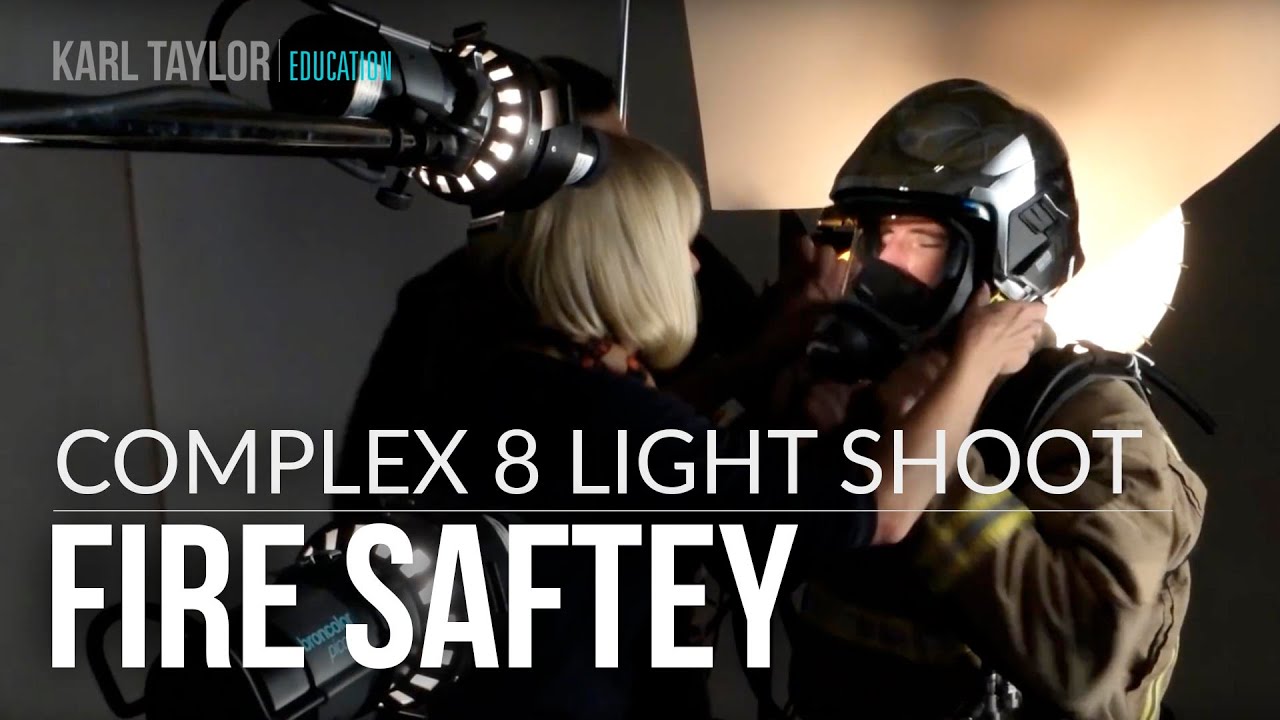
There’s a ceiling you hit with product photography when the product itself is the problem. Reflective surfaces, deep recesses, matte textures sitting right next to polished chrome, irregular geometry that swallows light from one angle and blows out from another. I’ve been in that position more times than I’d like to admit, standing in my studio at midnight with a setup that looks reasonable on paper and terrible on a monitor. The instinct is always to strip back, simplify, find the one elegant light position that solves everything. Sometimes that works. Often it doesn’t.
That’s why this Visual Education tutorial caught my attention immediately. Watch the full tutorial on YouTube – it’s a behind-the-scenes look at a commercial shoot for MSA Fire Safety, photographing breathing apparatus, helmets, and assorted protective equipment. The setup the photographer is running involves eight lights, three power packs, a Hasselblad H6D, and enough intentional complexity to make most photographers flinch. But watching it, the logic is clear. When your subject is a piece of industrial safety gear with curved visor plastics, matte rubber seals, and brushed metal components all in the same frame, you don’t get to be precious about light count.
What I sketched into my lighting journal after watching this comes down to a few core principles: respect the surface hierarchy of your subject, use your packs strategically to group lights by function, and never mistake minimalism for discipline.
Step 1: Audit Your Subject Before You Place a Single Light
 Photographer describes breathing apparatus and fire safety equipment
Before any modifier touches a stand, spend real time with the product. In the tutorial, the photographer is partway through a multi-piece shoot covering several variations of helmets and breathing apparatus. Each piece has a different surface behavior. That’s not one lighting problem, it’s four or five stacked on top of each other. I do this with a single bare bulb first, rotating the product slowly and watching where specular highlights land, where shadows pool, and where the shape reads clearly versus where it collapses. That audit dictates everything downstream.
Photographer describes breathing apparatus and fire safety equipment
Before any modifier touches a stand, spend real time with the product. In the tutorial, the photographer is partway through a multi-piece shoot covering several variations of helmets and breathing apparatus. Each piece has a different surface behavior. That’s not one lighting problem, it’s four or five stacked on top of each other. I do this with a single bare bulb first, rotating the product slowly and watching where specular highlights land, where shadows pool, and where the shape reads clearly versus where it collapses. That audit dictates everything downstream.
For a subject like this, list out each material type and assign it a lighting priority. Transparent visors need to be rim-lit or backlit to show their depth without going opaque. Matte surfaces need directional light to reveal texture. Metal components need controlled reflections. You can’t solve all of that with two lights and a reflector.
Step 2: Group Your Lights by Function, Not by Position
 Three power packs visible, eight lights described in setup
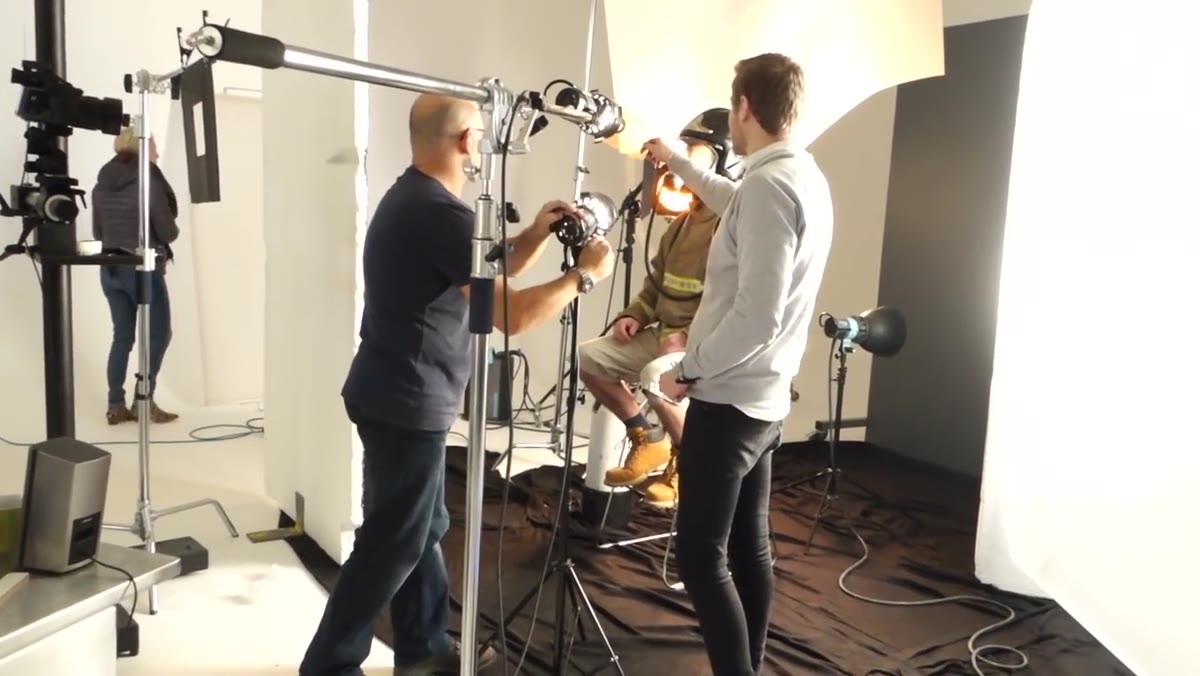
The photographer is running three power packs across eight lights, and that structure is doing real work. Grouping lights by pack means you can adjust a whole category of lights with a single dial. In my own setups, I mentally label each group before I assign a single head: background separation, key and fill, and rim or edge definition. On this shoot, with industrial safety equipment, a fourth group for accent or product-specific detail work makes complete sense.
Three power packs visible, eight lights described in setup
The photographer is running three power packs across eight lights, and that structure is doing real work. Grouping lights by pack means you can adjust a whole category of lights with a single dial. In my own setups, I mentally label each group before I assign a single head: background separation, key and fill, and rim or edge definition. On this shoot, with industrial safety equipment, a fourth group for accent or product-specific detail work makes complete sense.
The practical takeaway here is that you shouldn’t think of an 8-light setup as eight individual decisions. You’re making three or four macro decisions and then fine-tuning within each group. Label your heads if you have to. I use masking tape strips on every stand in my studio with the group name and output level written in marker. It sounds obsessive, but when you’re making forty adjustments across a shoot day, that tape saves you.
Step 3: Use Water and Atmospheric Elements as a Lighting Variable, Not an Afterthought
 Mist and water described as additions to helmet shots
The tutorial mentions adding mist and water effects to certain helmet shots, and this is a point that gets buried in behind-the-scenes content but deserves more attention. Water changes how every light in your setup behaves. Droplets on a visor create micro-specular reflections that can either add depth or turn into a blown-out mess depending on your light angles. Mist in the air scatters light and can kill edge definition you’ve spent an hour dialing in.
Mist and water described as additions to helmet shots
The tutorial mentions adding mist and water effects to certain helmet shots, and this is a point that gets buried in behind-the-scenes content but deserves more attention. Water changes how every light in your setup behaves. Droplets on a visor create micro-specular reflections that can either add depth or turn into a blown-out mess depending on your light angles. Mist in the air scatters light and can kill edge definition you’ve spent an hour dialing in.
The rule I follow: introduce atmosphere only after your base lighting is locked and tested on a dry subject. Photograph the dry version first so you have a reference. Then introduce the water or mist incrementally, checking the monitor after each addition. If a particular light is creating problems with the wet surface that it wasn’t creating dry, you have a targeted fix rather than a global problem.
Step 4: Shoot Tethered and Review Straight-Out-of-Camera Files Critically
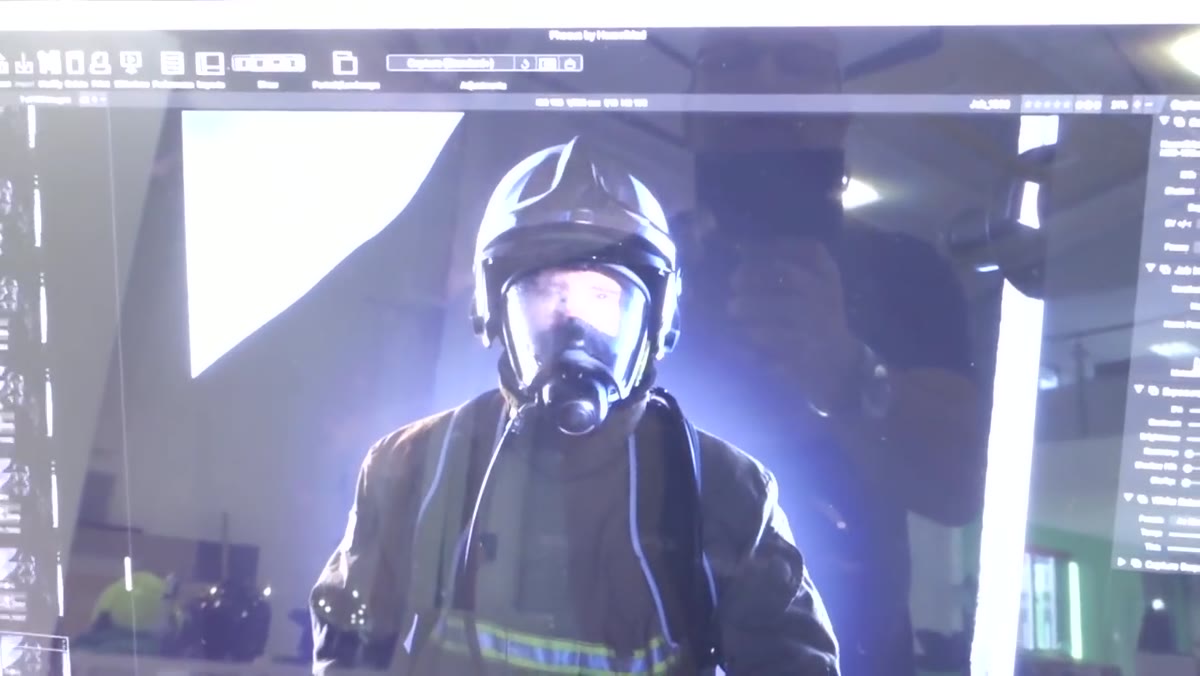
 Hasselblad H6D mentioned, straight-out-of-camera results reviewed
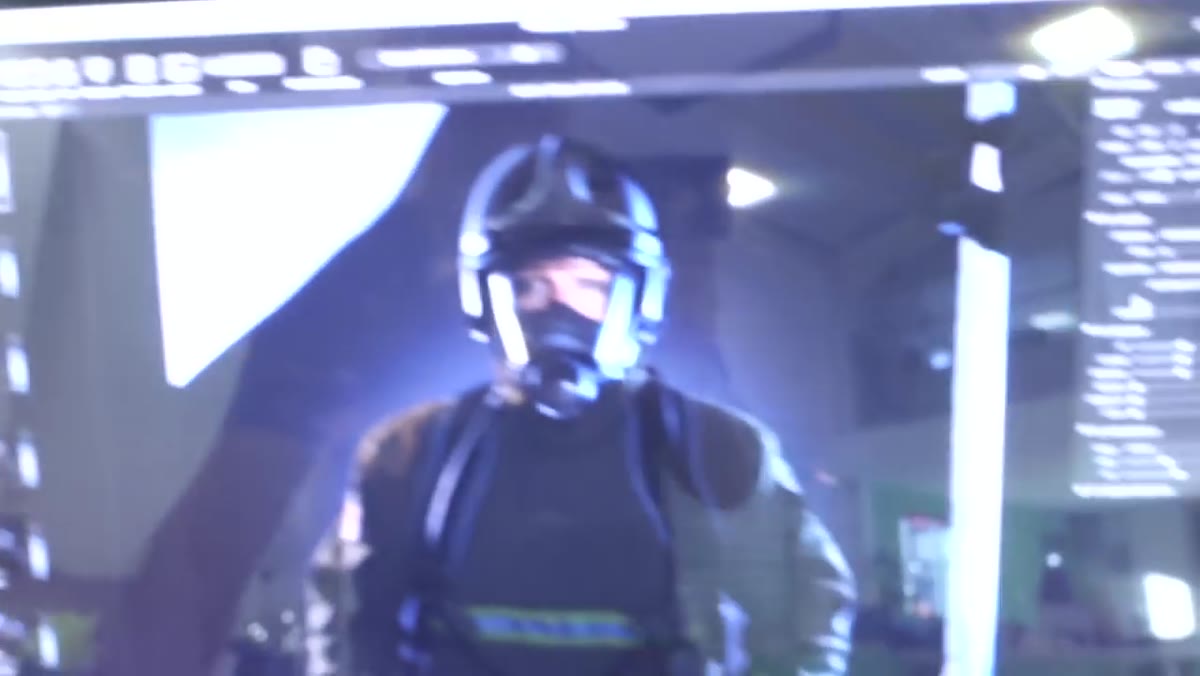
The photographer is shooting on a Hasselblad H6D and reviewing straight-out-of-camera results during the shoot. This matters because it changes the standard you’re editing toward. When you’re working at medium format resolution with a client’s product, the file shows you everything the lighting is doing, both the good and the problems. Post-processing forgiveness shrinks dramatically.
Hasselblad H6D mentioned, straight-out-of-camera results reviewed
The photographer is shooting on a Hasselblad H6D and reviewing straight-out-of-camera results during the shoot. This matters because it changes the standard you’re editing toward. When you’re working at medium format resolution with a client’s product, the file shows you everything the lighting is doing, both the good and the problems. Post-processing forgiveness shrinks dramatically.
Reviewing unretouched files during the shoot rather than waiting until you’re in post is something I’d call non-negotiable on commercial work. Every shadow that bothers you at the time of capture will bother your client in the final deliverable. The light you decide to tolerate on set is the retouch bill you’re writing yourself later. Make the lighting fix on set.
Step 5: Respect the Shoot Day Structure and Pace Multiple Setups
 Photographer notes more work planned for the afternoon
The tutorial shows this as a multi-phase shoot day, with morning work done and more planned for the afternoon. That pacing structure is itself a technique. Complex setups take longer to adjust and verify than simple ones, so building the shoot schedule around lighting-state changes, rather than just shot counts, keeps the day from collapsing.
Photographer notes more work planned for the afternoon
The tutorial shows this as a multi-phase shoot day, with morning work done and more planned for the afternoon. That pacing structure is itself a technique. Complex setups take longer to adjust and verify than simple ones, so building the shoot schedule around lighting-state changes, rather than just shot counts, keeps the day from collapsing.
I plan complex product shoots around lighting states rather than individual images. Each state is a full setup with all eight lights positioned and tested. Within that state I shoot multiple hero angles and product variations without touching the lights. Only when I’ve exhausted that configuration do I move into the next lighting state. This protects setup time and keeps the shoot moving efficiently.
What I’d Add From My Own Experience
Eight lights is a lot of hardware to troubleshoot under client pressure. My addition to this workflow is a pre-shoot lighting test the day before, with a stand-in object that approximates the surface complexity of the actual product. I use whatever’s on my desk. The goal isn’t to nail the final look, it’s to surface problems with my modifier choices and pack groupings before the client arrives. I’ve ruined enough setups by finding a fatal flaw at 9am with a client watching to have learned that lesson thoroughly. The test shoot also gives me a starting output ratio for each pack, which I note down and use as a baseline on shoot day.
The single most important thing this tutorial reinforced for me is that lighting complexity is only justified when the subject demands it, and when it’s demanded, half-measures produce worse results than going all the way. Committing to eight lights means committing to understanding every one of them. Watch the full tutorial on YouTube and pay close attention to how the setup is organized across the three power packs. That structure is the real lesson.
Comments
Leave a Comment