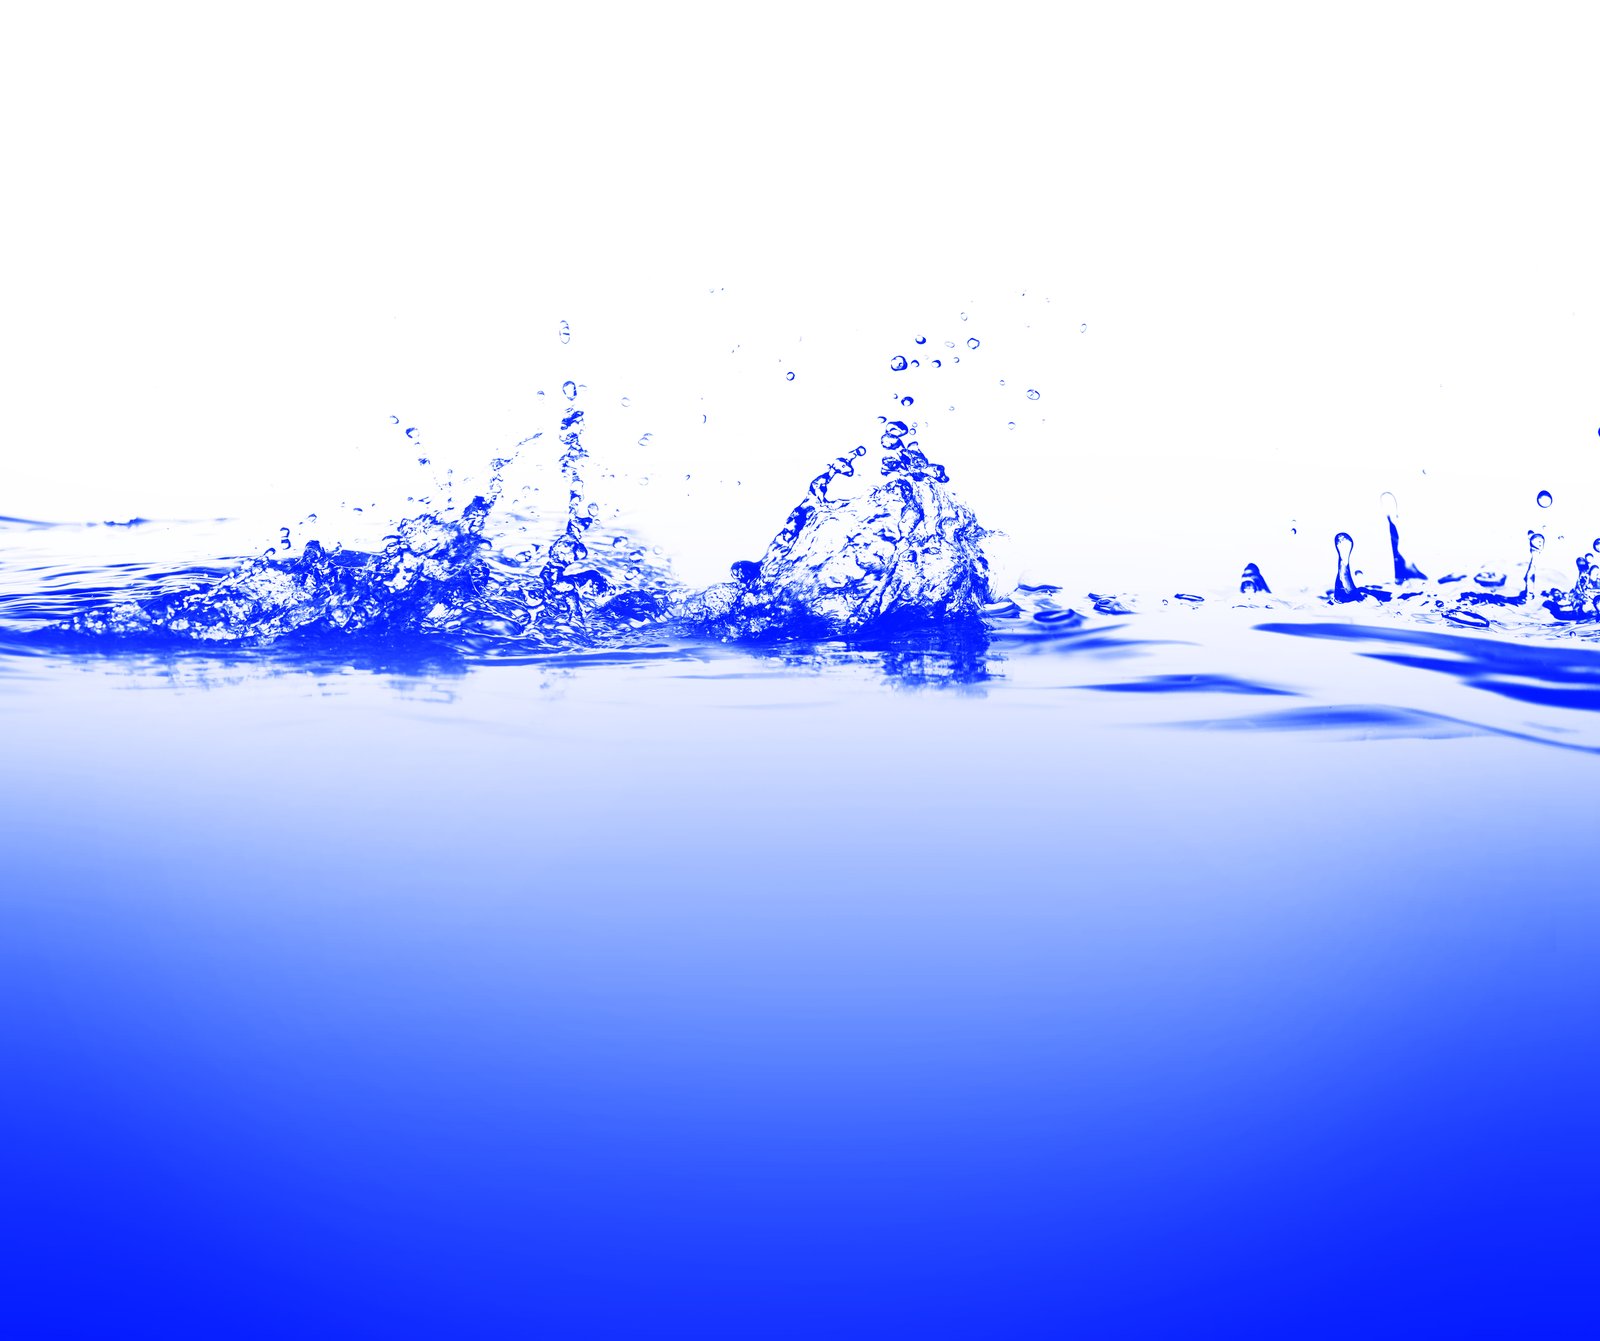
Mastering Liquid Dynamics: How to Nail Water Splash Product Shots
I’ve watched countless photographers chase that perfect moment when a shampoo bottle plunges into water, surrounded by cascading bubbles and a dramatic splash crown. It looks spontaneous. It looks lucky. Here’s what I’ve learned: it’s neither. That magic comes from rigorous planning, precise studio control, and a deep understanding of how light interacts with moving water.
The Illusion of Accident
The biggest misconception about splash photography is that you’re waiting for something to happen randomly. You’re not. You’re orchestrating a controlled event with the same precision you’d apply to still-life portraiture. The difference is your subject isn’t static—but your lighting and positioning absolutely must be.
This is where most shooters get stuck. They focus on capturing the water movement and forget that controlling the product itself is the real challenge. Unlike a model who can hold a pose, your bottle needs to be anchored in space while everything around it explodes into motion.
Lighting Strategy for Moving Subjects
When water is your co-subject, your lighting setup becomes exponentially more complex. I use a multi-source approach: key lighting on the product to keep it properly exposed, rim lighting to sculpt the water droplets into three-dimensional elements, and backlighting to separate the splash from the background.
The critical insight here is consistency. Your key light positioning must remain identical across every shot. I rig my strobes to fixed positions and use minimal power adjustments—you’re looking for predictable, repeatable light, not experimentation mid-shoot.
The Positioning Foundation
Here’s the recipe: secure your product in the tank using clear acrylic rigs or fishing line (invisible to your camera angle). Position it precisely where the water action will frame it most dynamically. This is non-negotiable. Once your bottle is locked in position, you have full creative freedom to manipulate the water itself.
I typically shoot from slightly above and off-axis, angling my camera to catch the crown splash in profile. This angle maximizes the three-dimensional quality of the water while keeping the product sharp and front-facing.
The Triggering Mechanism
High-speed sync strobes and sound-triggered cameras are your allies here. I prefer sound triggers over manual timing—the reliability is simply superior. Set your shutter speed at or below your camera’s flash sync speed (usually 1/200th for most cameras), trigger your strobes at full power, and let the flash duration freeze the action.
The water movement becomes immaterial; your flash exposure is so fast that motion blur becomes impossible.
Final Thoughts
Splash photography isn’t about hoping. It’s about engineering your studio environment so thoroughly that the outcome becomes inevitable. The elegance of the final image reflects the precision of your planning—every light angle, every rig position, every strobing decision compounds into that one perfect frame.
That’s not luck. That’s craft.
Comments (6)
Never thought of approaching it this way. Really creative.
The tip about mastering liquid dynamics how was the missing piece for me. Thank you.
This is exactly what I needed today. Been struggling with this for weeks.
Quality content like this is rare. Keep it up.
Couldn't agree more. I've seen this make a huge difference in photoshop work specifically.
My workflow just got 10x faster. Not even kidding.
Leave a Comment