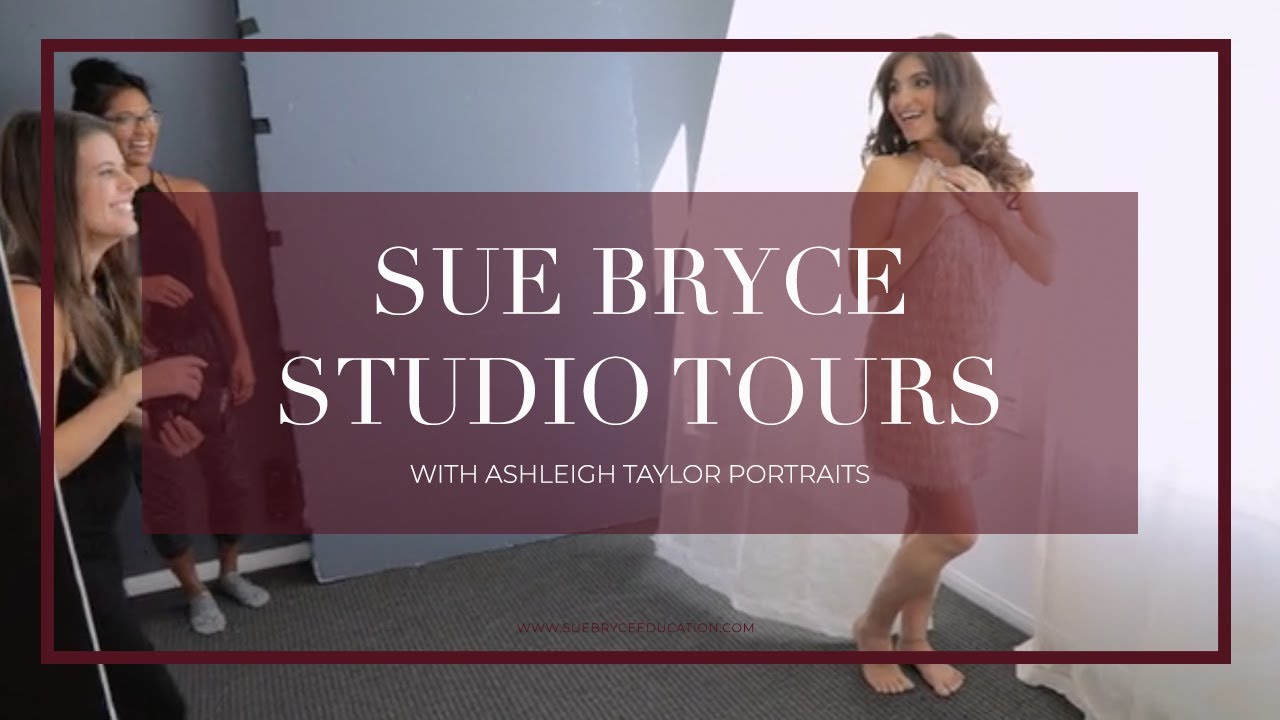
Space is the excuse I hear more than any other. Photographers tell me they need a bigger studio before they can do serious portrait work, before they can justify the rent, before they can start building a client base. I spent years believing a version of that myself. My first Los Angeles studio was just over 400 square feet and I treated it like a limitation rather than a constraint worth solving. What changed my thinking was watching other photographers work inside tight rooms and still produce commercial-quality images.
In this The Portrait System tutorial, Sue Bryce visits the Santa Barbara portrait studio of Ashleigh Taylor, a photographer who built her business inside 300 square feet split across two rooms. Watch the full tutorial on YouTube. What Ashleigh shows Sue is not a compromise. It is a deliberately engineered shooting environment where every element earns its place. That discipline is something I try to apply every time I tape a new light to my studio floor. The specifics below are drawn directly from what Ashleigh walks Sue through, and each one is something you can act on today.
Step 1: Anchor the Studio Around One Dominant Light Source
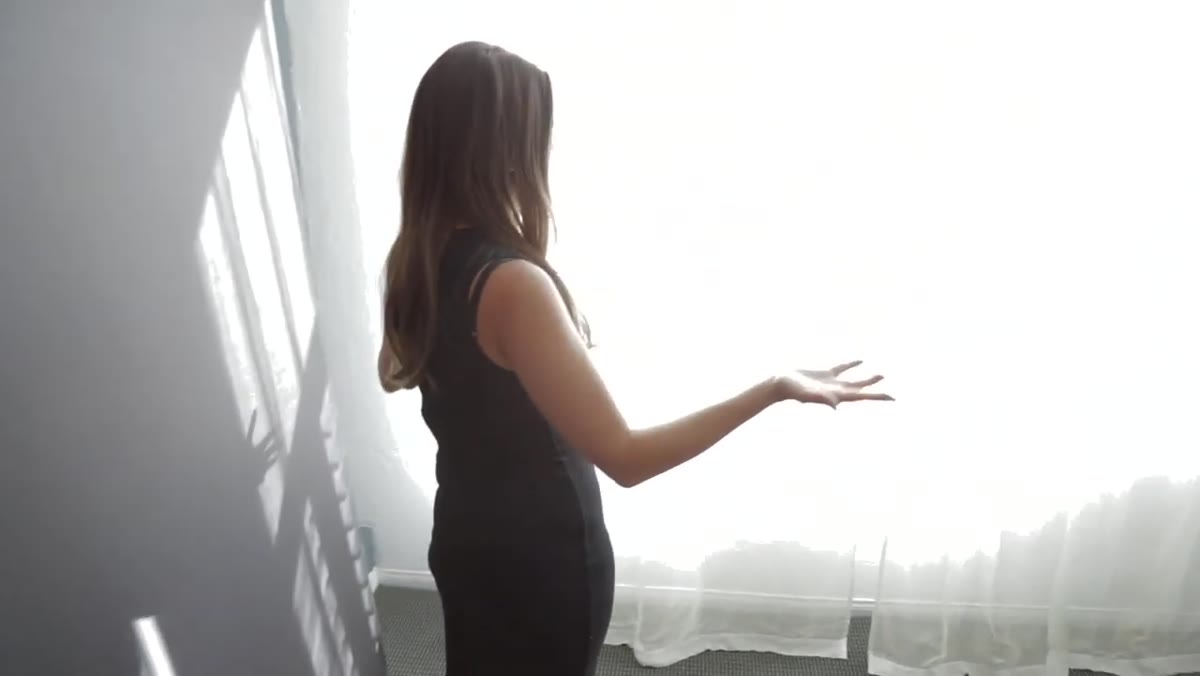 Large studio window used as primary natural light source
Before you buy a single light modifier, identify the best light in your space and build your shooting positions around it. Ashleigh oriented her entire studio so that the large window at the back of the room functions as her primary light source. She shoots into that backlight, using it to wrap around subjects rather than fighting it or blocking it. If you are working with a window of similar scale, your first task is to establish a consistent shooting distance from it and mark that position on the floor. I use masking tape. It sounds fussy but it means I can recreate a setup in under two minutes, which matters when a client is standing in front of me.
Large studio window used as primary natural light source
Before you buy a single light modifier, identify the best light in your space and build your shooting positions around it. Ashleigh oriented her entire studio so that the large window at the back of the room functions as her primary light source. She shoots into that backlight, using it to wrap around subjects rather than fighting it or blocking it. If you are working with a window of similar scale, your first task is to establish a consistent shooting distance from it and mark that position on the floor. I use masking tape. It sounds fussy but it means I can recreate a setup in under two minutes, which matters when a client is standing in front of me.
Natural window light at this scale behaves like a very large softbox, which means the falloff is gradual and the shadows are soft. Ashleigh uses this to her advantage for glamour and portrait work where you want dimensional but flattering light. The catch is that the color temperature shifts throughout the day, so if you are shooting sessions at different times, shoot a gray card reference at the start of each session and correct in post before you touch anything else.
Step 2: Use V-Flats to Shape and Control the Light You Already Have
 White V-flats positioned near the shooting area
V-flats are the most underrated tool in a small studio. Ashleigh keeps hers positioned near the window, and they serve two functions simultaneously. Turned with the white face toward the subject, they bounce fill light back into the shadow side. Turned with the black face toward the subject, they subtract light and deepen contrast. That single piece of foamcore is doing the work of a dedicated fill light and a flag, which in a 300-square-foot space is exactly the kind of dual-function thinking that keeps the room usable.
White V-flats positioned near the shooting area
V-flats are the most underrated tool in a small studio. Ashleigh keeps hers positioned near the window, and they serve two functions simultaneously. Turned with the white face toward the subject, they bounce fill light back into the shadow side. Turned with the black face toward the subject, they subtract light and deepen contrast. That single piece of foamcore is doing the work of a dedicated fill light and a flag, which in a 300-square-foot space is exactly the kind of dual-function thinking that keeps the room usable.
For glamour-style portraits, a white V-flat bounced at roughly 45 degrees opposite the window will open up shadows without destroying the dimensional quality of the light. I typically start with the flat about arm’s length from the subject and move it in or out until the shadow-to-highlight ratio hits roughly 3:1. You can measure this with a handheld meter or simply shoot a test frame and read the histogram. Either works.
Step 3: Build a Backdrop System That Stores Flat and Deploys Fast
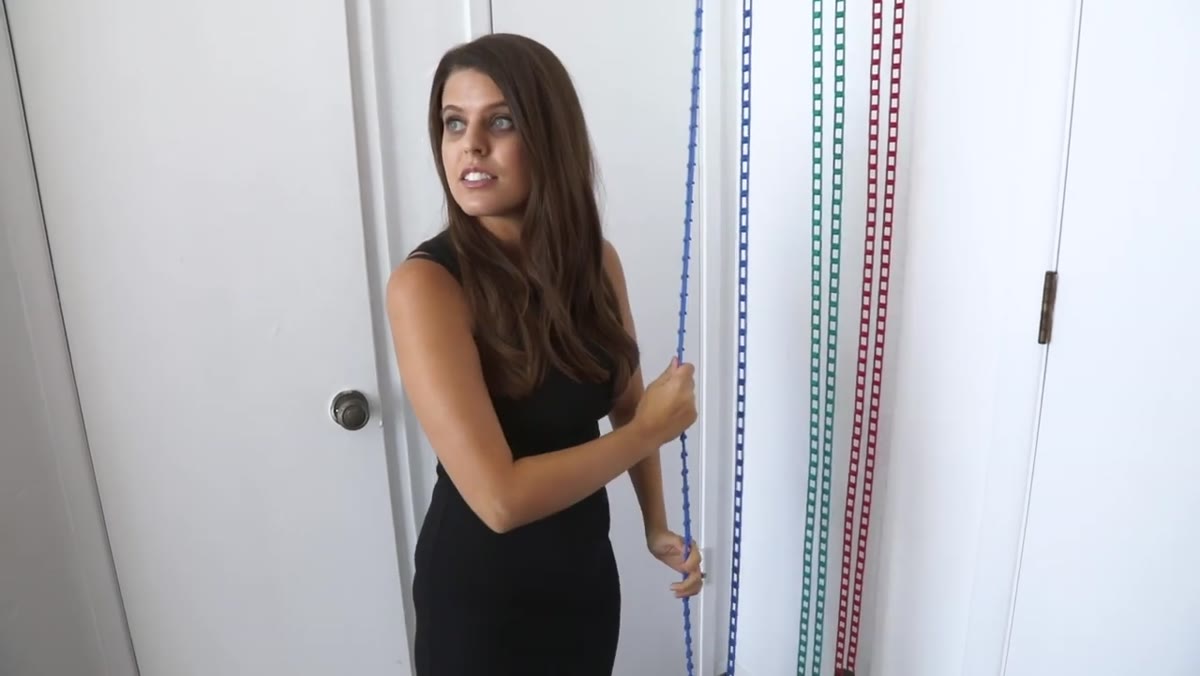 Custom roller backdrop system mounted in drop ceiling
Ashleigh’s studio has a drop ceiling, which normally rules out heavy backdrop hardware. Her solution was to have her father-in-law cut wooden panels to match the ceiling tile dimensions, paint them white, and install a hidden roller system that slots directly into the existing grid. The result is a backdrop rail that adds almost no visual bulk and holds multiple canvases without crowding the floor.
Custom roller backdrop system mounted in drop ceiling
Ashleigh’s studio has a drop ceiling, which normally rules out heavy backdrop hardware. Her solution was to have her father-in-law cut wooden panels to match the ceiling tile dimensions, paint them white, and install a hidden roller system that slots directly into the existing grid. The result is a backdrop rail that adds almost no visual bulk and holds multiple canvases without crowding the floor.
If you are working with a drop ceiling, this is a replicable solution. The key specification is matching the panel thickness to the existing tile depth so the weight distributes across the grid rather than pulling on individual tiles. Lightweight canvas backdrops work well here. Ashleigh shoots on several she painted herself, following a technique she learned through Sue Bryce’s education content. Hand-painted canvas gives you texture variation that no paper roll will match, and because you mixed the colors yourself, the tones tend to complement skin naturally rather than competing with it.
Step 4: Keep at Least Three Distinct Backdrops for Tonal Range
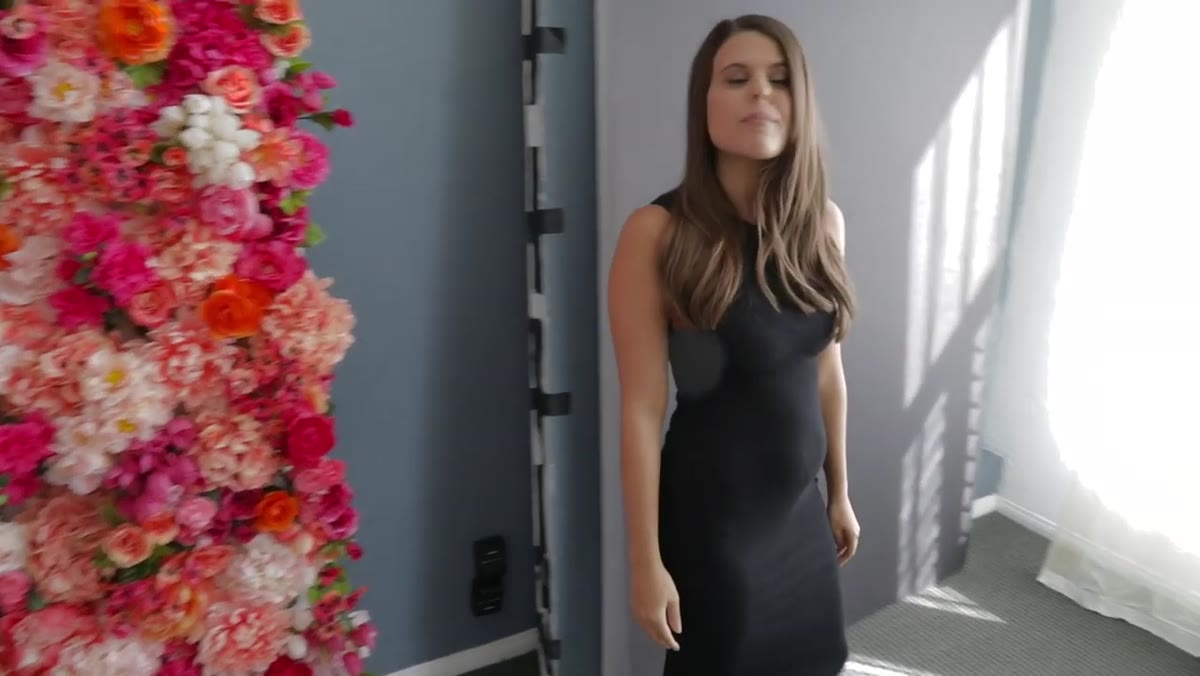
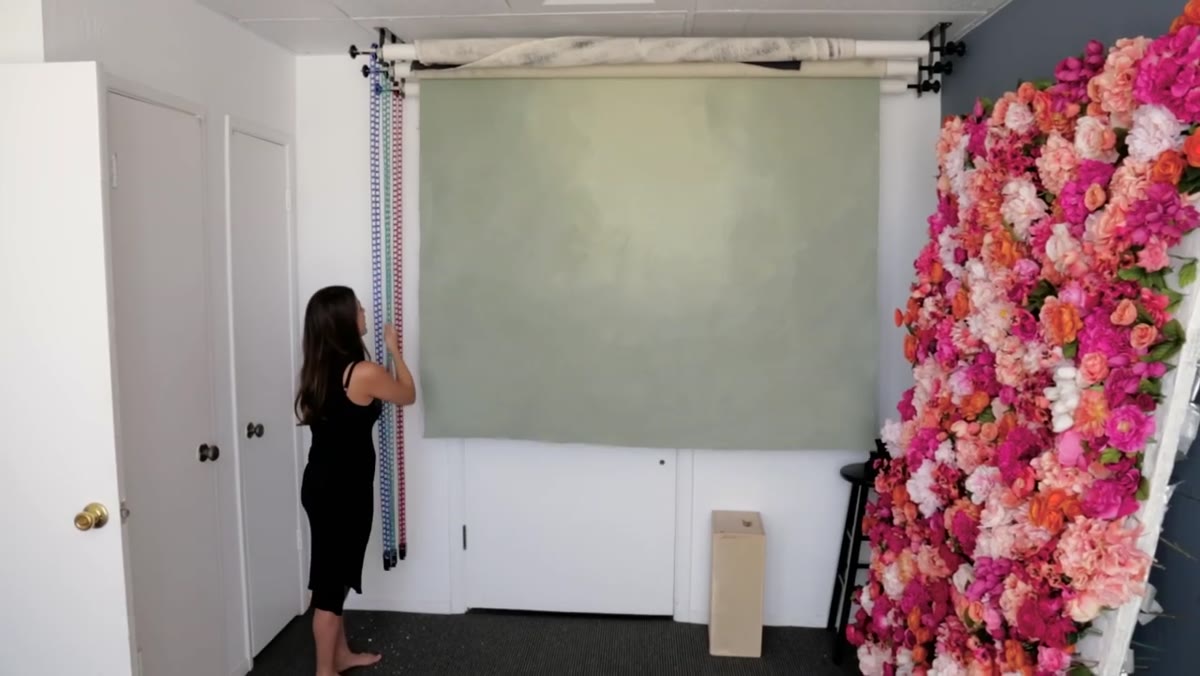 Multiple canvas backdrops showing floral, dark, and chalkboard options
Ashleigh shows Sue a range of backdrops that covers the three zones you need for commercial portrait work. A light, textured canvas for high-key and pastel looks. A darker, more graphic option for contrast and drama. A near-black chalkboard finish for maximum subject separation. Three backdrops sounds minimal but it covers the full range of client requests from corporate headshots through to glamour sessions. What matters is that the tones are meaningfully different from each other, not just slight variations of the same mid-gray.
Multiple canvas backdrops showing floral, dark, and chalkboard options
Ashleigh shows Sue a range of backdrops that covers the three zones you need for commercial portrait work. A light, textured canvas for high-key and pastel looks. A darker, more graphic option for contrast and drama. A near-black chalkboard finish for maximum subject separation. Three backdrops sounds minimal but it covers the full range of client requests from corporate headshots through to glamour sessions. What matters is that the tones are meaningfully different from each other, not just slight variations of the same mid-gray.
When selecting or painting backdrops for a small space, keep the value range wide but the saturation low. Highly saturated backdrops will color-contaminate your subject’s skin, especially in a tight room where light bounces from every surface. Neutral or desaturated tones give you flexibility in post without fighting the color of the room itself.
Step 5: Make Every Piece of Gear Earn Double Duty
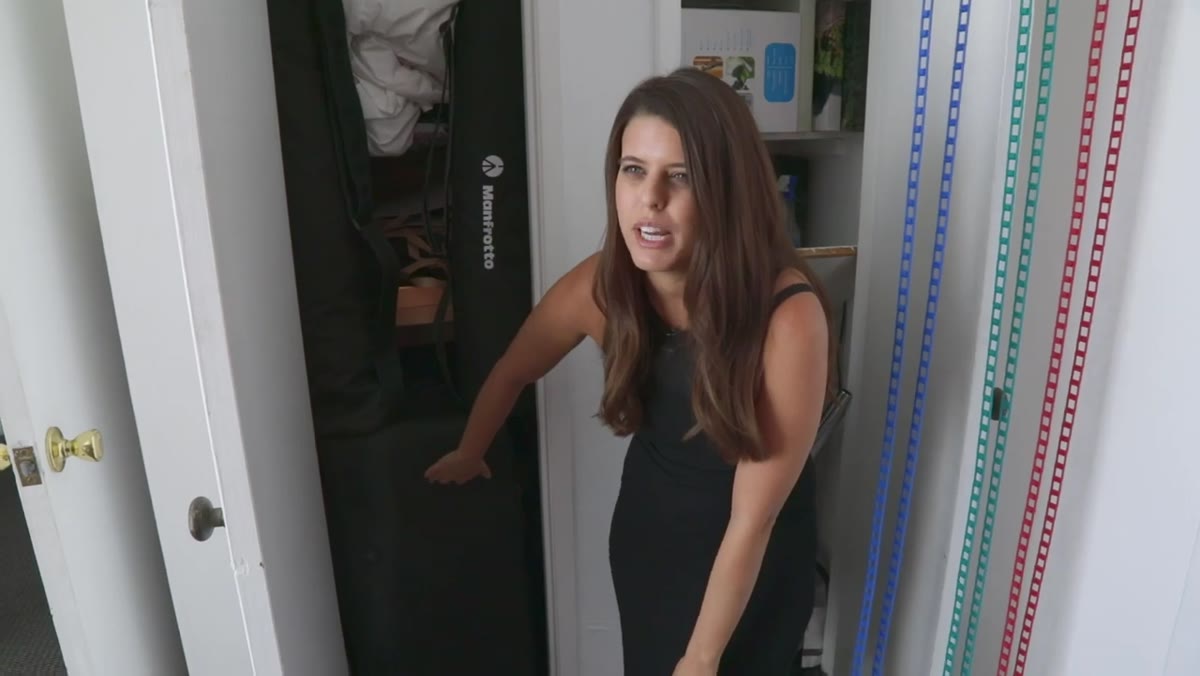 Queen-size air bed stored compactly in a rolling case
The most telling detail of Ashleigh’s studio is the queen-size air bed she stores in a rolling suitcase inside her closet. For glamour and boudoir sessions, a full-size bed is a standard prop. In a 300-square-foot studio, leaving a bed frame in the room permanently would eat half the usable floor space. Her solution is an inflatable bed with a sturdy frame that sets up for a shoot and disappears in minutes. The closet behind it holds client packaging supplies and old albums from her wedding photography work.
Queen-size air bed stored compactly in a rolling case
The most telling detail of Ashleigh’s studio is the queen-size air bed she stores in a rolling suitcase inside her closet. For glamour and boudoir sessions, a full-size bed is a standard prop. In a 300-square-foot studio, leaving a bed frame in the room permanently would eat half the usable floor space. Her solution is an inflatable bed with a sturdy frame that sets up for a shoot and disappears in minutes. The closet behind it holds client packaging supplies and old albums from her wedding photography work.
This principle applies to every piece of equipment. Before adding anything to a small studio, ask whether it can serve at least two distinct purposes. A cube ottoman is a posing block, a seat for the client during consultation, and storage inside. A low bench is a posing surface and a place to lay out wardrobe. The less floor space you surrender to single-function items, the more of the room stays available for the actual shooting area.
Step 6: Match Your Focal Length to the Room
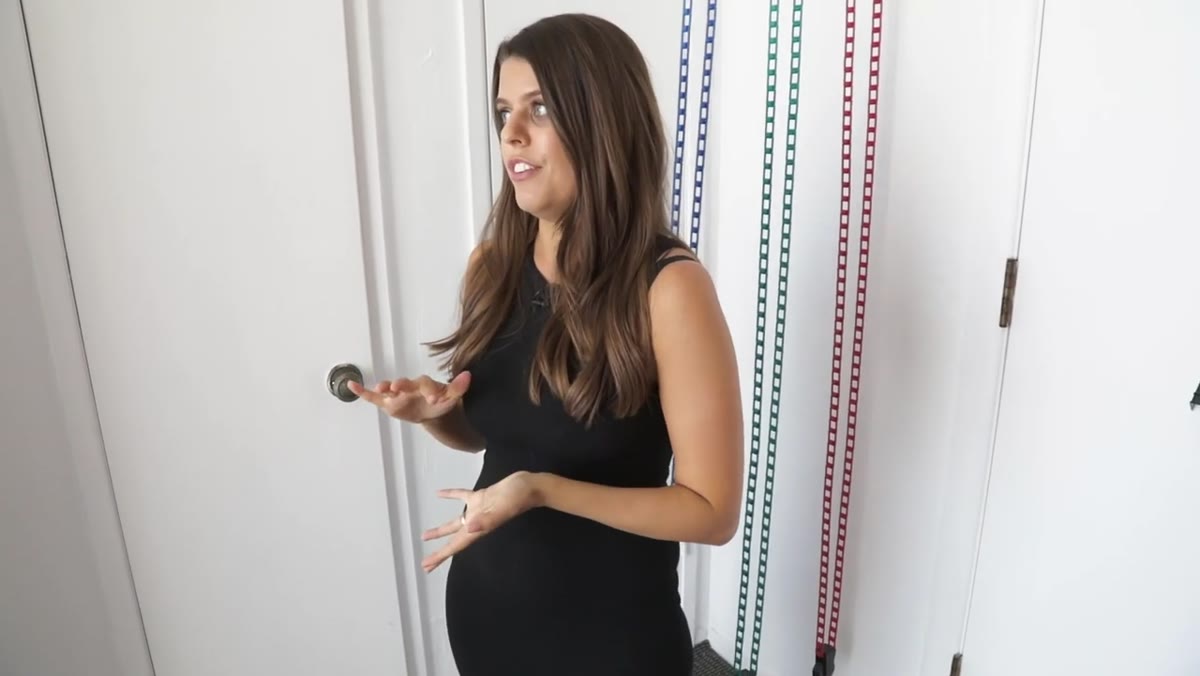 Discussion of lens choice in a tight shooting space
Ashleigh shoots primarily with a 50mm lens, dropping to a 35mm when she needs to work curves into the frame. In a room this size, anything longer than 85mm will put you against the back wall before you have enough working distance. The 50mm is the right call for small studios because it gives you a natural perspective without the compression of a telephoto or the distortion risk of a very wide lens on close subjects.
Discussion of lens choice in a tight shooting space
Ashleigh shoots primarily with a 50mm lens, dropping to a 35mm when she needs to work curves into the frame. In a room this size, anything longer than 85mm will put you against the back wall before you have enough working distance. The 50mm is the right call for small studios because it gives you a natural perspective without the compression of a telephoto or the distortion risk of a very wide lens on close subjects.
If your studio depth is under 15 feet, build your kit around a fast 50mm as your primary portrait lens. Reserve the 35mm for environmental shots or when you want to include the space itself as context. I shoot fashion in rooms tighter than this regularly, and the 50mm combined with precise subject positioning does everything I need.
What I’d Add From My Own Experience
The single thing I would layer on top of Ashleigh’s setup is a consistent color temperature protocol. Natural light changes from morning to afternoon by as much as 2000 Kelvin in a south-facing room, and that shift will change how your skin tones render across a full-day booking. I set a custom white balance at the start of every session by shooting a reference card under the actual shooting light, not the ambient room light. It takes 30 seconds and it means every session I shoot in a window-lit studio, the skin tones start from the same calibrated baseline regardless of what time the client walks in.
The larger lesson from Ashleigh’s studio is one I have come back to repeatedly. Constraint clarifies. When you cannot hide behind a sprawling kit, you make sharper decisions about light, position, and purpose. Ashleigh built a thriving portrait business inside 300 square feet not despite the limitations but because she worked with them honestly. That is the standard worth measuring against.
Watch the full tutorial on YouTube and pay particular attention to how Ashleigh moves through the space. The efficiency is not accidental. Every step she takes in that room was designed in advance.
Comments (3)
Love how you break down complex stuff into manageable steps.
Never thought of approaching it this way. Really creative.
Really solid breakdown. This pairs perfectly with the business work I've been writing about.
Leave a Comment