There’s a specific kind of frustration that comes from lighting a product with a glossy surface. You dial in what looks like a clean, controlled setup, take the shot, and the whole face of the product is a blown-out white rectangle. The name is gone. The color is gone. What you have is essentially a very expensive photograph of a reflection. I’ve been there more times than I want to admit, and it took me a long time to develop a reliable system for predicting where that reflection would land before I ever fired a strobe.
That’s why this Visual Education tutorial stopped me mid-scroll. Watch the full tutorial on YouTube — it’s short, dense, and covers a laser-based method for locating image-forming reflections that I wish someone had shown me when I was still shooting test rolls in a rented studio. The technique applies directly to any product that behaves like a mirror: lacquered packaging, glass bottles, polished metal, glossy labels. If the surface reflects, this method gives you control.
The core idea is this: a laser pointer tells you exactly where a light source will appear to live, from the camera’s perspective, when it bounces off a reflective surface. That information lets you make deliberate decisions about light placement rather than guessing and chimping endlessly. What the tutorial adds is a smart follow-up move for situations where the laser’s suggested position would actually hurt the shot.
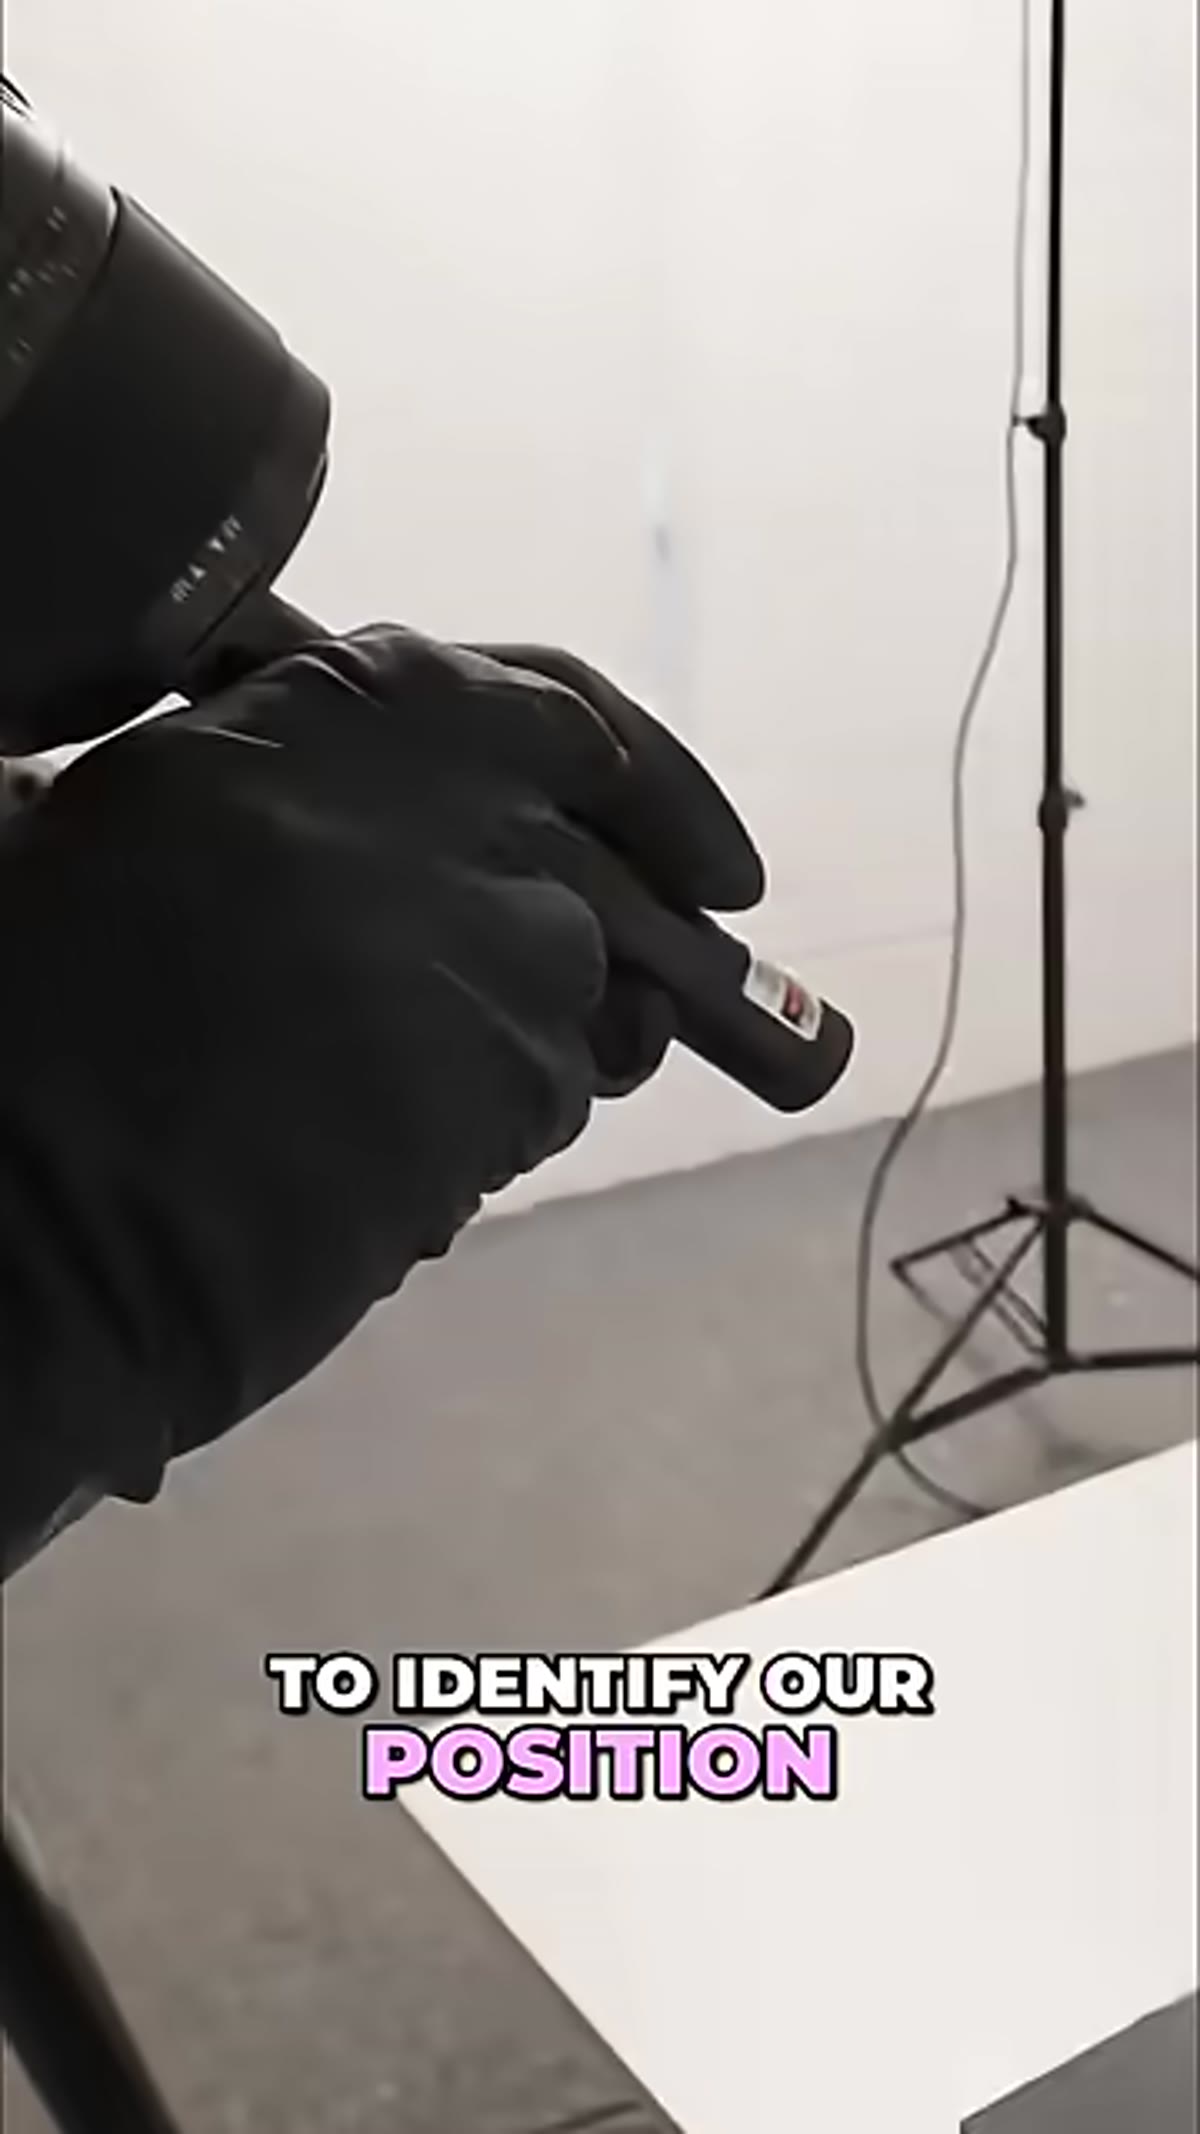
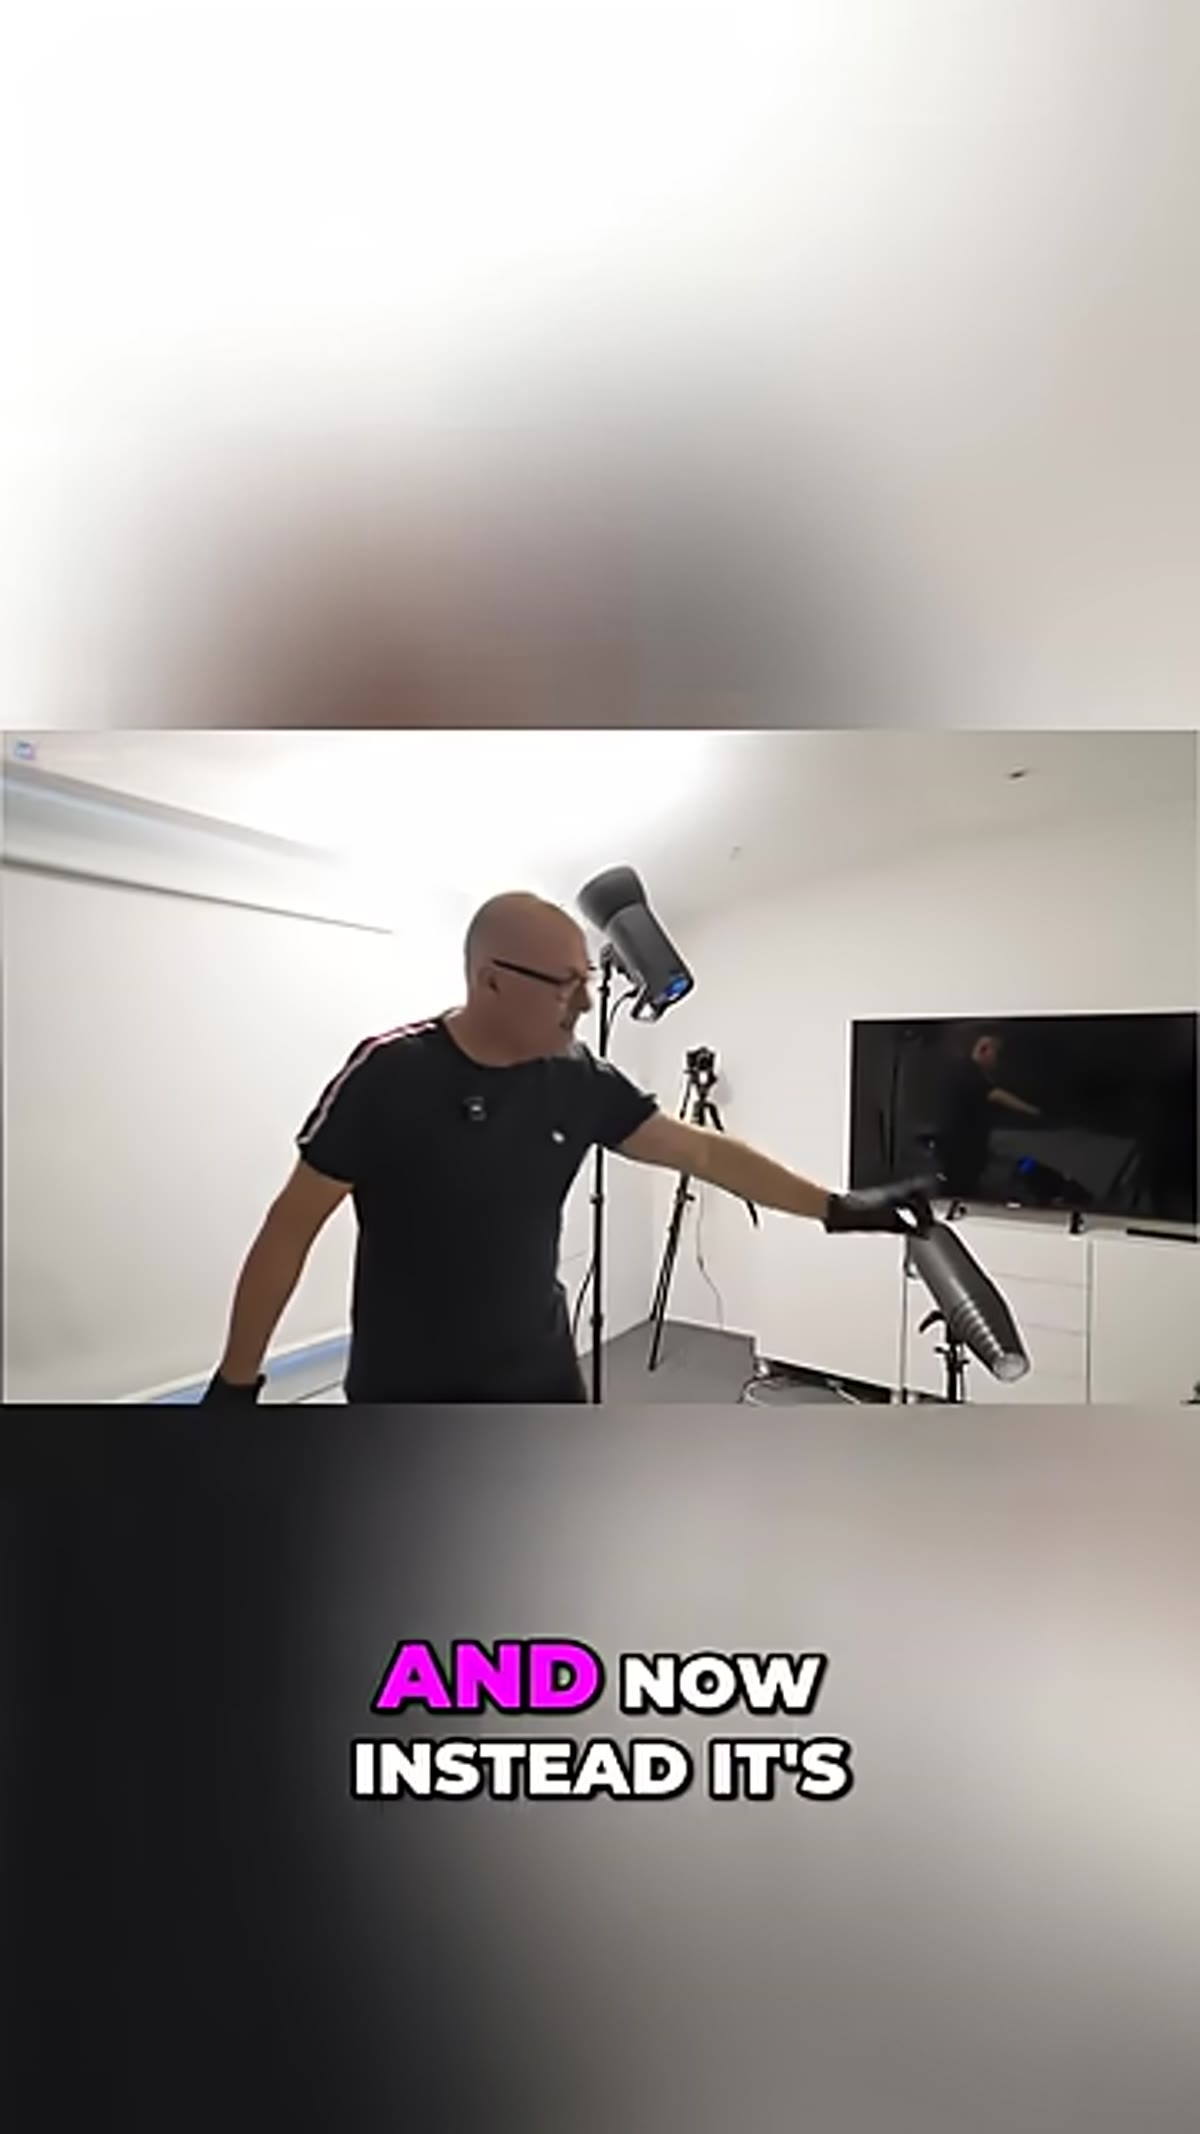
Step 1: Establish your camera position and understand how reflection geometry works
 Laser aimed at reflective product surface on studio table
Before you touch a light, lock your camera position. Reflection angle is calculated from the camera’s point of view, not from some abstract center of the scene. The laser technique only works if the camera is already in its final position, because moving it afterward changes where the reflection lands entirely. Set the tripod, frame the shot, and treat that position as fixed for the rest of the setup process.
Laser aimed at reflective product surface on studio table
Before you touch a light, lock your camera position. Reflection angle is calculated from the camera’s point of view, not from some abstract center of the scene. The laser technique only works if the camera is already in its final position, because moving it afterward changes where the reflection lands entirely. Set the tripod, frame the shot, and treat that position as fixed for the rest of the setup process.
The underlying geometry is straightforward: the angle of incidence equals the angle of reflection. A laser lets you trace that path physically rather than doing the math in your head. You point it from the camera position toward the product, and where it bounces tells you where a light source placed in that zone will appear inside the reflective surface.
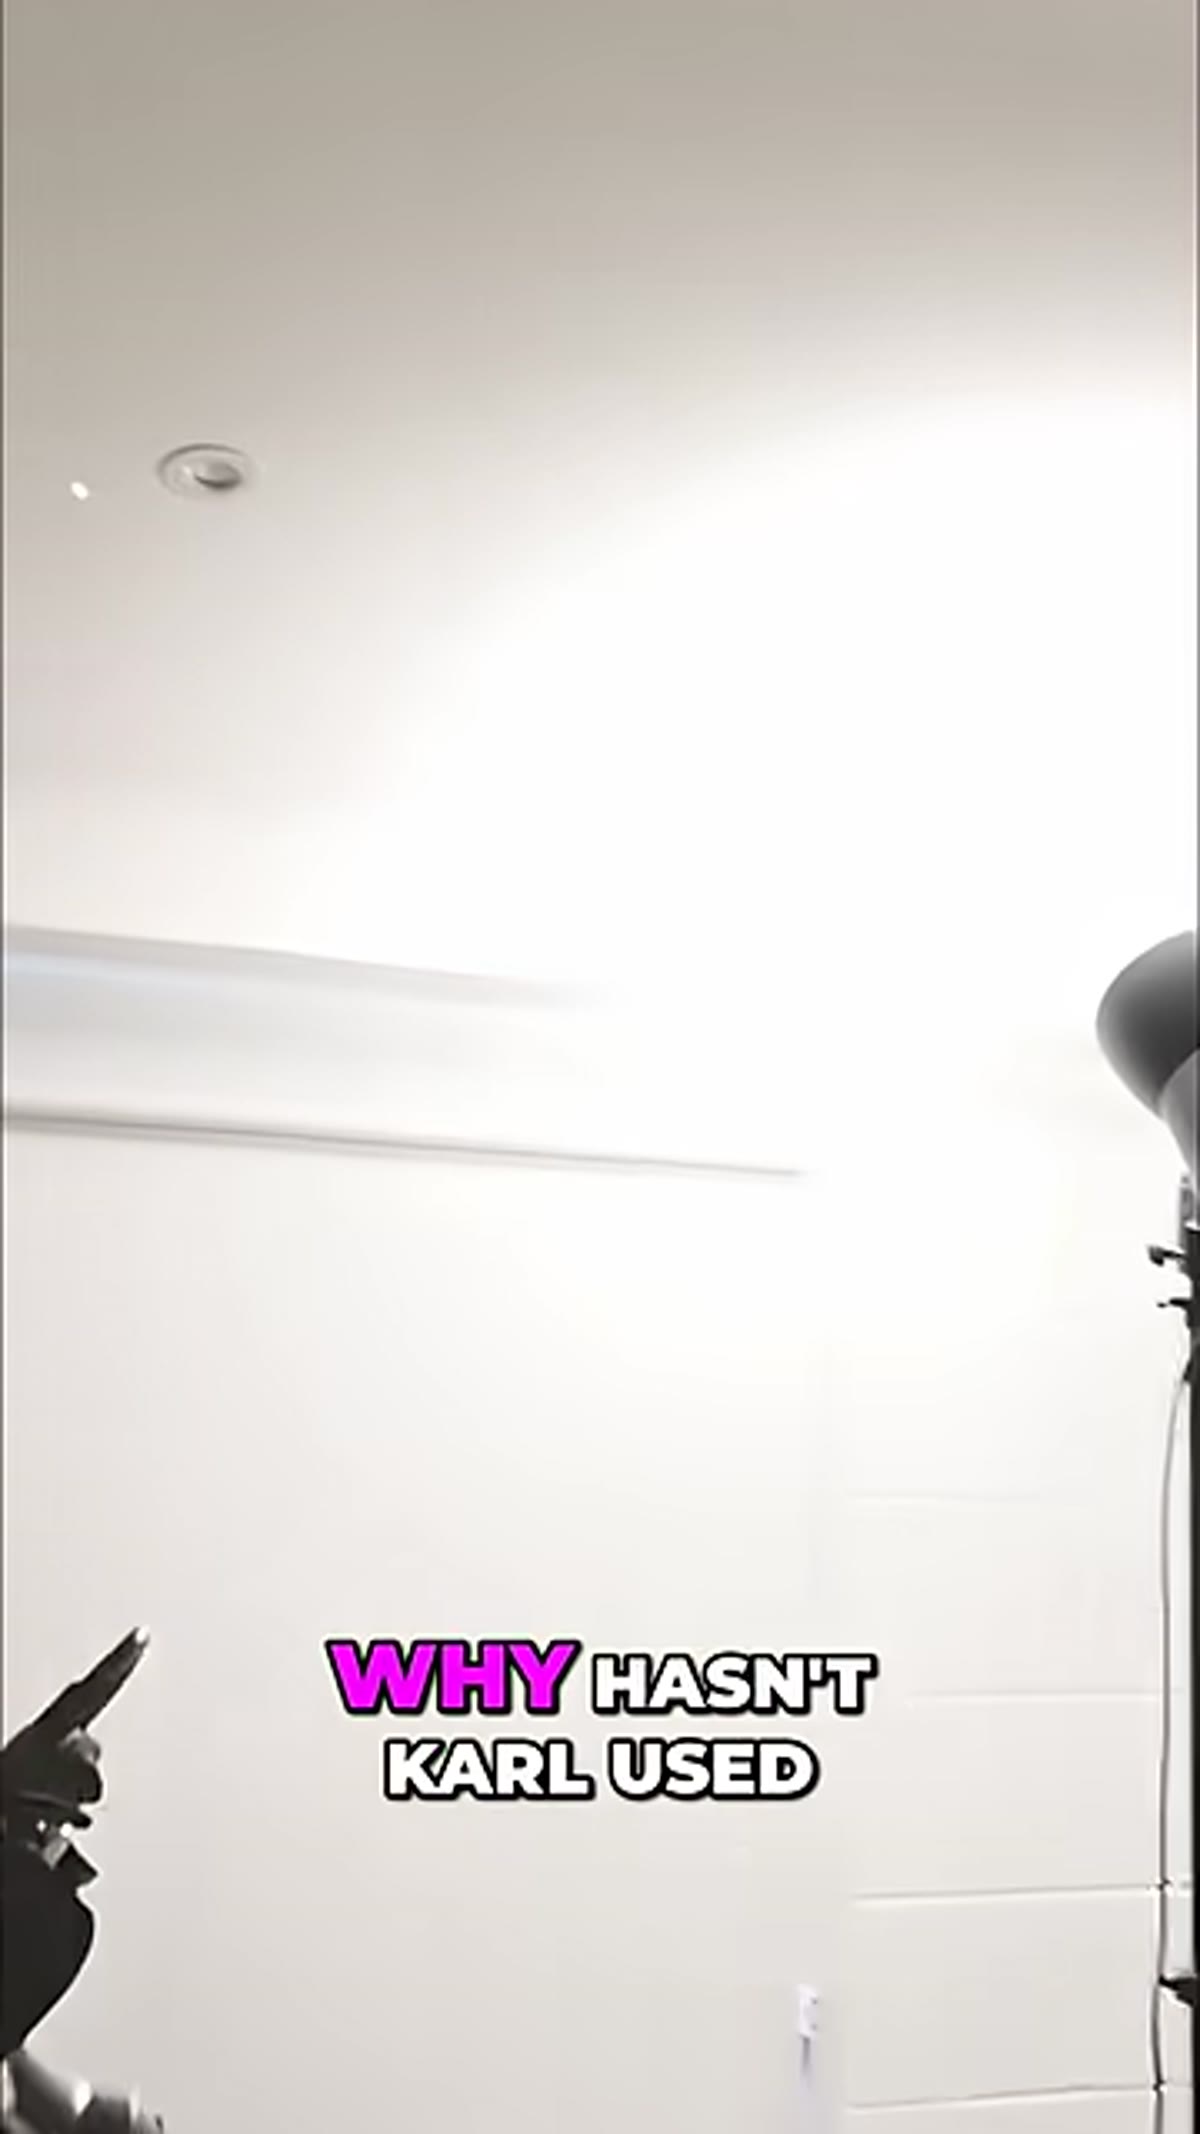
Step 2: Use the laser to locate the image-forming reflection zone
 Laser dot visible on ceiling showing reflection path
With the camera set, shine the laser at the reflective surface of the product. Watch where it bounces. In the tutorial, the reflected beam hits the ceiling at a specific point, and that ceiling position represents the zone where a light source would create a direct, specular reflection visible to the camera. On a flat, mirror-like surface this is a single clean point. On a curved surface the zone is wider, but the principle holds.
Laser dot visible on ceiling showing reflection path
With the camera set, shine the laser at the reflective surface of the product. Watch where it bounces. In the tutorial, the reflected beam hits the ceiling at a specific point, and that ceiling position represents the zone where a light source would create a direct, specular reflection visible to the camera. On a flat, mirror-like surface this is a single clean point. On a curved surface the zone is wider, but the principle holds.
Mark that position mentally or physically. I use a small piece of masking tape on the ceiling or background stand, same way I label every light in my studio. That mark becomes your reference point for the rest of the placement decisions.
Step 3: Evaluate whether placing the light in the reflection zone serves the shot
 Instructor gesturing toward ceiling reflection point
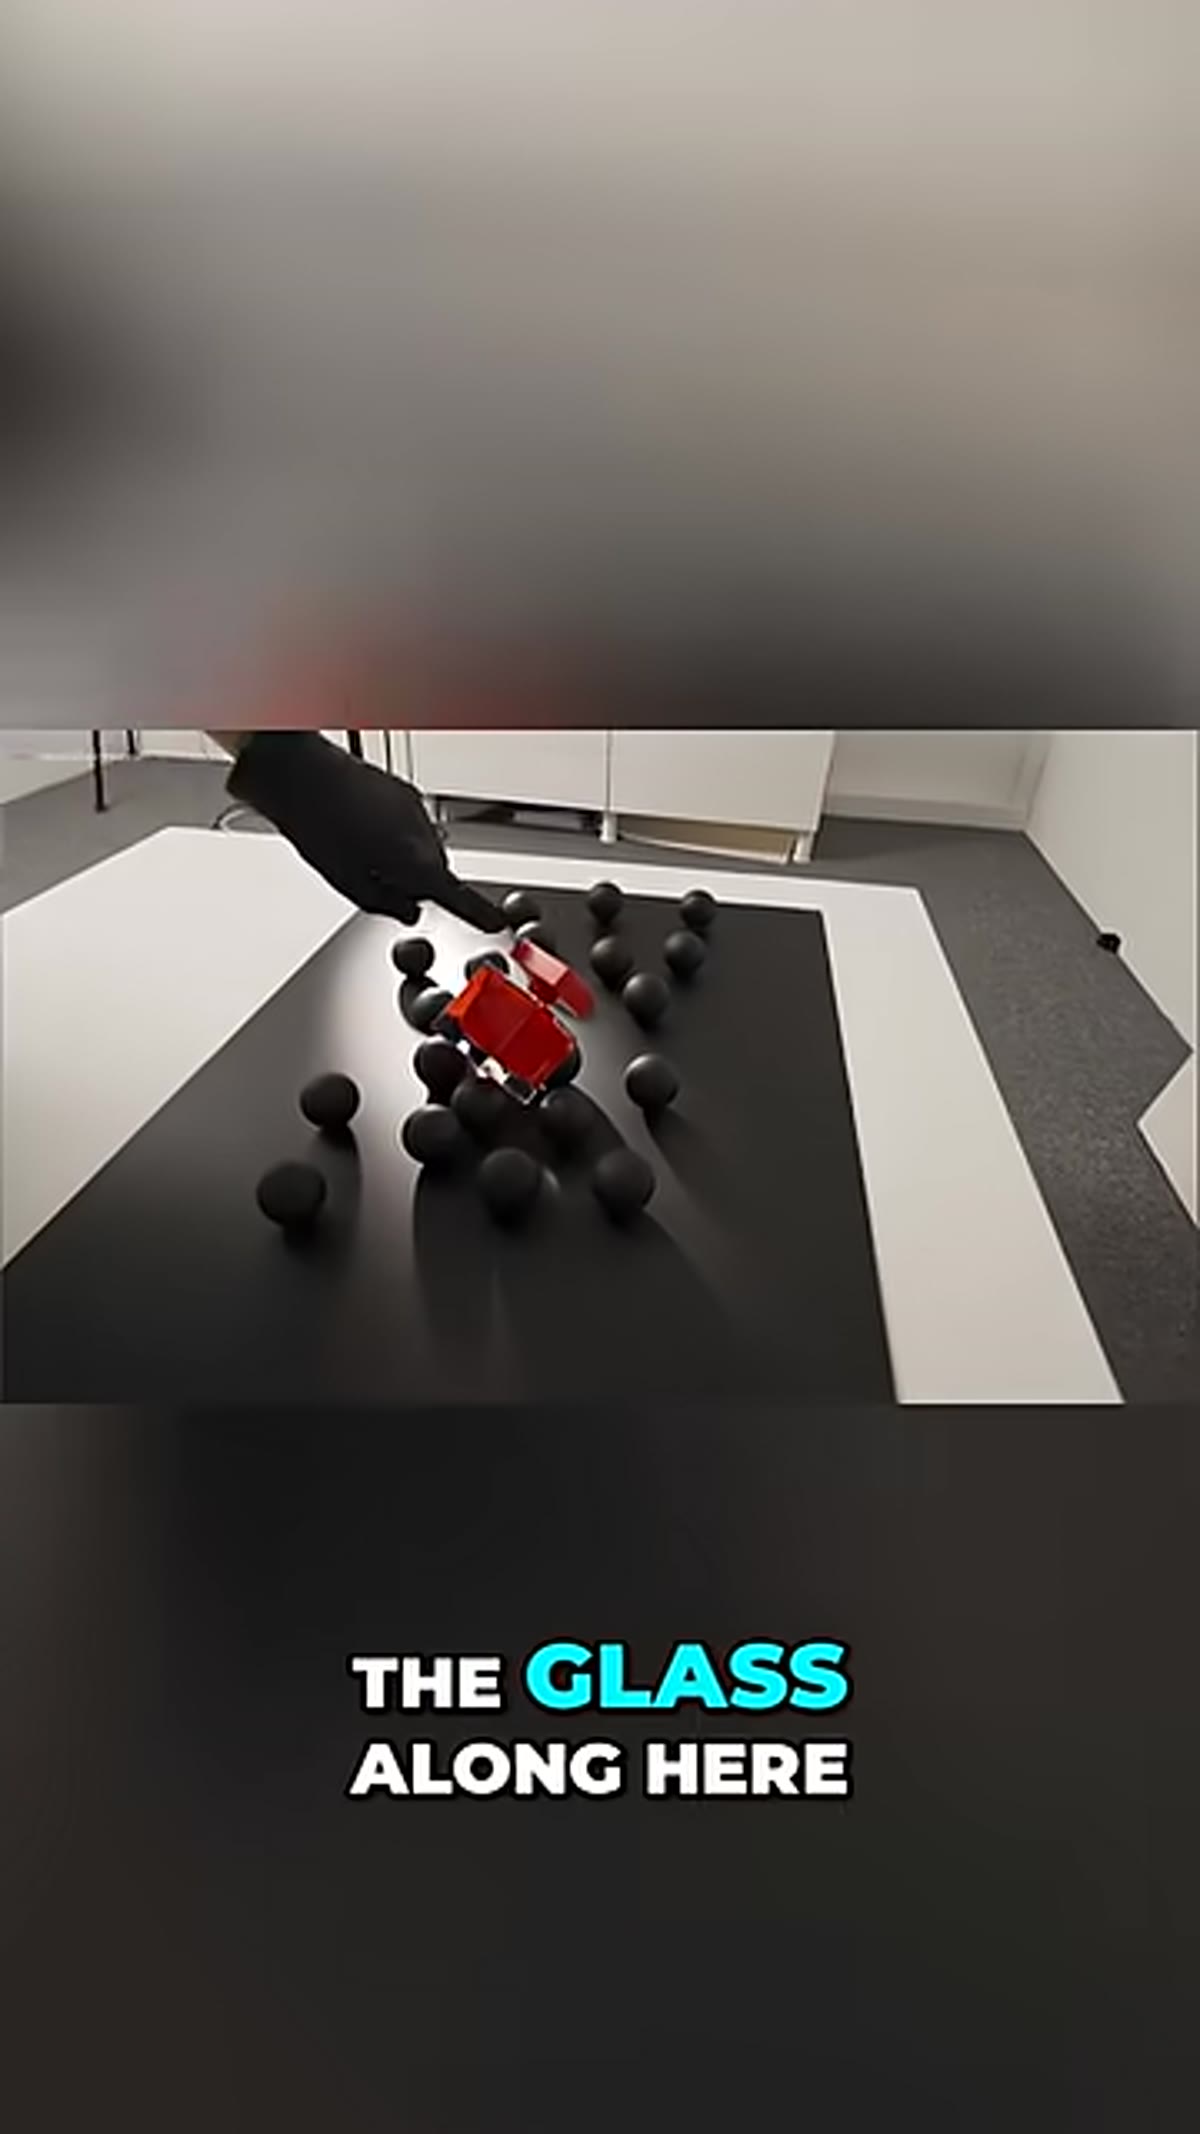
Here’s where most tutorials stop, and where this one earns its keep. The reflection zone tells you where a specular highlight will appear. It does not tell you whether that highlight is desirable. In this tutorial, the product has a deep red color on a glass surface, and placing the light directly at the laser-indicated position would flood that area with white light, killing the saturation and making the product name unreadable.
Instructor gesturing toward ceiling reflection point
Here’s where most tutorials stop, and where this one earns its keep. The reflection zone tells you where a specular highlight will appear. It does not tell you whether that highlight is desirable. In this tutorial, the product has a deep red color on a glass surface, and placing the light directly at the laser-indicated position would flood that area with white light, killing the saturation and making the product name unreadable.
Ask yourself what the surface needs to do in the final image. If you’re lighting a chrome object and want a classic gradient sweep, the reflection zone is exactly where you want your softbox edge. But if you’re trying to preserve color richness on a glossy label or a painted surface, a direct specular hit is your enemy. The laser gives you the information. What you do with it is a creative decision.
Step 4: Reposition the light to catch the edge of the surface rather than the face
 Light repositioned lower, grazing edge of glass product
The solution shown in the tutorial is precise and repeatable. Instead of placing the light at the reflection zone, move it further down and angle it so it catches the edge of the glass rather than reflecting directly into the face of the product. This produces a rim of light along the perimeter of the surface. It defines the shape and dimensionality of the object without dumping white light onto the area you’re trying to protect.
Light repositioned lower, grazing edge of glass product
The solution shown in the tutorial is precise and repeatable. Instead of placing the light at the reflection zone, move it further down and angle it so it catches the edge of the glass rather than reflecting directly into the face of the product. This produces a rim of light along the perimeter of the surface. It defines the shape and dimensionality of the object without dumping white light onto the area you’re trying to protect.
The result is that the red stays red. The label stays readable. The product has presence and depth rather than looking like it was photographed inside a light tent. The edge catch creates separation between the product and its environment, which is often exactly what a client brief is asking for even when the brief doesn’t use that language.
Step 5: Refine the position by checking the balance between edge definition and color preservation
 Camera view showing edge light on glass with red color retained
Small adjustments here matter disproportionately. A few inches of movement changes whether the edge catch is crisp or soft, wide or narrow. Work slowly. Move the light in one axis at a time and check the effect on the color area you’re protecting. The goal is the minimum amount of edge light that still reads as intentional shaping. Too much and you’re back to washing out the surface. Too little and the product looks flat.
Camera view showing edge light on glass with red color retained
Small adjustments here matter disproportionately. A few inches of movement changes whether the edge catch is crisp or soft, wide or narrow. Work slowly. Move the light in one axis at a time and check the effect on the color area you’re protecting. The goal is the minimum amount of edge light that still reads as intentional shaping. Too much and you’re back to washing out the surface. Too little and the product looks flat.
I keep a lighting journal where I sketch every setup from every shoot, and product work with reflective surfaces gets the most detailed entries. The exact light height, the flag position, the distance from the product edge. These setups are hard to reconstruct from memory, and clients come back.
What I’d add from my own studio work
The laser technique becomes even more useful when you’re stacking multiple lights and need to understand how each one is contributing to the reflective surface independently. I’ll often go light by light, shooting a frame with each one isolated, and use the laser to pre-map where each one’s reflection zone falls before I run the full setup. It adds fifteen minutes to the session and saves an hour of puzzled retouching later.
One caveat: on highly curved surfaces like round bottles, the reflection zone spreads significantly, and the laser dot will trace a path rather than hit a single point. In those cases I treat the zone as a gradient to work with rather than a point to target or avoid. The logic is the same. The execution needs more finesse.
The single most important thing this tutorial reinforces is that the laser doesn’t make the creative decision for you. It gives you accurate information so your decisions are based on physics rather than guesswork. Knowing where the reflection will land means you can choose to use it, avoid it, or redirect it with intention. That’s the difference between a controlled commercial image and a lucky one.
Watch the full tutorial on YouTube and pay particular attention to the moment the light moves off the reflection zone. That single adjustment is the whole lesson.
Comments
Leave a Comment