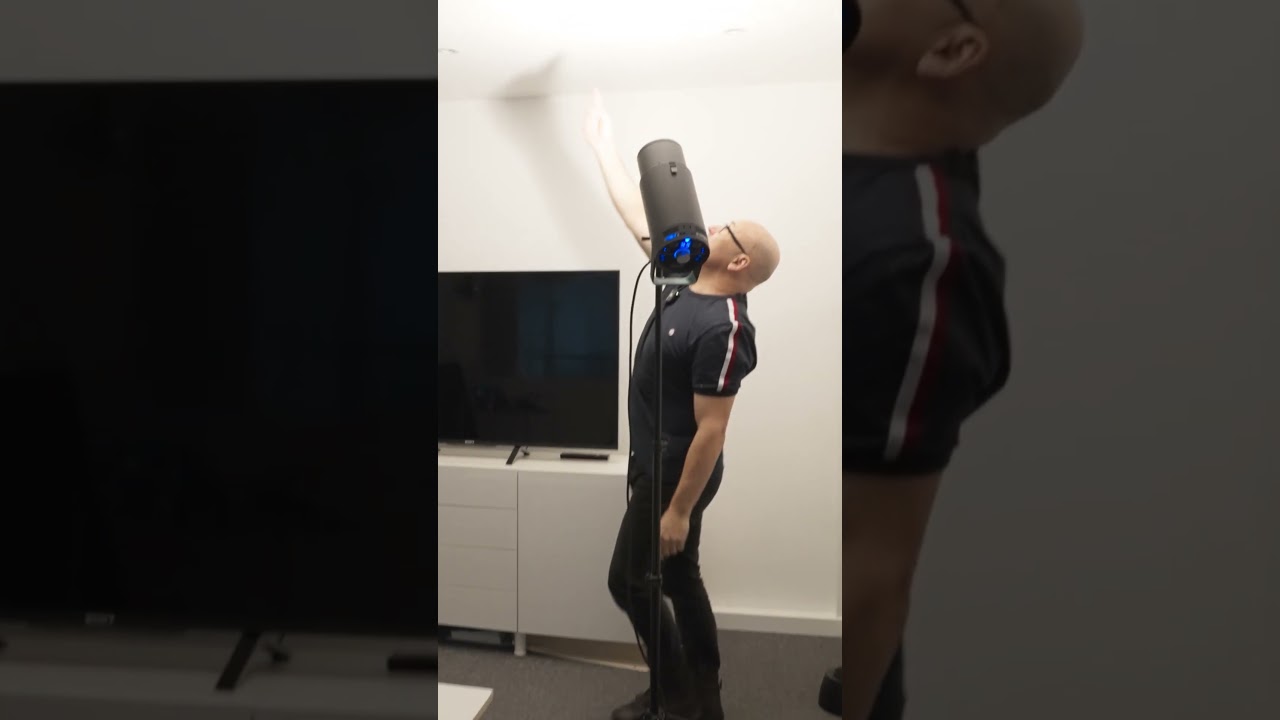
Product photography has a way of humbling you fast. You can nail the composition, dial in a clean background, get the focus exactly where you want it, and still end up with a shot that looks flat, cheap, or just wrong in some way you can’t immediately name. Nine times out of ten, when I pull up a disappointing product frame on my tethered monitor, the culprit is the reflection sitting in exactly the wrong place on the surface. Too harsh, too centered, too blown out. A reflection that flattens the object instead of giving it dimension.
For years I solved this by moving lights incrementally, checking the screen, moving again. It works, but it’s slow, and on a commercial shoot where the client is sitting behind you, that kind of trial and error reads as uncertainty. What I wanted was a way to know, before I ever fire a strobe, where my light needs to live. This tutorial from Visual Education delivers exactly that. Watch the full tutorial on YouTube and then come back here for the breakdown.
The core idea is elegant: use physics instead of guesswork. A laser pointer, aimed from the camera position into the product surface, will show you precisely where your light source needs to be to produce the gradient reflection you’re after. No test shots, no client waiting, no second-guessing.
Step 1: Understand What You’re Actually Solving
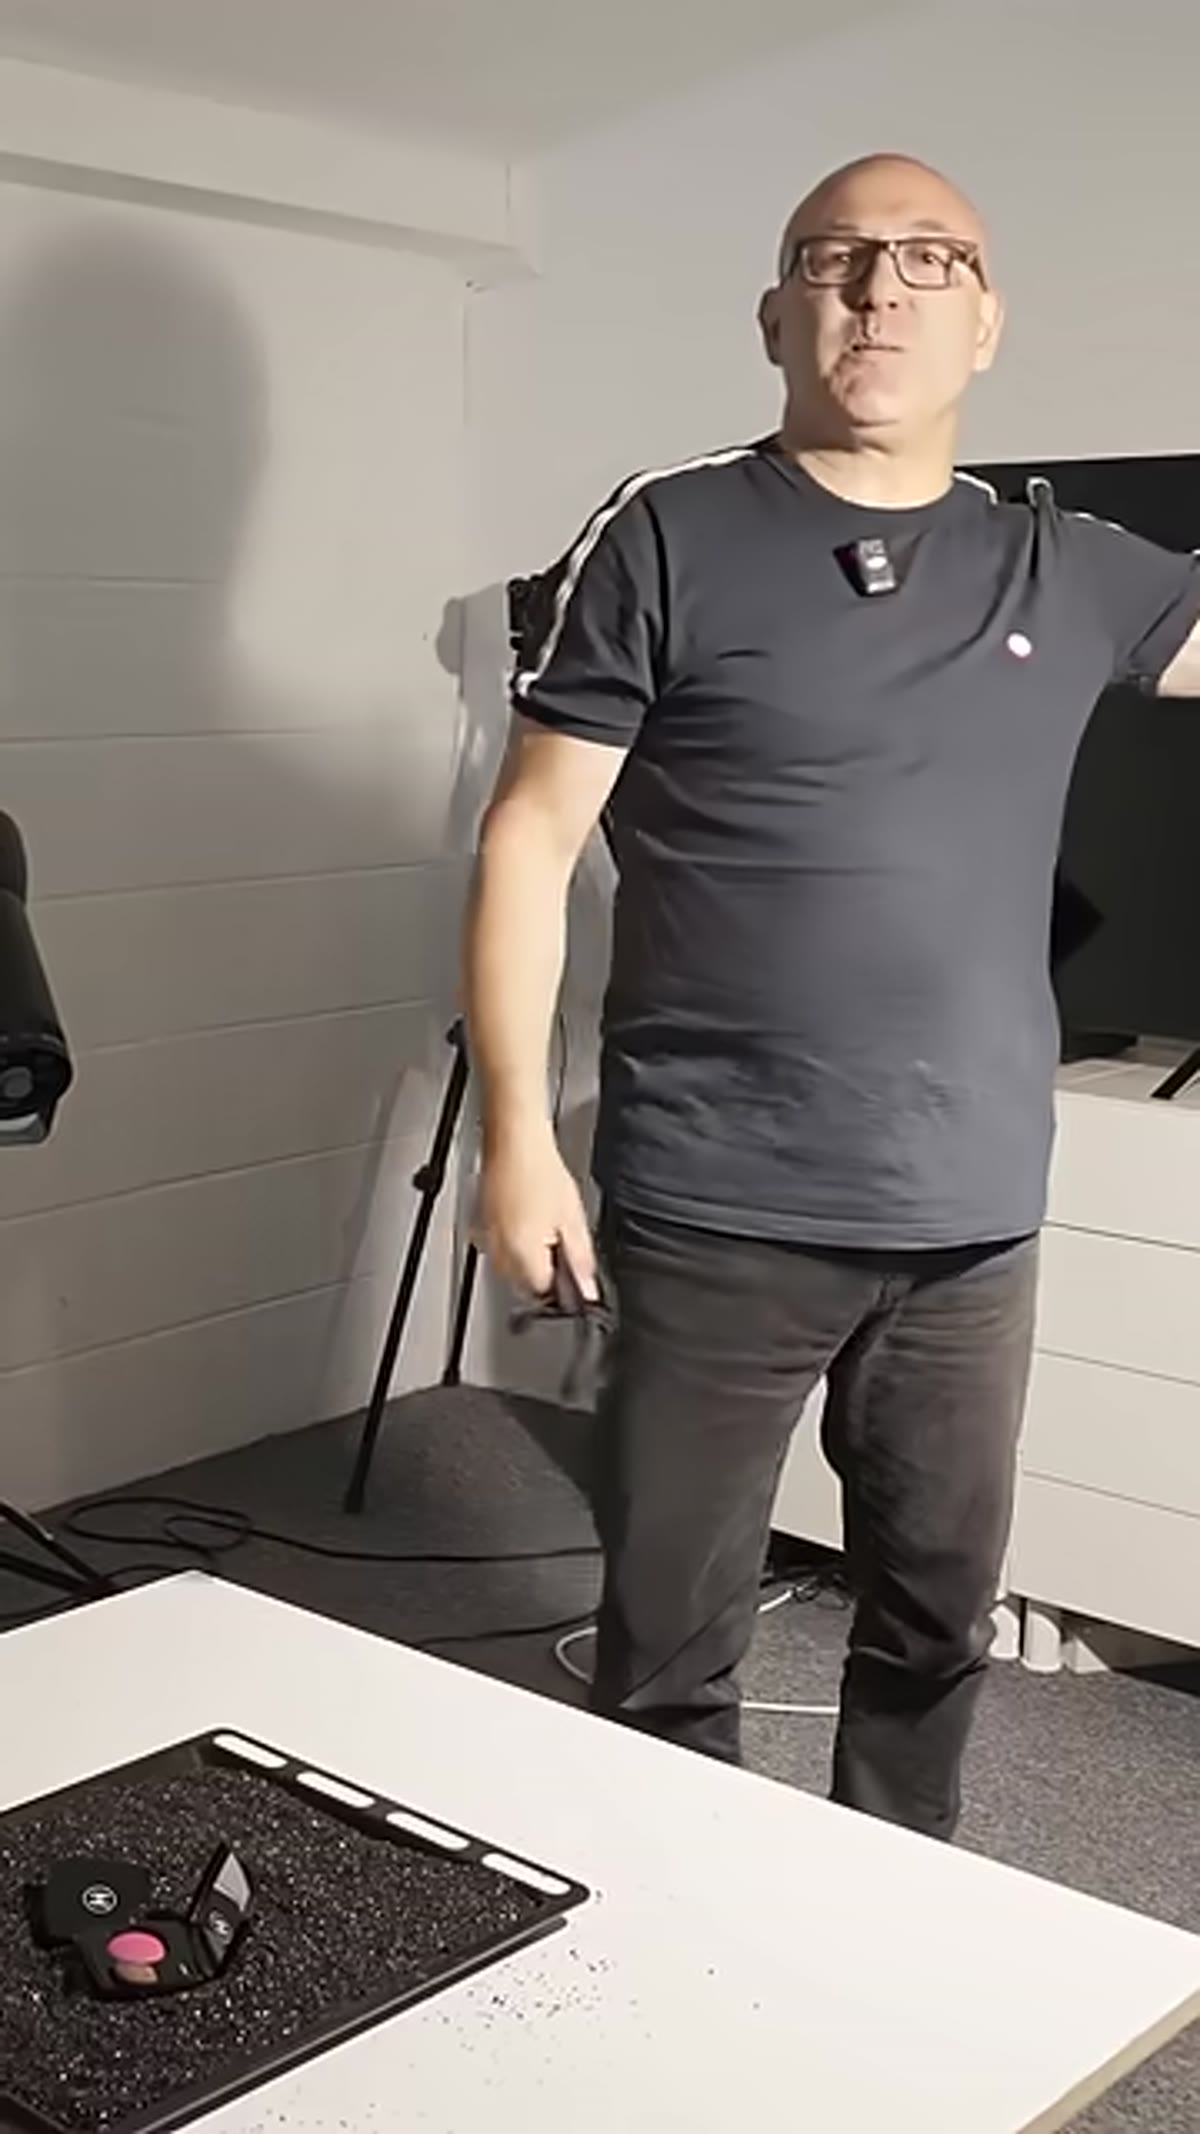 Photographer positioning over a product on a table
Before you pick up a laser, get clear on what a good product reflection actually looks like. The goal is an image-forming gradient reflection, meaning the light appears brightest at the center of the surface and then falls off gradually toward the edges. That falloff is what gives a product its sense of volume and material quality. A flat, even reflection reads as amateur. A gradient reads as intentional, controlled, professional. Knowing the difference is what makes this technique worth learning.
Photographer positioning over a product on a table
Before you pick up a laser, get clear on what a good product reflection actually looks like. The goal is an image-forming gradient reflection, meaning the light appears brightest at the center of the surface and then falls off gradually toward the edges. That falloff is what gives a product its sense of volume and material quality. A flat, even reflection reads as amateur. A gradient reads as intentional, controlled, professional. Knowing the difference is what makes this technique worth learning.
Step 2: Position Yourself at Camera Angle
 Camera on tripod aimed at product, shooting position established
Lock your camera on a tripod and establish your final shooting position before you do anything with the laser. The whole technique depends on simulating the camera’s point of view, so if you adjust your framing later, you’ll need to redo the laser test. Get your composition set, your height and angle confirmed, and treat that position as fixed. From here forward, you are looking at the product the way the lens will look at it.
Camera on tripod aimed at product, shooting position established
Lock your camera on a tripod and establish your final shooting position before you do anything with the laser. The whole technique depends on simulating the camera’s point of view, so if you adjust your framing later, you’ll need to redo the laser test. Get your composition set, your height and angle confirmed, and treat that position as fixed. From here forward, you are looking at the product the way the lens will look at it.
Step 3: Shine the Laser From the Camera Position Into the Product
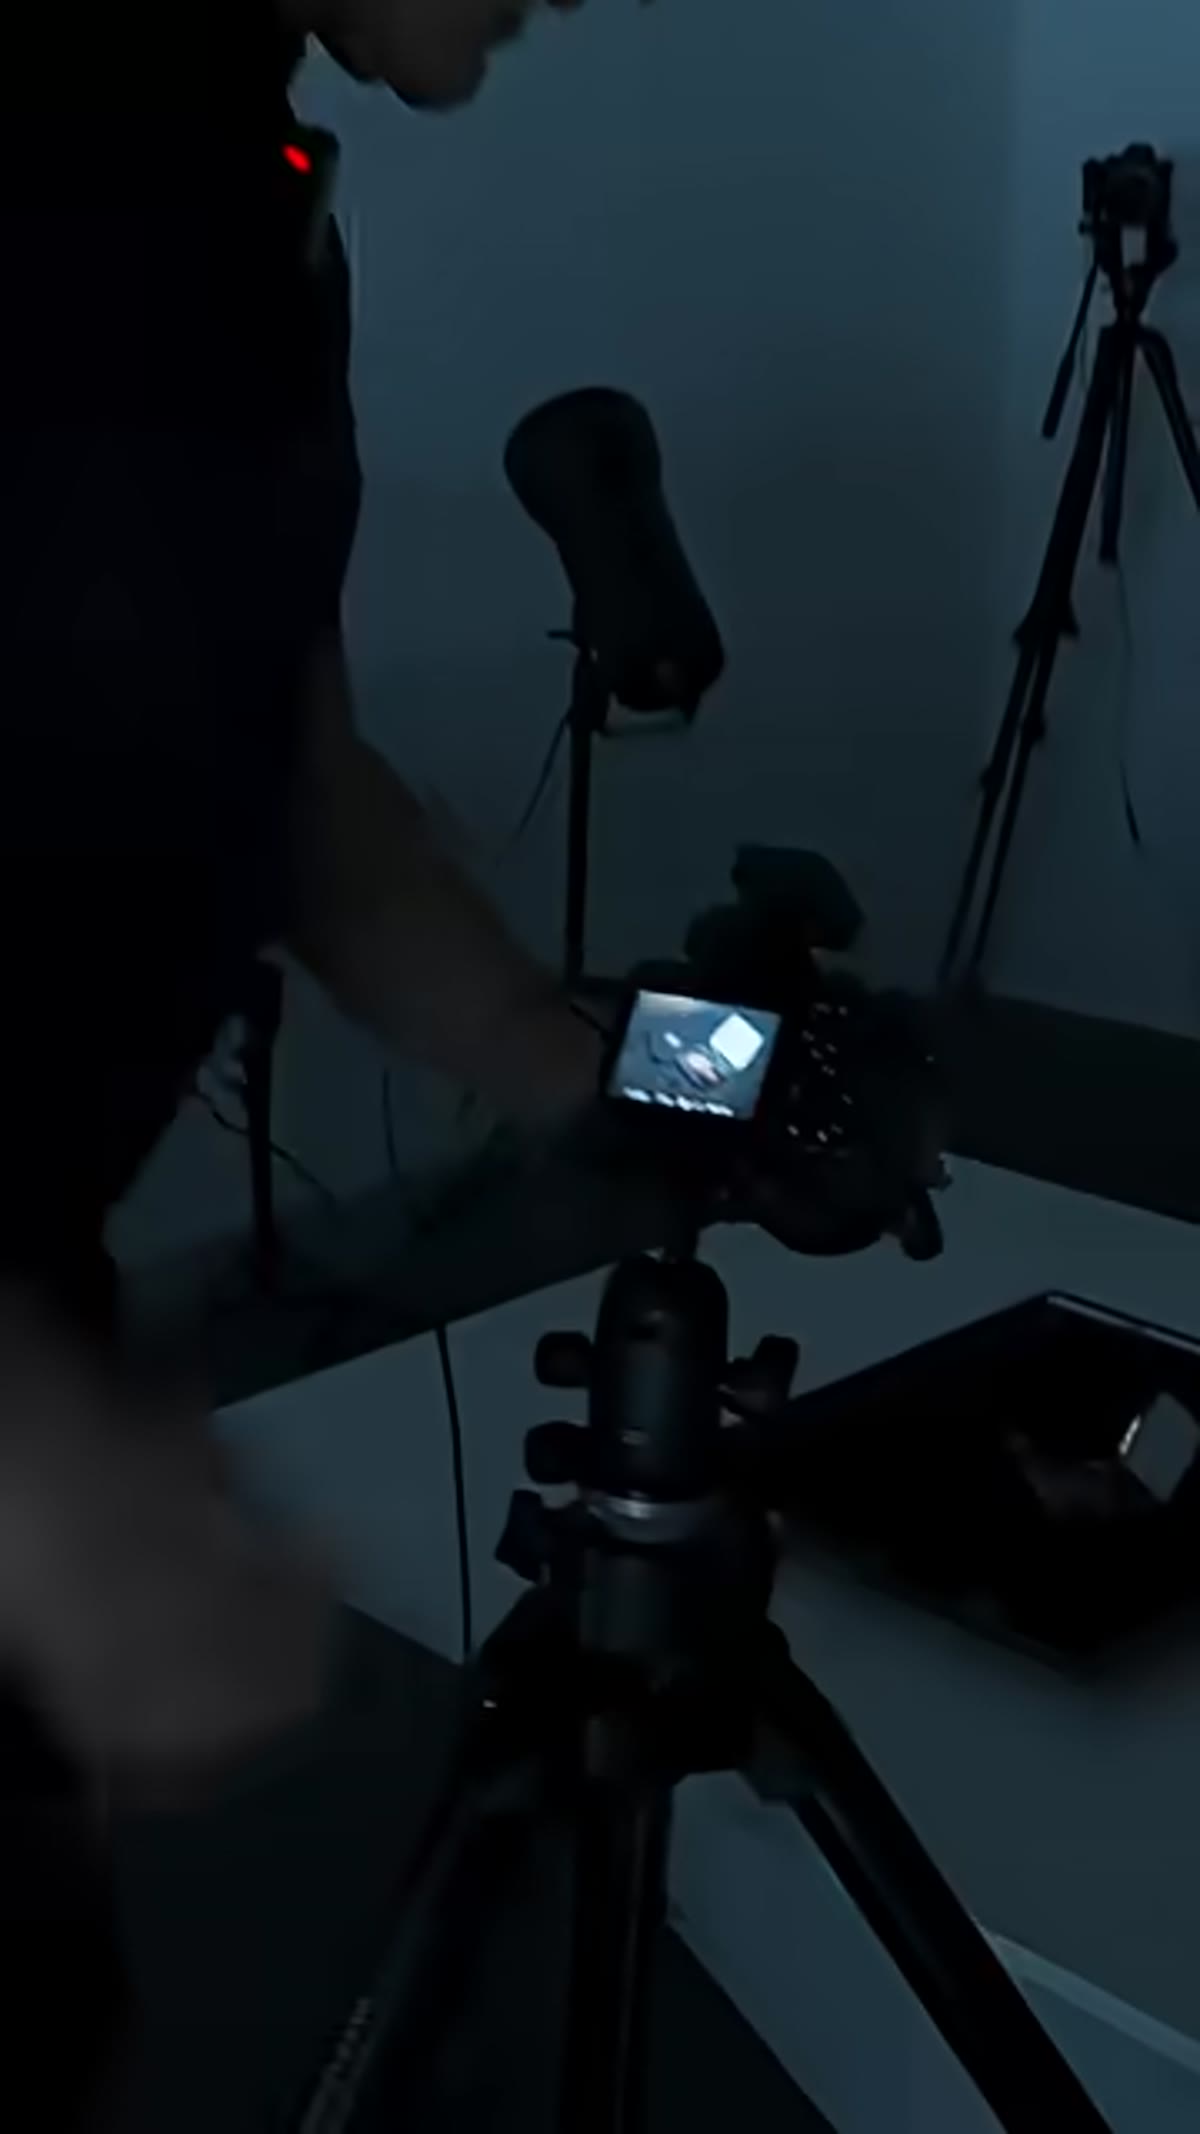 Laser pointer aimed from camera height toward product surface
Hold the laser pointer at camera height and angle, pointed directly at the surface of the product you’re lighting. The point of contact on the product is where you want your key reflection to ultimately appear, so aim accordingly. You’re using the laser to simulate a beam of light traveling from the camera toward the subject, which lets you trace the angle of incidence without needing any live lighting at all. Keep the room dim enough that you can actually see the reflected beam.
Laser pointer aimed from camera height toward product surface
Hold the laser pointer at camera height and angle, pointed directly at the surface of the product you’re lighting. The point of contact on the product is where you want your key reflection to ultimately appear, so aim accordingly. You’re using the laser to simulate a beam of light traveling from the camera toward the subject, which lets you trace the angle of incidence without needing any live lighting at all. Keep the room dim enough that you can actually see the reflected beam.
Step 4: Find Where the Reflection Goes
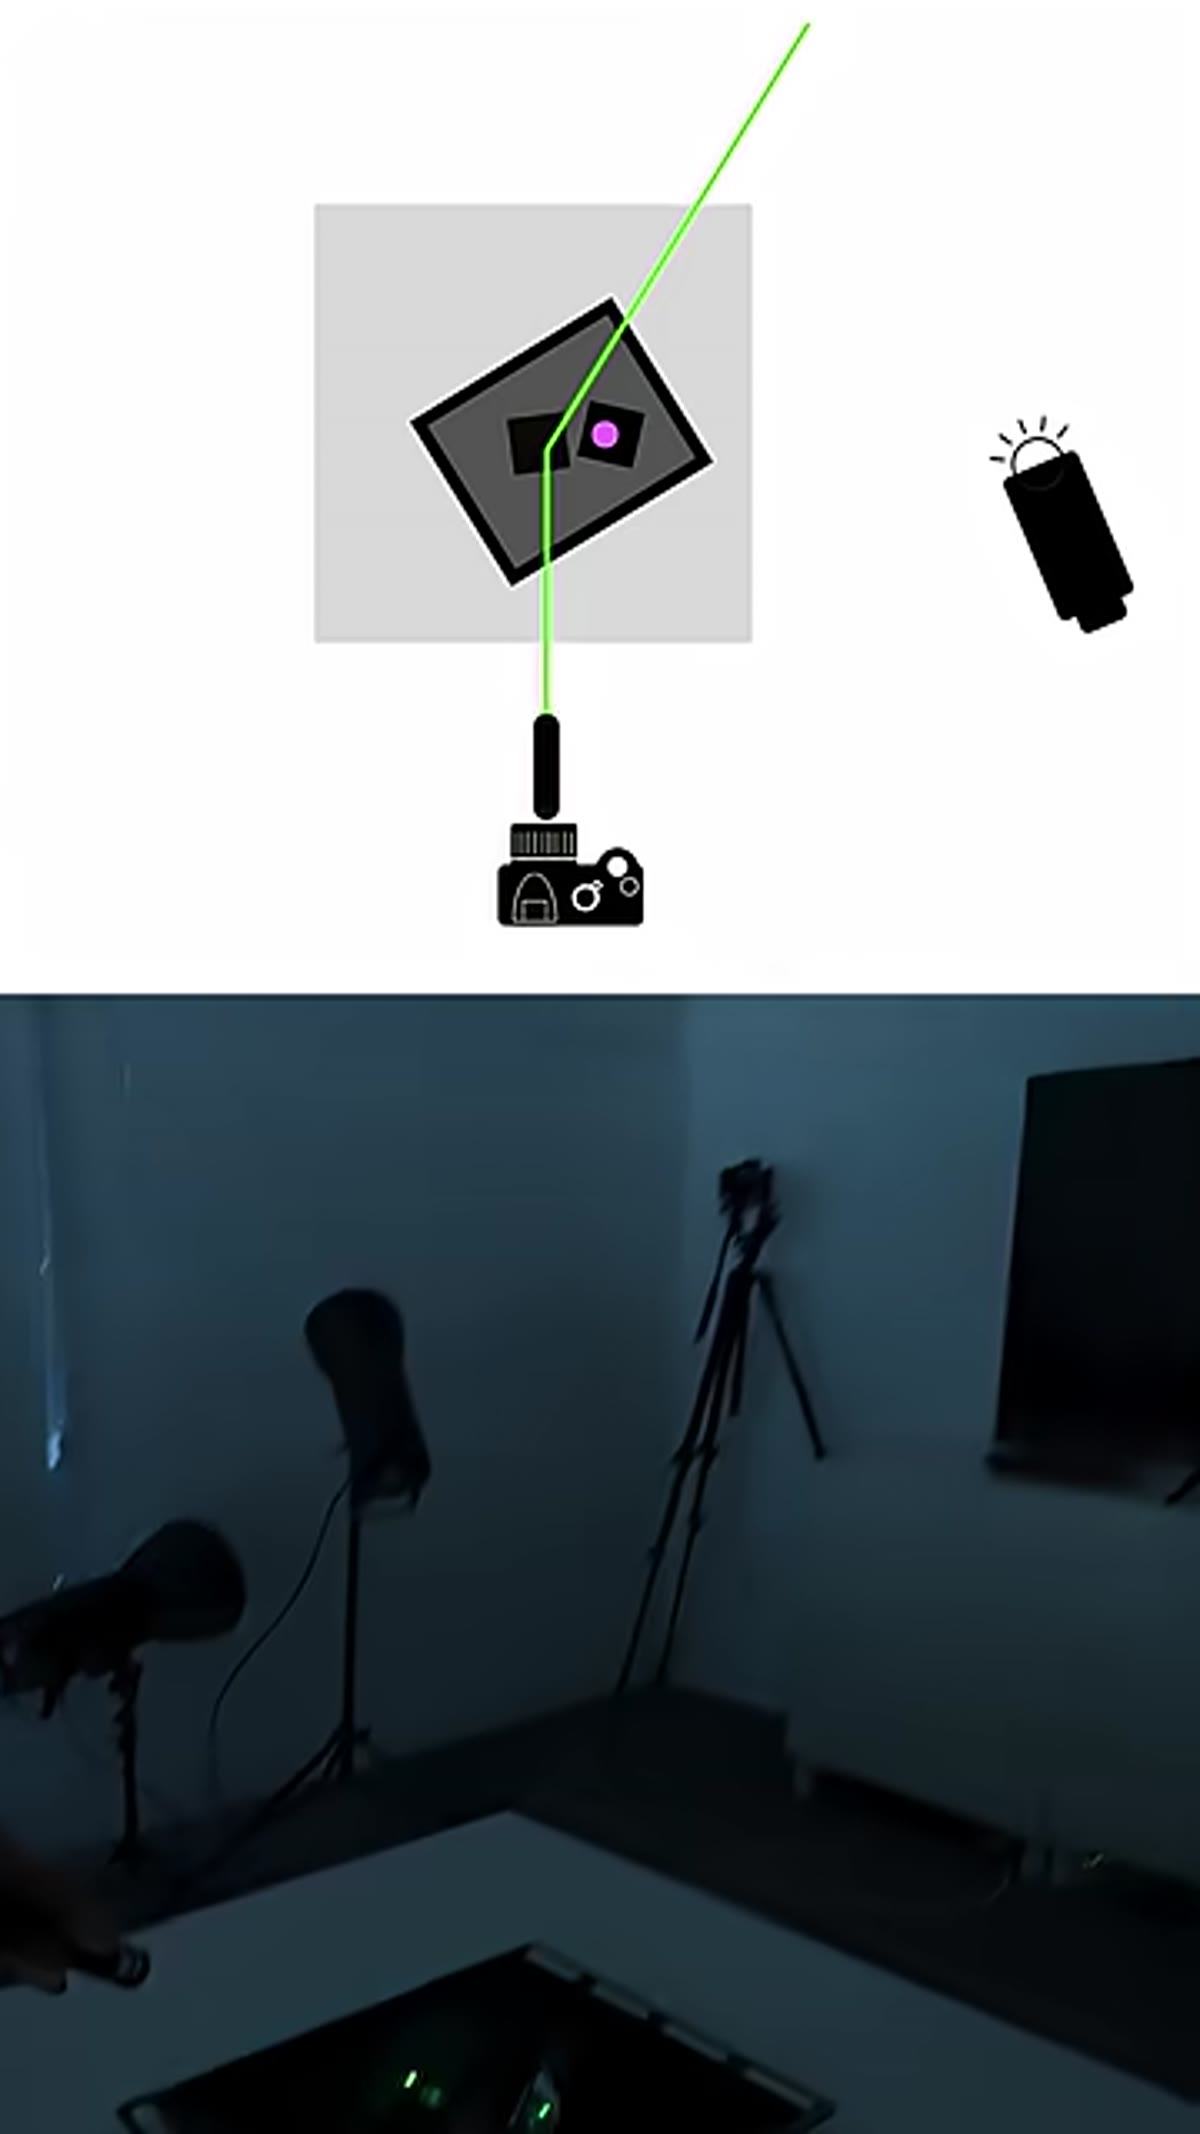 Laser reflection visible on ceiling above the product
Watch where the laser’s reflection travels after it hits the product surface. In most cases with a flat or slightly curved product surface, that reflection will climb upward and land on the ceiling. That landing point is not a coincidence or a curiosity. It is the precise location where your light source needs to be to create a natural, attractive gradient reflection on the product. The angle of incidence equals the angle of reflection, and the laser makes that law visible in real time. Mark the spot mentally or, if you work the way I do, put a small piece of masking tape on the ceiling to remember it.
Laser reflection visible on ceiling above the product
Watch where the laser’s reflection travels after it hits the product surface. In most cases with a flat or slightly curved product surface, that reflection will climb upward and land on the ceiling. That landing point is not a coincidence or a curiosity. It is the precise location where your light source needs to be to create a natural, attractive gradient reflection on the product. The angle of incidence equals the angle of reflection, and the laser makes that law visible in real time. Mark the spot mentally or, if you work the way I do, put a small piece of masking tape on the ceiling to remember it.
Step 5: Place Your Light Source at That Location
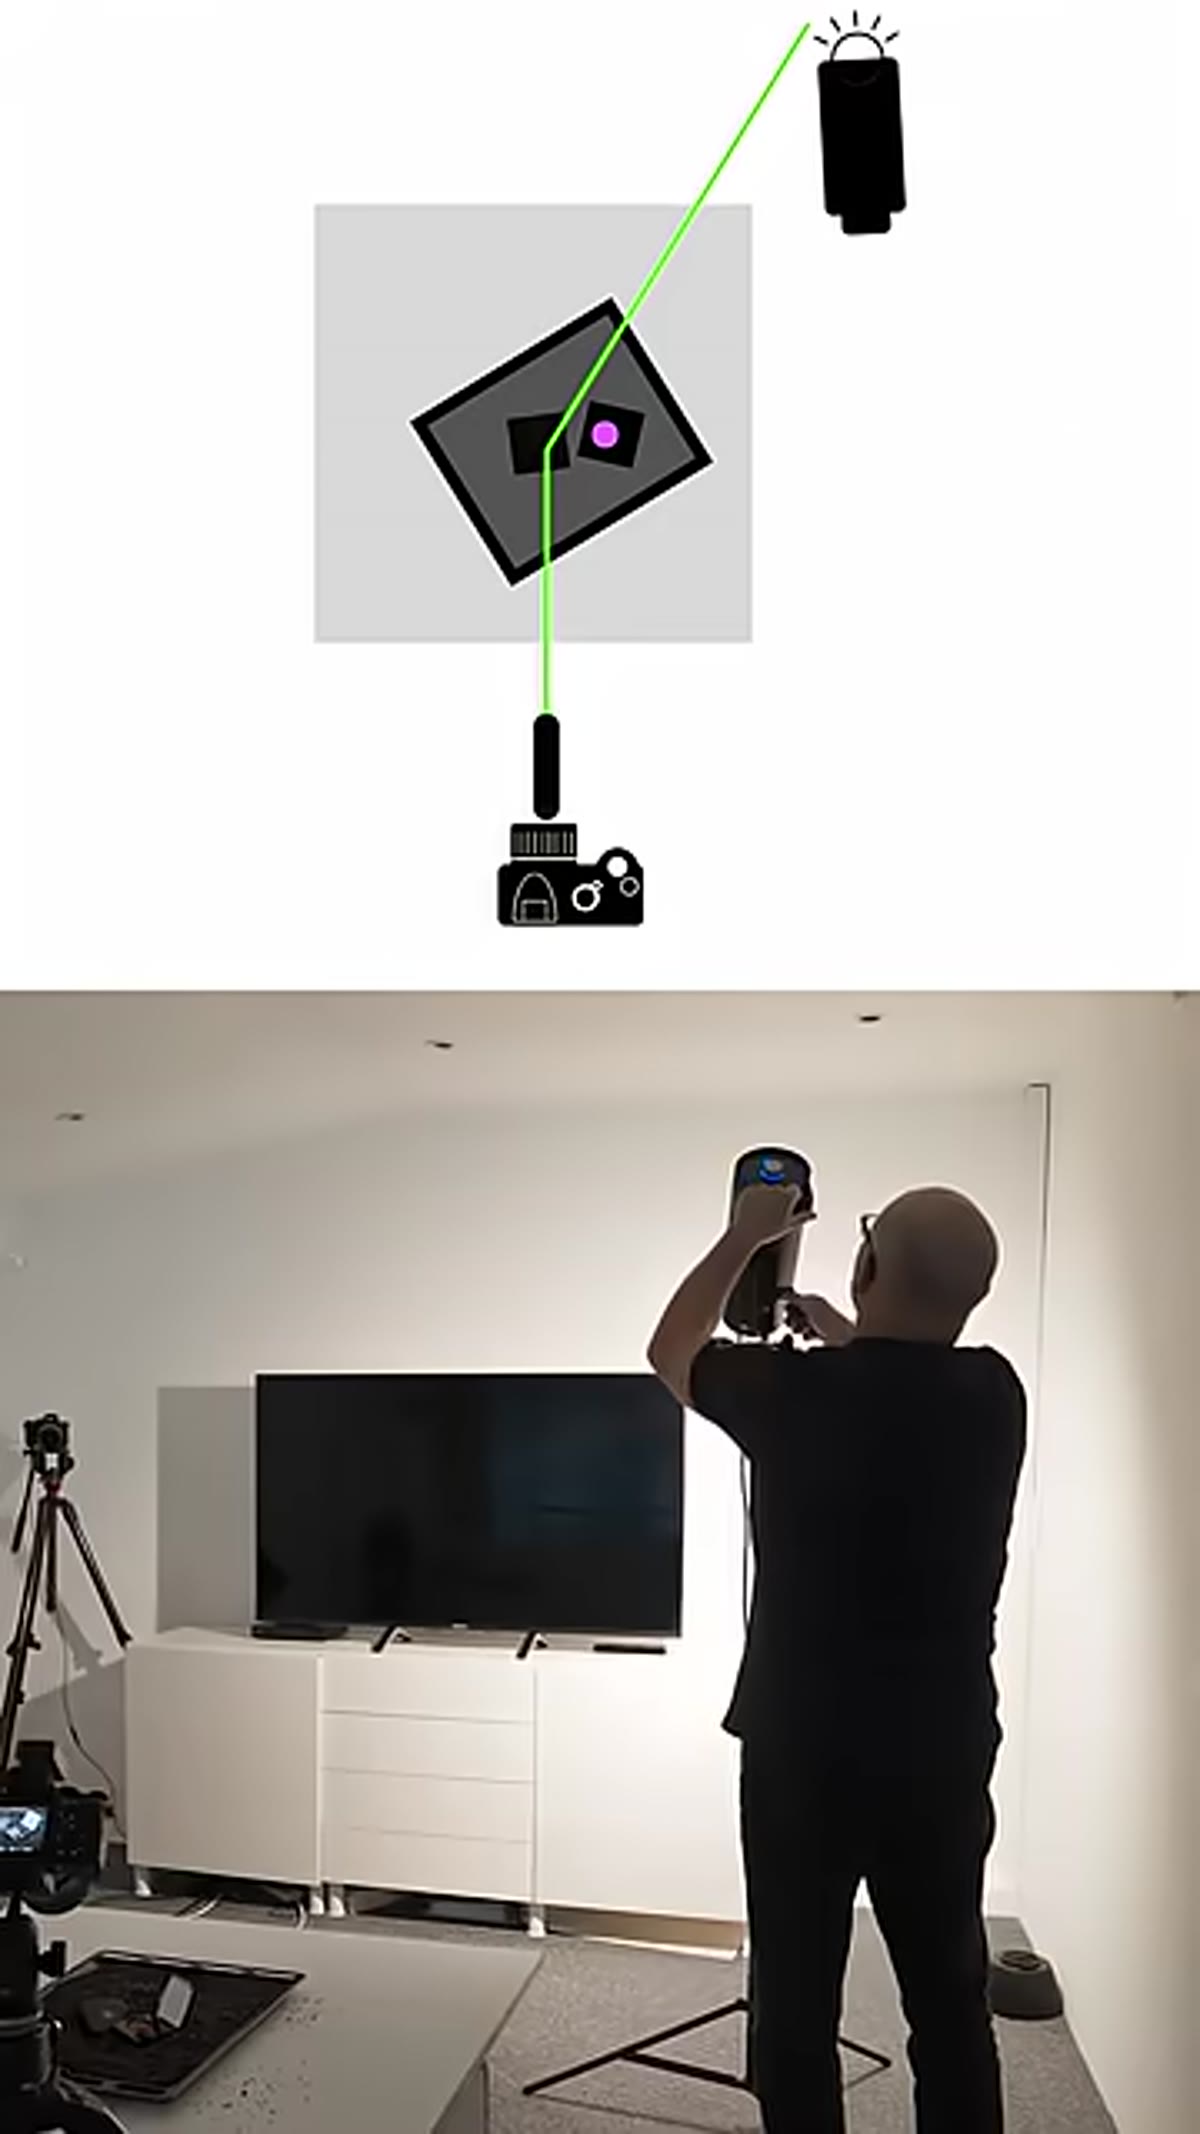 Light or reflector being positioned at the ceiling reflection point
Now move your light, bounce card, or modifier to the position the laser identified. If you’re bouncing a strobe off the ceiling, aim it toward that marked zone. If you’re using a large panel or softbox positioned above and behind the camera, adjust until the center of your light source aligns with where the reflection landed. The ceiling bounce approach is particularly effective here because it produces exactly the kind of large, diffuse, gradating light that flatters most product surfaces without creating harsh specular hot spots.
Light or reflector being positioned at the ceiling reflection point
Now move your light, bounce card, or modifier to the position the laser identified. If you’re bouncing a strobe off the ceiling, aim it toward that marked zone. If you’re using a large panel or softbox positioned above and behind the camera, adjust until the center of your light source aligns with where the reflection landed. The ceiling bounce approach is particularly effective here because it produces exactly the kind of large, diffuse, gradating light that flatters most product surfaces without creating harsh specular hot spots.
Step 6: Confirm the Gradient and Adjust Intensity
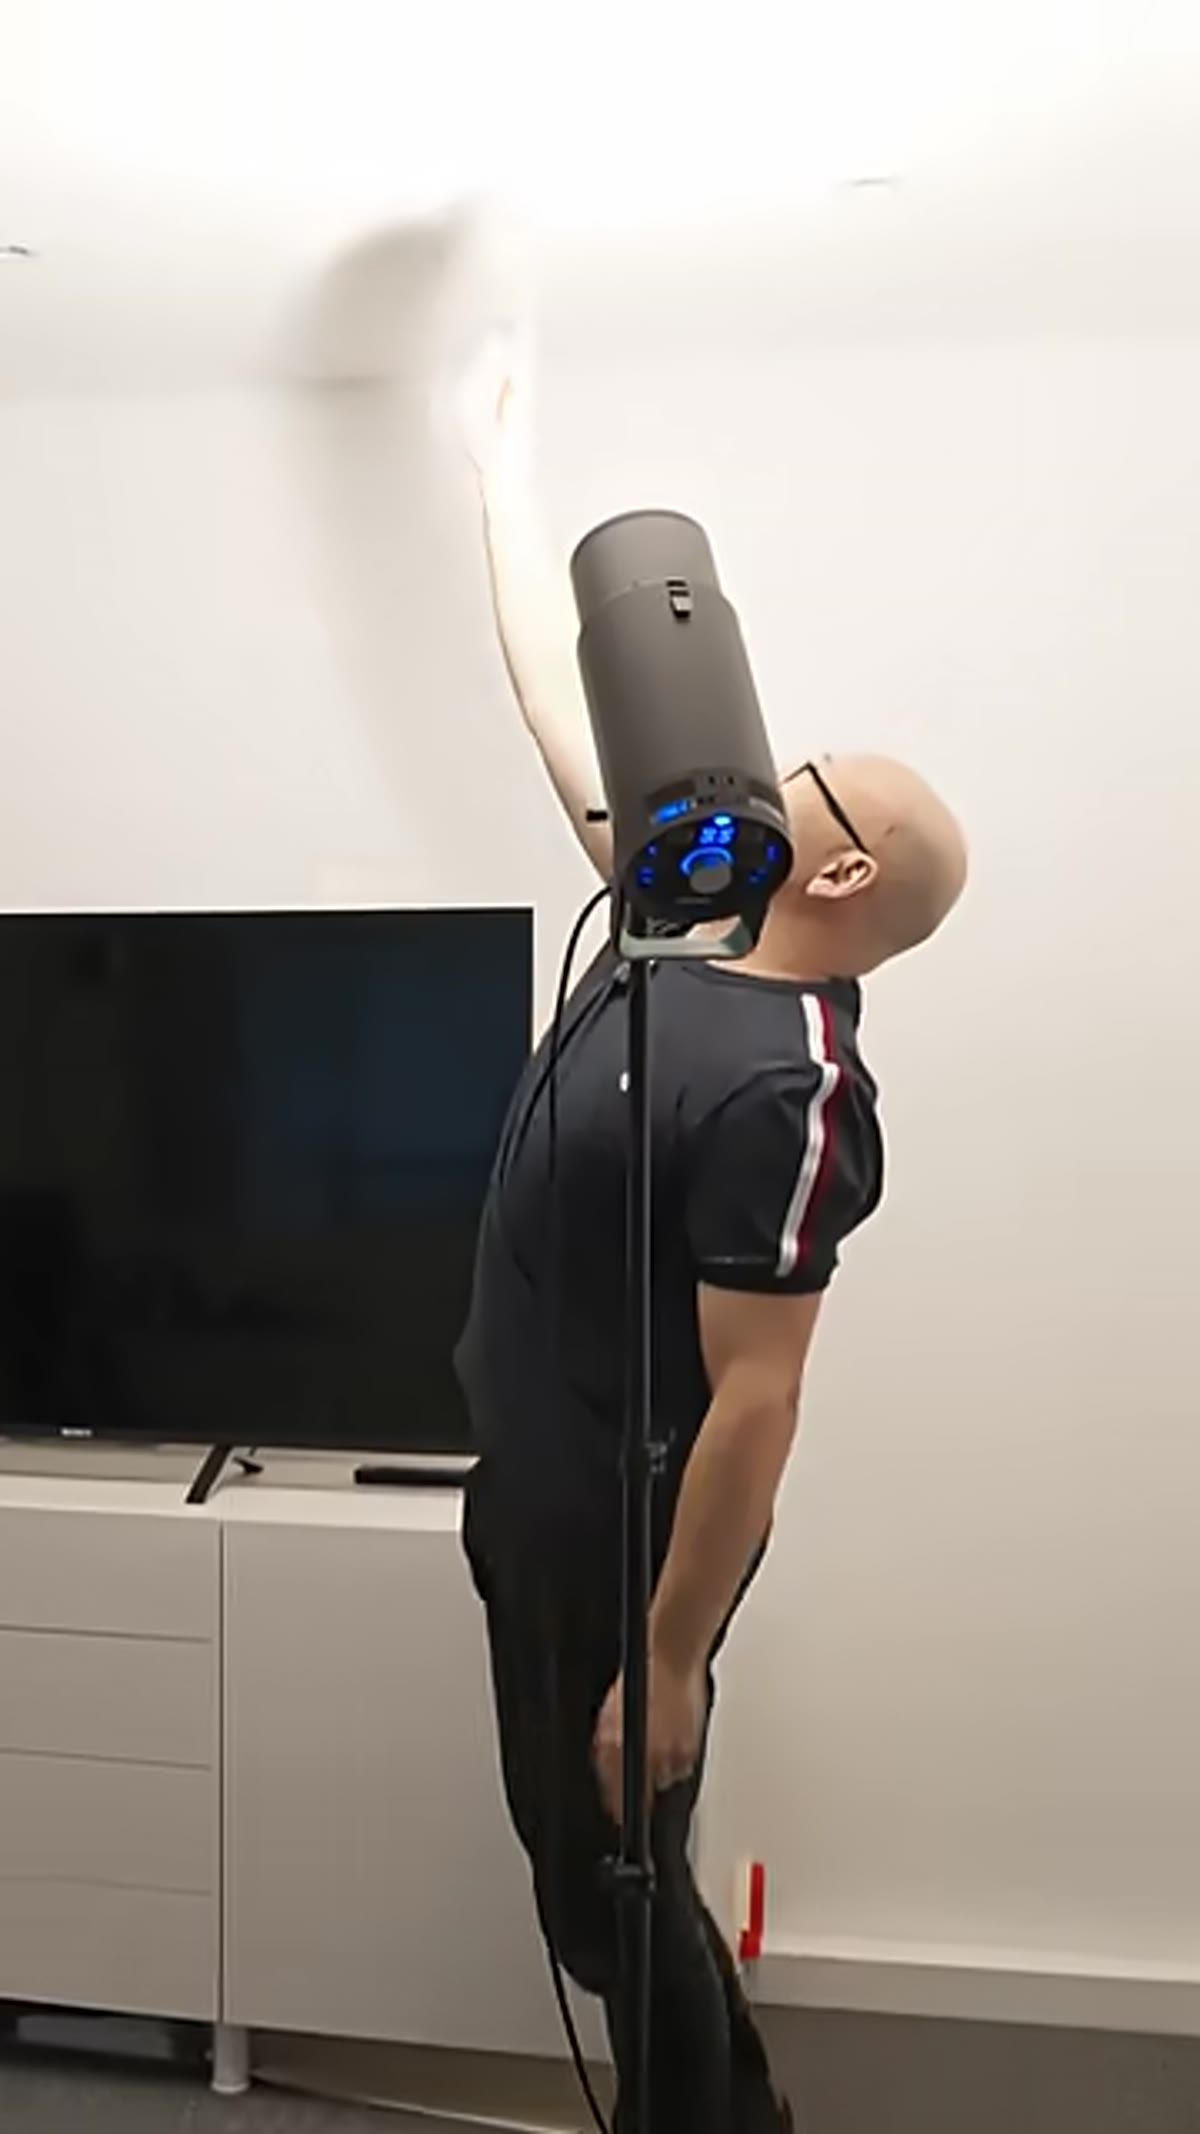 Resulting product image showing center-bright gradient reflection
Fire a test shot and evaluate the reflection on your product surface. You should see a brighter zone near the center that gradually softens toward the edges. If the gradient is too abrupt, your light source is too small or too far away. If it’s too even, you may need to bring the light closer or increase the relative size of the source. The laser told you the location. Intensity, size, and exact distance are still yours to tune, but you’re now tuning from the right starting point instead of fumbling toward it.
Resulting product image showing center-bright gradient reflection
Fire a test shot and evaluate the reflection on your product surface. You should see a brighter zone near the center that gradually softens toward the edges. If the gradient is too abrupt, your light source is too small or too far away. If it’s too even, you may need to bring the light closer or increase the relative size of the source. The laser told you the location. Intensity, size, and exact distance are still yours to tune, but you’re now tuning from the right starting point instead of fumbling toward it.
How I Extend This in Commercial Work
The laser technique is a locator, not a full lighting solution, and I think it’s worth being honest about that. On product work for beauty clients, I’ll often use the laser to find the primary reflection position and then build a second source separately to handle edge definition or to separate the product from the background. The laser handles the main surface. The rest of the rig still requires your eye and your experience.
I’ve also started using this method in reverse when I’m looking at reference images from art directors. If they hand me a tear sheet and want a specific look on a glass bottle or a metallic compact, I can study the reflection in the image, estimate where the light source must have been, and use the laser to confirm whether that position is achievable in my studio given my ceiling height and available modifiers. It’s turned reference matching from guesswork into something closer to geometry.
One real limitation: this works best on surfaces with predictable reflectivity, like glass, metal, lacquered packaging, or high-gloss plastics. Matte surfaces scatter light too broadly for the laser to give you a clean single reflection point. On those materials, you’re back to reading the light with your eye, which is a skill worth building regardless.
The single most important thing this technique gives you is confidence before you commit to a lighting position. Product photography rewards decisiveness, and walking into a shoot knowing where your light belongs, rather than discovering it after twenty test shots, changes the energy of the entire session.
Watch the full tutorial on YouTube to see the laser in action and the before-and-after comparison that makes the payoff obvious.
Comments
Leave a Comment