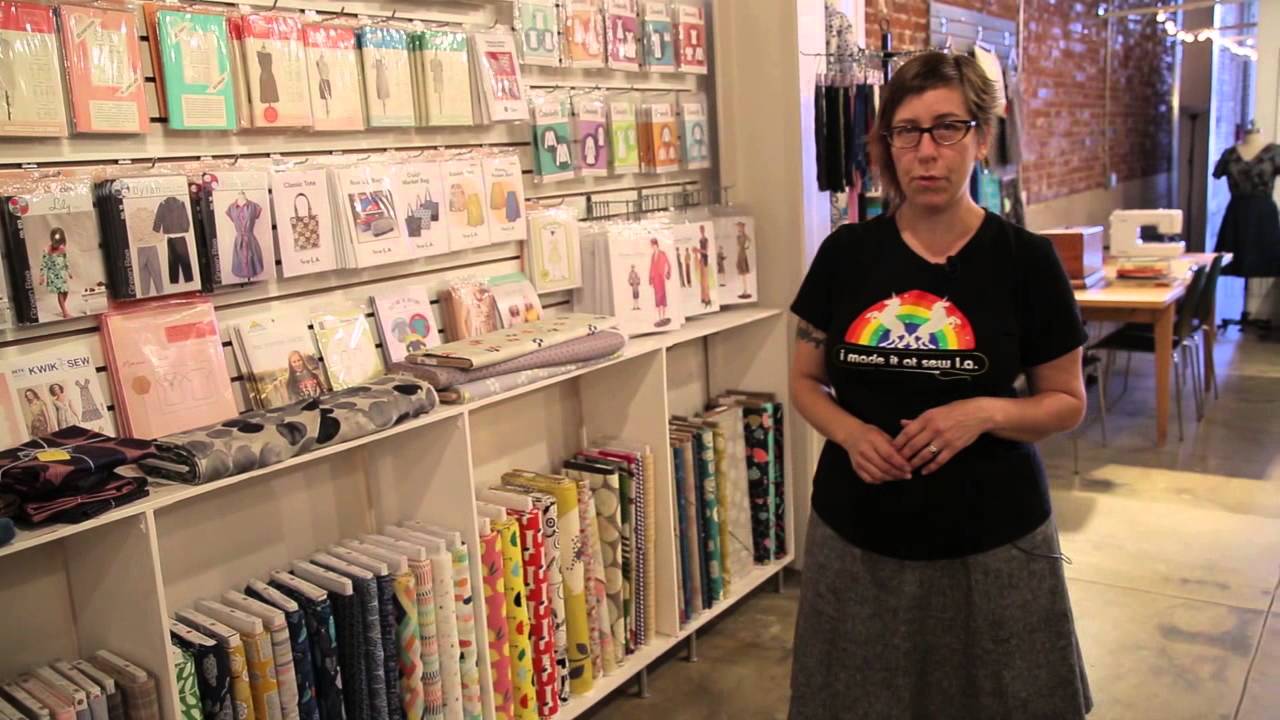
There’s a version of studio envy that has nothing to do with lighting equipment. I felt it the first time I walked into a workspace that was clearly built around how someone actually thinks, not just what looks good in a behind-the-scenes photo. My own studio in Los Angeles has gone through probably six iterations in the last decade. Too sterile. Too cluttered. Wrong flow between the shooting area and the editing corner. I kept treating it like a gear problem when it was really a creative process problem.
That’s why I kept coming back to this CreativeLive studio tour featuring Shaerie Mead, founder of Sew L.A., a sewing school and studio in Los Angeles. Watch the full tutorial on YouTube. On the surface, it has nothing to do with photography. Mead teaches sewing workshops. Her tools are rulers and treadle machines, not strobes and light meters. But the way she talks about her space – what she kept, what she tore out, what she puts within arm’s reach – maps almost perfectly onto problems I’ve been solving (and ignoring) in my own studio for years.
What follows is a breakdown of how Mead structures her creative environment, and how each principle translates to a photography or video studio context. If you’ve ever stood in your own space feeling stuck, this is worth your time.
Step 1: Anchor Yourself to a Specific Spot With a Specific Purpose
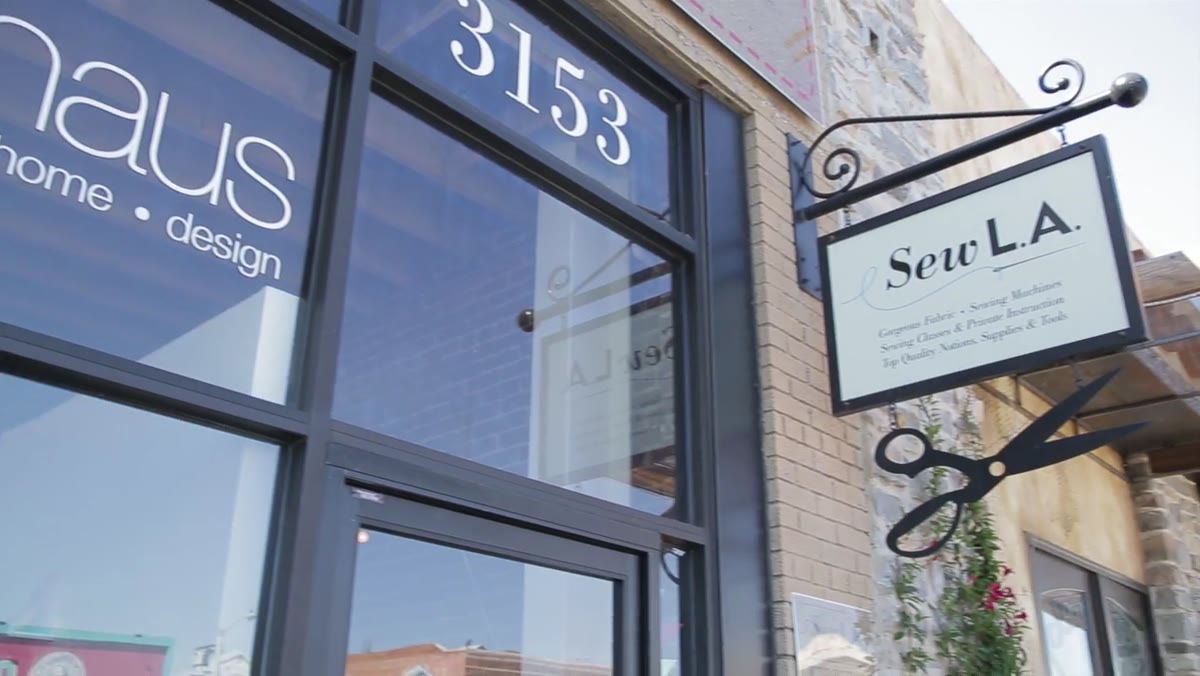 Shaerie seated at her favorite studio corner table
Mead opens the tour from what she calls her favorite corner – a table where she can watch students work while keeping her own sewing machine within reach. This isn’t a casual detail. It’s a deliberate decision about where creative oversight happens.
Shaerie seated at her favorite studio corner table
Mead opens the tour from what she calls her favorite corner – a table where she can watch students work while keeping her own sewing machine within reach. This isn’t a casual detail. It’s a deliberate decision about where creative oversight happens.
In a photography studio, this translates directly to your tethering station or your review monitor position. I used to set mine up wherever the cable would reach. Now I place it where I can see both the subject and the screen without turning my back on the set. That single change tightened my communication with clients and cut the time I spend walking back and forth by a significant amount. Anchor your command position first, then build the rest of the room around it.
Step 2: Keep Physical Inspiration Visible and Within Reach
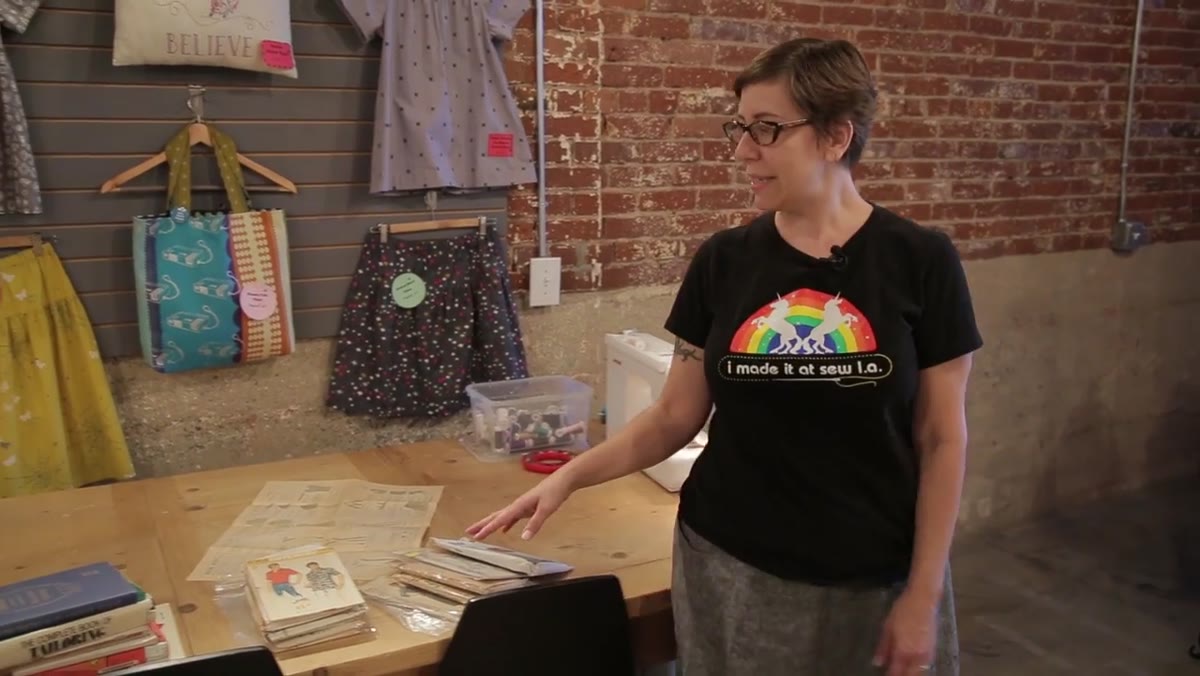 Vintage sewing books and pattern packaging spread on the table
Mead keeps vintage sewing books and original pattern packaging at her table – not in a cabinet, not on a shelf across the room. She describes them as immediate tools for getting unstuck, the kind of objects she can pick up mid-session and flip through until the ideas start moving again.
Vintage sewing books and pattern packaging spread on the table
Mead keeps vintage sewing books and original pattern packaging at her table – not in a cabinet, not on a shelf across the room. She describes them as immediate tools for getting unstuck, the kind of objects she can pick up mid-session and flip through until the ideas start moving again.
I do something similar with a stack of magazine tearsheets and a folder of lighting diagrams I’ve sketched from shoots I admired. The rule I use: if I have to leave the room to access it, it won’t get used when I actually need it. Whatever your version of reference material is – mood boards, contact sheets, a particular book of portraiture – it belongs on a surface you can reach without standing up.
Step 3: Renovate for Ceiling Height Before You Buy New Gear
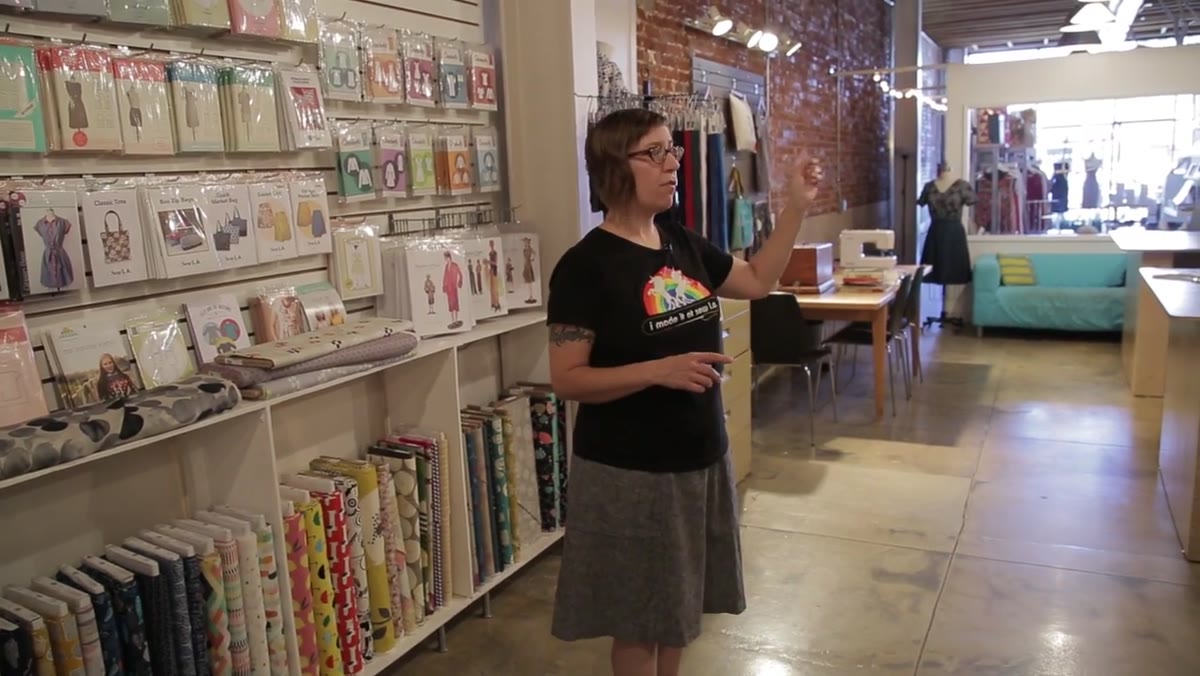 Shaerie describing removal of drop ceilings and stucco walls
When Mead moved into the space, she was dealing with drop ceilings and heavily textured stucco walls. Her first major investment wasn’t furniture or equipment – it was tearing all of that out to expose the original ceiling height and clean wall surfaces.
Shaerie describing removal of drop ceilings and stucco walls
When Mead moved into the space, she was dealing with drop ceilings and heavily textured stucco walls. Her first major investment wasn’t furniture or equipment – it was tearing all of that out to expose the original ceiling height and clean wall surfaces.
Photographers underestimate how much a low ceiling kills their lighting options. I’ve shot in rented studios where I couldn’t get a proper overhead softbox position because the ceiling sat at eight feet. You end up compromising the shot before you’ve even placed a subject. If you’re building out a permanent space, ceiling height and wall reflectivity are infrastructure decisions that affect every single frame you’ll ever shoot there. Get those right first. Everything else is adjustable.
Step 4: Organize Tools by Frequency of Use, Not Category
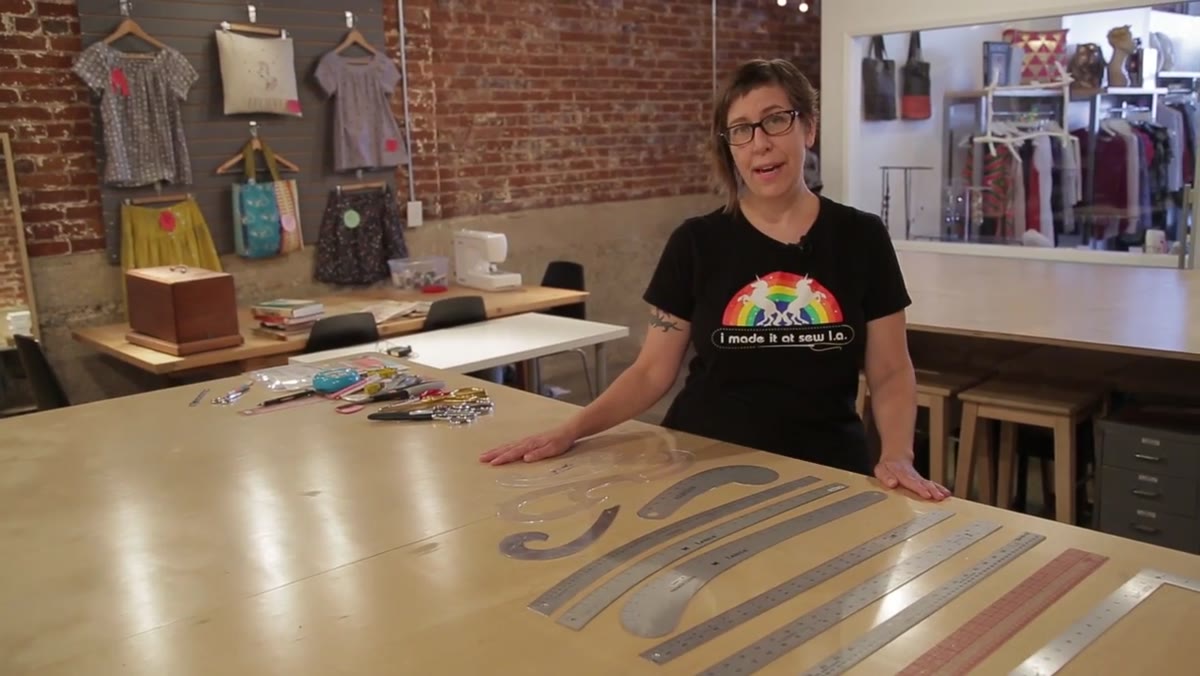 Collection of rulers, French curves, and straight edges displayed in the studio
Mead describes her rulers – French curves and straight edges – as the tools she couldn’t work without, and she’s clearly set them up to be immediately accessible during the drafting process. She’s not organizing her studio by object type. She’s organizing it by how often her hands need to reach for something.
Collection of rulers, French curves, and straight edges displayed in the studio
Mead describes her rulers – French curves and straight edges – as the tools she couldn’t work without, and she’s clearly set them up to be immediately accessible during the drafting process. She’s not organizing her studio by object type. She’s organizing it by how often her hands need to reach for something.
This reframed how I think about my grip and modifier shelf. I used to group things logically: all clamps together, all gels together, all stands together. Now the most-used items cluster near the shooting area regardless of category. My color checker, my tape measure, and my C-stand knuckle wrench sit together because I use them in the same part of the workflow. The category-based system looked cleaner. The frequency-based system makes me faster.
Step 5: Let the History of Your Tools Inform How You Use Them
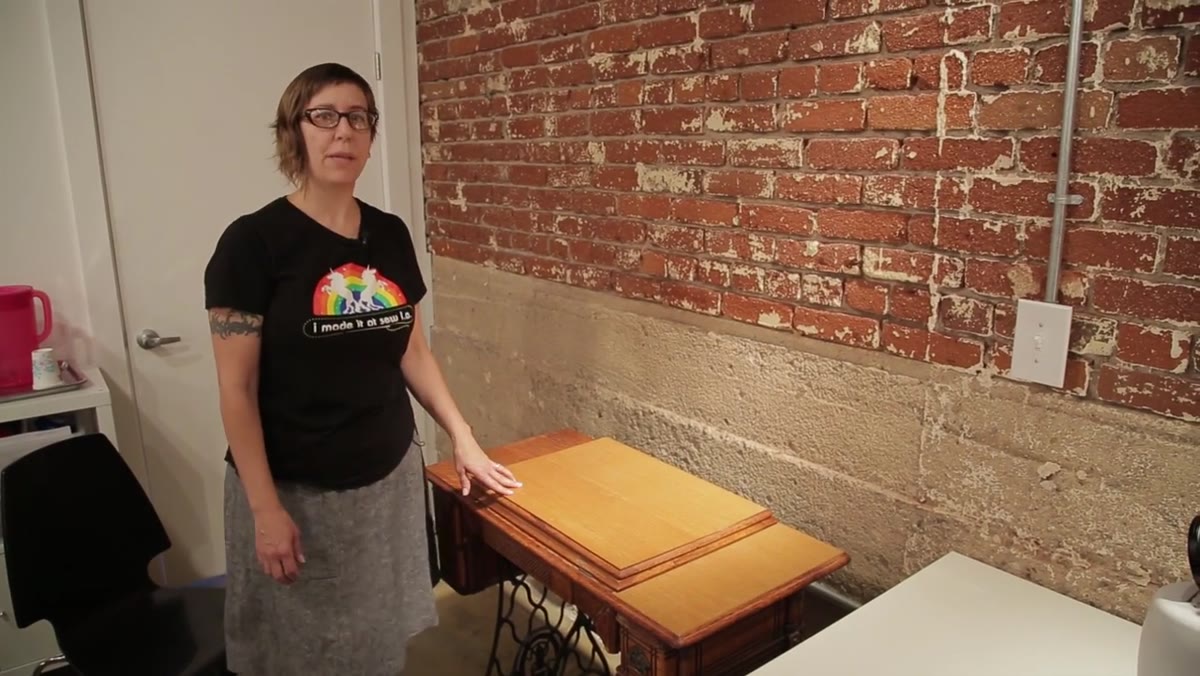 Singer treadle machine with refinished table in the studio
Mead gives real weight to a treadle sewing machine that predates electrical power and a hand-crank machine from the late 1800s. She doesn’t treat these as decoration. She uses them to understand the evolution of the craft – how much effort clothing once required, what made mechanization so significant. That historical context visibly shapes how she values precision.
Singer treadle machine with refinished table in the studio
Mead gives real weight to a treadle sewing machine that predates electrical power and a hand-crank machine from the late 1800s. She doesn’t treat these as decoration. She uses them to understand the evolution of the craft – how much effort clothing once required, what made mechanization so significant. That historical context visibly shapes how she values precision.
The equivalent for photographers is understanding the mechanics behind what we now do automatically. When I finally learned to meter manually in conditions where my camera’s evaluative metering was failing me, it was because I understood what the meter was actually trying to calculate. Old gear teaches that. I have a handheld incident meter from the 1970s on my shelf that I still use to cross-check my readings on critical commercial work. Knowing how it measures light tells me exactly when to trust it over the camera.
Step 6: Design the Space So That Doing the Work Is the Path of Least Resistance
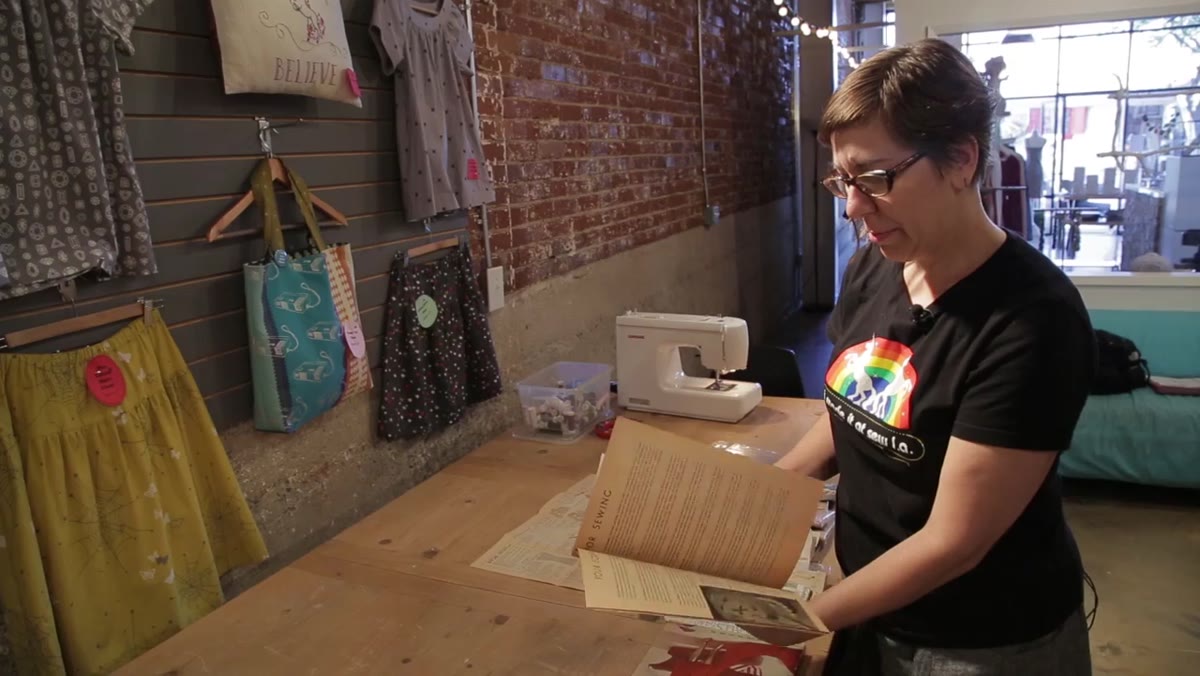 Shaerie describing how the space restarts her creative process automatically
Mead makes a point that stuck with me: when she’s stuck, she doesn’t have to do anything special to get moving again. She just picks up a book. She looks at a fabric. The space itself does the work of restarting her process because it was designed to make engagement easy.
Shaerie describing how the space restarts her creative process automatically
Mead makes a point that stuck with me: when she’s stuck, she doesn’t have to do anything special to get moving again. She just picks up a book. She looks at a fabric. The space itself does the work of restarting her process because it was designed to make engagement easy.
Most studios I’ve visited – including earlier versions of mine – are designed to look productive rather than to be productive. The lighting diagram app I built for my phone came out of recognizing that I was losing sketch ideas because writing them down took too long and I’d move on. I needed the lowest possible friction between the idea and the record. Same principle applies physically: every time a tool is hard to reach, or a reference is buried, or a surface is too cluttered to use, the space is quietly working against you.
What I’d Add From My Own Work
Mead’s studio is built for teaching as much as for making, and that shapes every decision she describes. My studio is built for shooting, which adds one layer she doesn’t address: the space has to work for clients who’ve never been in it before. That means clear sightlines, no tripping hazards near the set, and a seating area for clients that puts them close enough to feel involved without putting them in the light.
If you’re designing a studio with any kind of client-facing function, sketch the visitor’s path through the space before you sketch your own. The way a client experiences your studio affects how much they trust your judgment once the camera comes out.
The single most transferable idea from Mead’s tour is this: a good creative space doesn’t wait for you to feel inspired. It’s engineered to generate momentum on its own. Every surface, every tool placement, every piece of reference material is doing a job.
Watch the full tutorial on YouTube and pay attention to how Mead moves through the space as she describes it. The tour itself is a diagram of how she thinks.
Comments (3)
Shared this with my photography group. Everyone loved it.
Bookmarked. Coming back to this one for sure.
Couldn't agree more. I've seen this make a huge difference in photoshop work specifically.
Leave a Comment