Every time I walk into a studio with a new product to shoot, the first thing I do is hold it under a bare work light and rotate it slowly. Not to set up a shot. Just to watch. I’m looking at how the surface catches and releases light, where reflections pool, where they scatter, whether the material has any depth to it. I learned to do this after years of jumping straight to the gear and then spending the rest of the session correcting mistakes that should never have happened. The gap between a photographer who struggles with lighting and one who doesn’t almost always comes down to one thing: understanding how materials actually behave before a single strobe fires.
Watch the full tutorial on YouTube
In this Visual Education tutorial, KL Taylor lays out the foundational physics that should be driving every lighting decision you make in the studio. Taylor has over 30 years of product and commercial photography behind him, and what he’s sharing here isn’t abstract theory. It’s the practical thinking that separates a photographer who reacts to problems from one who prevents them. If you shoot products, cosmetics, tech, or anything with a defined surface finish, this framework belongs in your toolkit.
Step 1: Start by Analyzing Shape Before You Think About Light
 KL Taylor holds an Apple mouse and an iPhone toward camera
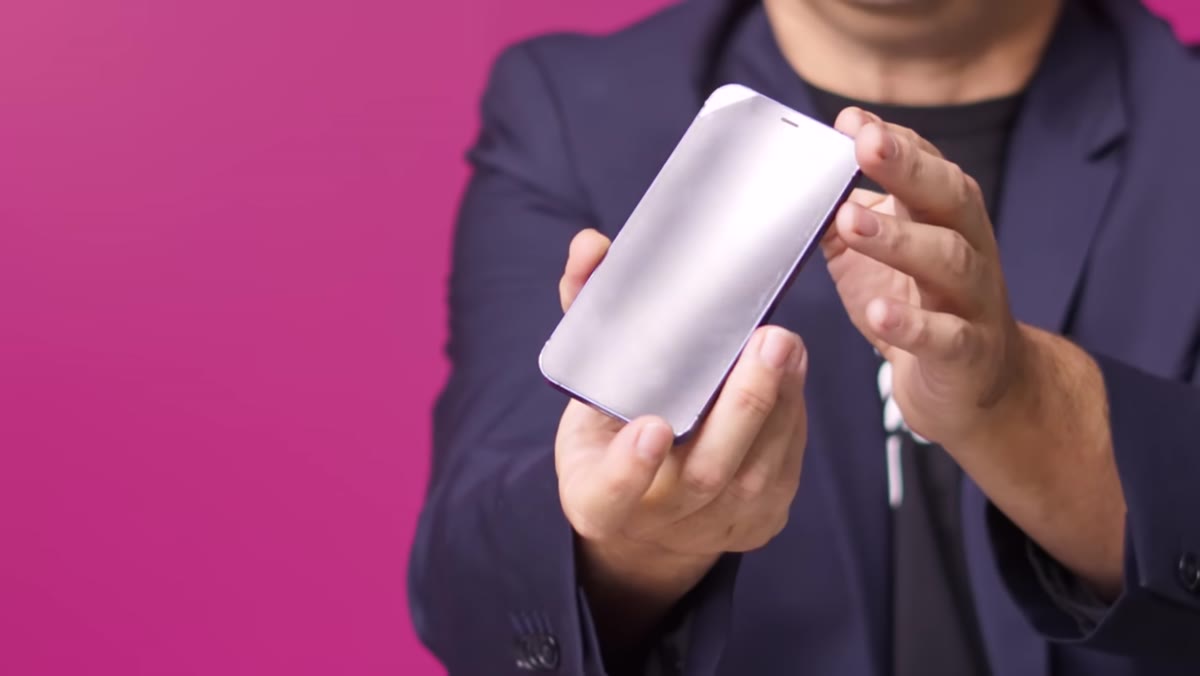
The first question you ask about any subject shouldn’t be “which modifier should I use?” It should be “what shape is this, and what is it made of?” Taylor introduces this framework using two common objects: a curved, glossy mouse and a flat, glossy smartphone. Both are glossy, but they are completely different lighting challenges. A curved surface redirects reflections across a much wider area, meaning a large light source will produce a gradual, rolling highlight. A flat surface concentrates reflections in a much more precise zone. Get the angle wrong by five degrees on a flat glossy product and you blow out the whole face of it.
KL Taylor holds an Apple mouse and an iPhone toward camera
The first question you ask about any subject shouldn’t be “which modifier should I use?” It should be “what shape is this, and what is it made of?” Taylor introduces this framework using two common objects: a curved, glossy mouse and a flat, glossy smartphone. Both are glossy, but they are completely different lighting challenges. A curved surface redirects reflections across a much wider area, meaning a large light source will produce a gradual, rolling highlight. A flat surface concentrates reflections in a much more precise zone. Get the angle wrong by five degrees on a flat glossy product and you blow out the whole face of it.
In practice, before I touch a light stand, I sketch the object’s basic geometry in my lighting journal. Is it convex, concave, flat, or compound? That geometry tells me where reflections will land and, more importantly, where I need them not to land.
Step 2: Identify the Surface Finish on a Spectrum, Not as a Binary
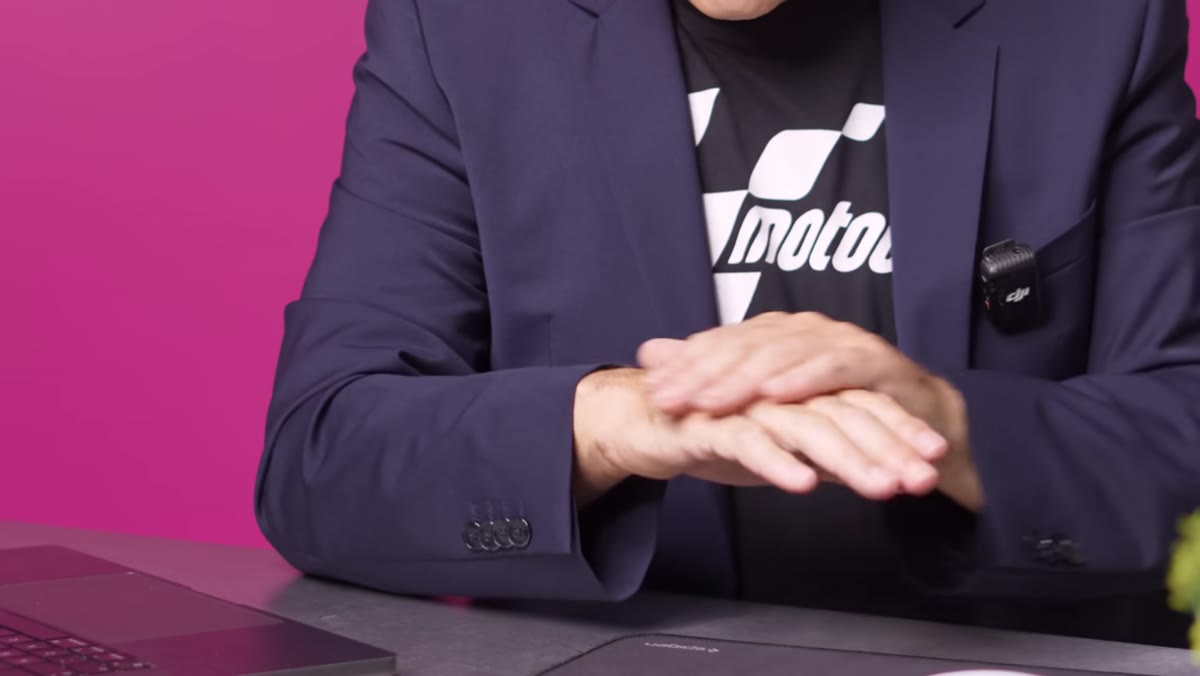
 Laptop surface reflecting hand and fingers in diffused metal finish
Most photographers think in two categories: matte or glossy. Taylor pushes past that immediately, and he’s right to. He points to a laptop’s brushed metal surface, which shows a visible reflection of his hand but doesn’t act like a mirror. It’s somewhere in the middle: partially specular, partially diffused, because the texture in the metal is scattering reflected light slightly. Nearly every real-world material sits somewhere on a spectrum from pure diffuse to pure mirror, and where it lands determines which modifier will actually work.
Laptop surface reflecting hand and fingers in diffused metal finish
Most photographers think in two categories: matte or glossy. Taylor pushes past that immediately, and he’s right to. He points to a laptop’s brushed metal surface, which shows a visible reflection of his hand but doesn’t act like a mirror. It’s somewhere in the middle: partially specular, partially diffused, because the texture in the metal is scattering reflected light slightly. Nearly every real-world material sits somewhere on a spectrum from pure diffuse to pure mirror, and where it lands determines which modifier will actually work.
A practical way to calibrate this: hold a small flashlight at a steep angle to the surface and observe how tight or spread the hotspot is. A tight, hard-edged hotspot means you’re dealing with a high-specular surface. A wide, soft bloom means more diffusion in the material. That test takes ten seconds and tells you more than guessing will.
Step 3: Treat Skin as a Layered Optical System, Not a Simple Surface
 Taylor discusses skin’s translucent layered properties and light behavior
Skin is where a lot of photographers get tripped up, because it doesn’t behave like any manufactured material. Taylor describes it as a layered surface with semi-transparent upper layers, which means light doesn’t just reflect off the top. It enters slightly, bounces around in the sub-surface layers, and comes back out with a warmth and resonance that flat materials can’t replicate. This is what makes skin look alive under the right lighting conditions and flat and plastic-looking under the wrong ones.
Taylor discusses skin’s translucent layered properties and light behavior
Skin is where a lot of photographers get tripped up, because it doesn’t behave like any manufactured material. Taylor describes it as a layered surface with semi-transparent upper layers, which means light doesn’t just reflect off the top. It enters slightly, bounces around in the sub-surface layers, and comes back out with a warmth and resonance that flat materials can’t replicate. This is what makes skin look alive under the right lighting conditions and flat and plastic-looking under the wrong ones.
This is also why a polarizer changes the look of skin more dramatically than it changes the look of metal. The polarizer strips direct surface reflections, leaving only that sub-surface resonance behind. For beauty and portrait work especially, knowing that you can use polarization to shift the balance between surface sheen and inner glow is a genuinely powerful tool, not just a filter for cutting window glare.
Step 4: Match Your Light Source Size to the Surface Geometry
 Curved glossy product demonstrating reflection from large video light source
Once you know the shape and the finish, the modifier choice becomes logical rather than intuitive. Taylor shows how a curved glossy surface like the mouse picks up the reflection of a large video light as a broad, traveling highlight that moves across the surface as your viewing angle changes. That’s the angle of incidence at work: the reflection angle equals the incoming angle, but on a curved surface, that angle changes continuously across the form.
Curved glossy product demonstrating reflection from large video light source
Once you know the shape and the finish, the modifier choice becomes logical rather than intuitive. Taylor shows how a curved glossy surface like the mouse picks up the reflection of a large video light as a broad, traveling highlight that moves across the surface as your viewing angle changes. That’s the angle of incidence at work: the reflection angle equals the incoming angle, but on a curved surface, that angle changes continuously across the form.
For a convex glossy subject, a large, soft source placed carefully will give you a clean, controlled highlight that follows the shape naturally. A small hard source on the same subject creates a tiny, harsh hotspot that gives you no useful information about the form. Flat specular surfaces, by contrast, often need more precise, smaller sources or flag-controlled reflections, because they’ll mirror whatever is in front of them without mercy.
Step 5: Build a Pre-Shoot Material Assessment Habit
 Taylor outlines the core framework of shape plus surface material analysis
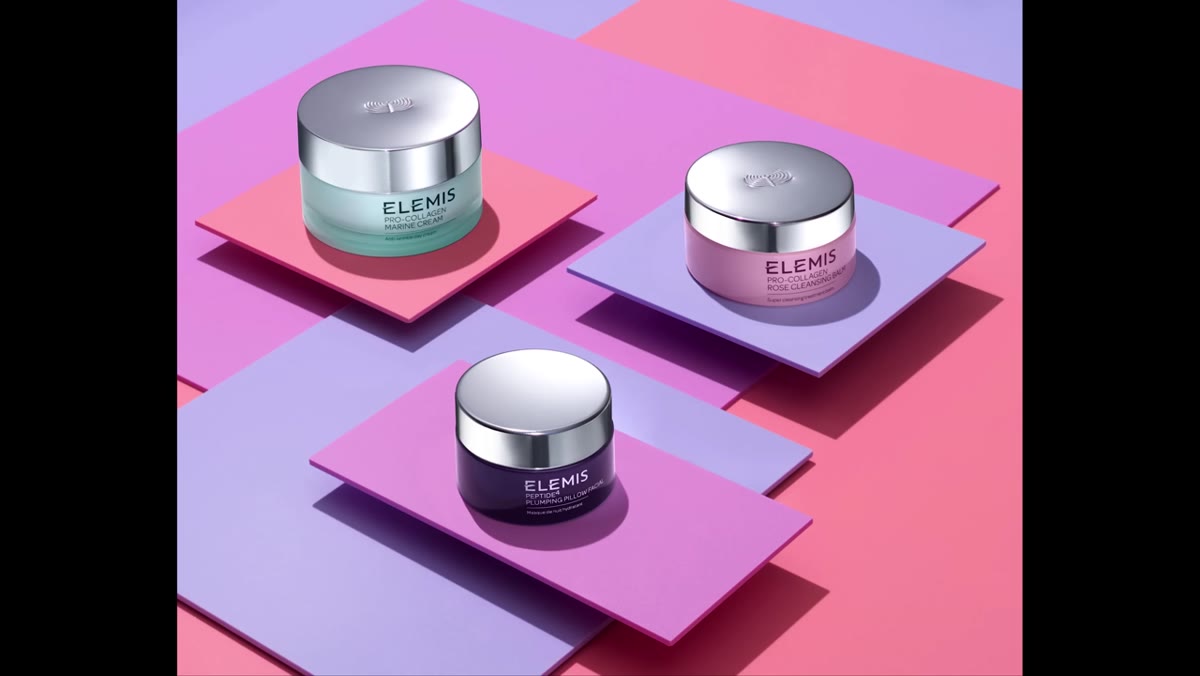
Taylor frames all of this as a fundamental physics knowledge set that, once internalized, applies equally to still photography, CGI, and film. The practical habit he’s building toward is a two-part assessment for every subject: shape and surface material. Those two factors, taken together, determine your entire approach. Not your personal style, not which modifier is your current favorite. The physics of the object in front of you.
Taylor outlines the core framework of shape plus surface material analysis
Taylor frames all of this as a fundamental physics knowledge set that, once internalized, applies equally to still photography, CGI, and film. The practical habit he’s building toward is a two-part assessment for every subject: shape and surface material. Those two factors, taken together, determine your entire approach. Not your personal style, not which modifier is your current favorite. The physics of the object in front of you.
I’ve made this a literal checklist. When a new product arrives at the studio, I note the geometry, estimate where it falls on the diffuse-to-specular scale, and check for anything unusual like sub-surface translucency, multiple material zones, or coatings that shift under different color temperatures. Five minutes of assessment saves two hours of problem-solving on set.
What I’d Add From My Own Experience
The one thing I’d layer on top of Taylor’s framework is color temperature sensitivity, especially with specular materials. Glossy and metallic surfaces don’t just reflect light. They reflect the color of your light, and if you’re mixing sources with different color temperatures, those reflections will fight each other in ways that are nearly impossible to fix in post. I ruined an early editorial shoot by mixing daylight strobes with tungsten practicals on a chrome-heavy product, and the reflections looked like a hardware store. Now every modifier in my studio is labeled with its color temperature offset, and I check consistency before the first test shot fires.
The single most important idea in Taylor’s tutorial is this: the product tells you how to light it, if you know how to read it. Stop defaulting to your favorite modifier setup and start with the material. Shape plus surface finish equals your lighting blueprint. Everything else is execution.
Watch the full tutorial on YouTube and spend some time with Taylor’s explanations of reflection physics. It’s the kind of foundational thinking that doesn’t go out of date when gear changes.
Comments
Leave a Comment