What Street Photography Taught Me About Reading Light I Already Know

What Street Photography Taught Me About Reading Light I Already Know

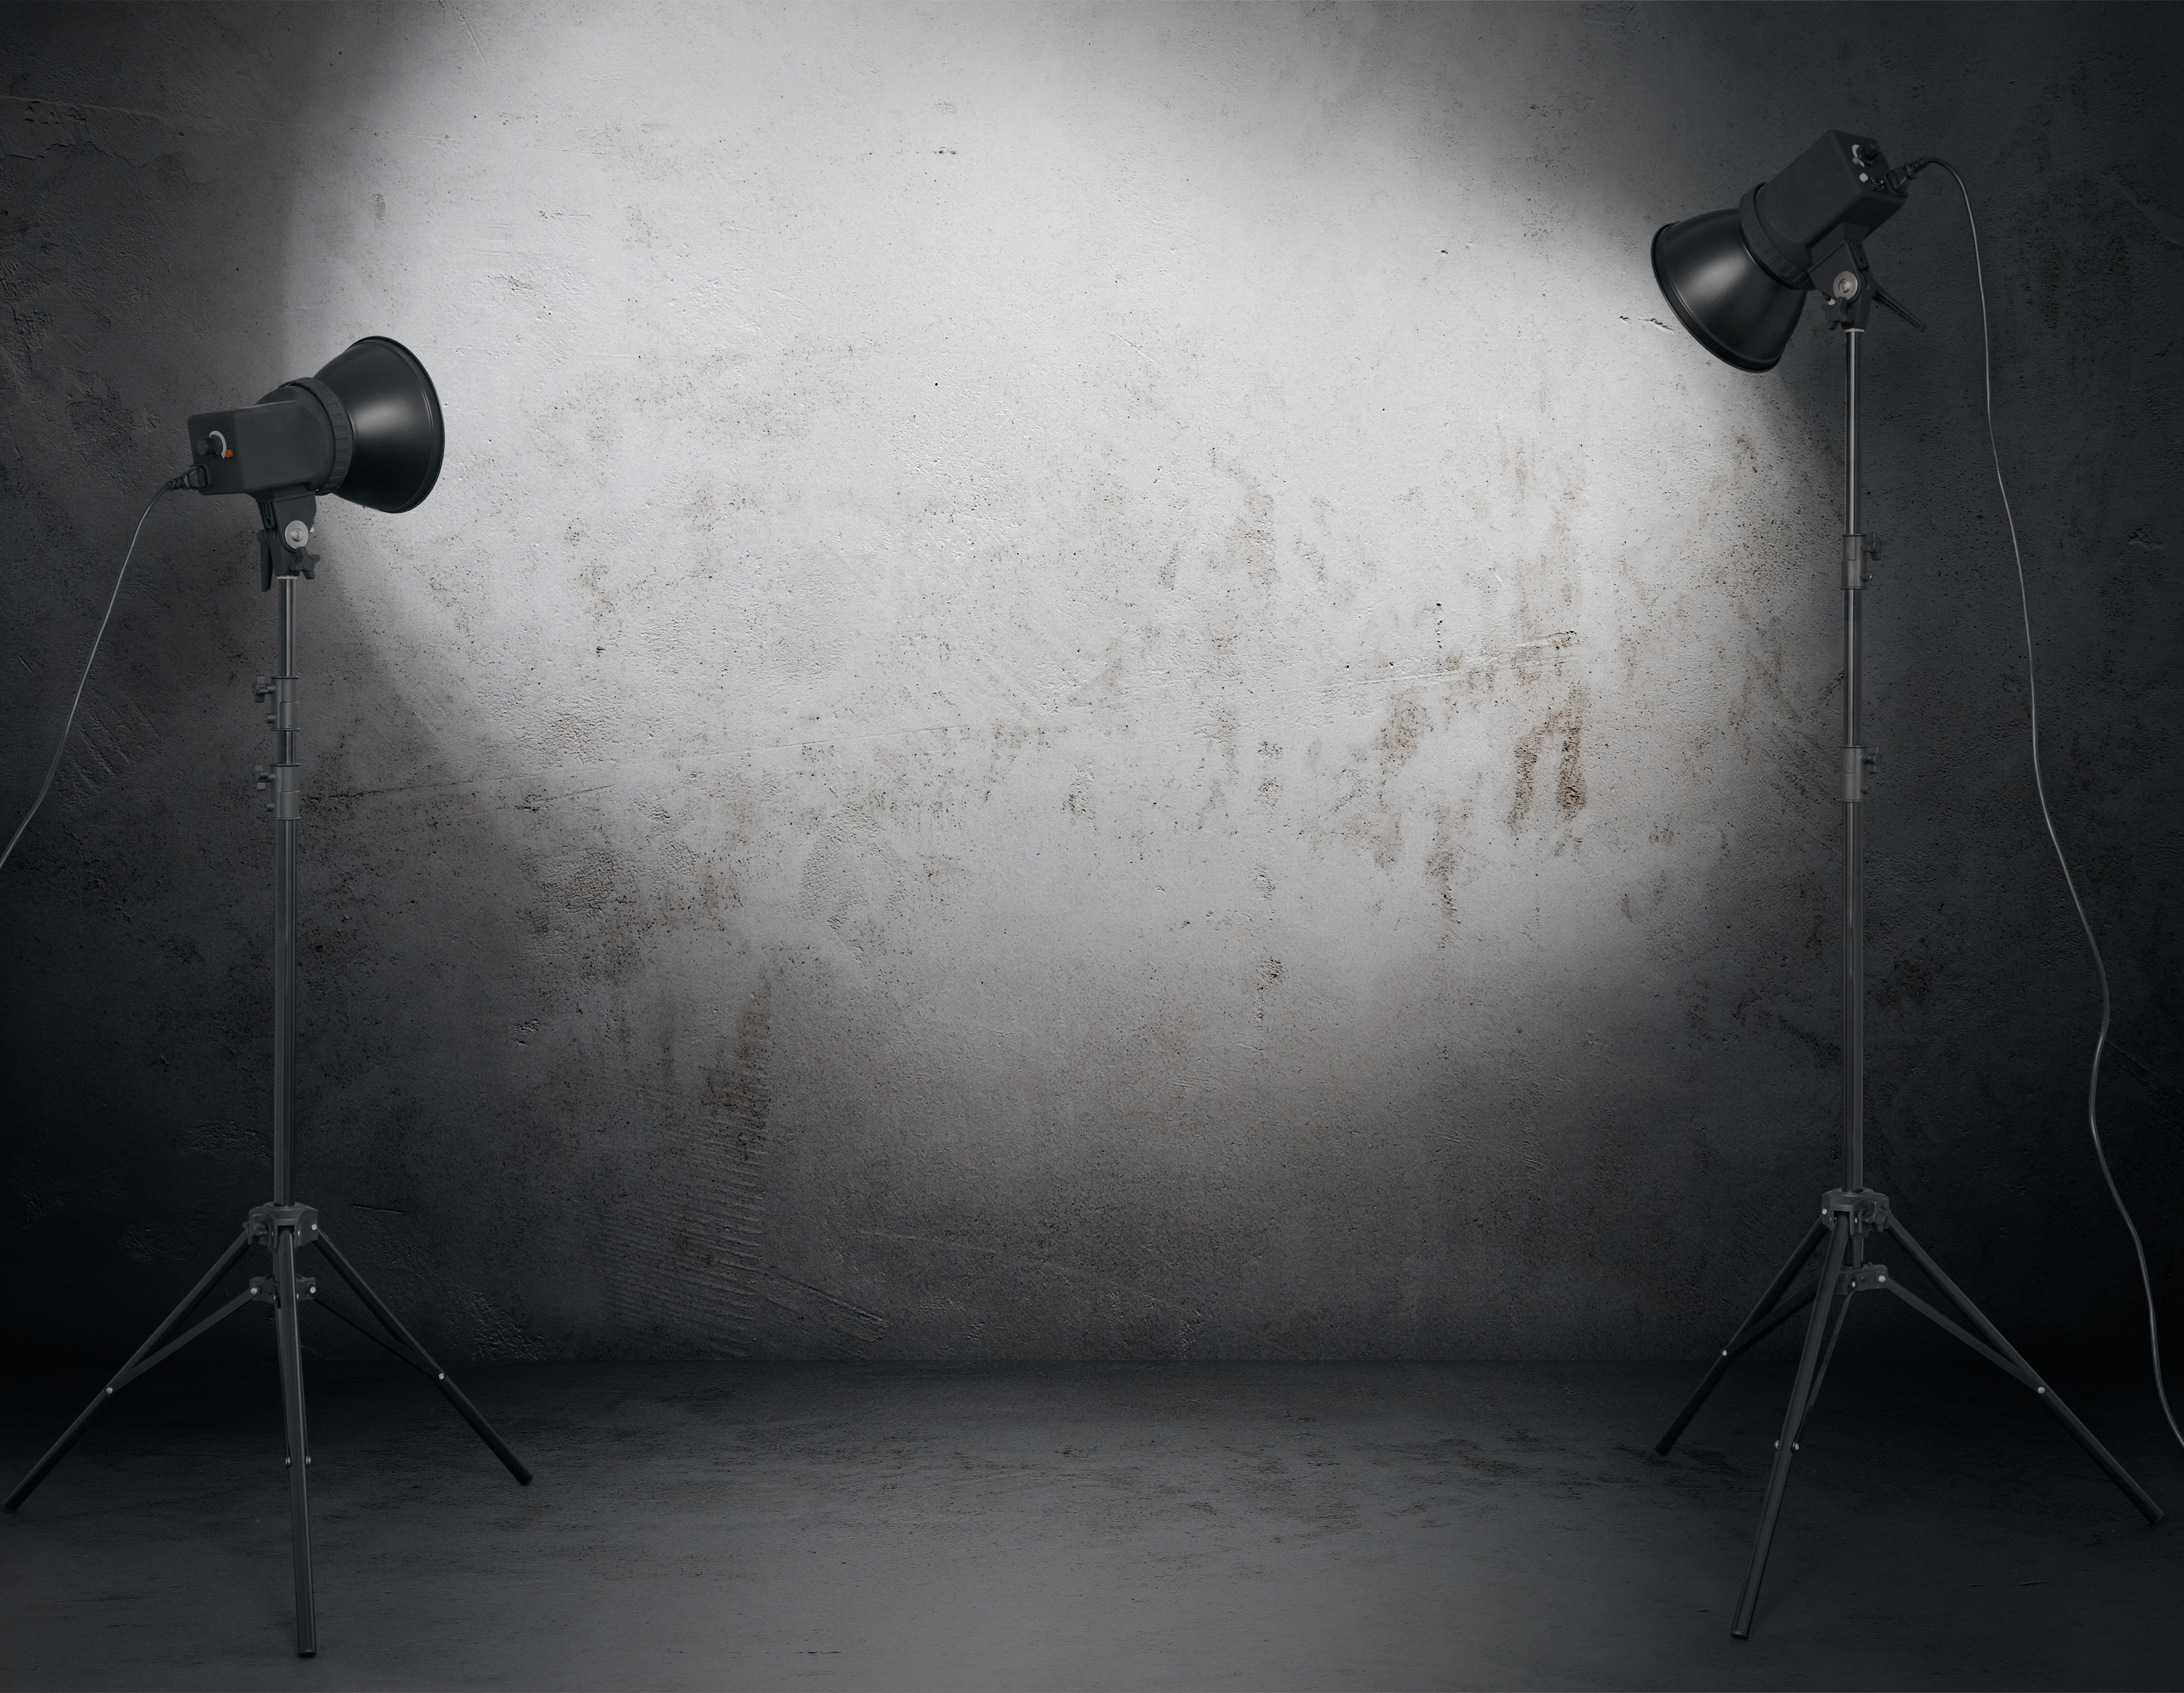
I spend most of my working life in a controlled environment. Every light in my studio has a strip of masking tape on it with a label: key, fill, hair, kicker. I know exactly what each one is doing at any given moment. That control is the whole point. So when a recent editorial brief pushed me outside for a “candid, documentary-style” series in downtown Los Angeles, I felt the specific discomfort of a person who has forgotten that light exists before you plug anything in.

Reading Light in Hostile Territory: What Street Photography Taught Me About Seeing

Reading Light in Hostile Territory: What Street Photography Taught Me About Seeing

I spent the better part of last spring shooting editorial work in downtown LA, trying to grab some candid environmental portraits between the staged studio sessions. My commercial instincts kept betraying me. I was scouting for soft boxes that didn’t exist, looking for catchlights I could control, and mentally reaching for modifiers I didn’t have. The shots were technically fine and completely lifeless. I needed a different mental model for reading light outdoors, not just pointing a camera at it.

Rim Lighting: The Technique That Separates Amateur From Professional

Rim Lighting: The Technique That Separates Amateur From Professional

What Rim Lighting Actually Does Rim lighting isn’t decorative. It’s functional. I use it to carve subjects away from backgrounds—to create dimensionality that flat, frontal lighting simply cannot achieve. When executed correctly, a rim light creates a luminous edge that defines the subject’s outline and adds perceived depth to the image. This is especially critical in portrait and product photography where separation is everything. The technique involves placing a light source behind and to the side of your subject, angled so it catches the edge of their form without spilling light directly into the lens.

Rim Lighting: The Technique That Separates Amateurs From Professionals

Rim Lighting: The Technique That Separates Amateurs From Professionals

What Rim Lighting Actually Does Rim lighting isn’t decorative—it’s functional. When placed correctly, a rim light creates a bright edge along your subject’s outline, separating them from the background and adding three-dimensional depth to flat studio environments. I’ve watched photographers obsess over key lights and fill ratios while ignoring this critical tool. That’s a mistake. The rim light accomplishes three things: it defines edges (especially hair), it creates visual separation between subject and background, and it adds a professional polish that clients immediately notice, even if they can’t articulate why.

Rim Lighting: The Technique That Separates Amateur From Professional Portraits

Rim Lighting: The Technique That Separates Amateur From Professional Portraits

Rim Lighting: The Technique That Separates Amateur From Professional Portraits I’ve watched countless photographers chase expensive gear when what they really needed was rim lighting discipline. This technique—also called backlighting or edge lighting—is not optional for serious portrait work. It’s foundational. When executed correctly, rim lighting adds depth, separates your subject from the background, and creates that polished look clients recognize as professional. Let me be direct: rim lighting without understanding power ratios and positioning will frustrate you.

Rim Lighting: The Essential Technique for Separation and Dimension

Rim Lighting: The Essential Technique for Separation and Dimension

Rim Lighting: The Essential Technique for Separation and Dimension I’ve used rim lighting in roughly 70% of my studio work over the past fifteen years, and I’m not exaggerating when I say it’s transformed how my subjects read in frame. A rim light—also called a backlight or hair light—is a dedicated light source positioned behind your subject to create a glowing outline that separates them from the background. Done correctly, it’s invisible to the casual viewer but absolutely critical to the overall image.