Choosing the Right Softbox for the Job: A Practical Studio Lighting Breakdown

Choosing the Right Softbox for the Job: A Practical Studio Lighting Breakdown

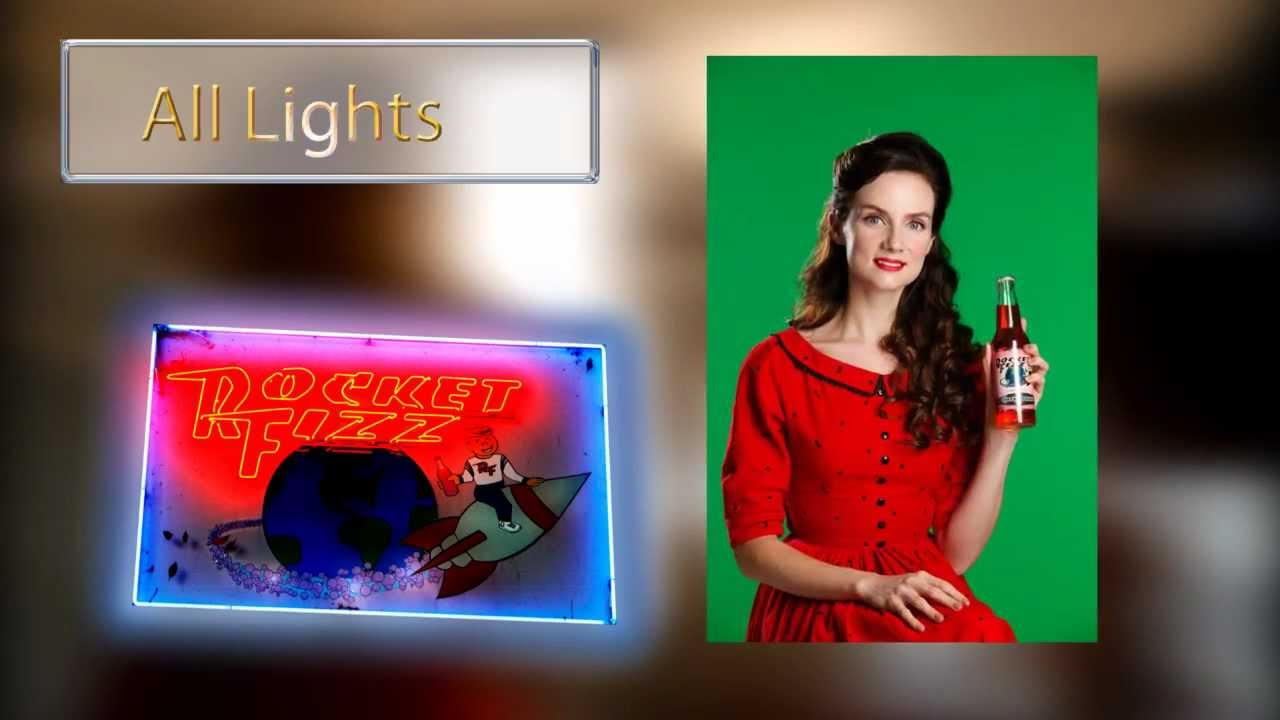
Every softbox decision I make on a commercial shoot comes down to one question: what do I want the shadows to do? Not where do I want the light to come from, but what should happen on the dark side of the face, the shoulder, the background. That single reframe changed how I shop for modifiers, how I label them on my studio shelves, and how I plan setups before a single strobe fires.
Three Lights, a Spinning Table, and the Product Shot Formula I Wish I'd Had Years Ago

Three Lights, a Spinning Table, and the Product Shot Formula I Wish I'd Had Years Ago

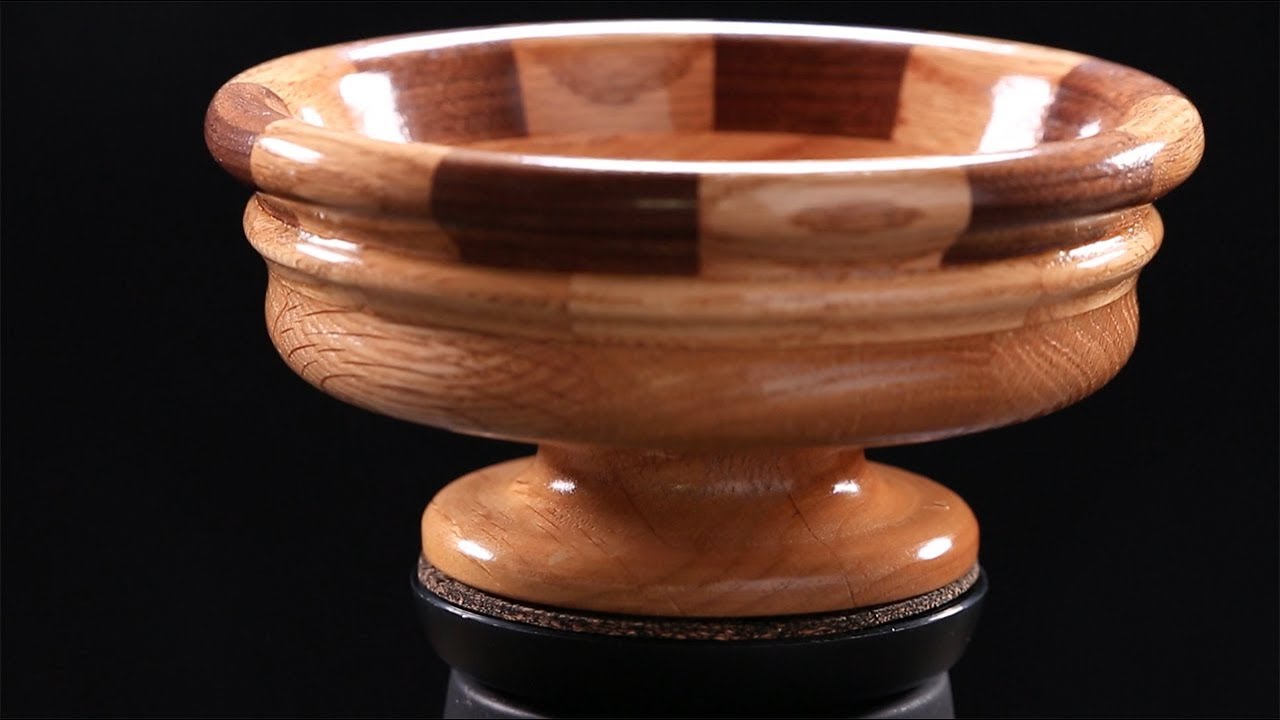
Product shots have a reputation for being straightforward, and that reputation is wrong. I’ve spent more hours than I’d like to admit fighting with a single object on a sweep, chasing specular highlights that blow out the form, or producing rotation video that feels rushed and cheap. The problem is usually not the product. It’s the absence of a clear lighting architecture, one that separates the object from the background, reveals its surface texture, and still leaves the front open enough for the viewer to actually read what they’re looking at.

How to Build a Three-Point Lighting Setup That Actually Separates Your Subject

How to Build a Three-Point Lighting Setup That Actually Separates Your Subject

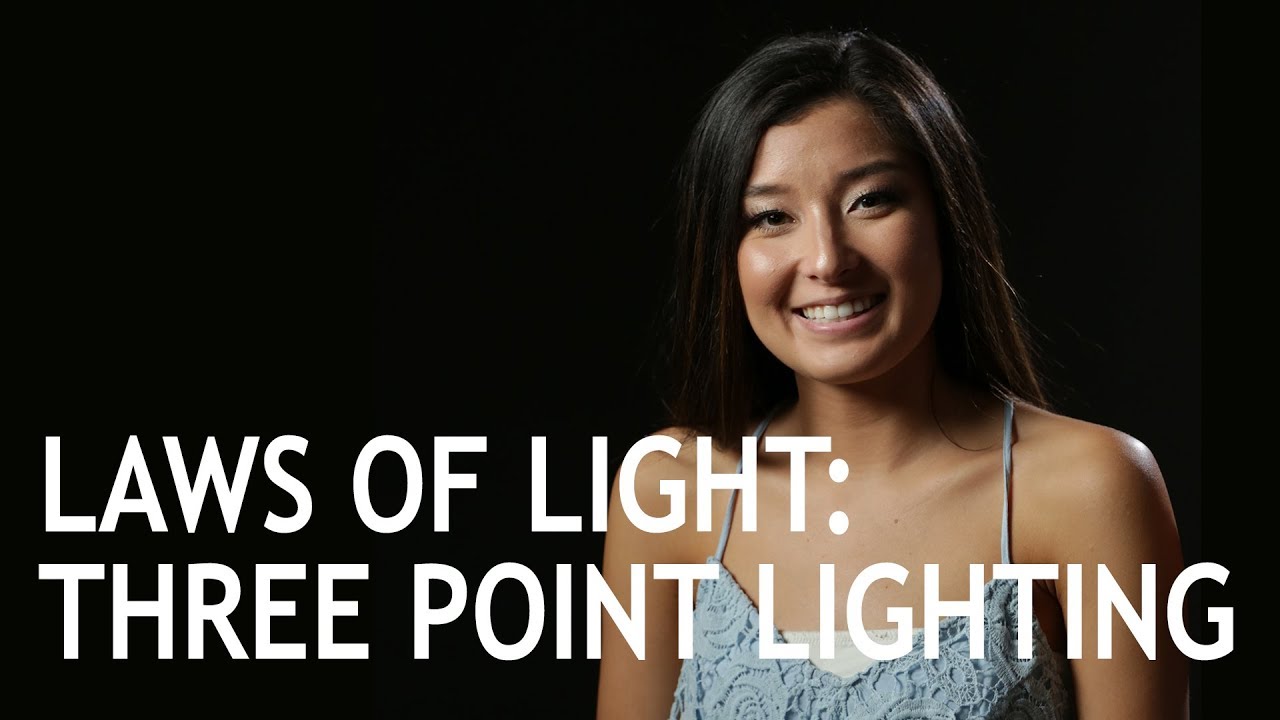
Every portrait photographer hits the same wall eventually. One light looks beautiful in isolation, but the subject disappears into the background, shadows go muddy, and the image loses the dimension that separates a professional result from a snapshot. I’ve stood in my studio at 11pm before a morning editorial call, staring at a flat, lifeless frame and wondering what was missing. The answer, almost every time, was a deliberate three-point lighting strategy rather than a single key light I was trying to coax into doing five jobs at once.