I shoot out of a 400-square-foot space in Los Angeles. That sounds like plenty until you factor in two light stands, a boom arm, a seamless backdrop roll, a prop corner, and enough floor space to actually move around your subject. Square footage disappears fast, and the photographers who figure out how to make a small room work well are the ones worth studying closely. When I came across this studio tour from The Portrait System featuring Felicia Schütte, a Portrait Masters Fellow working out of the island of Bonaire in the Dutch Caribbean, I watched it twice. Not because her setup is exotic, but because it is ruthlessly practical in ways that apply to any working photographer operating outside a purpose-built commercial space.
Watch the full tutorial on YouTube
What struck me immediately is that Schütte is not apologizing for her space. She is an architect by training, someone who spent years thinking about how rooms function before she ever picked up a camera professionally. That background is evident in every decision she has made. Her studio is not a room with photography equipment in it. It is a system. The breakdown below follows the logic of her tour in sequence, with the practical takeaways extracted for anyone trying to build or refine a working portrait studio.
Step 1: Separate Your Client-Facing Space from Your Shooting Space
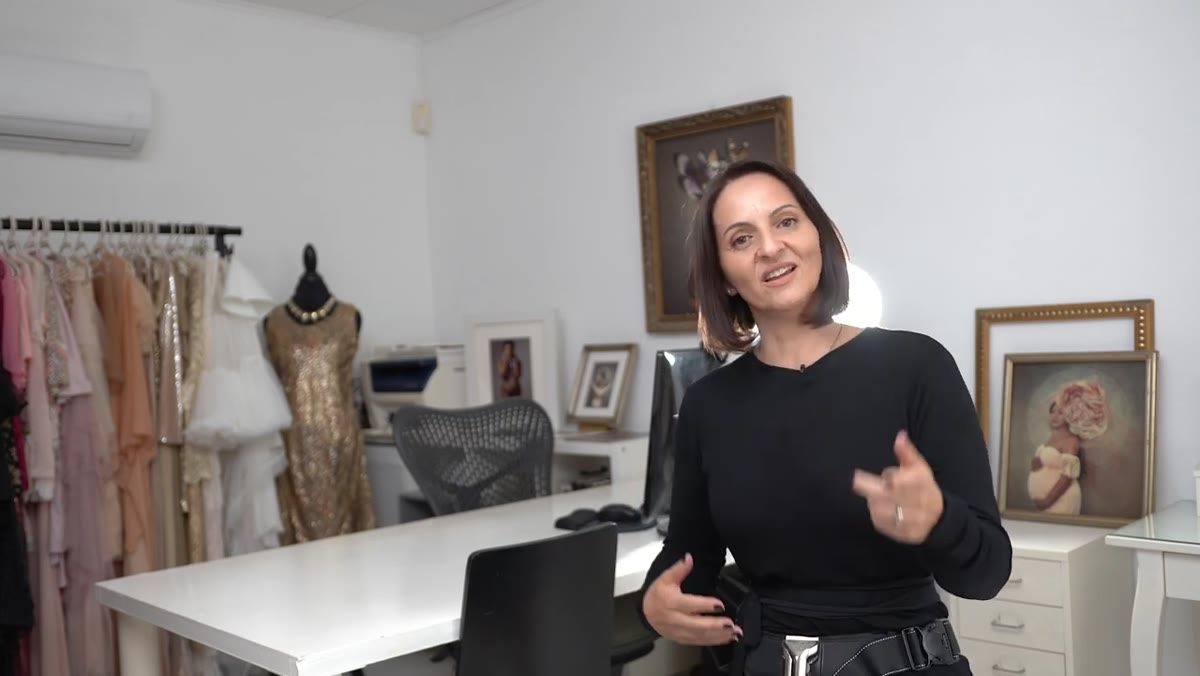 Office consultation area with wardrobe and editing workstation visible
Schütte runs her studio across two rooms, and the division is intentional. One room handles everything that is not photography: client consultations, retouching, administrative work, and wardrobe changes. The other room is purely for shooting. The result is that when a client walks into the shooting space, there is nothing to trip over, nothing to explain away, and no visual clutter competing with the work.
Office consultation area with wardrobe and editing workstation visible
Schütte runs her studio across two rooms, and the division is intentional. One room handles everything that is not photography: client consultations, retouching, administrative work, and wardrobe changes. The other room is purely for shooting. The result is that when a client walks into the shooting space, there is nothing to trip over, nothing to explain away, and no visual clutter competing with the work.
This separation matters more than most photographers realize when they are starting out. I used to do consultations at the same desk where my backdrop stand lived, and clients would spend half the meeting asking about equipment instead of talking about what they wanted from their session. Dividing the functions of your space, even with a curtain or a bookshelf if you only have one room, changes the psychology of the session for both of you.
Step 2: Invest Early in a Quality Backdrop Stand
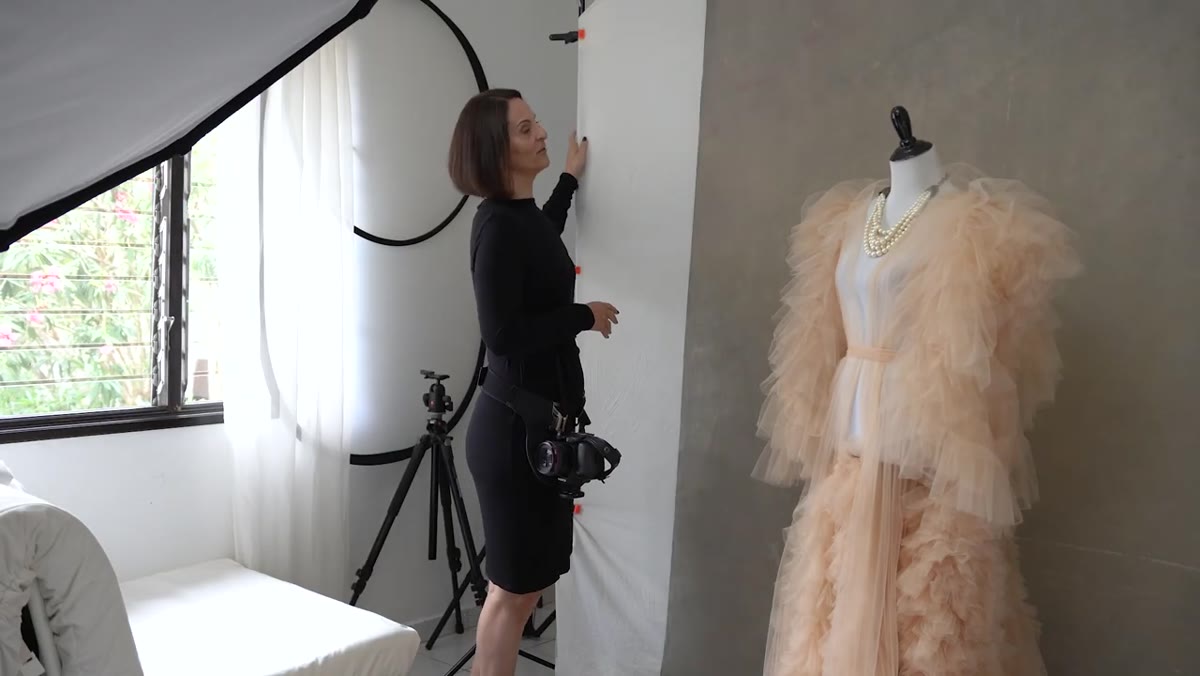 Manfrotto backdrop stand system against studio wall
Her first significant equipment investment was a Manfrotto backdrop stand, and she is direct about recommending it. A reliable backdrop system is not glamorous gear, but it is foundational. A stand that wobbles, collapses under tension, or limits your backdrop width will cost you more in frustration and reshoots than the price difference ever justifies.
Manfrotto backdrop stand system against studio wall
Her first significant equipment investment was a Manfrotto backdrop stand, and she is direct about recommending it. A reliable backdrop system is not glamorous gear, but it is foundational. A stand that wobbles, collapses under tension, or limits your backdrop width will cost you more in frustration and reshoots than the price difference ever justifies.
If I were building a studio from scratch tomorrow, the backdrop stand would be purchased before the second strobe. You can work around a lot of lighting limitations with creativity. You cannot work around a backdrop that falls on your client mid-session.
Step 3: Paint Your Own Canvas Backdrops and Use Them as Floor Drops Too
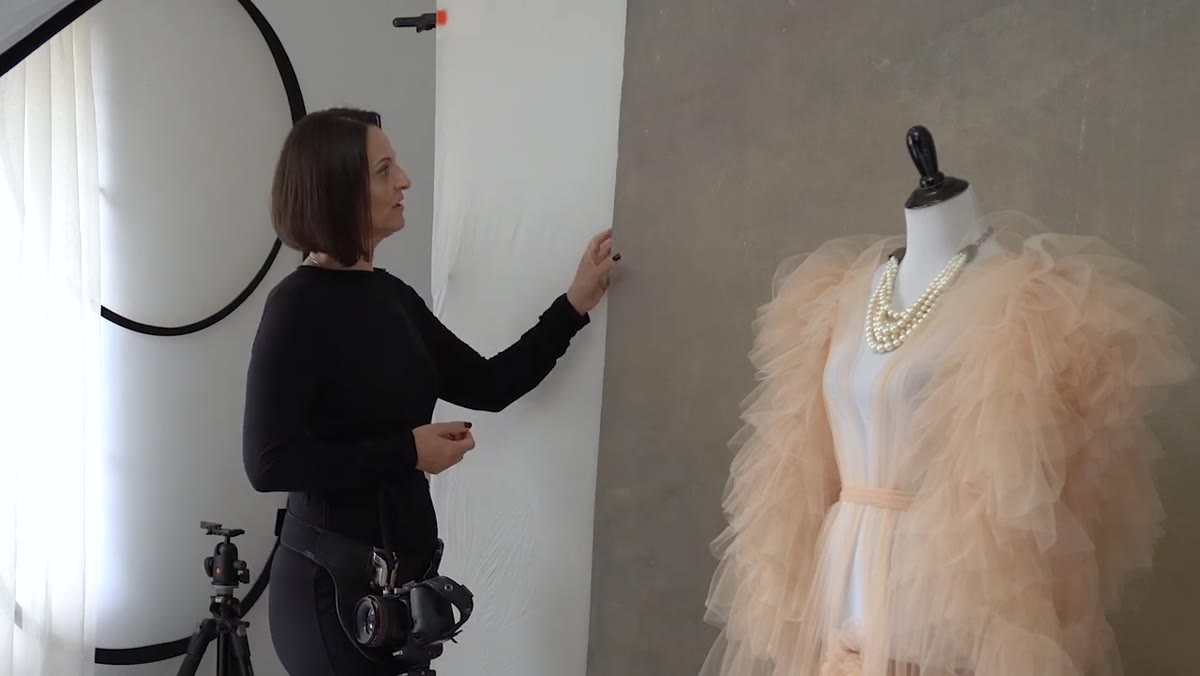 Hand-painted gray canvas backdrops leaning against wall
Schütte paints her own canvas backdrops, and she keeps two tones: a lighter gray and a darker gray. Here is the detail I found most useful. She does not just hang them on the stand. She uses the darker canvas as a floor drop, laying it beneath the subject’s feet. One piece of material doing two jobs in a small space is exactly the kind of thinking that makes a tight studio workable.
Hand-painted gray canvas backdrops leaning against wall
Schütte paints her own canvas backdrops, and she keeps two tones: a lighter gray and a darker gray. Here is the detail I found most useful. She does not just hang them on the stand. She uses the darker canvas as a floor drop, laying it beneath the subject’s feet. One piece of material doing two jobs in a small space is exactly the kind of thinking that makes a tight studio workable.
Hand-painted canvases also give you something no commercially printed backdrop can: texture variation across the surface. Because the paint is applied by hand, no two areas of the canvas are identical. Light raking across it at a low angle reads as depth and dimension rather than a flat wall. I keep a lighting journal where I sketch every setup from every shoot, and one of my most-used notes from early in my career is a reminder that background texture is as important as background color. Schütte builds that texture in at the source.
Step 4: Choose Gear That Multitasks or Does Not Come In
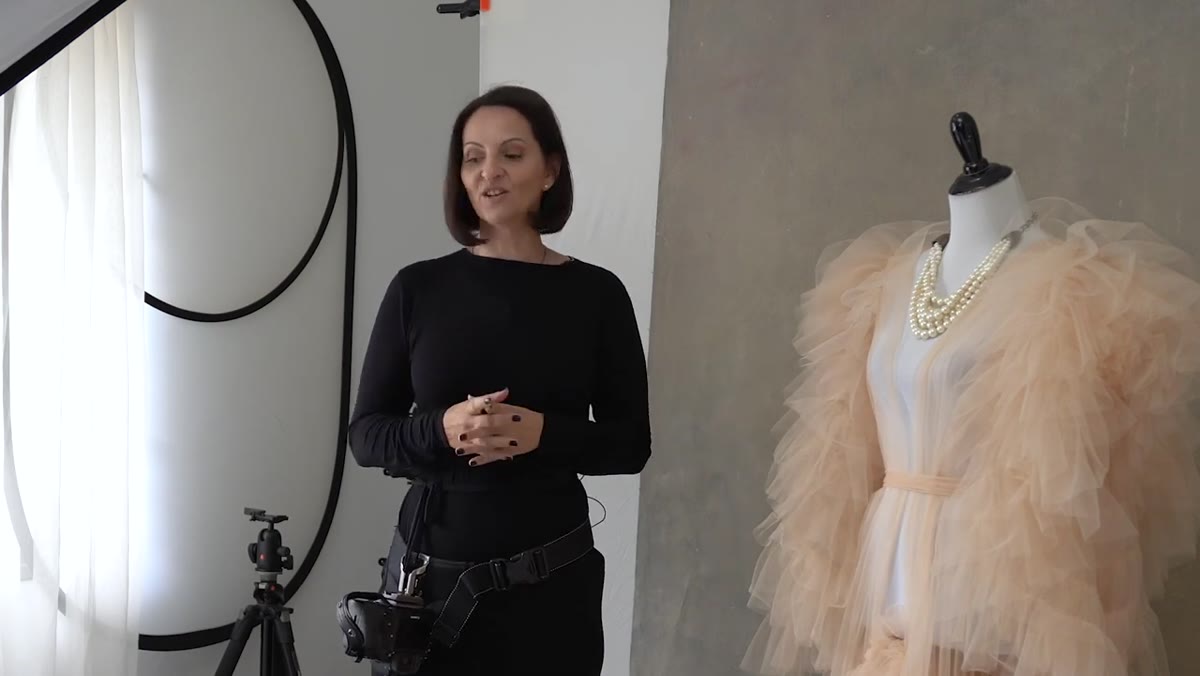 Compact studio space showing minimal, deliberate equipment arrangement
Working in roughly 14 to 15 square meters, Schütte is explicit about her selection criteria for any new piece of equipment: it needs to serve more than one function or it does not earn a place in the room. This is a constraint that most photographers only adopt when they run out of space, but it is worth adopting as a principle before that moment arrives.
Compact studio space showing minimal, deliberate equipment arrangement
Working in roughly 14 to 15 square meters, Schütte is explicit about her selection criteria for any new piece of equipment: it needs to serve more than one function or it does not earn a place in the room. This is a constraint that most photographers only adopt when they run out of space, but it is worth adopting as a principle before that moment arrives.
Apply this test to every modifier, every prop, every stand before you buy it. What else can this do? A large reflector that doubles as a fill card and a posing surface prop has earned its floor space. A specialty modifier that only works for one type of shot probably has not, unless that shot is the core of your business.
Step 5: Let Your Architectural or Design Background Inform the Space
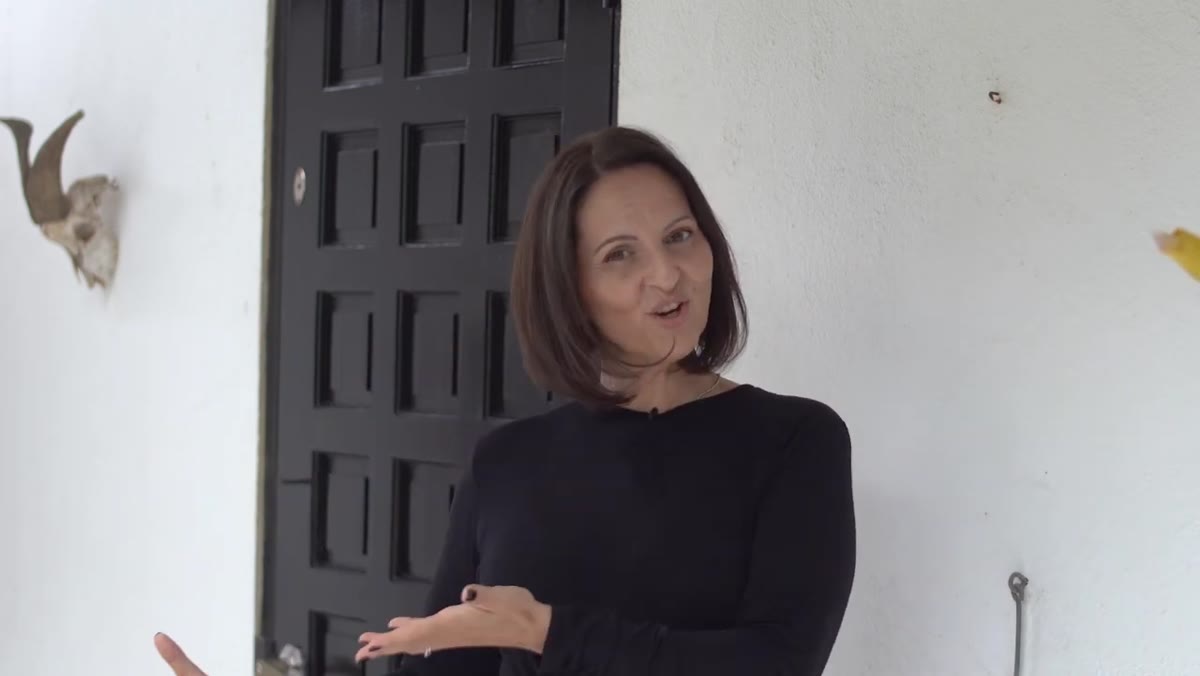 Felicia describing her architecture background and studio planning approach
Schütte’s training as an architect is not incidental to how she runs her studio. She thinks about the space in terms of function, flow, and efficiency first. The shooting room works because it was designed to work, not because she accumulated equipment and then found places to put it.
Felicia describing her architecture background and studio planning approach
Schütte’s training as an architect is not incidental to how she runs her studio. She thinks about the space in terms of function, flow, and efficiency first. The shooting room works because it was designed to work, not because she accumulated equipment and then found places to put it.
Most photographers build their studios in reverse: buy the gear, then figure out where it goes. Schütte’s approach is to decide what the room needs to do, then equip it accordingly. Even if you have no design background, you can borrow this thinking by mapping your space on paper before you move anything in. Label what happens where. I use masking tape on the floor to mark where my main light positions live so I can return to a setup without guessing. It sounds small. It saves real time.
Step 6: Specialize Your Shooting Menu to Match Your Space
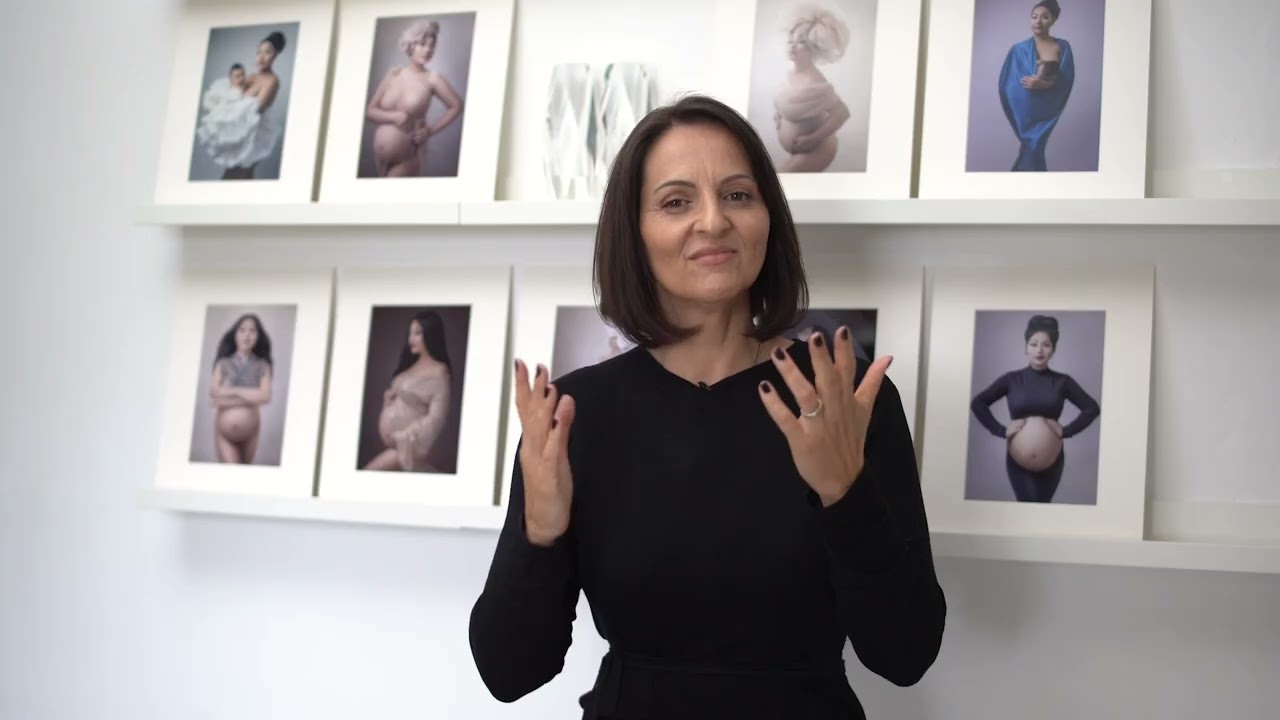
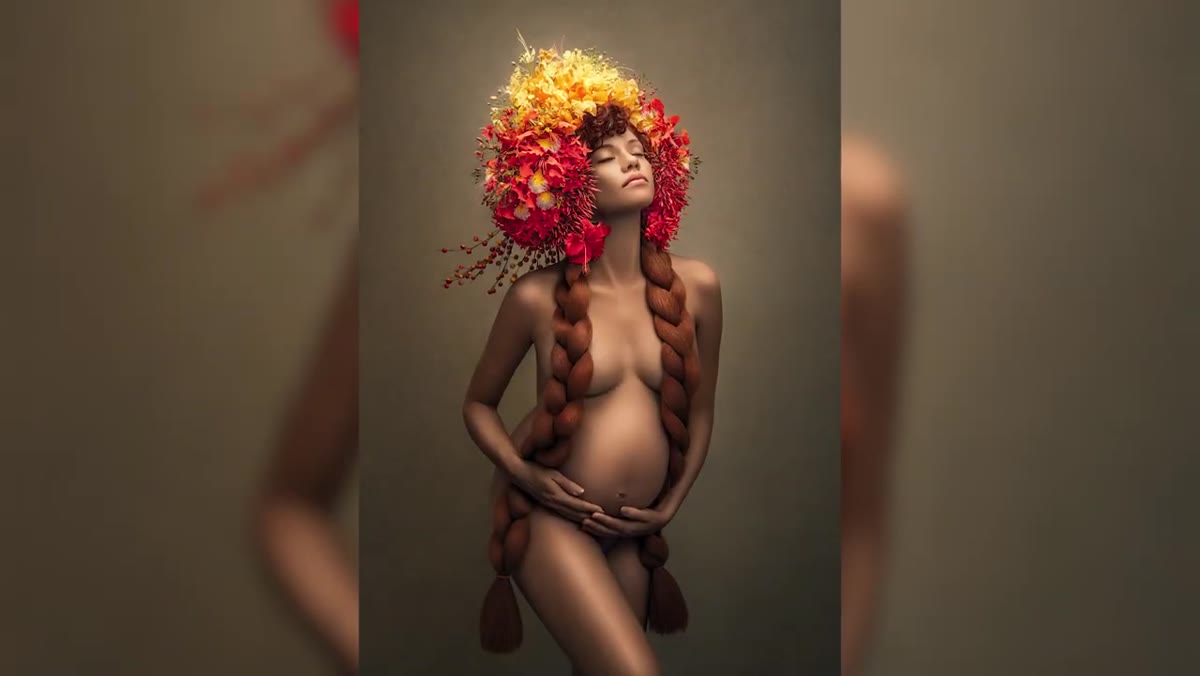 Felicia describing maternity, motherhood, beauty, and boudoir specializations
Schütte shoots maternity, motherhood, beauty portraits, and boudoir. These are not random categories. They are genres that work in a contained, intimate space and that suit a clientele who values privacy and a personal atmosphere. A small studio is not a disadvantage for this type of work. It is arguably an asset.
Felicia describing maternity, motherhood, beauty, and boudoir specializations
Schütte shoots maternity, motherhood, beauty portraits, and boudoir. These are not random categories. They are genres that work in a contained, intimate space and that suit a clientele who values privacy and a personal atmosphere. A small studio is not a disadvantage for this type of work. It is arguably an asset.
Your space should inform your specialization, and your specialization should inform your space. If you are trying to shoot large family groups in a 15-square-meter room, you are fighting your environment. If you are shooting intimate individual portraits, that same room becomes a controlled, distraction-free environment that larger commercial studios struggle to replicate.
What I Would Add from My Own Experience
The one element I kept thinking about while watching this tour is color temperature consistency. A small space with hand-painted surfaces and mixed light sources is beautiful, but it demands careful calibration on every shoot. In a compact room, ambient light bleeds into your frame more aggressively than it does in a large space where you have distance working in your favor. I learned this the hard way early in my career when a mixed color temperature situation ruined an editorial shoot I had spent weeks preparing for.
Schütte’s aesthetic is warm and personal, which can mask color temperature drift during a review. My recommendation: shoot a gray card at the start of every session in a space like this, especially if you have any natural light source near the shooting area. It takes 30 seconds and saves the color grading session from becoming a guessing game.
The single most important takeaway from Schütte’s studio is that constraints are a design brief, not a problem. She took a bedroom-sized space on a Caribbean island and built a deliberate, functional portrait studio by applying the same thinking she used as an architect: define what the space needs to do, then make every element serve that function. That discipline is more valuable than square footage.
Watch the full tutorial on YouTube and pay attention to the logic behind each choice, not just the gear list. The gear is the outcome. The thinking is the lesson.
Comments
Leave a Comment