Lighting the Angry Man: How a Beauty Dish, Rim Lights, and a Tri-Reflector Build Controlled Drama

Lighting the Angry Man: How a Beauty Dish, Rim Lights, and a Tri-Reflector Build Controlled Drama

There is a specific kind of commercial brief that makes photographers nervous: shoot someone looking genuinely furious, on a white or neutral background, and make it feel like a real person, not a Halloween mask. The expression has to land, yes. But the lighting either sells the emotion or kills it. Flat, even light turns anger into mild annoyance. The wrong rim can make a scowling face look like a horror poster.
Black on Black, Edge to Edge: What Broncolor's Still Life Tutorial Taught Me About Precise Light Control

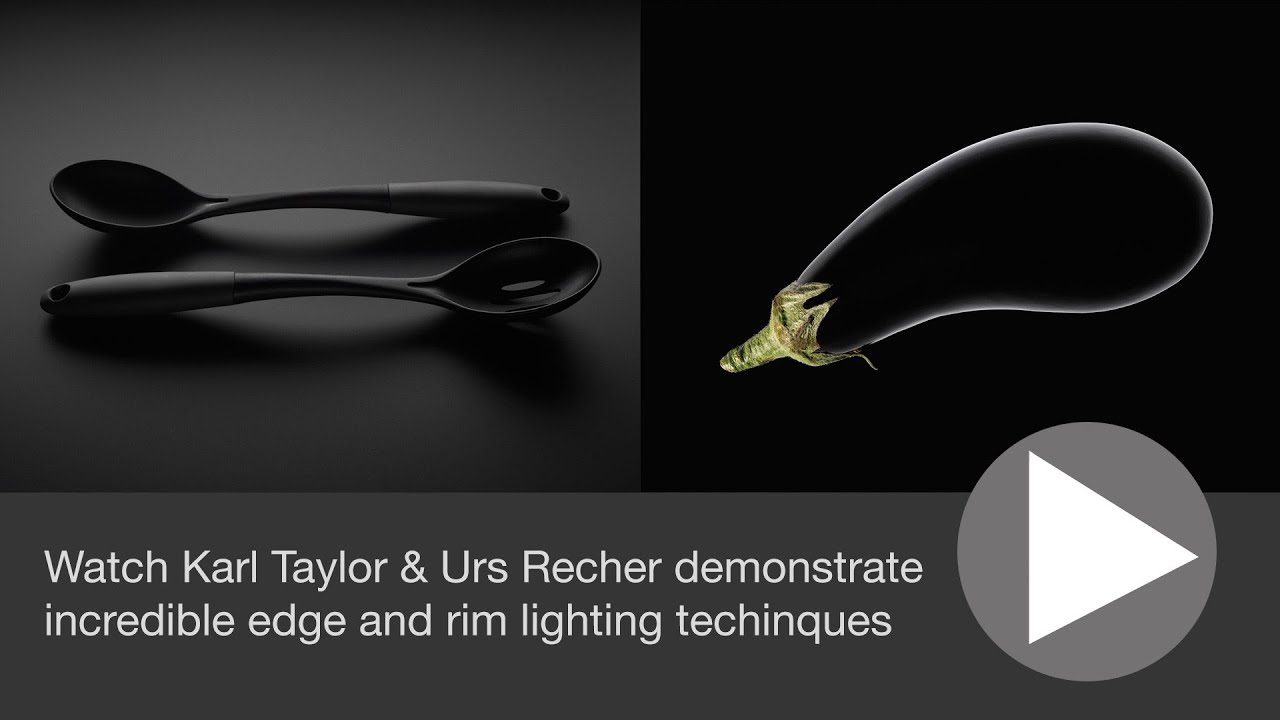
Black on Black, Edge to Edge: What Broncolor's Still Life Tutorial Taught Me About Precise Light Control

Still life work punishes sloppy lighting faster than almost any other discipline. There’s no subject to charm the camera, no personality to carry a mediocre frame. It’s just the object, the surface, and whatever light you decided to put where. I’ve shot enough product work for beauty brands to know that the shots people remember are almost always built on one or two precise light sources doing exactly what they were placed to do, not six lights fighting each other into a flat, gray mush.

Rim Lighting Done Right: How to Separate Your Subject from Any Background

Rim Lighting Done Right: How to Separate Your Subject from Any Background

The Shoot Where I Finally Stopped Guessing I keep a lighting journal. Every setup from every shoot gets a sketch, a ratio, a note about what worked and what I’d change. I’ve filled four of them. If you flip to the early pages, you’ll find a lot of setups that look technically correct but produce subjects who look like they’re dissolving into the background. Flat, embedded, visually stuck. I was so focused on my key light that I treated everything behind my subject as someone else’s problem.

Rim Lighting Is Not a Finishing Touch — It's a Structural Decision

Rim Lighting Is Not a Finishing Touch — It's a Structural Decision

The Shoot That Changed How I Think About Edges A few years back I was working a fashion editorial, three looks, tight deadline, and the creative director kept saying the images felt “flat.” My key light was dialed in. Fill was exactly where I wanted it. The background was clean. But something was missing, and I couldn’t articulate it until I pulled up the frames and traced the model’s shoulder against the background.

Rim Lighting: The One Light That Separates Your Subject From Everything Else

Rim Lighting: The One Light That Separates Your Subject From Everything Else

When Your Subject Disappears Into the Background I had a corporate client a few years back, a tech company that wanted environmental portraits of their executive team against a dark charcoal backdrop. Clean, modern, serious. I had a beautiful key light dialed in, a 47-inch octabox at 45 degrees, proper exposure, great catchlights. The images looked competent. They did not look good. The executives were merging into the background. Not dramatically, not in a way that made the client throw the photos back at me, but enough that the images felt flat.

Blue Rim Light, a Snoot, and a Piece of Foam: How Three Lights Can Build a Moody Portrait

Blue Rim Light, a Snoot, and a Piece of Foam: How Three Lights Can Build a Moody Portrait

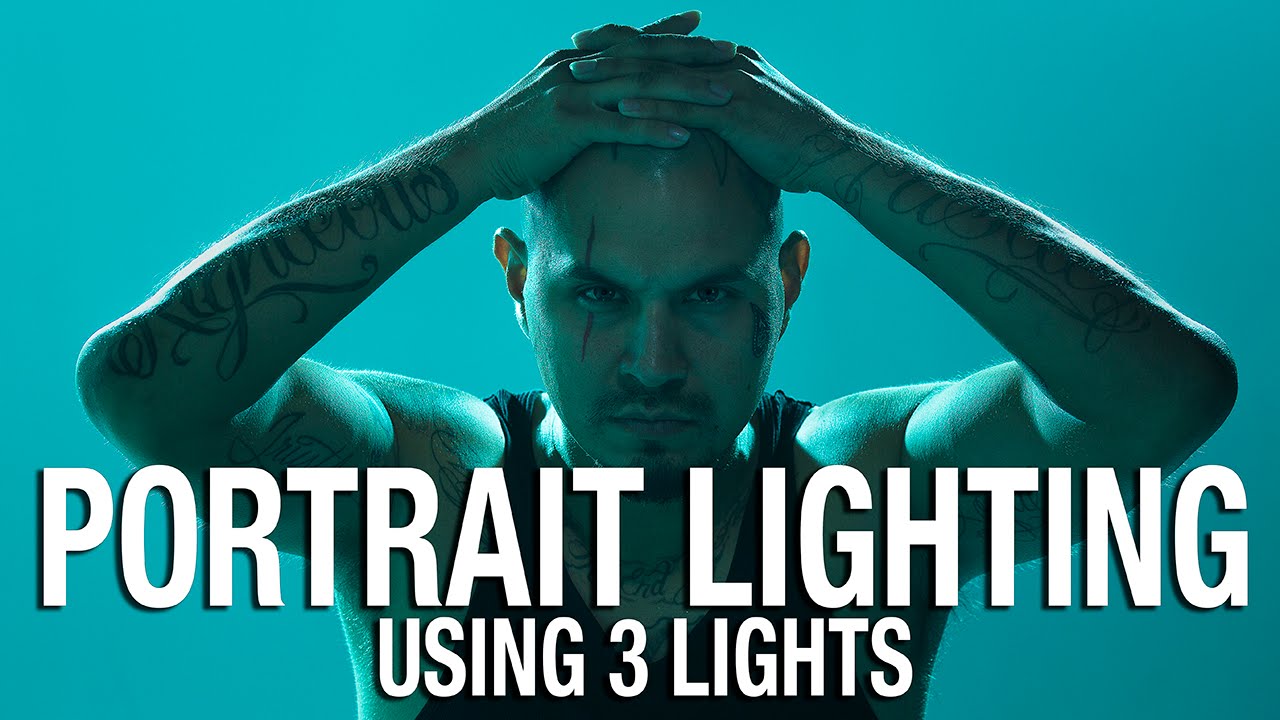
There’s a setup problem I run into constantly on commercial jobs: the client wants drama, the budget allows for maybe a half-day studio rental, and I need to build a look that feels expensive without stacking up eight light heads and a crew of three assistants. The answer, almost every time, is learning to do more with less. Colored rim lights, a tight modifier on the key, and a reflector you found leaning against the wall.

Rim Lighting Done Right: The Setup That Separates Flat Studio Shots from Images That Actually Sell

Rim Lighting Done Right: The Setup That Separates Flat Studio Shots from Images That Actually Sell

I pulled a tear-out from a magazine once, a full-page beauty editorial, and spent about forty minutes staring at the catchlights and shadow edges trying to reverse-engineer the setup. Two rim lights, one key, a reflector below the chin. I sketched it in my lighting journal, taped it to the wall, and built it. The first test frame looked almost identical to the tear-out. That was the day I understood that rim lighting is not a creative accident.

Rim Lighting Done Right: How One Background Light Separates Your Subject From Mediocrity

Rim Lighting Done Right: How One Background Light Separates Your Subject From Mediocrity

I once watched a test shoot fall apart in real time because every image looked like the subject was melting into the background. Seamless paper, matching tones, flat key light. The client sat there flipping through the tray of selects and finally said, “She just looks… stuck.” He was right. The subject had dimension in real life and zero dimension on the sensor. We had to reshoot, and I spent the train ride home furious at myself for forgetting the most basic principle in studio separation: if your subject and background share the same tonal value, a camera will treat them as the same object.

Rim Lighting: The Technique That Separates Amateur From Professional

Rim Lighting: The Technique That Separates Amateur From Professional

What Rim Lighting Actually Does Rim lighting isn’t decorative. It’s functional. I use it to carve subjects away from backgrounds—to create dimensionality that flat, frontal lighting simply cannot achieve. When executed correctly, a rim light creates a luminous edge that defines the subject’s outline and adds perceived depth to the image. This is especially critical in portrait and product photography where separation is everything. The technique involves placing a light source behind and to the side of your subject, angled so it catches the edge of their form without spilling light directly into the lens.

Rim Lighting: The Technique That Separates Amateurs From Professionals

Rim Lighting: The Technique That Separates Amateurs From Professionals

What Rim Lighting Actually Does Rim lighting isn’t decorative—it’s functional. When placed correctly, a rim light creates a bright edge along your subject’s outline, separating them from the background and adding three-dimensional depth to flat studio environments. I’ve watched photographers obsess over key lights and fill ratios while ignoring this critical tool. That’s a mistake. The rim light accomplishes three things: it defines edges (especially hair), it creates visual separation between subject and background, and it adds a professional polish that clients immediately notice, even if they can’t articulate why.

Rim Lighting: The Technique That Separates Amateur From Professional Portraits

Rim Lighting: The Technique That Separates Amateur From Professional Portraits

Rim Lighting: The Technique That Separates Amateur From Professional Portraits I’ve watched countless photographers chase expensive gear when what they really needed was rim lighting discipline. This technique—also called backlighting or edge lighting—is not optional for serious portrait work. It’s foundational. When executed correctly, rim lighting adds depth, separates your subject from the background, and creates that polished look clients recognize as professional. Let me be direct: rim lighting without understanding power ratios and positioning will frustrate you.

Rim Lighting: The Essential Technique for Separation and Dimension

Rim Lighting: The Essential Technique for Separation and Dimension

Rim Lighting: The Essential Technique for Separation and Dimension I’ve used rim lighting in roughly 70% of my studio work over the past fifteen years, and I’m not exaggerating when I say it’s transformed how my subjects read in frame. A rim light—also called a backlight or hair light—is a dedicated light source positioned behind your subject to create a glowing outline that separates them from the background. Done correctly, it’s invisible to the casual viewer but absolutely critical to the overall image.