Clamshell Lighting Made Simple: How to Build a Flattering Portrait Setup with Continuous Lights

Clamshell Lighting Made Simple: How to Build a Flattering Portrait Setup with Continuous Lights

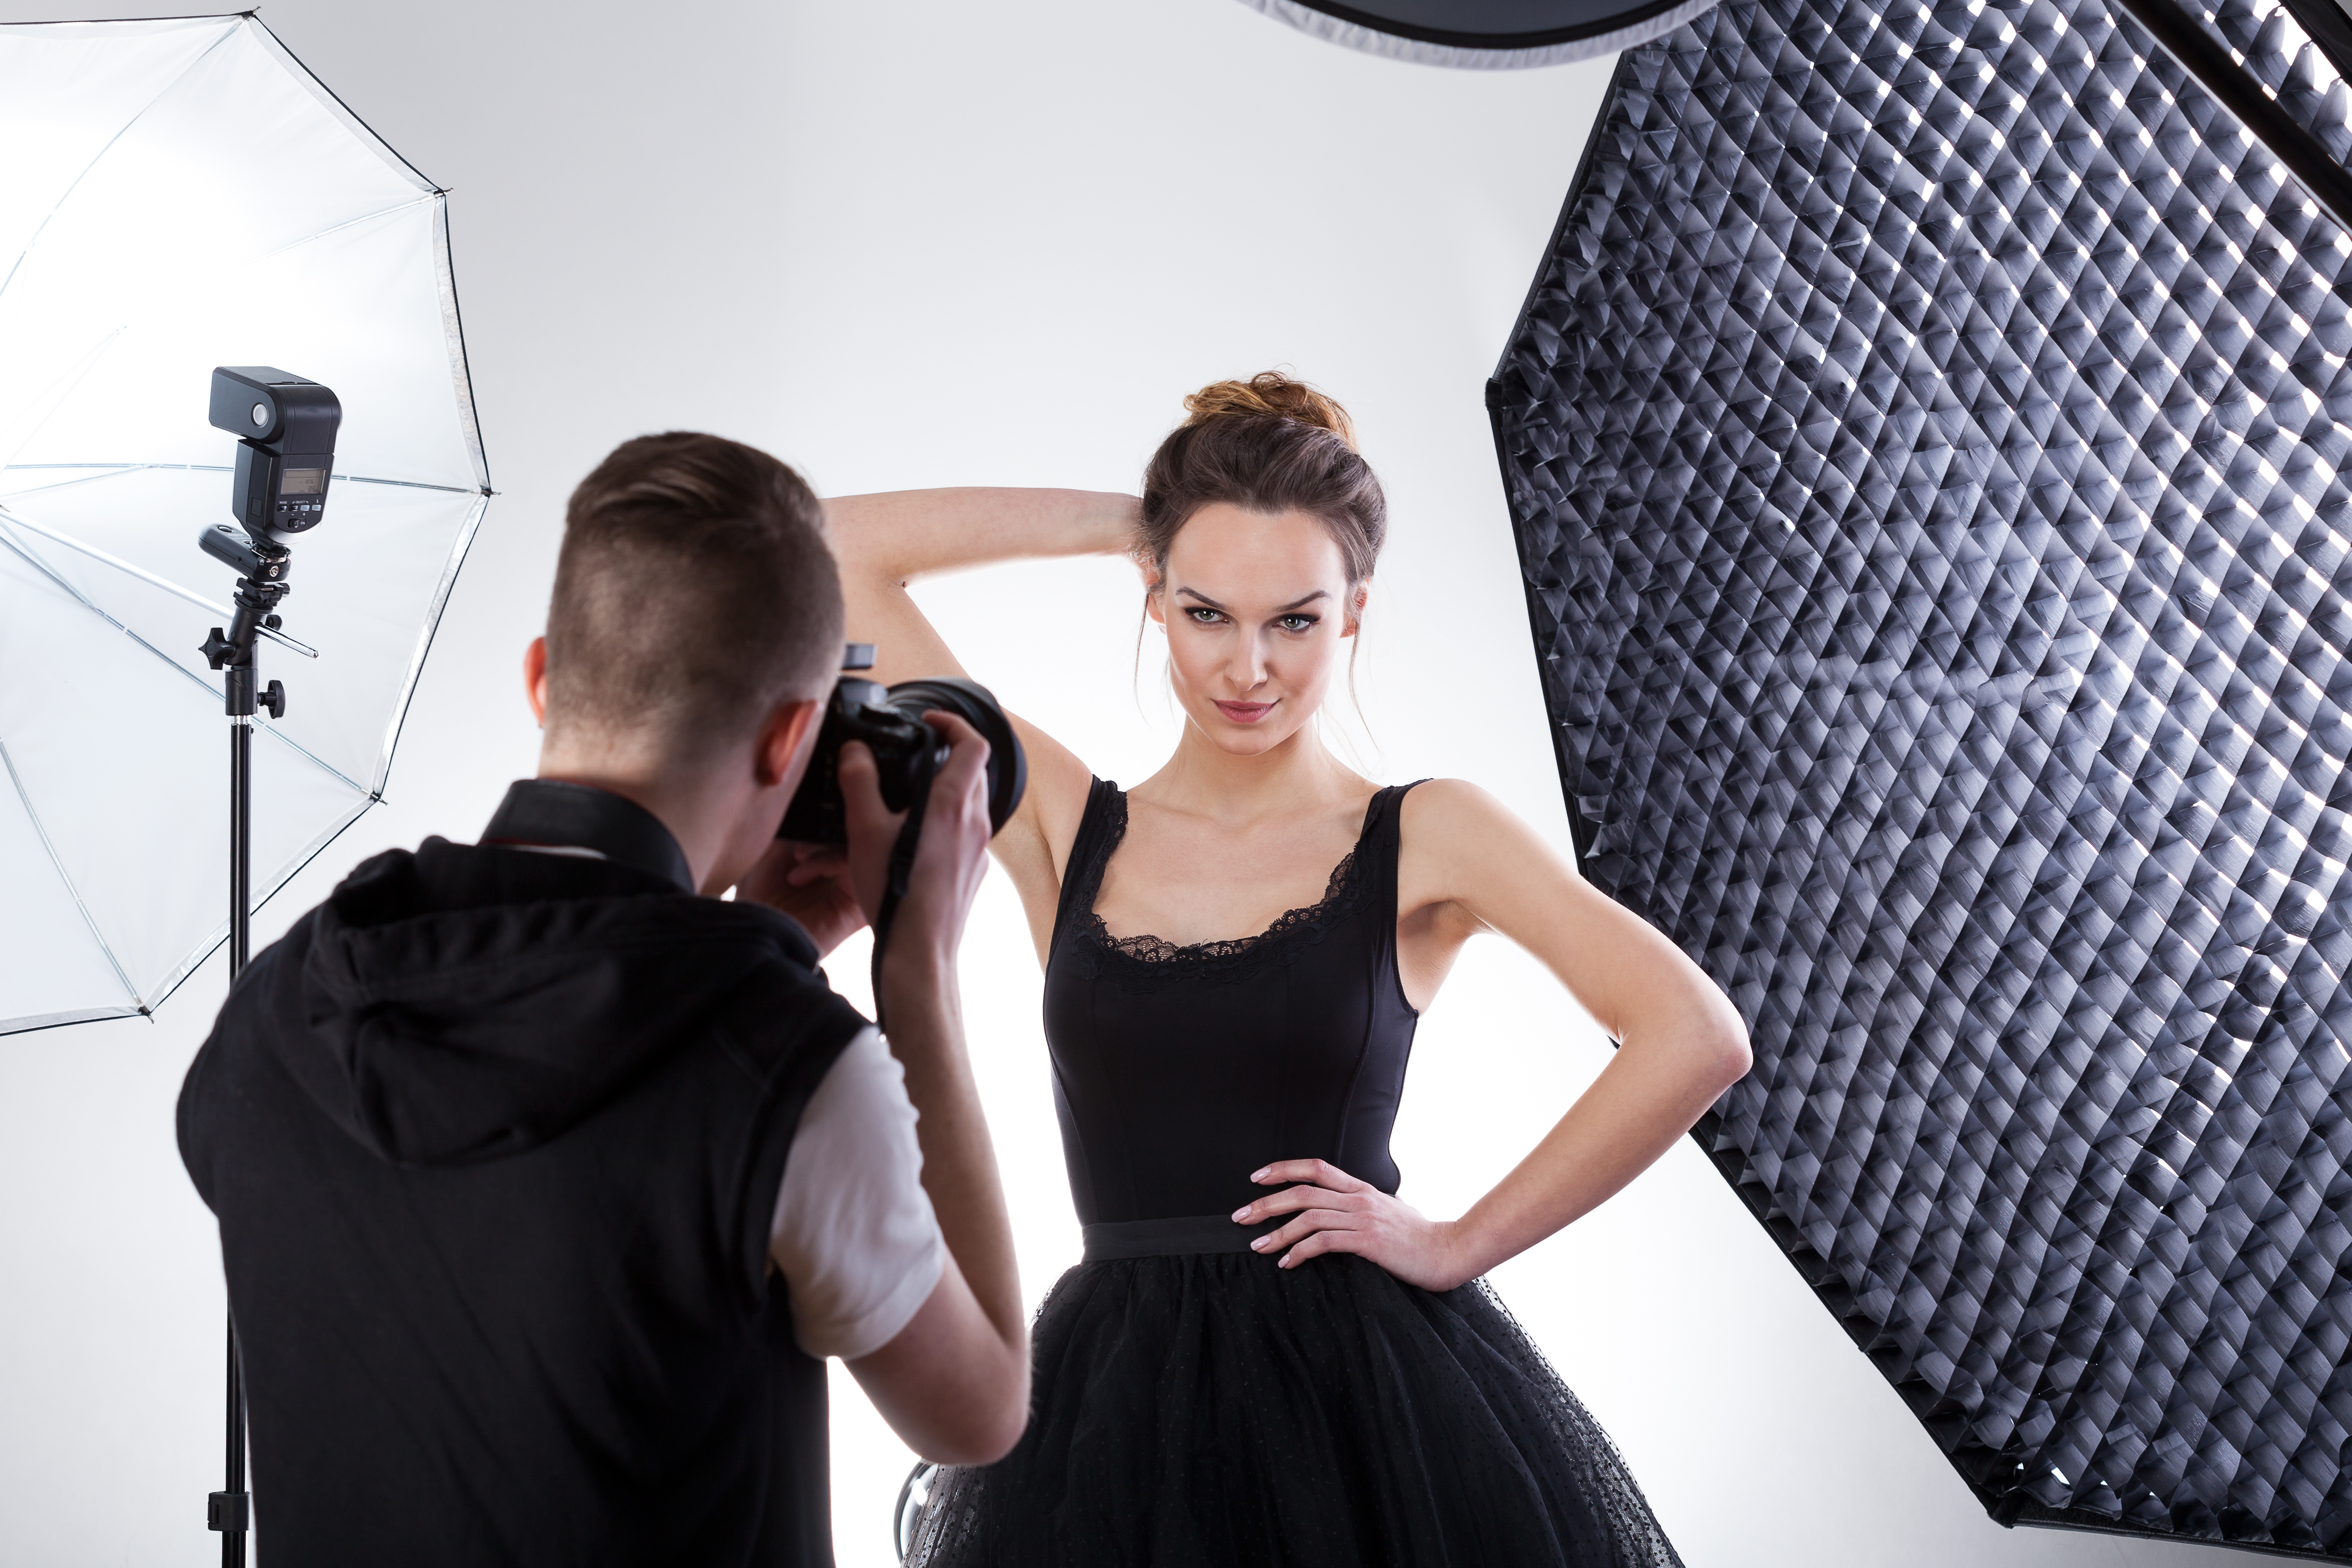
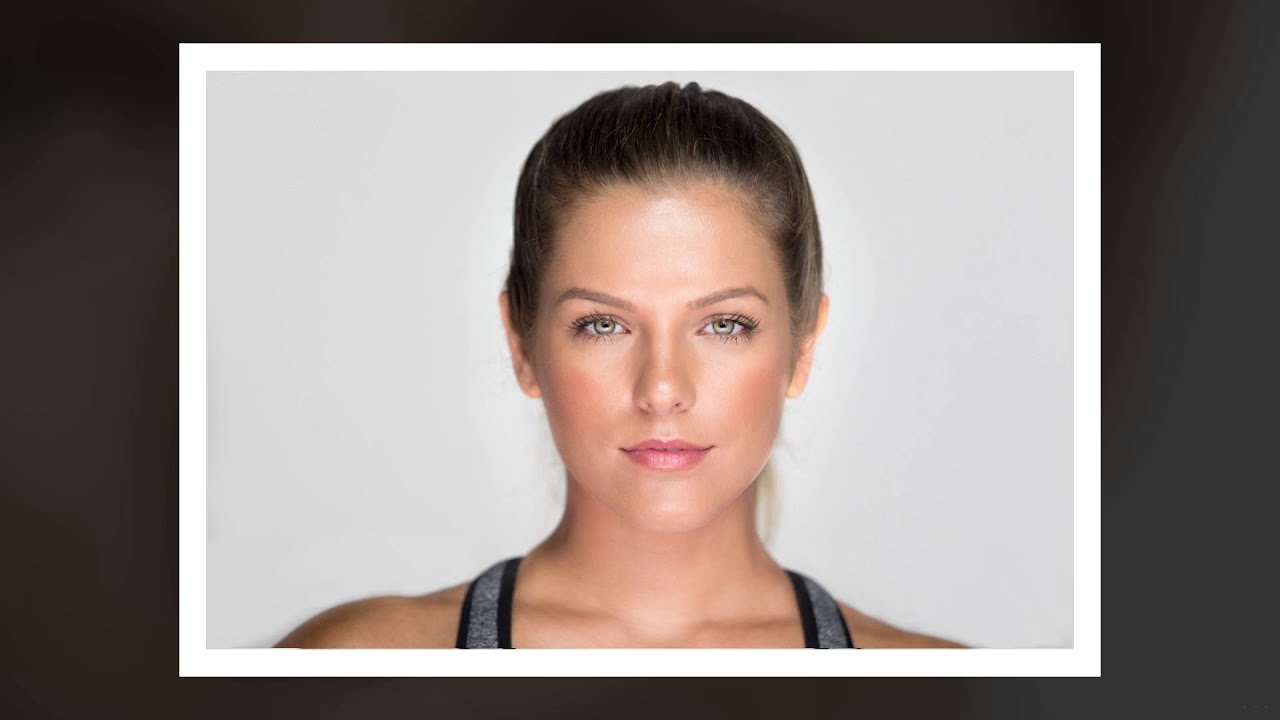
Most of the lighting problems I see photographers struggle with in the studio come down to one thing: overcomplicating the setup before they understand what a single, well-placed light actually does. I’ve been guilty of this myself. Early in my career I’d show up to a beauty shoot with four lights rigged before my subject even walked in, and half of them were fighting each other. The sessions that taught me the most were the stripped-down ones, the ones where I was forced to work with less and pay attention to what the light was actually doing to the face in front of me.
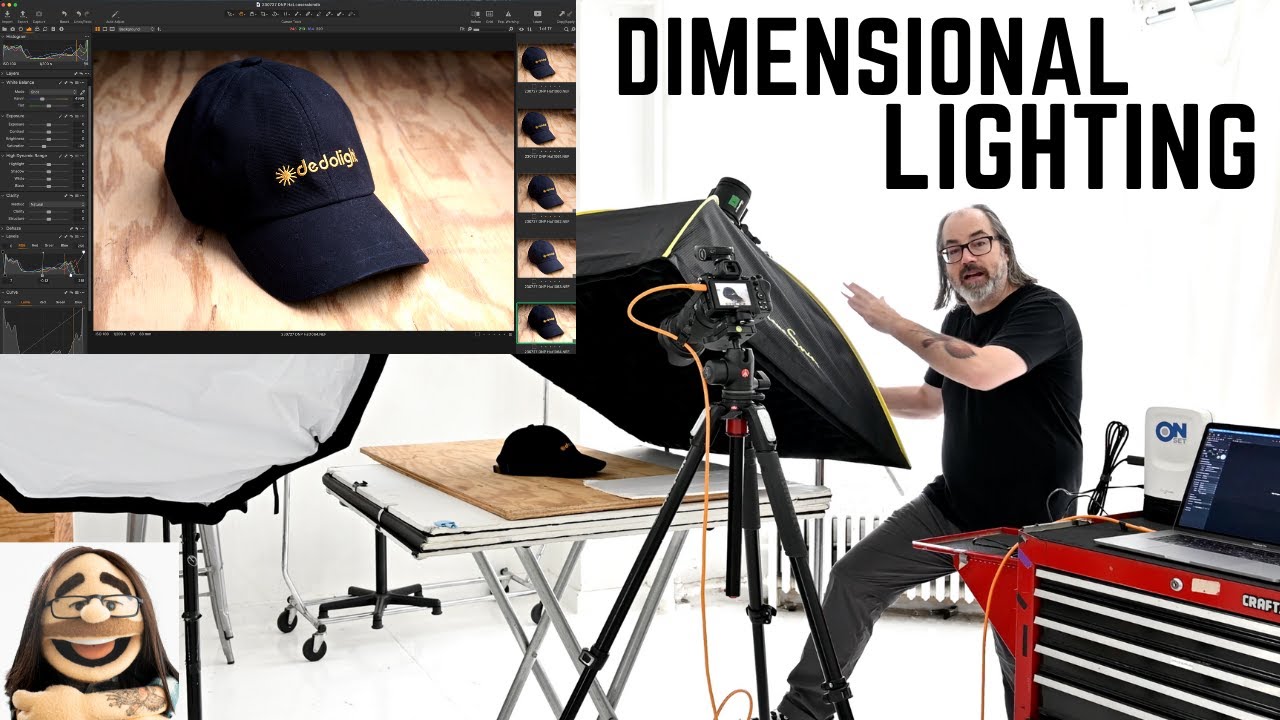
How to Light Still Life with Real Depth: A Breakdown of Daniel Norton's Two-Light Setup

How to Light Still Life with Real Depth: A Breakdown of Daniel Norton's Two-Light Setup

Still life and product work has a reputation for being straightforward. One light, white background, done. And sure, that approach gets the job done for basic e-commerce. But the moment a client wants something that feels tactile, something that makes a viewer want to reach out and pick up the object, flat lighting becomes the enemy. I run into this constantly. A beauty brand will ask for a shot that “pops off the page,” and what they’re really asking for is dimensionality, shadow, a sense that the product exists in physical space rather than floating in a void.

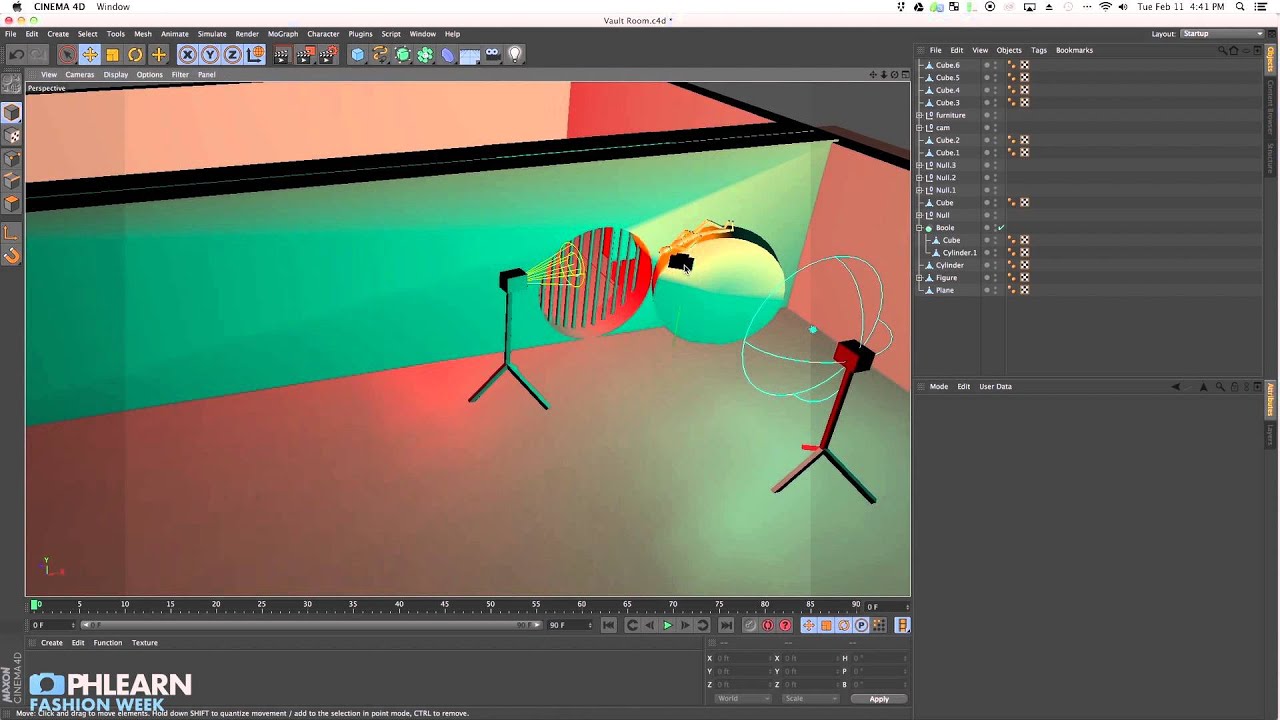
Three Lights, Two Gels, One Killer Fashion Frame: Breaking Down Aaron Nace's High-Fashion Vault Shoot

Three Lights, Two Gels, One Killer Fashion Frame: Breaking Down Aaron Nace's High-Fashion Vault Shoot

Every few months I pull out my lighting journal and flip back through old setups. Some of them make me cringe. Some of them remind me that the best lighting problems get solved before the model ever walks onto the set. The high-fashion vault shoot that Aaron Nace (PHLEARN) breaks down in his tutorial sits firmly in the second category. It’s a tight, purposeful lighting plan built around a location’s existing character, and watching it laid out step by step answered a question I’ve wrestled with on editorial jobs for years: how do you introduce color into a shot without making the skin look like a Halloween costume?

Why Your Studio Workflow Is Costing You an Hour Per Shoot (And How to Fix It)

Why Your Studio Workflow Is Costing You an Hour Per Shoot (And How to Fix It)

The Shoot That Made Me Rethink Everything I once showed up to a corporate headshot day with twelve subjects booked in four hours and no written lighting plan. I had the setup in my head. I’d shot similar work a hundred times. What I hadn’t accounted for was the studio assistant I’d never worked with before, a modeling session that ran over and compressed my setup window, and the fact that I’d swapped my key light modifier the night before and hadn’t re-metered the ratios.

How Joel Grimes Builds a Strobe System That Actually Works in a Working Studio

How Joel Grimes Builds a Strobe System That Actually Works in a Working Studio

Client calls on a Tuesday. Shoot is Friday. Location is a rooftop in downtown Los Angeles, full midday sun, and they want dramatic, clean portraits with a shallow depth of field. That’s the exact situation where a weak or poorly chosen strobe system stops being an inconvenience and starts costing you the job. I’ve been burned before by gear that looked fine in the studio and fell apart the moment I took it outside, and it taught me to treat strobe selection like I treat any other part of my workflow: with a clear, repeatable checklist.

Why Your Studio Workflow Is Slower Than It Needs to Be (And What My Tape Labels Have to Do With It)

Why Your Studio Workflow Is Slower Than It Needs to Be (And What My Tape Labels Have to Do With It)

The Twenty Minutes That Cost Me a Client A few years back, I was mid-shoot on a beauty campaign, three hours into a six-hour day rate, and my first assistant called out that the kicker on the hair light had drifted two stops. Not because anyone touched it. Because I hadn’t written down the output setting when I built the setup that morning, and we’d been swapping modifiers between setups. By the time we rebuilt the look, we’d burned twenty-two minutes and the client was visibly irritated.

The Studio Workflow That Actually Works: My Step-by-Step System

The Studio Workflow That Actually Works: My Step-by-Step System

I’ve spent fifteen years refining my studio workflow, and I can tell you with certainty: the photographers who produce the best results aren’t the ones with the fanciest gear. They’re the ones who’ve systematized their process so thoroughly that setup becomes automatic and they can focus entirely on their subject. Your workflow is the skeleton that holds everything together—lighting decisions, posing cues, camera settings, even client communication. Without one, you’re improvising.

The Studio Workflow That Eliminates Wasted Time and Bad Light

The Studio Workflow That Eliminates Wasted Time and Bad Light

The Studio Workflow That Eliminates Wasted Time and Bad Light I’ve watched photographers burn through two-hour sessions shooting 800 frames, then spend weeks sorting through mediocre images. The problem isn’t talent—it’s workflow. A structured process separates professionals from people who own equipment. I treat studio sessions like cooking. You mise en place before you touch heat. You don’t improvise seasoning mid-dish. The same principle applies to photography: prepare everything before your subject arrives, execute the plan with precision, adjust only what needs adjusting.

When Studio Mishaps Become Teaching Moments: Lessons in Controlled Lighting and Professional Standards

When Studio Mishaps Become Teaching Moments: Lessons in Controlled Lighting and Professional Standards

The Value of Documentation in High-Stakes Shoots I’ve spent enough time in studios to know that when things go wrong—and they inevitably do—the professionals who survive are those who document everything. Lighting setups, client communications, equipment specifications, timing logs. Every detail matters. Recently, I’ve been reflecting on how the principles of meticulous documentation apply across creative industries. A production company publicly committed to proving internal sabotage contributed to their launch failure by creating detailed evidence-based content for their community.

The Studio Workflow That Actually Works

The Studio Workflow That Actually Works

The Studio Workflow That Actually Works I’ve spent fifteen years refining my studio process, and I’ve learned that the difference between a chaotic shoot and a smooth one isn’t talent—it’s structure. A solid workflow removes decision fatigue, lets you focus on your subject, and produces consistent, professional results. Here’s the exact system I use. Pre-Session Prep Is Non-Negotiable Before anyone steps foot in my studio, I’ve already made 80% of my creative decisions.

The Studio Workflow That Actually Works: My 15-Year System

The Studio Workflow That Actually Works: My 15-Year System

The Studio Workflow That Actually Works: My 15-Year System I’ve watched photographers waste entire afternoons chasing light instead of capturing it. They move modifiers randomly, adjust power settings without measuring results, and change poses every thirty seconds. By the end of the shoot, they’ve got scattered images and no repeatable process. I don’t work that way. After fifteen years in the studio, I’ve built a workflow that removes variables, speeds up execution, and produces consistent results every single time.

The Non-Negotiable Studio Workflow: My Process for Consistent Results

The Non-Negotiable Studio Workflow: My Process for Consistent Results

The Non-Negotiable Studio Workflow: My Process for Consistent Results I’ve shot enough portraits in my studio to know that consistency doesn’t happen by accident. It happens because you build a system and defend it. Every session follows the same sequence, the same measurements, the same decision tree. This isn’t about being rigid—it’s about removing friction so you can focus on the human element. Pre-Session Prep: The Blueprint Matters Before anyone steps in front of my camera, I’ve already made 80% of my technical decisions.